Russia
Joined: Aug 13, 2022
Post Count: 245
Status:
Offline
Re: Apartment project with lighting by invisible hemispheres. I continue advertising
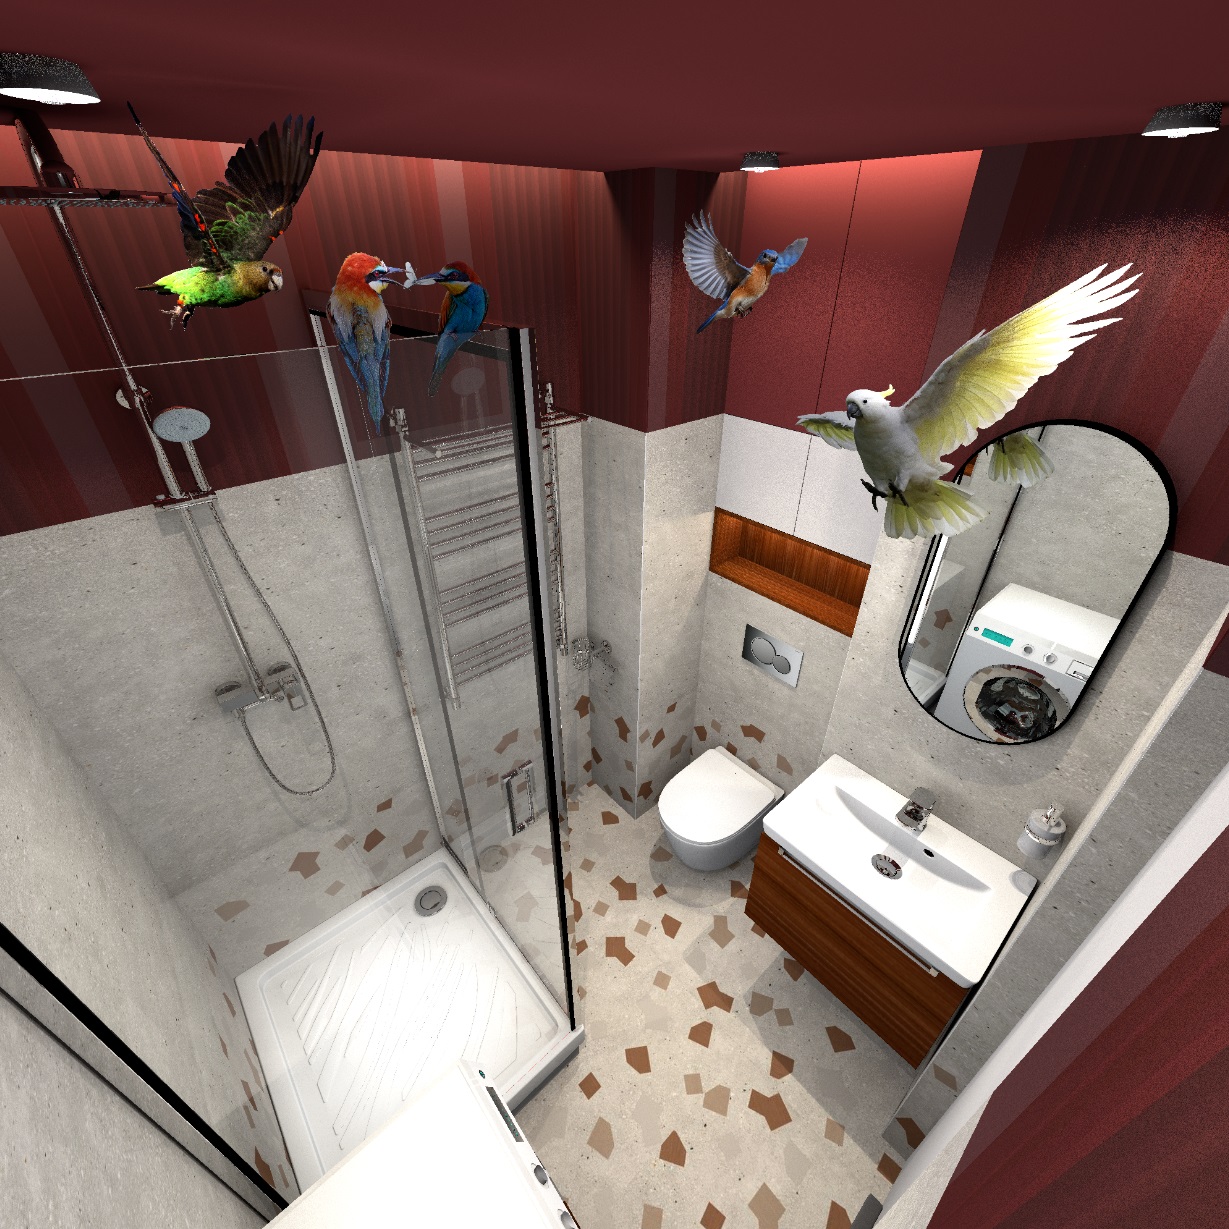
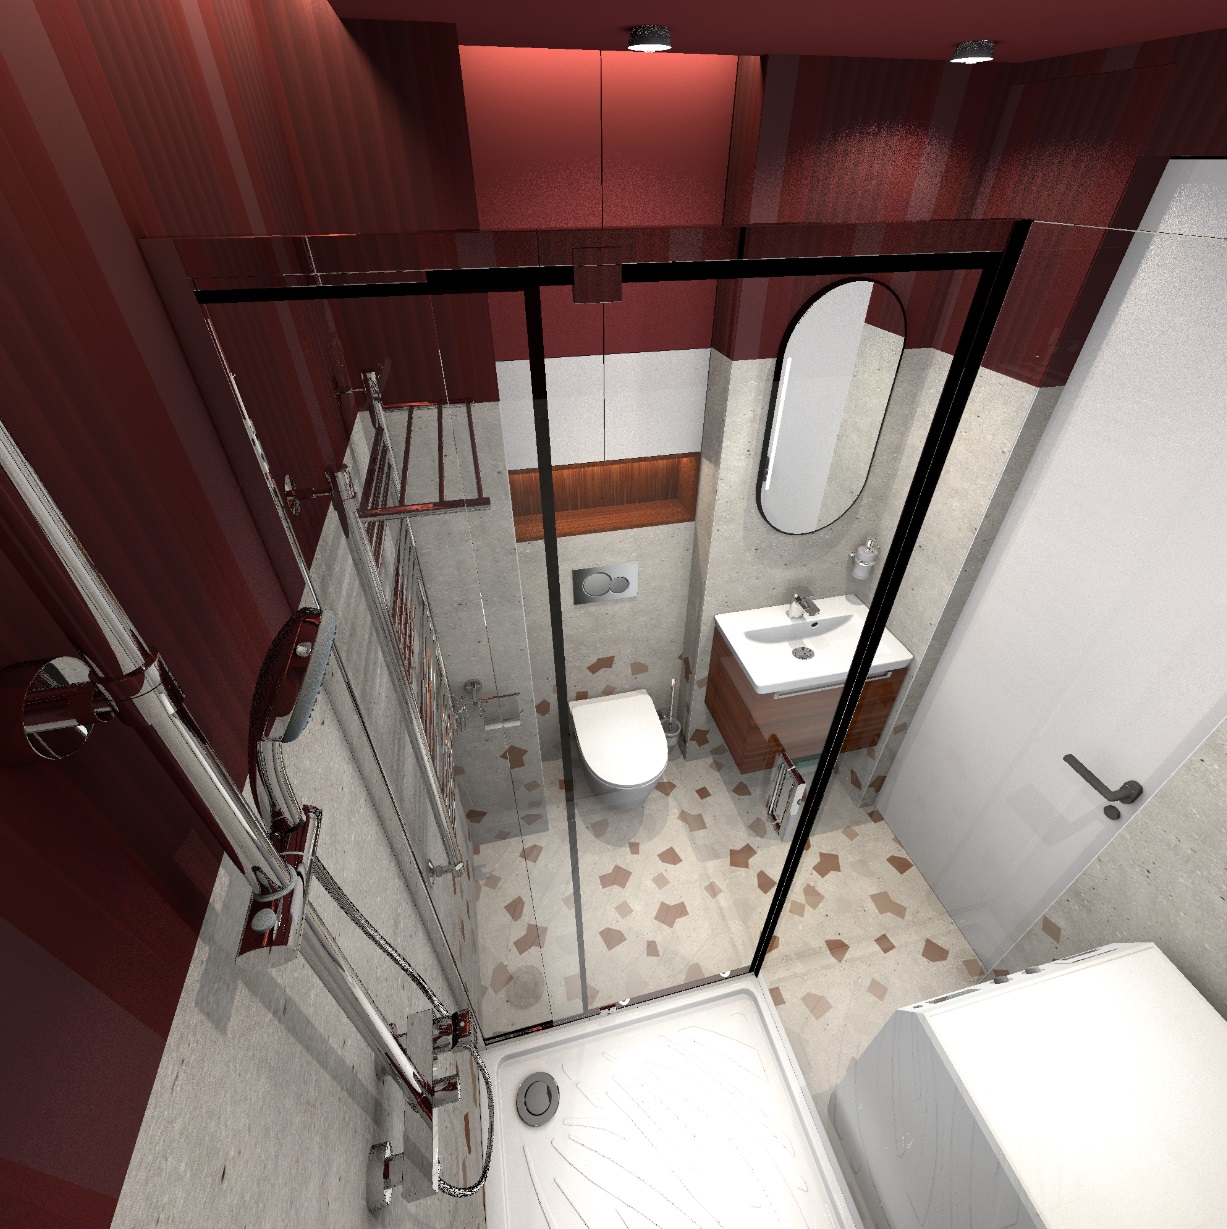
There are no people in the forest, but there are many beautiful birds! Ouch. In the mirror, a white cockatoo has grown legs on its back, what an embarrassment. Be careful with the reflections of the photos on the box, they are the same on the back side. By the way, the toilet button was made using a photo, this is not a 3D model. All photos of birds are highlighted with small bright caps-hemispheres, without them they will be very dark under the ceiling, there is almost no light. For all CHROME groups, I have written the prefix after the letter g sweethome3d_window_mirror_ in the OBJ file. Chrome is great. The third level of rendering quality is important. There are all reflections in the glass from the washing machine and from the shower system. A very good mode for realistic renderers. The fourth level loses heavily, there will be no reflections. Don't use it. Spend your time on prefixes.
Russia
Joined: Aug 13, 2022
Post Count: 245
Status:
Offline
Re: Apartment project with lighting by invisible hemispheres. I continue advertising
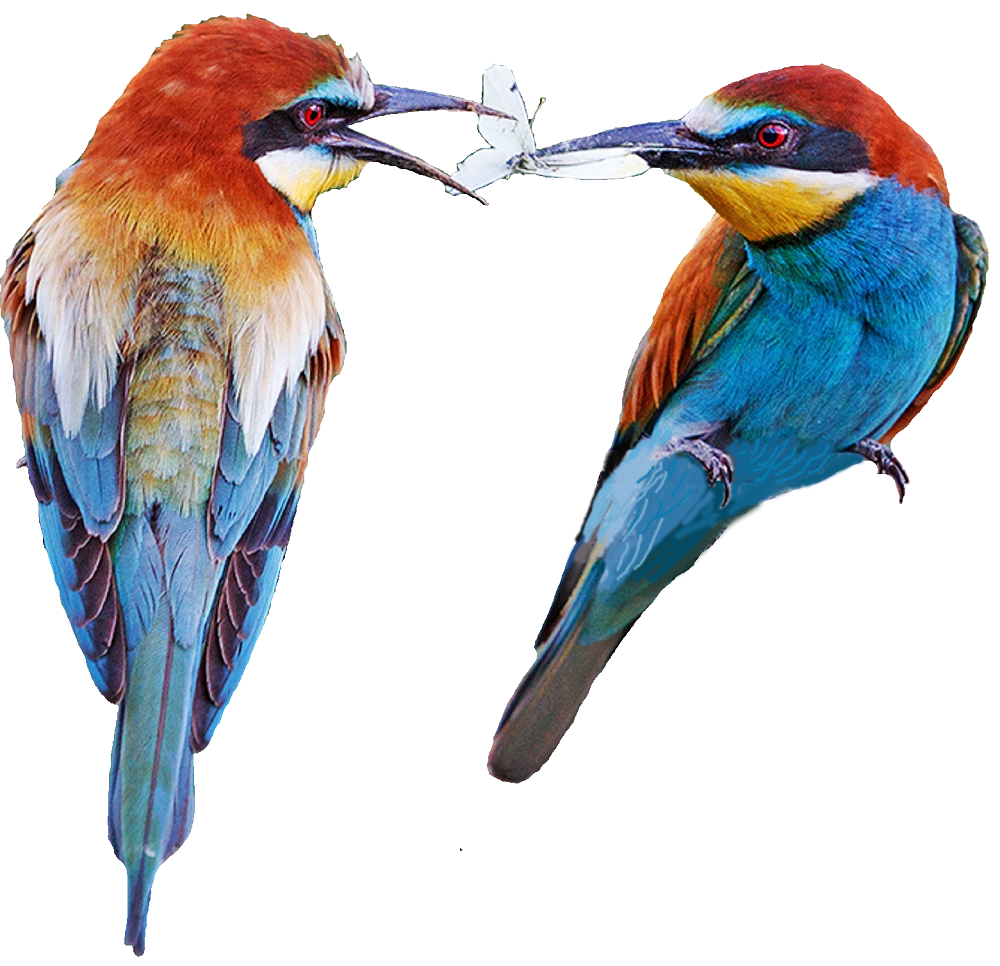
how do I put birds on the edge of the glass? I took a photo of two birds on a branch. In Photoshop, I cleaned the background and tinted the branch in the color of feathers. We got two birds with legs without a branch, one sits with its back, the other with its belly towards us.
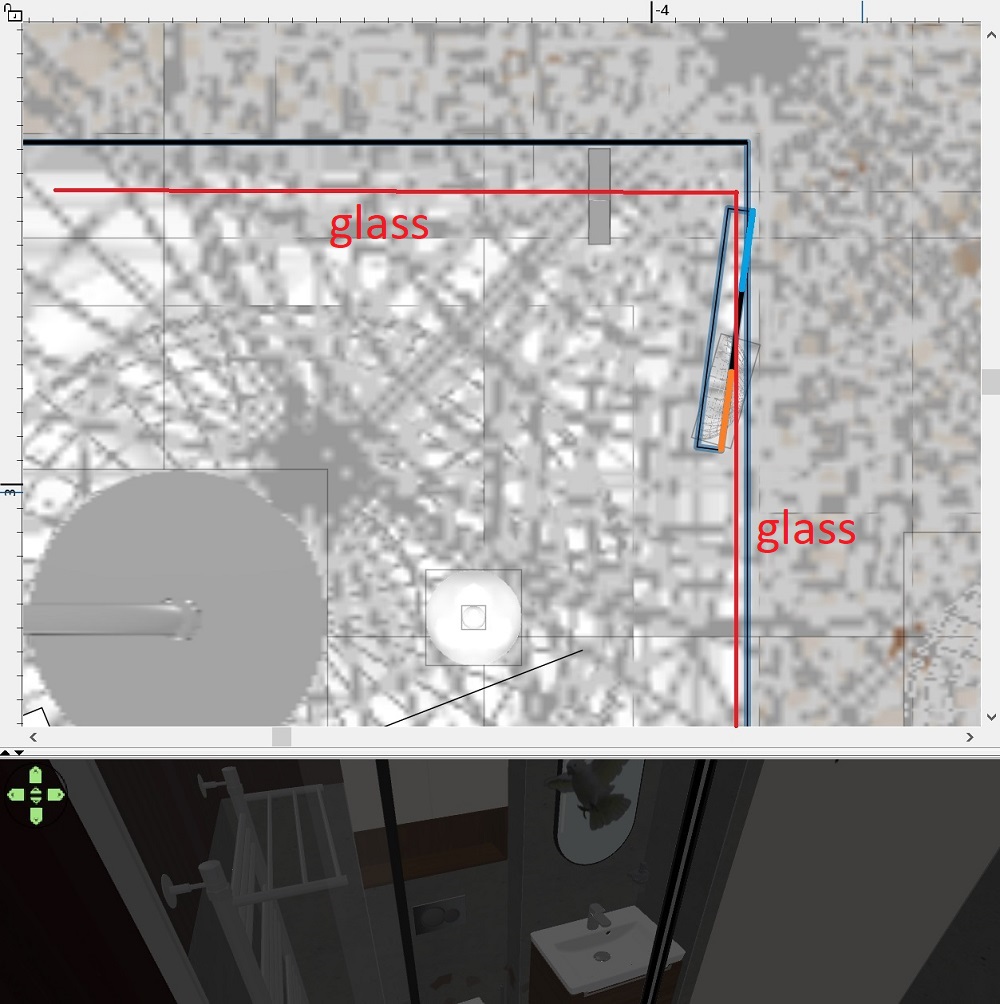
Now you can put them anywhere. There are two ways for one bird to sit in front of the glass and the other to sit behind the glass. 1. You can divide the picture into two parts and place them in space as needed with a slide. The second way is to carefully rotate the whole picture with two birds by 1-2 degrees so that one bird is in front and the other is behind the glass line. To do this, turn off the magnet mode. That's what I did. The shiny edge of the glass is visible only in front of one bird.
Netherlands
Joined: Apr 8, 2022
Post Count: 816
Status:
Offline
Re: Apartment project with lighting by invisible hemispheres. I continue advertising
I'm always looking out for a new post in your thread. I really enjoy the way you present solutions to solve problems. Thank you for the time and effort you place into creating new solutions. I like the beautiful birds!
Russia
Joined: Aug 13, 2022
Post Count: 245
Status:
Offline
Re: Apartment project with lighting by invisible hemispheres. I continue advertising
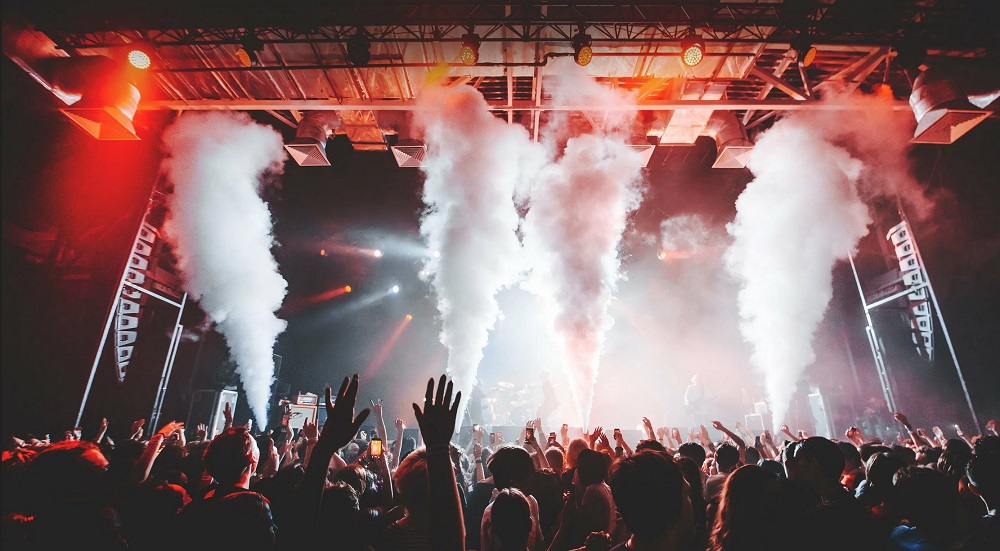
Thanks Keet! These words save me from despair)). Now I've started researching a topic that seems very promising.I hope you will agree. So. I am sure that all visitors to this forum regularly attend open concerts of all rock bands. Otherwise, we would have met more often in the woods.Have you noticed how much smoke special machines are releasing onto the stage? Everything is in smoke. The floodlights barely penetrate it.
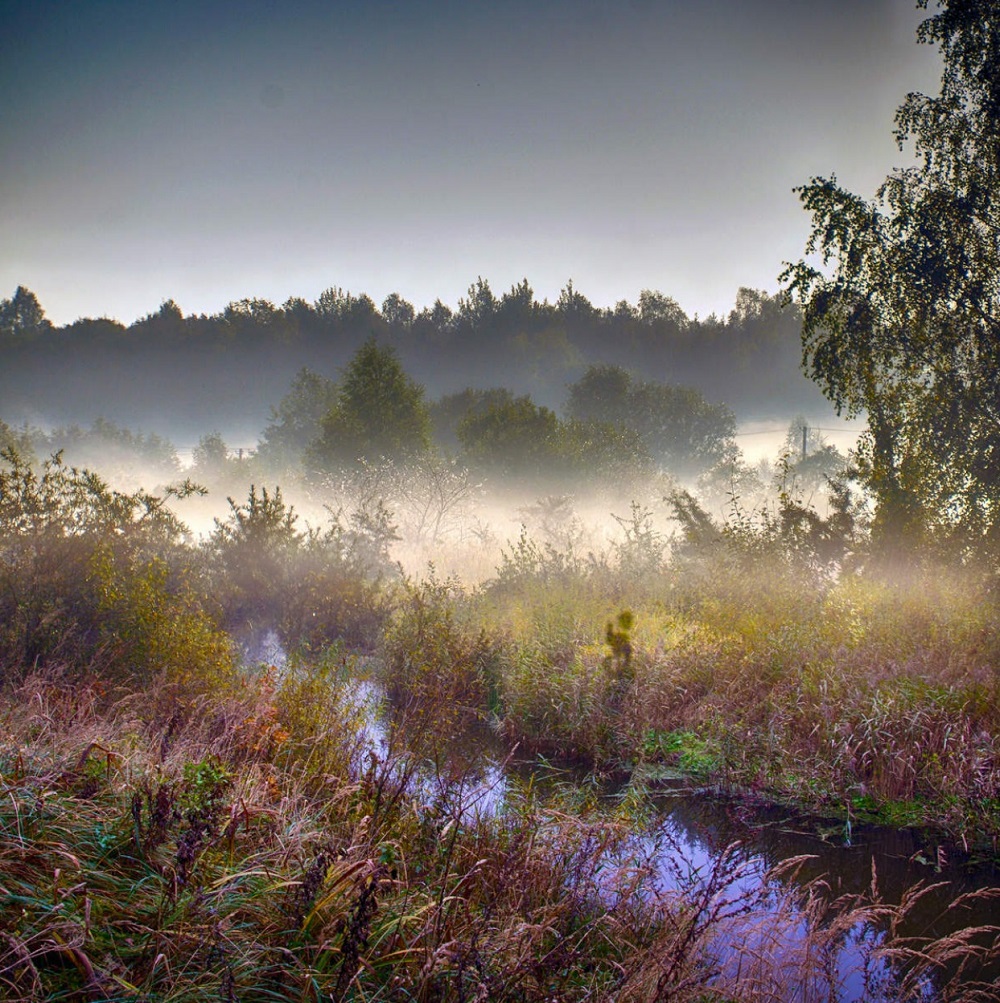
But why all this? And why do all the photographers in the world strive to capture the most beautiful landscape at dawn? When it's still foggy. There are several reasons for this. If the air is transparent, then the light beam remains invisible. With smoke and fog, the picture turns out in a new way, a ray of light becomes material, it manifests itself and begins to influence the shape of things. A magical halo lights up around bright sources, the contrasts of black and white soften. In other words, the eye gets more comfortable conditions.
And it is more pleasant for the viewer to enjoy the spectacle. More comfortable! For the same reason, in professional photo studios, huge diffusers are put on the spotlights to remove sharp contrasts and soften shadows. Eye comfort helps to sell the image more expensively. smoke generators work both in the theater and on the film site. Wherever the viewer should be fascinated by the picture. And where the viewer has to buy an expensive ticket. To charm and sell, everything is quite cynical. But in my forest everything is free, thank heaven)). I decided to try in this direction. The problem is that you can't fill a 3D scene with real fog, you can only make the illusion of smoke. So I made a simple blurred white ball-spot in Photoshop. Reduced the transparency of the layer. Saved it in PNG and created a texture for SH3D.
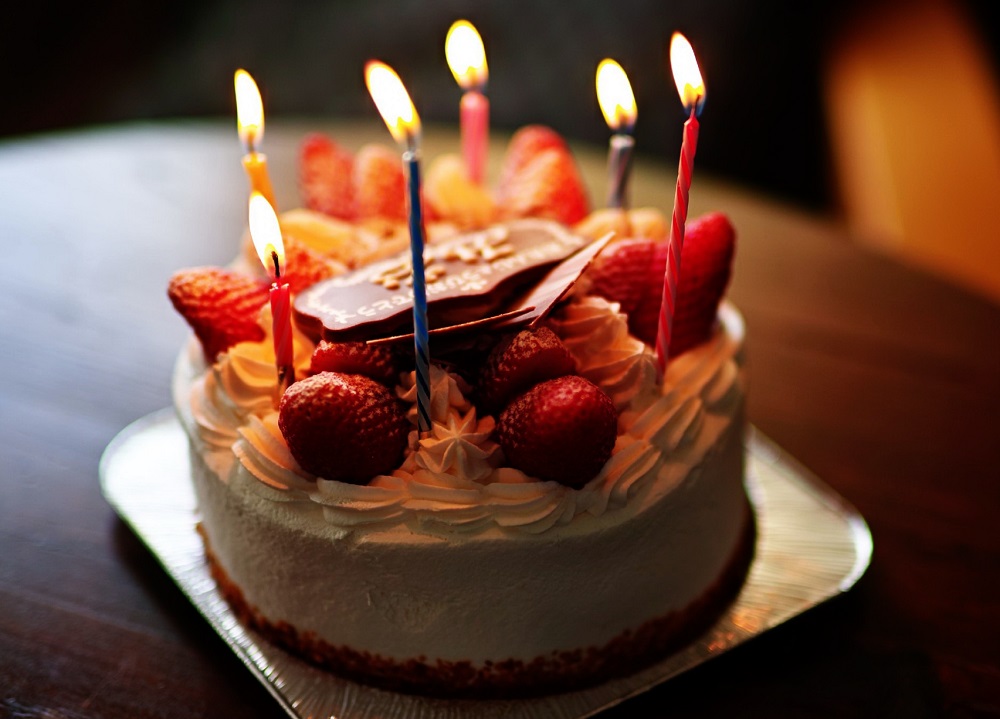
then I found a picture of a cake with candles. I cleaned the background. It all took 8 minutes.
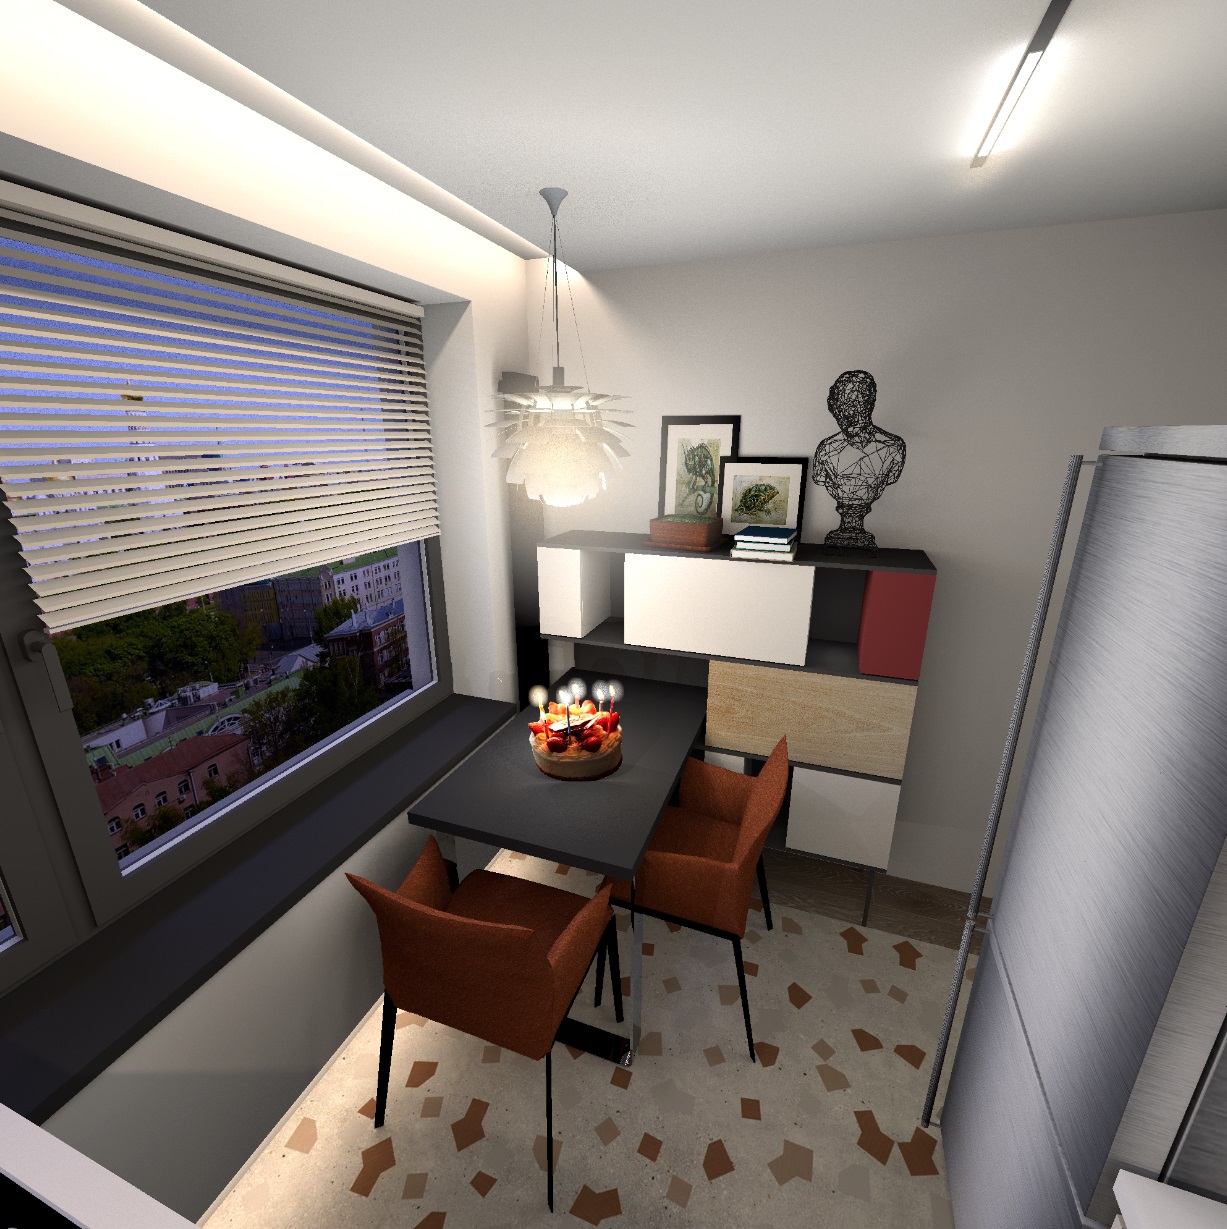
Then, in front of the lamp above the table, I installed a vertically square thin box 90x90 cm with the texture of a white transparent blurred spot on the front surface, I made the other sides of the box invisible. It is impossible to work with such a transparent box in 3D, I first assigned a white color to the front side, set everything correctly, then replaced it with a transparent texture. It's more convenient to work this way. I put the cake on the table. In front of each candle, he again placed a small box with the texture of a white spot. 6x9 cm . I illuminated the lights with tiny spheres of 20%. Again, I faced the problem that a flat photo on the table casts the wrong shadow, not like from a real cake. I pasted a ball on the back for the massiveness of the shape so that it does not get out beyond the dimensions of the photo. And I highlighted the cake with new tools for myself. Flashlights from the library of light. First, you need to make 15 cm out of the real size, tilt them properly, set a high power of 40-60%. And now the most important thing is to keep the proportions to reduce the size of the flashlight to the size of a mosquito. 0.2 cm . Do you notice a mosquito in the room when it flies? So it is here. The flashlight is not visible, but it works!! I plan to use this secret illumination technique more often. Sometimes this is the only option to make accent lighting in a confined space. the result is this picture of an evening birthday. I am very satisfied. The lamp above the table turned out to be soft and comfortable, with a halo of golden light around it. The air seems to be slightly smoky from the smoke of candles. And the candles themselves do not look sharp, they are haloed. Beauty))). But everything is free! And you don't need tickets, it's always nice)). I continue to walk through the forest.
The halo around the lights can be made from different photos. There are St. Vitus lights, rainbow halo rings. All these halos can be saved in Photoshop with a little transparency in PNG and used as transparent textures for masks in front of lamps. I will definitely use it.
Russia
Joined: Aug 13, 2022
Post Count: 245
Status:
Offline
Re: Apartment project with lighting by invisible hemispheres. I continue advertising
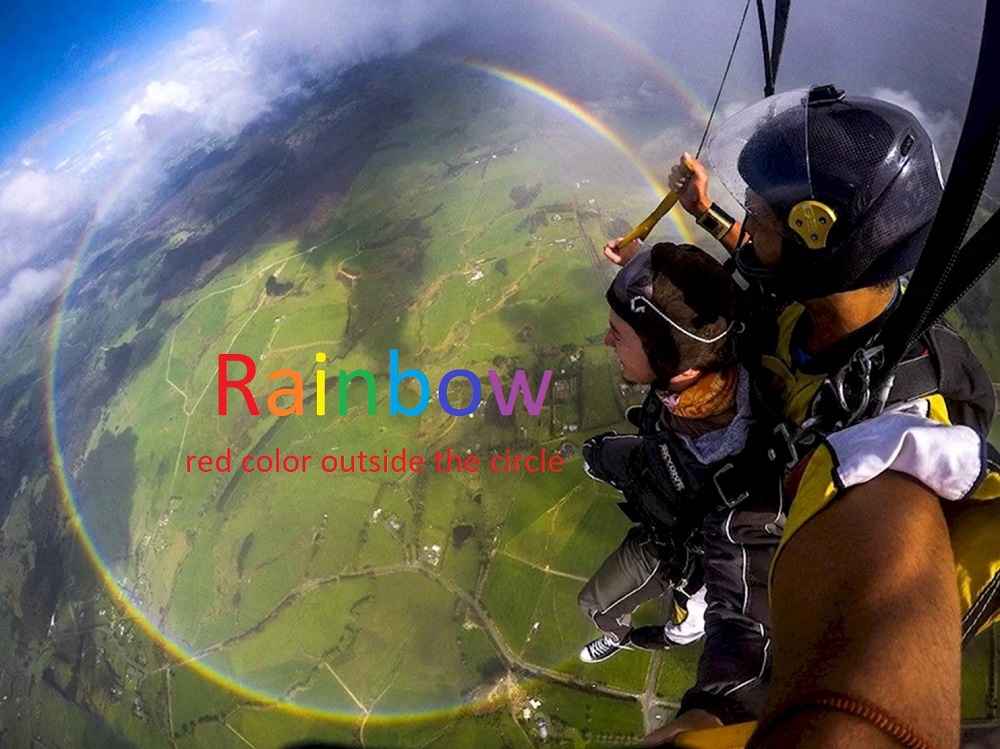
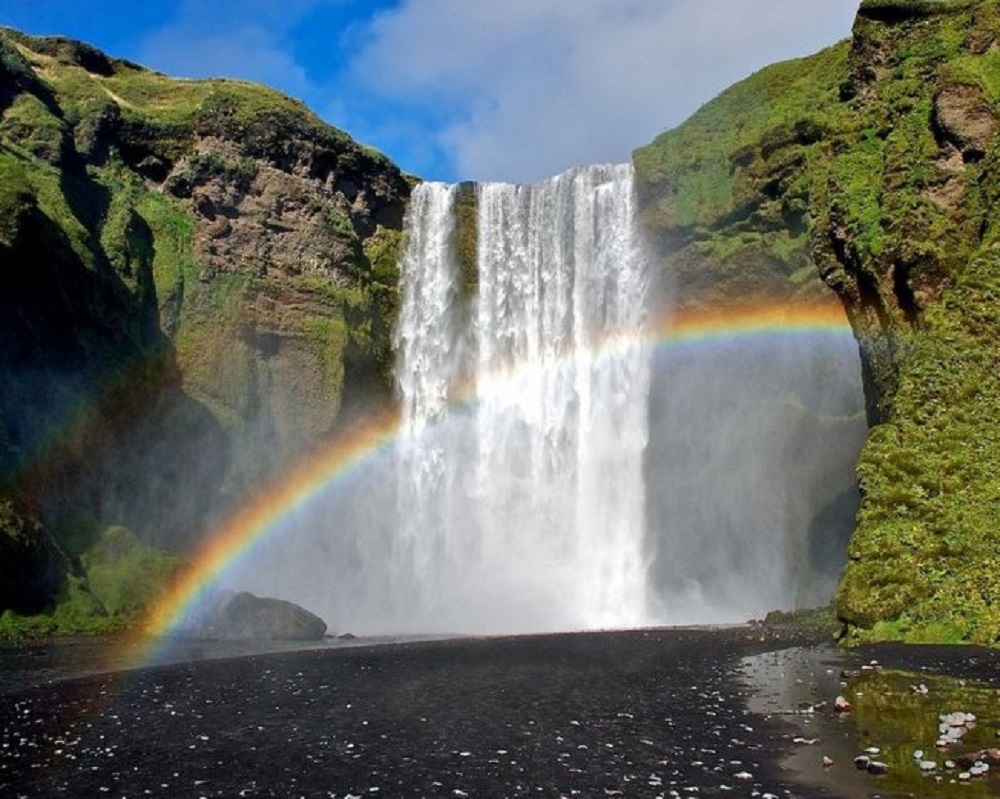
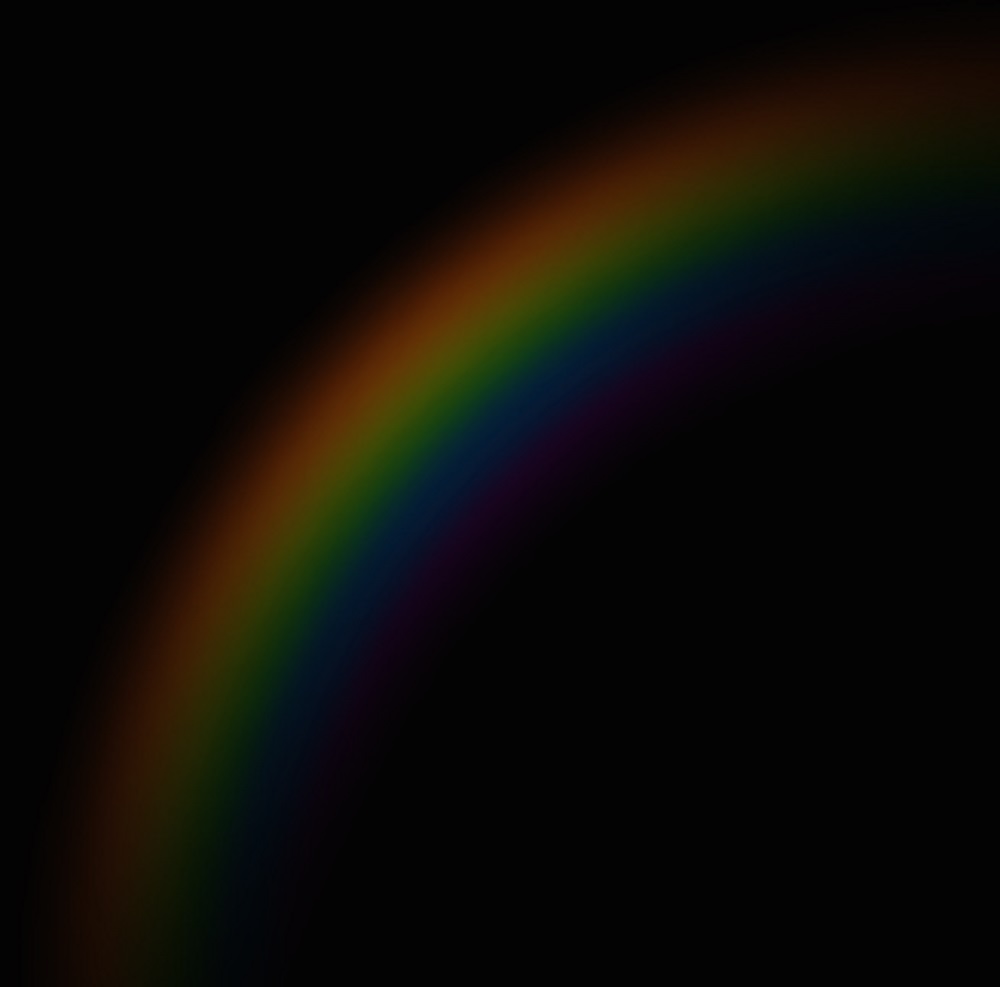
Interestingly, there are two similar physical phenomena. Rainbow and Halo. A rainbow is obtained from the refraction of sunlight through water droplets. The sun is always behind the viewer. The red color is always outside the circle.
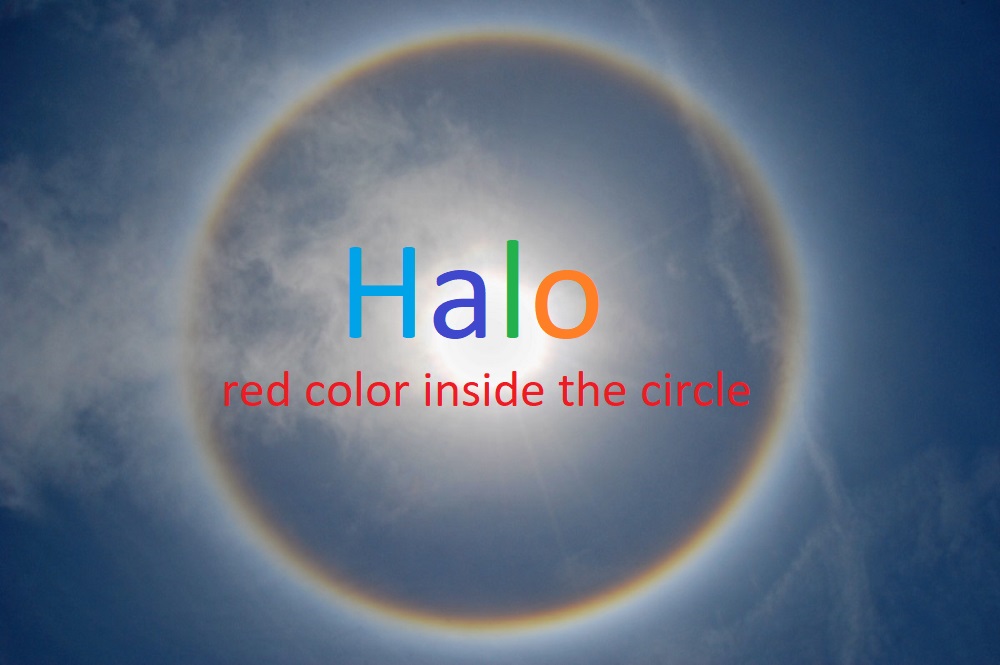
The halo occurs as a result of refraction of rays through ice crystals in high clouds. Such a rainbow circle is obtained around a bright light source, the Sun, the Moon, and a night lantern.
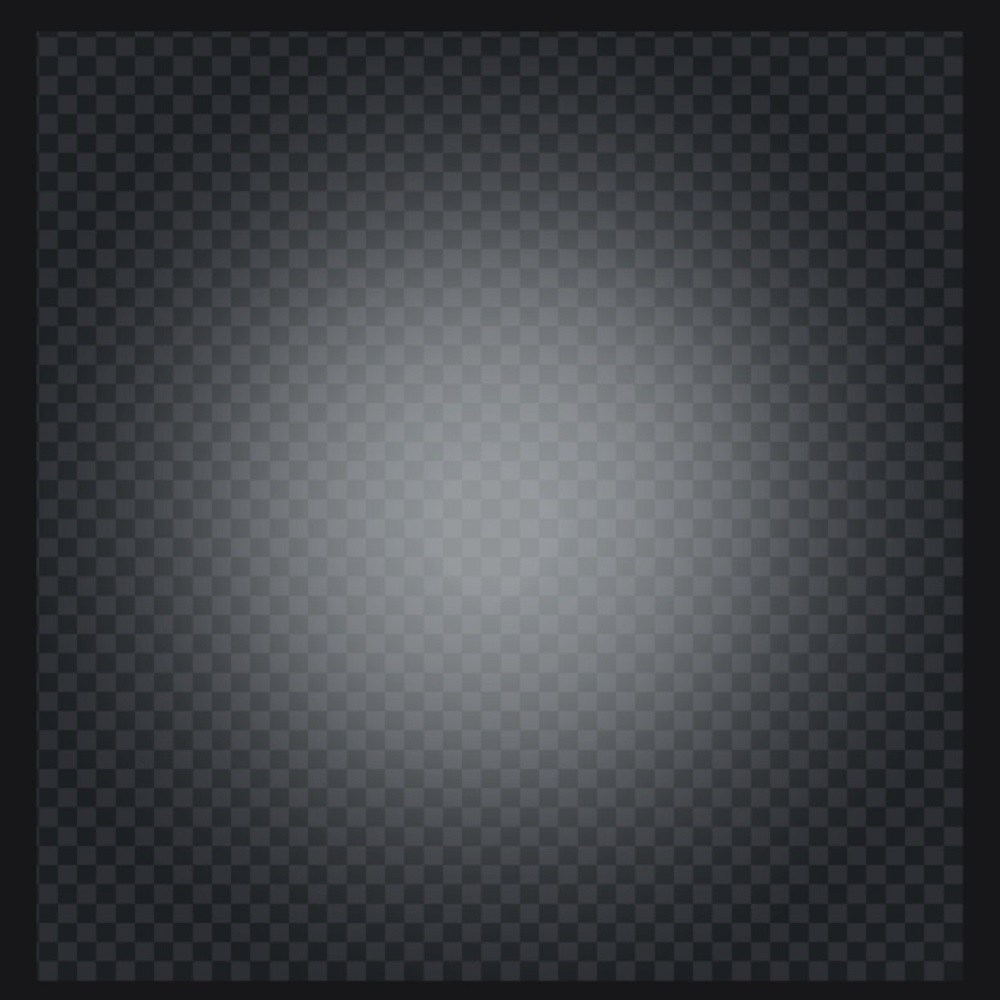
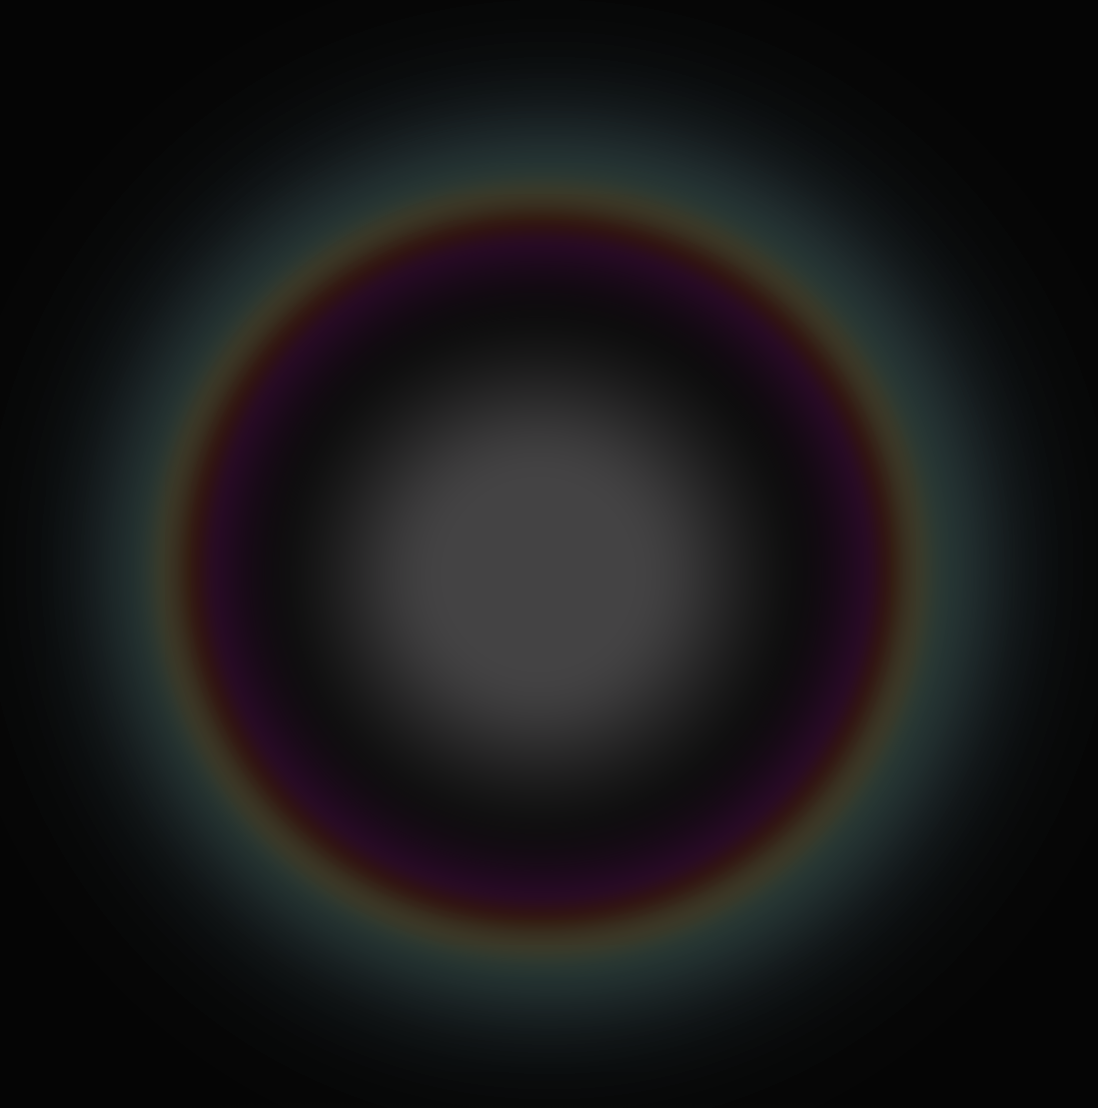
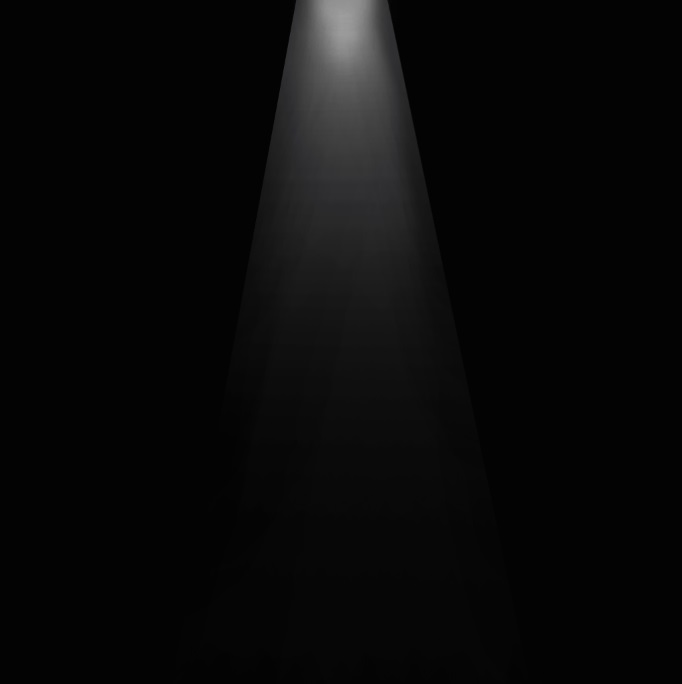
It is impossible to get a Halo in the room, but nothing is impossible in my forest)). Let there be a Halo around the brightest lamp above the table. I made this mask first in Photoshop using a huge brush, dripped drops of different colors into one point in turn, gradually reducing the size of the brush, the edges of the brush are blurred. Then he cleaned the center with a huge soft eraser. Then I dripped white paint with a medium soft brush to get a central misty halo on the lamp. So, I'm showing you my Halo on a black background, because the finished transparent mask is almost invisible.
I also made transparent white beams for the lamps. Like this, they dissolve at the end, losing their power. I also show them on a black background to see them.
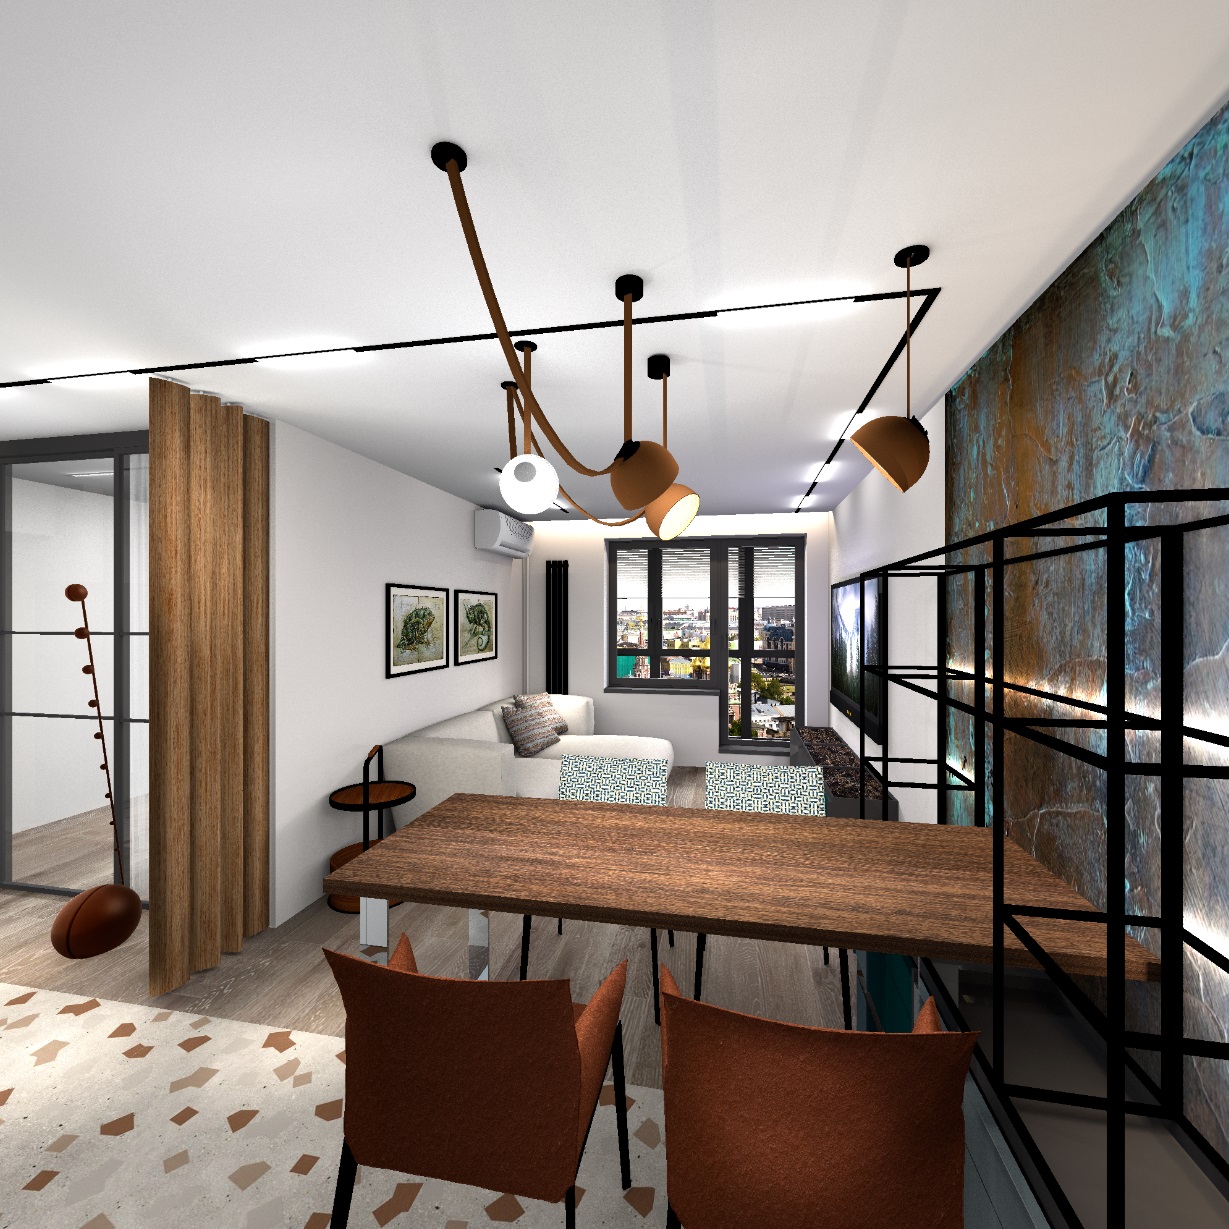
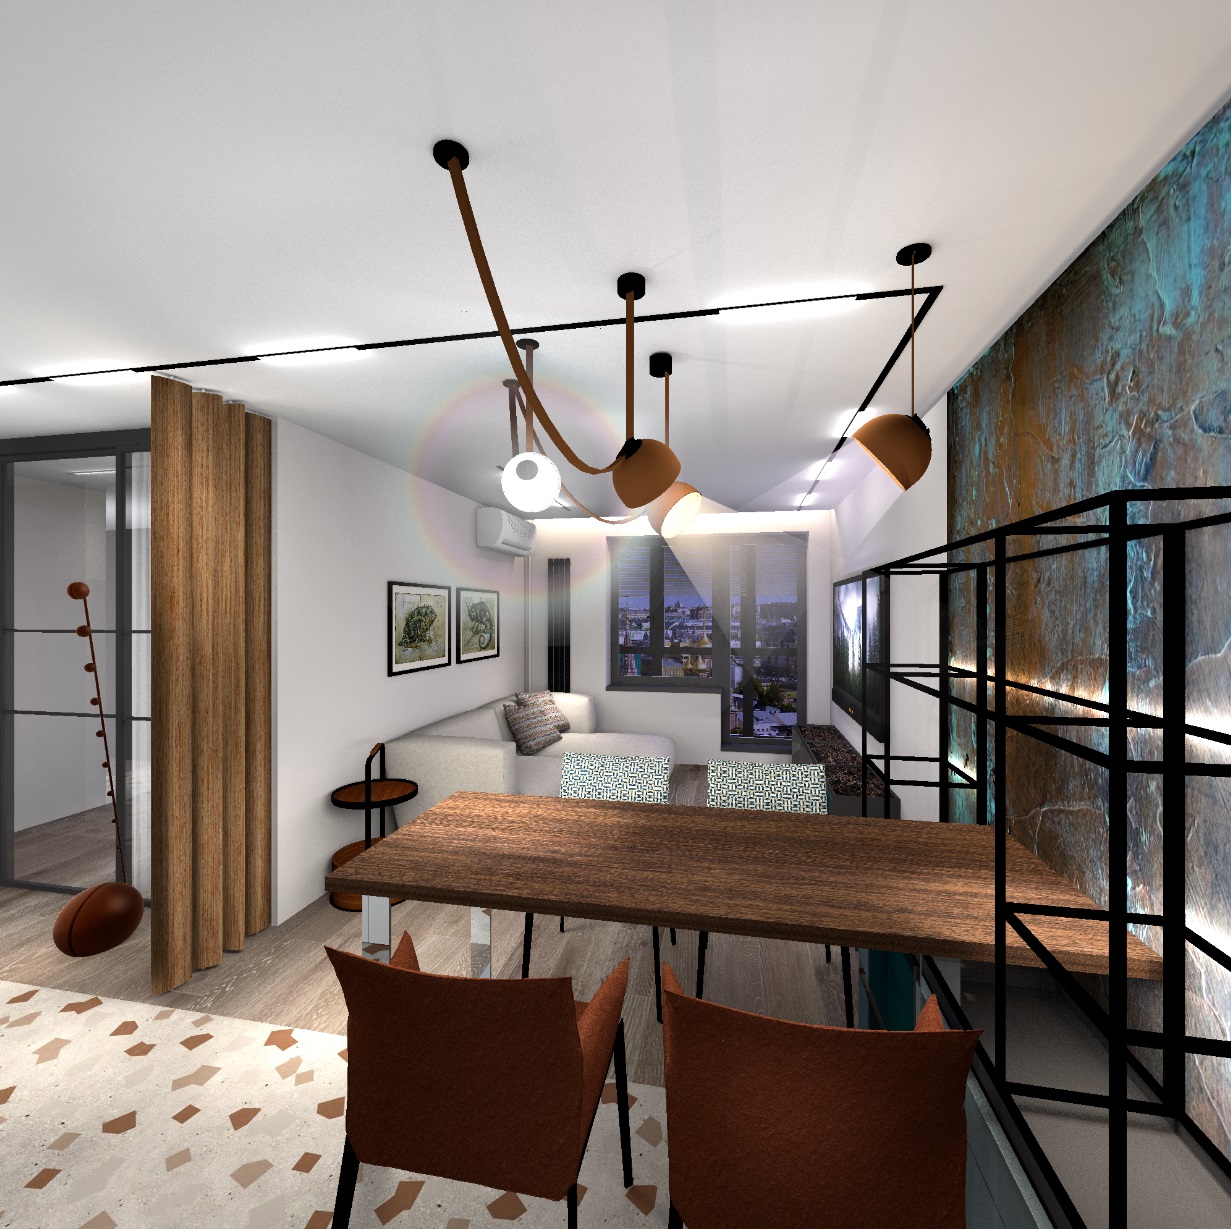
I carefully combined all these rays and Halos with the lamps. As always, these are the images on the front side of the box, the other sides are invisible. The boxes are located away from the fixtures themselves so that I can illuminate them without disturbing the overall lighting scene in the room. They are not even above the table, but closer to the viewer. There are two pictures for comparison. Daytime and evening versions, with smoky air. The smoke does not allow you to get a rainbow, so the picture is a deception, but sometimes it is more interesting than the truth)). And the room becomes like a landscape in the mountains. Subconsciously))
Russia
Joined: Aug 13, 2022
Post Count: 245
Status:
Offline
Re: Apartment project with lighting by invisible hemispheres. I continue advertising
a very big rainbow theme. The rainbow perfectly complements the element of waterfalls. A duet of beauty and the elements. Where do such associations arise in the house? Of course there is such a place. This is a shower cabin in the bathroom. It's almost Niagara there sometimes. I decided to make such a beauty there. First, I studied photos of real shower systems with falling water. And I realized that water droplets are simple balls. It's just that the human eye sees a jet in such a column of drops, but it's not there, it's an optical illusion. The eye is imperfect. there is a trickle at the beginning, but I decided to ignore it
and now I want to tell my thriller about creating jets of water from a watering can. First, I made a row of identical 1.1 cm balls. I placed the balls horizontally along the same line at about the same distance, aligned all the balls along the top using the Furniture tool. I made a chain of identical balls 214 cm long. I exported this group to OBJ, then imported it back and, while saving the model, rotated the group 90 degrees so that the row stood vertically. I got a column of falling drops. But they were still opaque. Then I lined up these columns in a circle and repeated these circles five times, reducing the size of the circles, but maintaining the height of the group. It turned out to be an epic army of drops from a tropical watering can. And now the thriller has begun. I tried exporting this army of droplets to OBJ and distinctly heard the grinding of gears in my computer. The process took 7 minutes. The OBJ file appeared, but the SH3D scene was hopelessly frozen. The file size with drops turned out to be 2.18 GB. It's obviously too much for SH3D. It didn't even work out to import back, everything stopped forever. But surprisingly, there was a way out. I saved only one circular contour of the columns in OBJ, and wrote the transparency coefficient d 0.1 in the MTL file. The program mastered this move. Imported as a group with transparency. And now I was able to copy this transparent group inside the scene three times, I was allowed to do it! He made an army of drops in this way, deceived the guards of SH. I think the full effect of falling water is still more complicated, I did it somehow unnaturally. It was necessary to make different intervals and change the sizes a little. Otherwise, some very regular rings of Saturn turned out. There's more fun and splashing in the shower, I'm wrong about that. But back to the rainbow. The red color in the rainbow is always outside the arc, this is the rule.
I made a Photoshop drawing of a rainbow sector on a square field. Now I'm showing you this drawing on a black background so that it can be seen, but in fact I saved a semi-transparent texture on a transparent background in PNG.
As always, according to the method of dear Keet, I placed this texture on the front side of a thin 100x100 cm box, making the other sides invisible. I slightly illuminated the center of the rainbow with a hemisphere.
The legs of the cockatoo in the mirror are not visible on the back. I'm working on myself)). The illusion is improved in small things))
Netherlands
Joined: Apr 8, 2022
Post Count: 816
Status:
Offline
Re: Apartment project with lighting by invisible hemispheres. I continue advertising
Ah, shower water! I did some experimenting with that a while ago. Water is one of the most difficult things to create. One reason is that water is almost always moving. That's difficult to represent in a static image. I had to laugh at your 2.18GB object. Been there, done it, got the T-shirt But I have some experience with down-sizing objects because in most of my large projects that is essential. There are some tricks you can use. As you can see the left example is 2 objects of only 163kB, the center 2 objects of 191kB, and the right is 2 objects of 560kB.
Now how these were created. Your choice of balls was a very bad choice considering the object size of a sphere. I didn't even try that. The left two examples are both simple cylinders. One long cylinder per water line. That certainly limits the number of objects needed to get a rain shower idea. But of course those are not real water drops although shower water tends to be more of a stretched water line than a series of drops. Taking that idea I tried the same but with little pieces of different lenght of cylinders and organizing them like you did the stretches of balls. That was still too big for me, I think one set of lines was a little over 3000kB. So how is the right object constructed? Boxes. Yes, plain simple boxes 0.5 cm square and with 3 different lenghts stacked and those multiplied to get a long line. The circles were created as 80cmx80cm but the imported end-result was reduced to 35cmx35cm to give a denser result and thinner water lines. Another trick to reduce size is to make unnecessary faces invisible before export. I made the top and bottom invisible and that worked out great! The right example shown uses a texture instead of a color. I created the texture by processing a screenshot exactly like you proces the photos for the photo-boxes you created. There's not that much difference in size if you use a color or a texture.
Some processing is needed to get the end result. First I changed all material names of the boxes to Water. Then I ran the object through Blender to group the many g groups into a single object group. At that time I also smoothed everything. After export from Blender I edited the mtl file to set a transparency of d0.4. The smooting makes the boxes look like cylinders. The result is shown in the image.
These were experiments. To create a final 'perfect' object you shouldn't need two objects to display what is in the images. A single object with twice as much waterlines still ends up with the same size as two of the shown objetcs. Then more experimenting with colors, tranparency, and shininess. Maybe a different texture because the one I created is a little too dark.
Objects size is probably less of a problem for you so you might try my boxes experiment with cylinders and maybe a greater differentiation in lenghts you use. I simply turned every second line up-side-down to avoid horizontal gaps but a greater variation would be better. Do make the top and bottom invisible because that enhances the water effect: you can see through the top/bottom as if the inside is not there and it will show the next water lines. The added benefit is less faces to render.
(The woman is a free model, Misaki, from cgtrader.com.)
Edit: I just had weird thought: what would it look like if the inside of the cylinders was made a mirror? Sigh, so much to do, so little time...
----------------------------------------
[Edit 1 times,
last edit by Keet at May 18, 2024, 9:21:32 AM]
Russia
Joined: Aug 13, 2022
Post Count: 245
Status:
Offline
Re: Apartment project with lighting by invisible hemispheres. I continue advertising
Thank you for sharing your experiment, it's very interesting. I really liked these solid jets, especially in the company of a pretty girl). Yes, the method with cylinders is more similar to what the human eye sees. Although I am still sure that physically they are balls)). It's just that only balls are obtained on the render, not as in real life solid jets. It's all about the movement of droplets and blurring of glare when viewed. I will try to make a more complex chain of spheres and cylinders. So that there is a game of highlights. A mirror inside such miniature shapes seems to me an unrealistic idea. Because in a small size, the mirror loses its function, due to the large pixels of the render. You need to make a picture in very high quality to see the operation of the micro-mirrors. But I'll try and post the result here. Not soon, if possible. Earlier, I tried to make a jet using a landscape generator. I made a round room of 10 meters and stretched the top for a kilometer. But for some reason, with a transparency coefficient and a white color, glass did not work, the jets turned out to be gray and did not please. The balls are more cheerful and elegant, although they do not look like solid jets. I made them larger than a drop in reality so that the balls look like balls with highlights, the render also requires an increase in shapes, small shapes are not readable. I'll post the new result here later.


 But I have some experience with down-sizing objects because in most of my large projects that is essential.
