Russia
Joined: Aug 13, 2022
Post Count: 233
Status:
Offline
Re: Apartment project with lighting by invisible hemispheres. I continue advertising
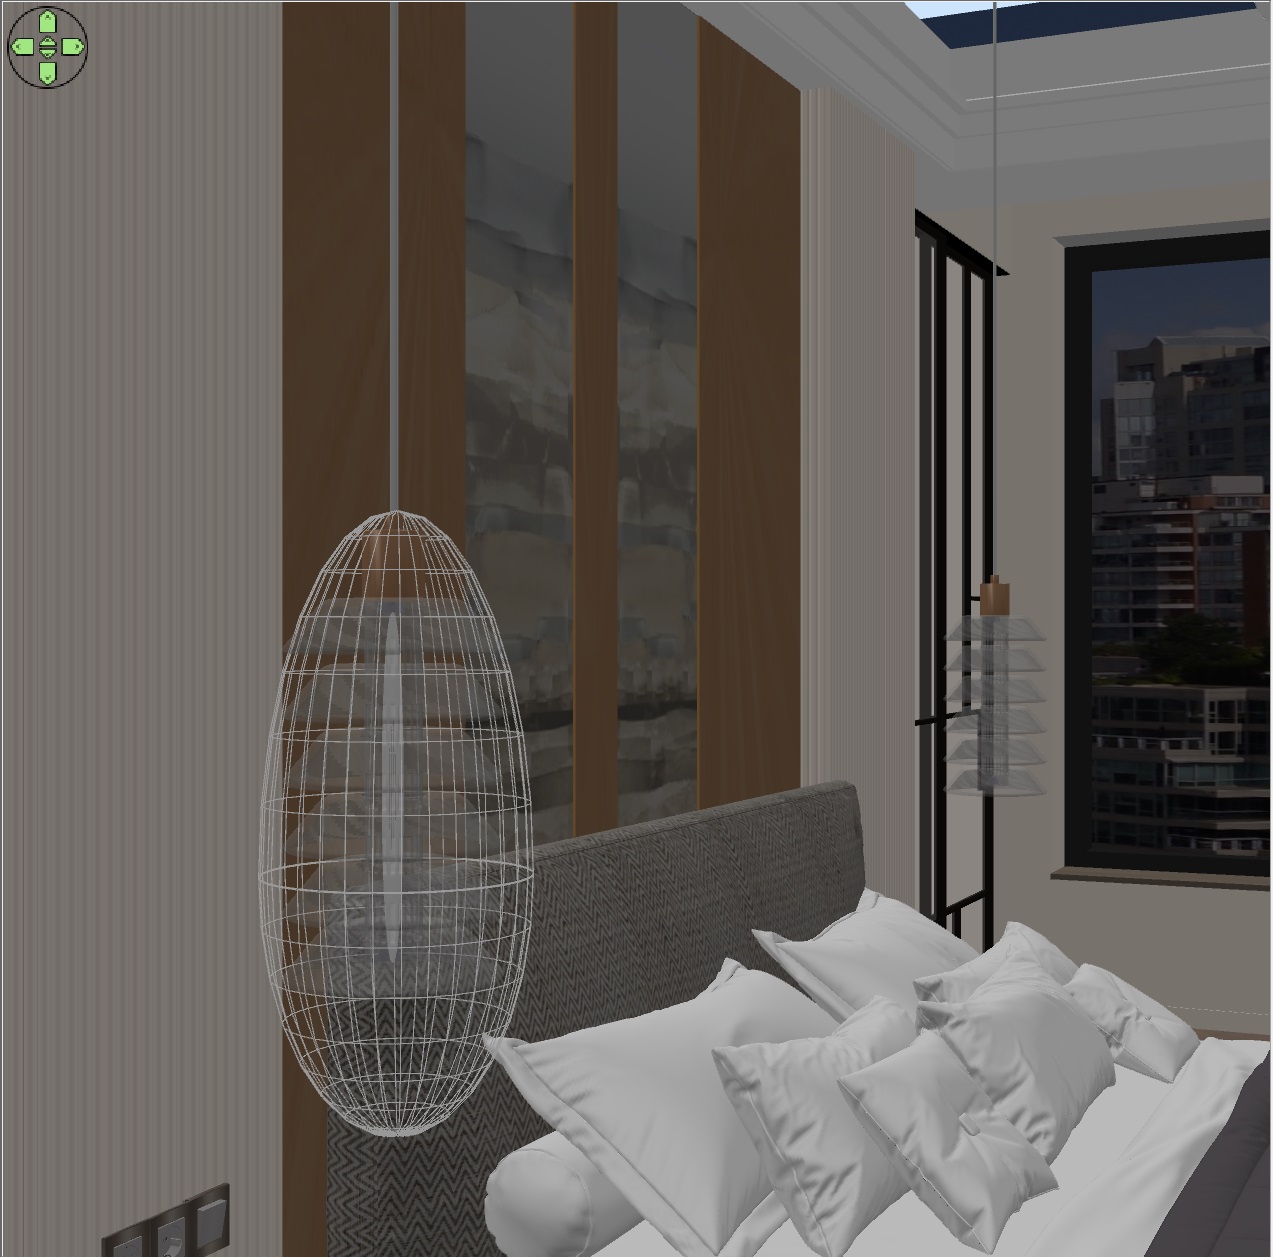
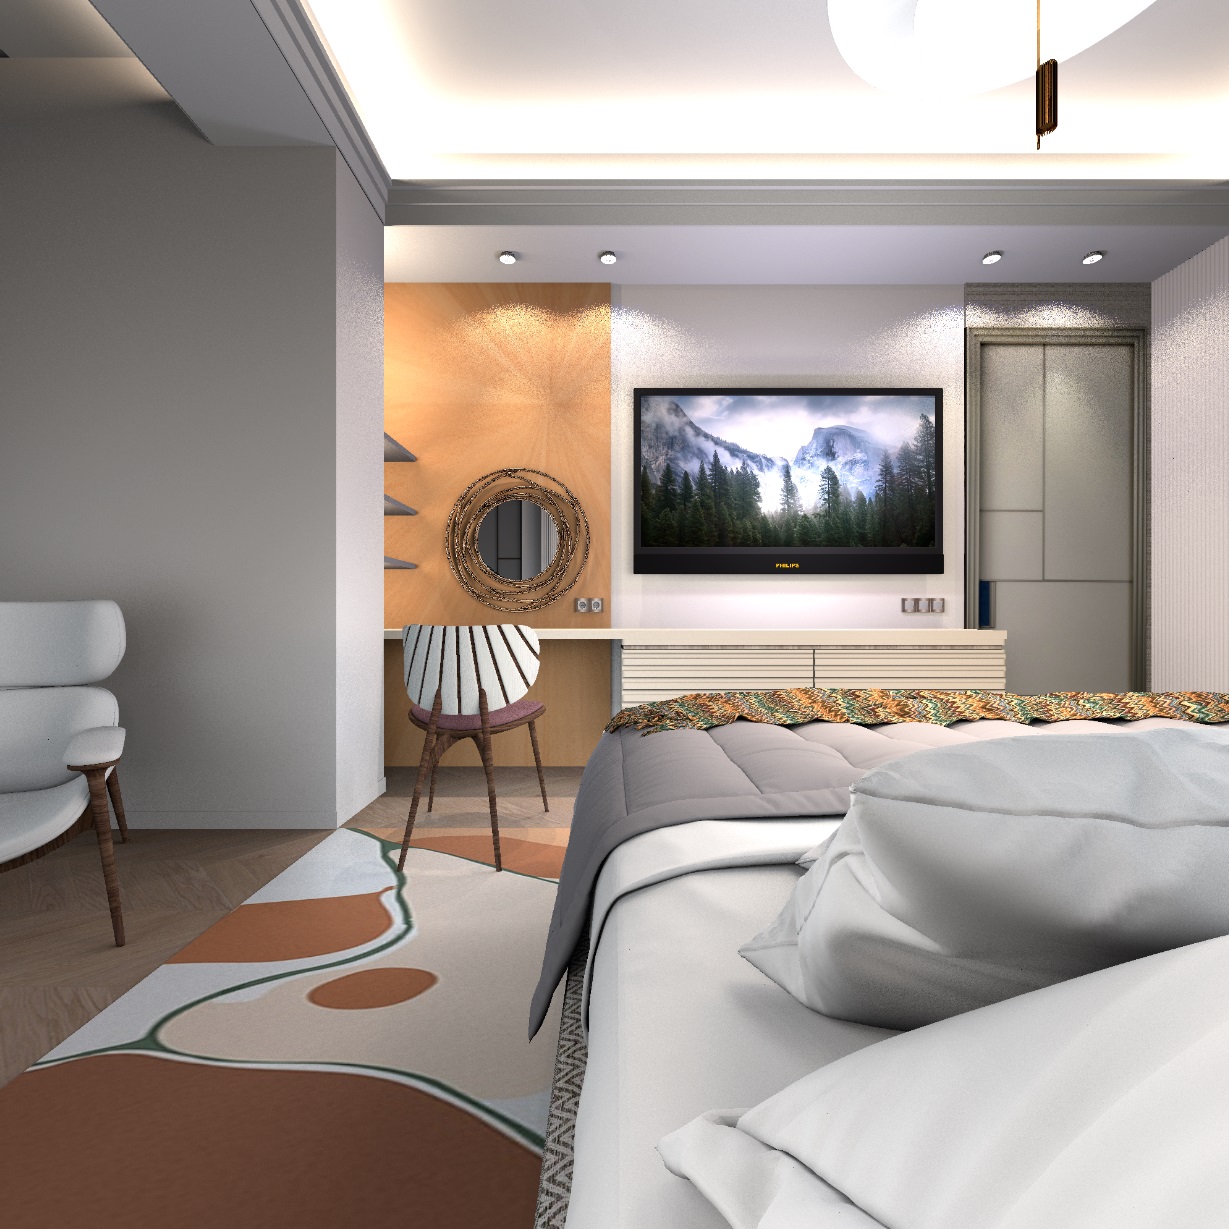
the big problem looks like this. Although I have placed a cocoon of two hemispheres around the lamps, the brightness of this cocoon does not allow the outer surface of the lamp plates to be brightly illuminated.
if these hemispheres are made brighter, then the wall next to the lamps will light up strongly, this is not necessary. What should I do? There is a way out, it is necessary to locally illuminate the leading edge of the plates from the viewer's side. Then the gray unpleasant color of the shape will become the desired saturation, but it will still remain a little transparent. That's how I arranged this group of hemispheres, each 3%.
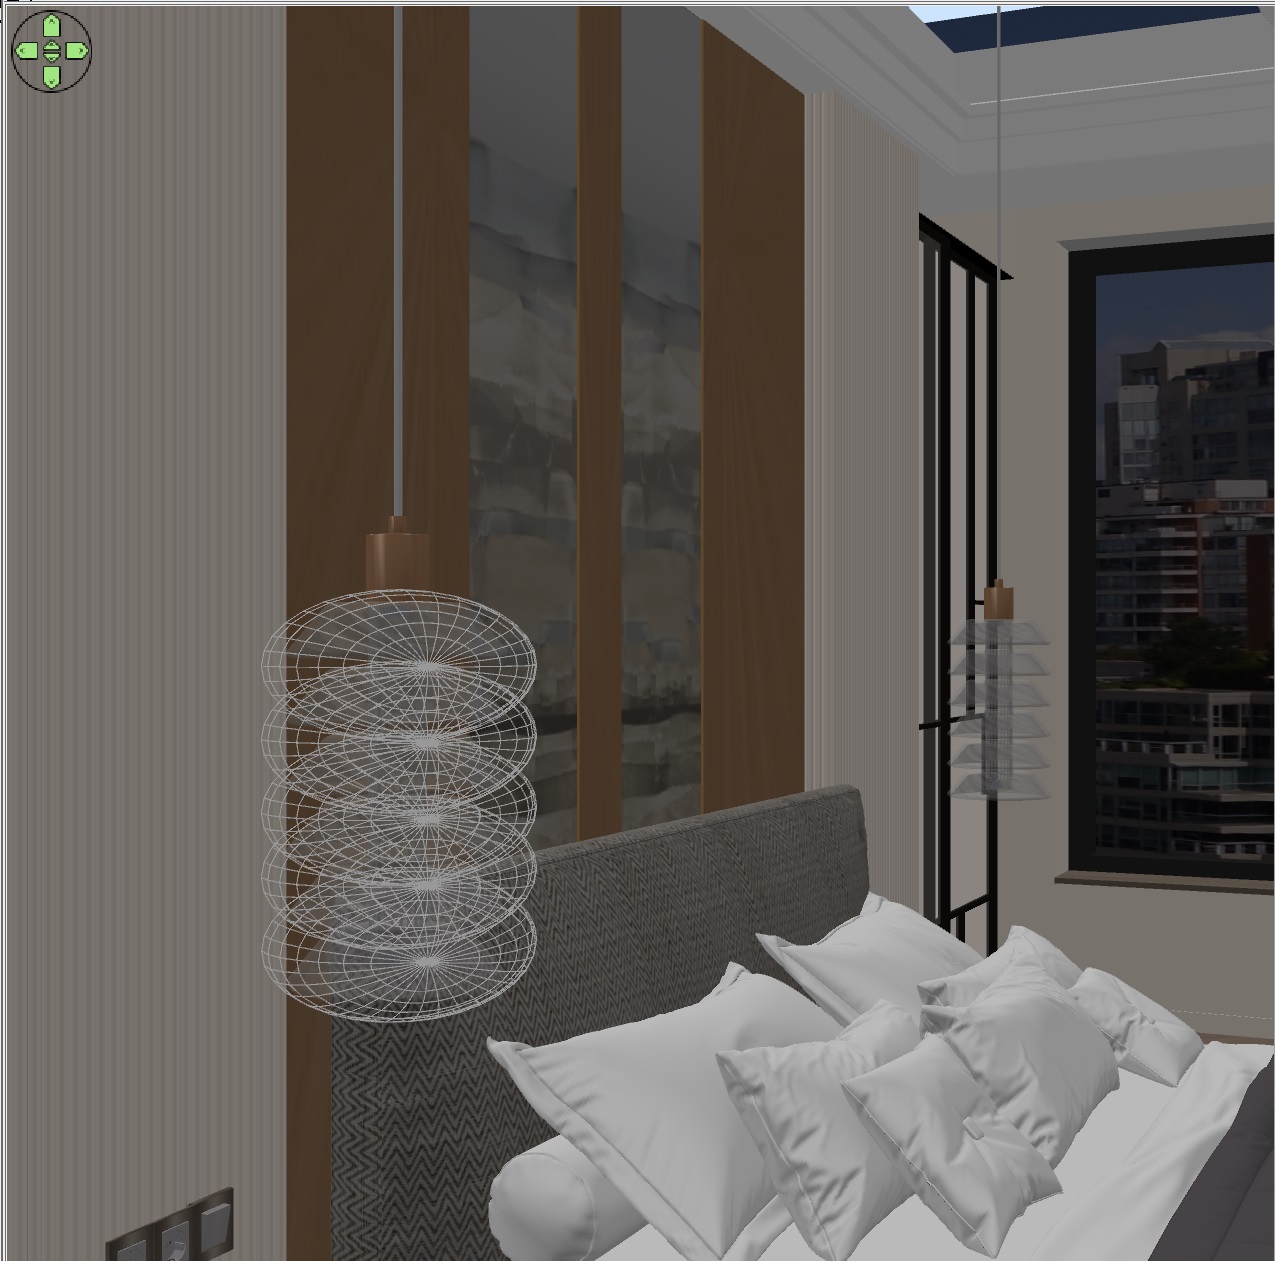
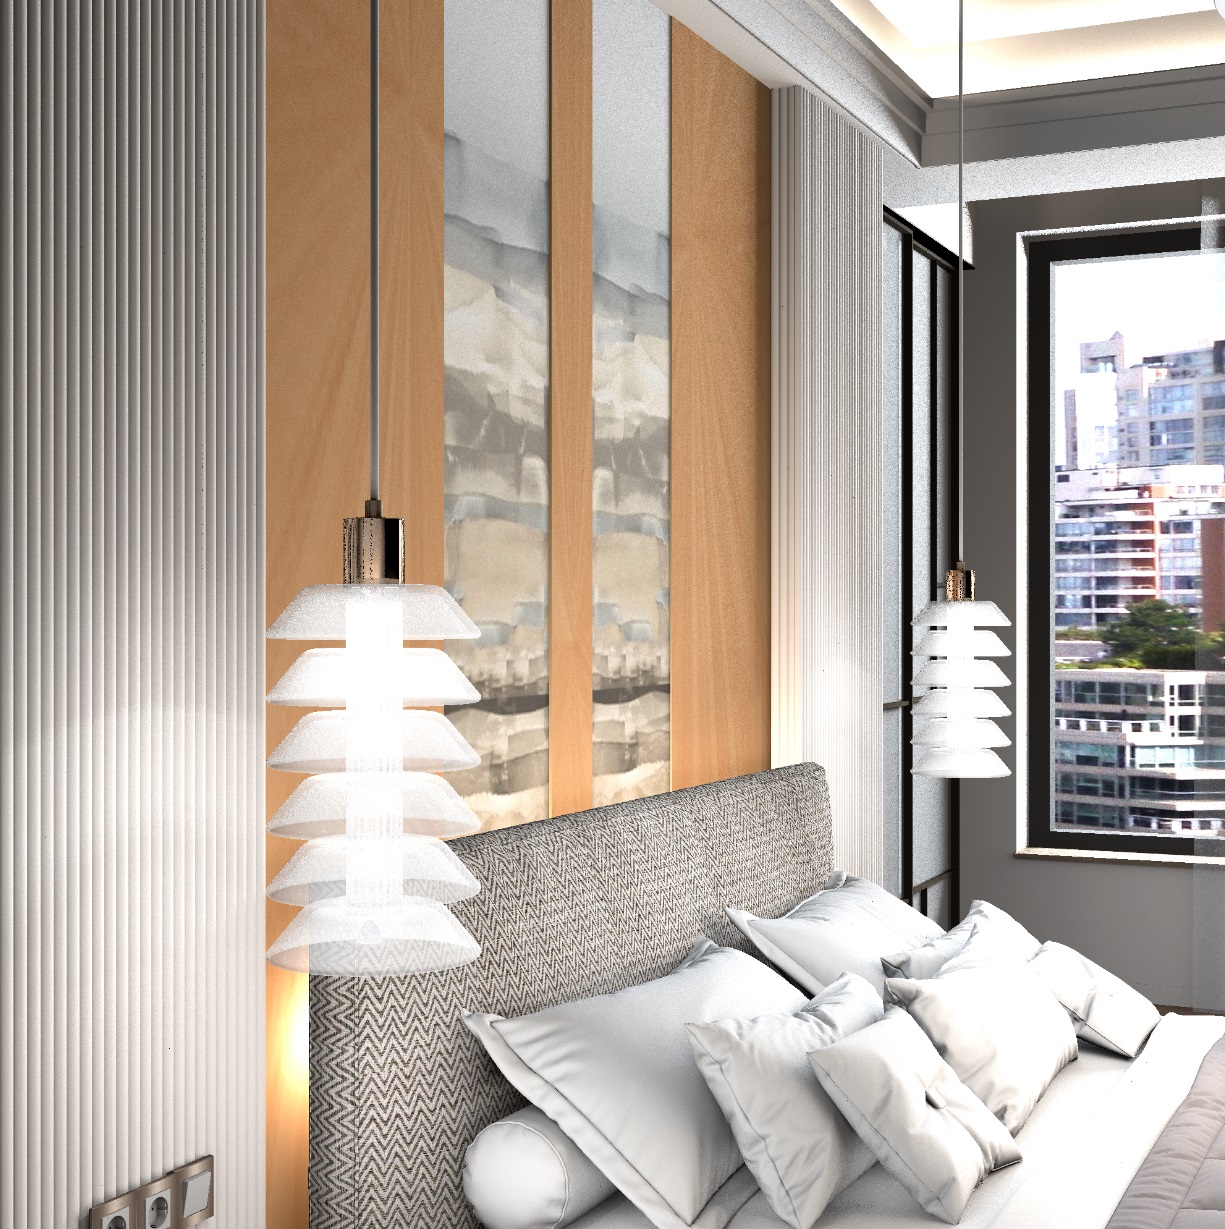
The hemispheres lie on their sides and shine in the direction of the lamp plates. This light compensates for the lack of illumination of this part. And it doesn't change the overall picture in the room. It hardly changes). Local bright illumination I want to say separately about the pillows! It is necessary to spend time and carefully push very thin long hemispheres on the side into the narrow slits. These pencils do a great job with blackness and get full-fledged reflexes, just like in real pillows on sheets. It is better to spend time on these micro-fingers, and get white linen. As a result, the problem has been fixed in a big way, it looks like this. The lamps are white, the pillows are more or less white, But no longer dirty))
the reclaimed room
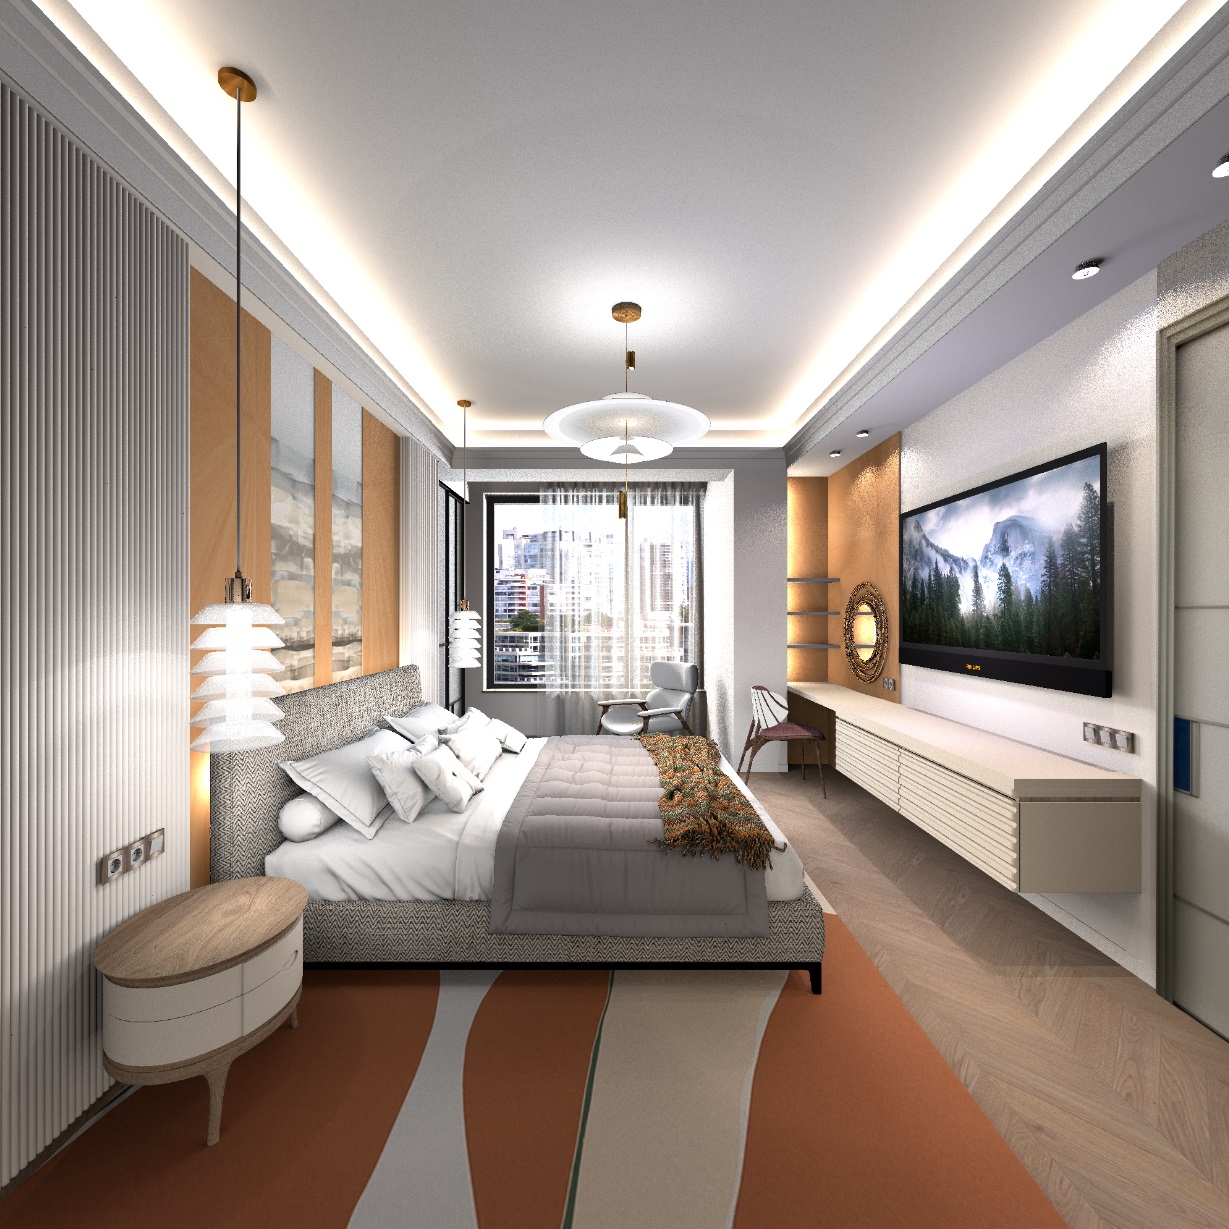
The method of meaningful local illumination of transparent surfaces is very good and beneficial. If the backlight is done with an understanding of what remains transparent in reality, and what looks opaque and bright. It's all about the point of view and the location of the light sources relative to the viewer and the shape.
Netherlands
Joined: Apr 8, 2022
Post Count: 791
Status:
Offline
Re: Apartment project with lighting by invisible hemispheres. I continue advertising
Amazing what you achive with the carefull placement of lighting. This whole thread has grown into a master class in the use of lights to get photo realistic results. Thank you for sharing all your experiments and explaning how you got things done.
Russia
Joined: Aug 13, 2022
Post Count: 233
Status:
Offline
Re: Apartment project with lighting by invisible hemispheres. I continue advertising
the picture changes dramatically if you stick a hemisphere finger into a black hole under the pillow. A pleasant reflex appears there and immediately everything turns white. You should stick it in more often.
Russia
Joined: Aug 13, 2022
Post Count: 233
Status:
Offline
Re: Apartment project with lighting by invisible hemispheres. I continue advertising
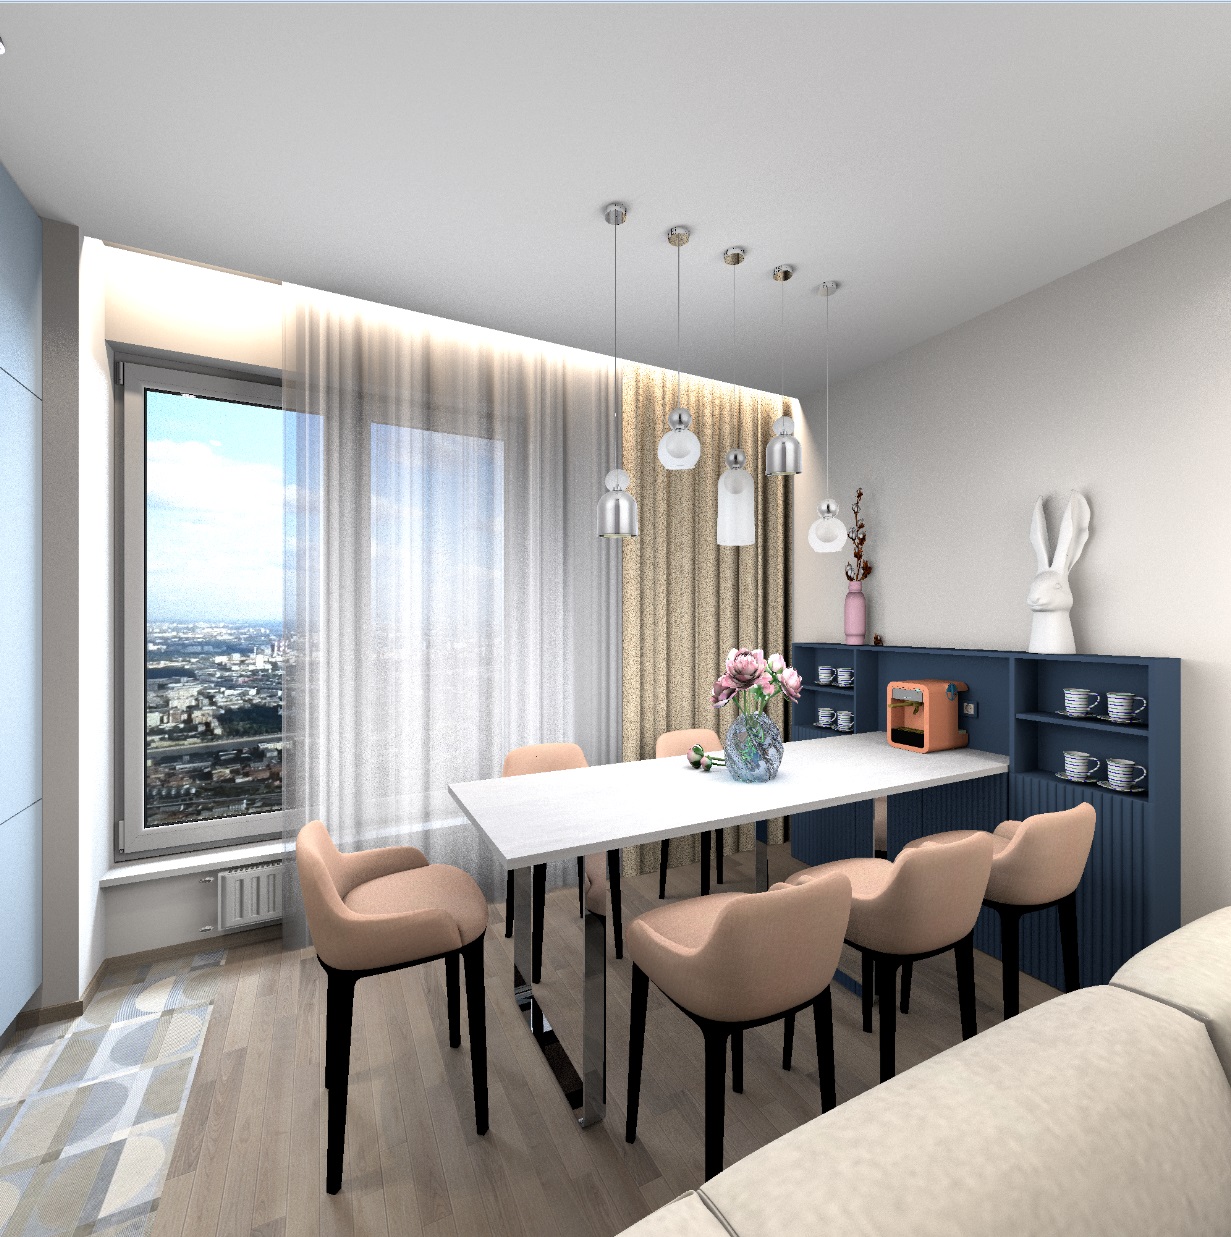
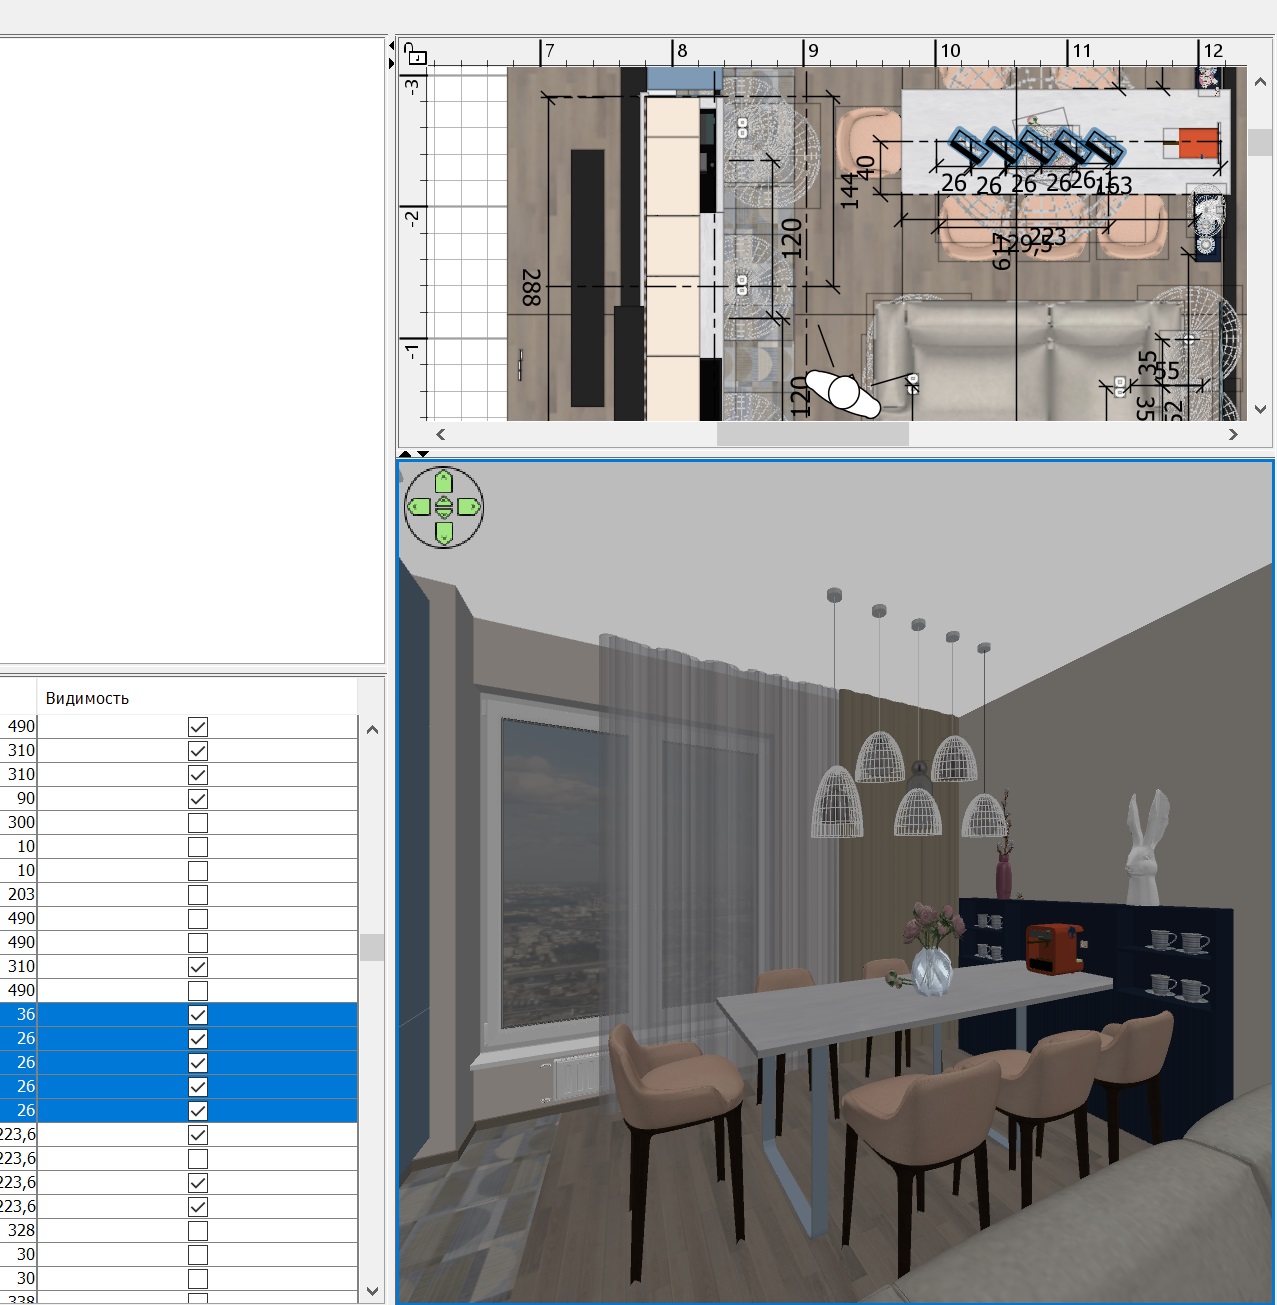
if you don't have a 3D model of the right thing, then you can use the magic Keet method as always. You need to take a photo, clean out the background and use a box with the only visible front side to make a substitution. This time I showed the customers how specific suspensions of a certain brand will look above their table. I took a photo from the factory's website. He accurately completed the dimensions of the life-size photographs of the ceiling lights. I put a 5% invisible hemisphere cap on top. First, of course, I built a row of five cylinders, for which I wrote the mirror prefix sweethome3d_window_mirror_ after "g" in the OBJ file. Such mirror prefixes are necessary for realistic details in objects where there are shiny metal surfaces. The wire is also a thin cylinder with a diameter of 0.3 cm, but not mirrored, light gray. Without a mirror appearance, such surfaces turn out to be gray and not spectacular. I also used the mirror prefix for the table supports that I made from the walls. The supports are made of polished stainless steel, with reflections of chairs and parquet. Boxes with photographs of ceiling lights must be placed strictly perpendicular to the line of sight from the viewer. Then ellipses of round shapes in the lampshades-the photo will look correct and without distortion.
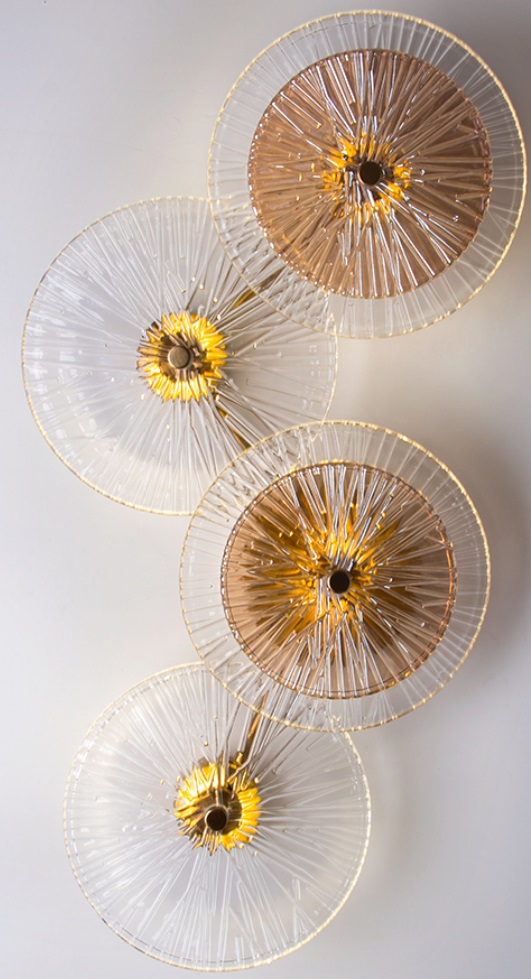
In the same room, I showed the sconces on the wall. I took a photo from the site and cleaned the background. I placed this photo on a box with 5 invisible sides with an indentation of 8 cm from the wall. I placed bright flat spheres behind the photo. Everything is simple and you don't have to look for 3d models of specific lamps. All sizes correspond exactly to the actual fixtures.
You have to be honest. This method is not quite simple, but it perfectly replaces real 3D models. Especially if they are not at all or not very expensive. But there are photos.
Russia
Joined: Aug 13, 2022
Post Count: 233
Status:
Offline
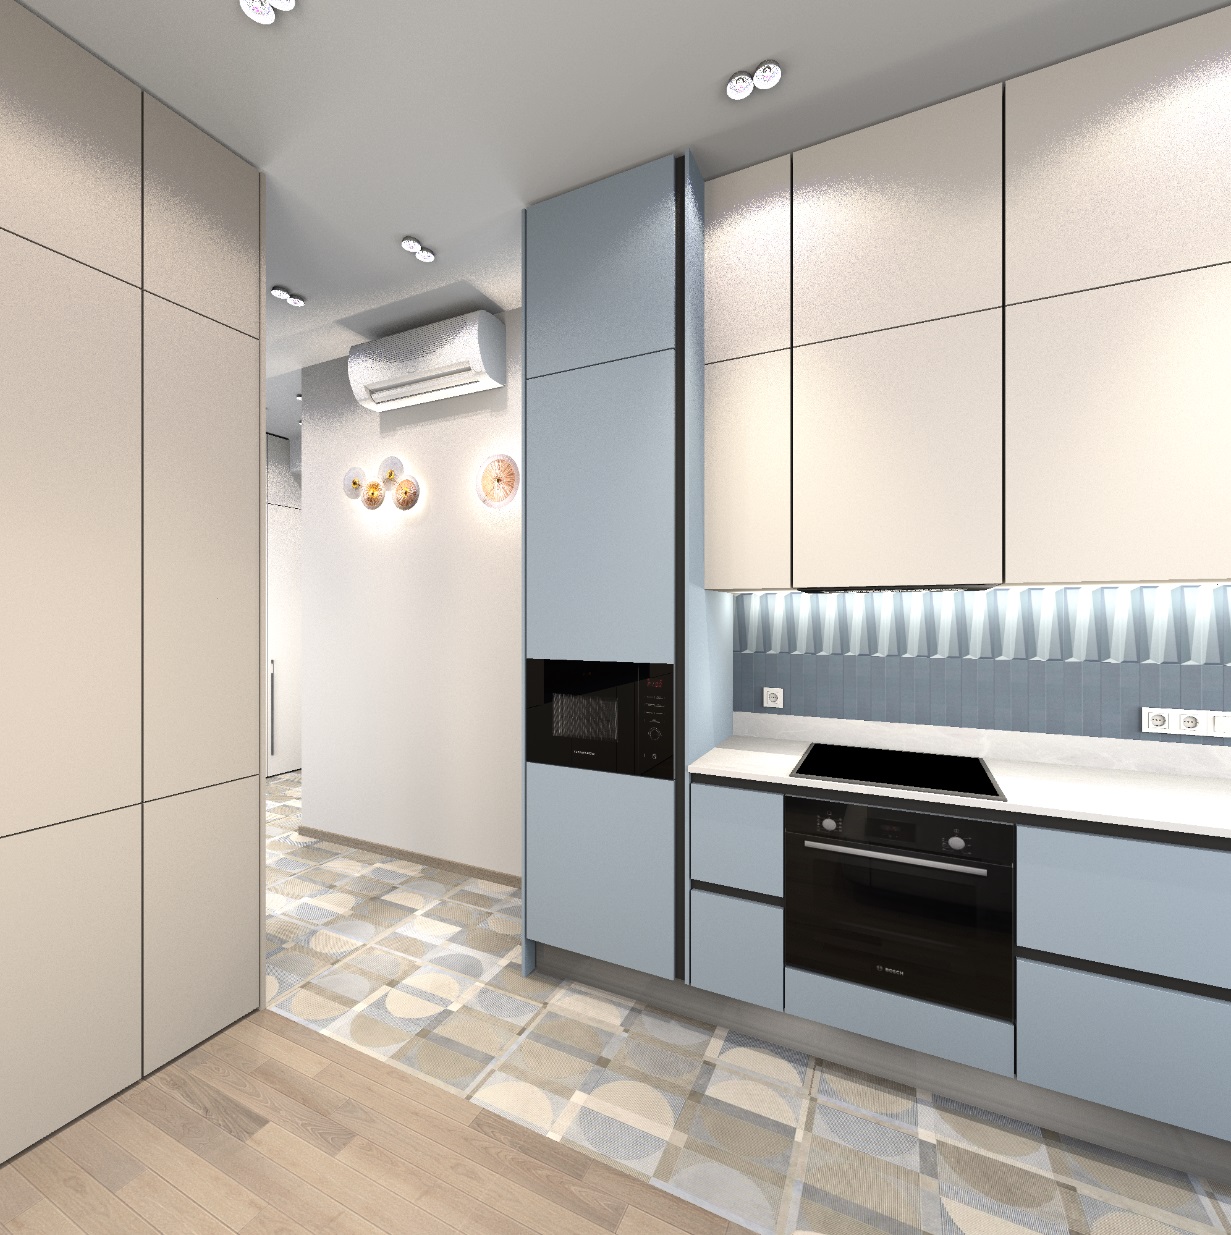
Re: Apartment project with lighting by invisible hemispheres. I continue advertising
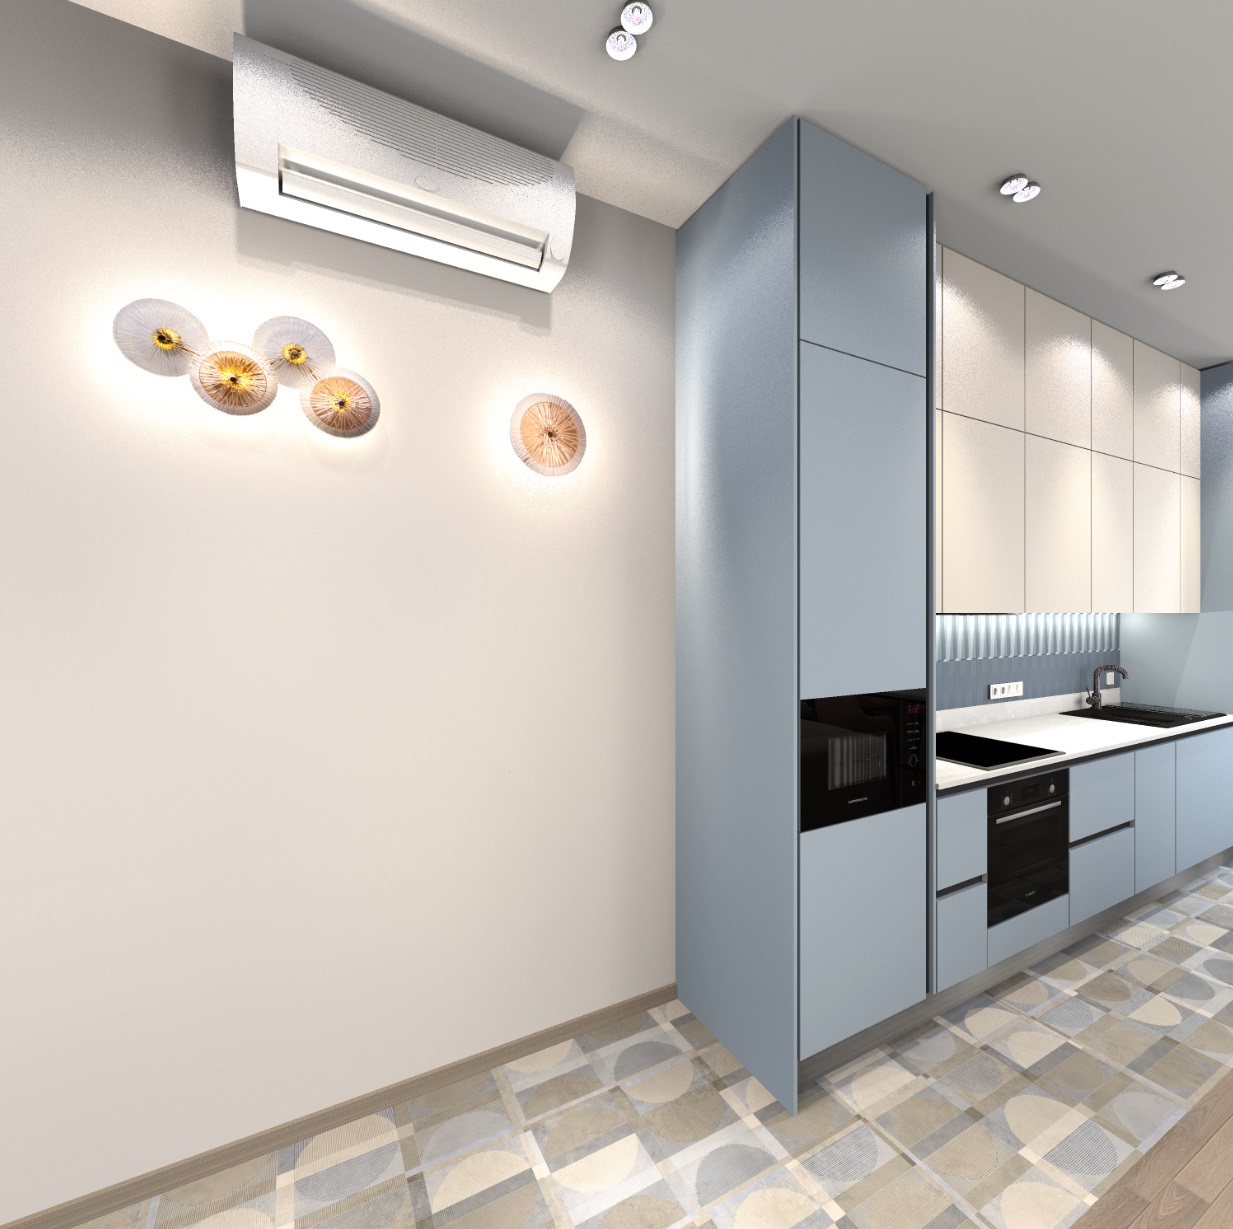
I forgot to tell you!! You can use photos of the oven, microwave oven for the kitchen. Any household appliances (front photo from the website) are placed on the front side of the box, the sides are painted gray. And pay attention - if you set the maximum gloss for the side of the box, then the oven and microwave begin to reflect the entire interior, as in a shiny black glass!!! You just need to restrain your ego and work at the third level of quality, not at the maximum fourth. There are no reflections at all on the fourth level, but there are on the third!