USA
Joined: Oct 8, 2014
Post Count: 563
Status:
Offline
Re: A house I've been working on (Tudor) redesigned
Here are a few more pictures I've been able to take of the update. I had to create separate files for just about each room for these (the Guest Bedroom and Guest Bathroom I saved as one file and the Garage was another one).
The Garage. The first picture is taken from one of the corners next to the Garage Door, and the second picture is taken from in front of the water heater.
The Guest Bedroom. I believe (since I can't seem to find any other recent pictures of this) that I changed just about all the furniture except for the lamps. I know I did change the carpeting and the ceiling texture.
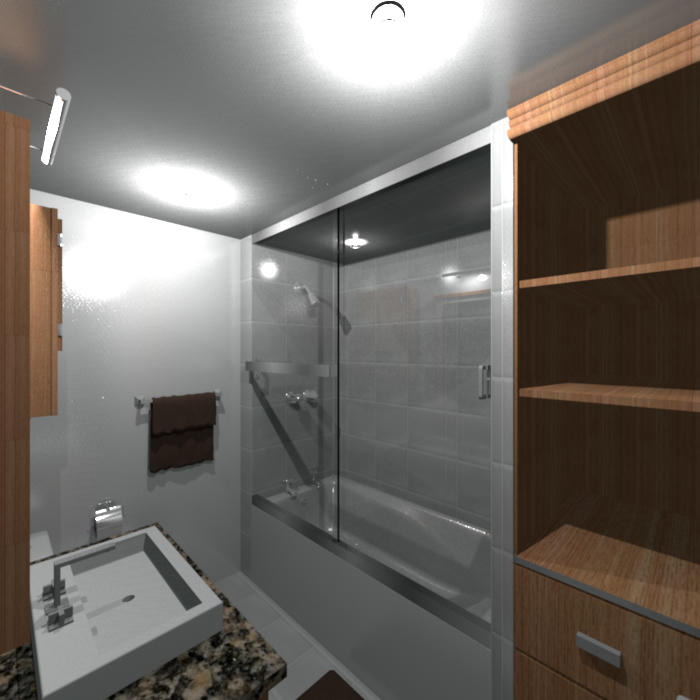
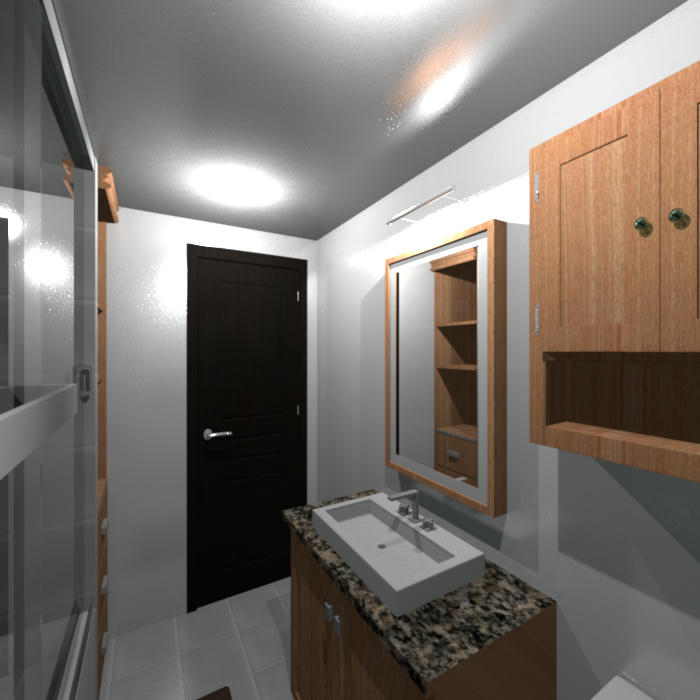
The Guest Bathroom. I changed the walls from Matte to Shiny, and changed the color scheme so that it matches the Guest Bedroom - changed the tiles on the floor and in the bathing area, changed the marble on the sink countertop, changed the towels to green terry cloth. I think I also changed the model bathtub.
I did try to take a picture of the Living Room/Dining Room/Kitchen area but the file seems to think it's too big to do so. I think it might just be my computer (it is about 8 years old after all). I did create a separate file for this though; here it is if anybody else would care to try : Tudor Castle Redraft Alt 3 Living Dining Kitchen
----------------------------------------
USA
Joined: Oct 8, 2014
Post Count: 563
Status:
Offline
Re: A house I've been working on (Tudor) redesigned
I am so devastated at the moment; my computer crashed on me yesterday without warning, and I lost a good number of the house designs I've been working on (not to mention other things I'd saved on it). The ones that I didn't lose were ones that I downloaded to MediaFire, but some of those aren't quite updated (I posted those there then made modifications, but didn't save the modifications).
So, it looks like some of them I'm going to have to start from scratch, and some I'll have to update, hopefully with the help of the pictures I've posted here and on Facebook as references. That'll take some time though.
----------------------------------------
USA
Joined: Oct 8, 2014
Post Count: 563
Status:
Offline
Re: A house I've been working on (Tudor) redesigned
I'm glad that I had a couple of files saved on MediaFire for this house, since I'd done some updating on part of one and had all the floors in another. I was able to combine them, as well as make a few design changes - inside and out.
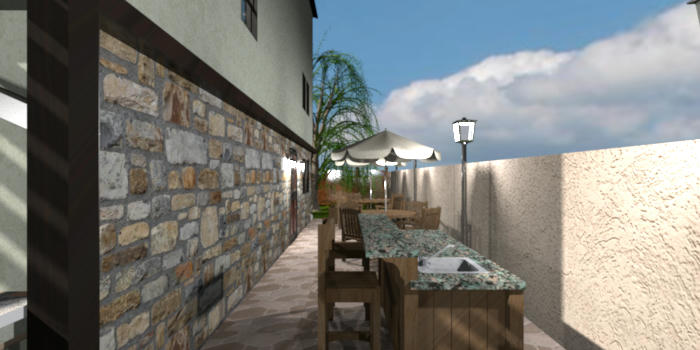
Side patio. I've added a second table set with an umbrella as well as a small bar.
Front room. The first picture taken from near the front door, with the dining area, kitchen and guest bedroom door visible. The second taken from near the side door and stairway, with the small hall area and door leading to the garage visible.
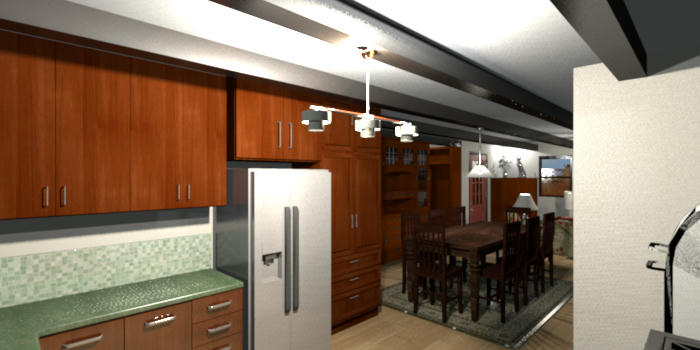
Dining area. The first picture is taken from next to the china cabinet, with the kitchen visible. The second picture is taken from the corner near the kitchen, with the living room and guest bathroom visible.
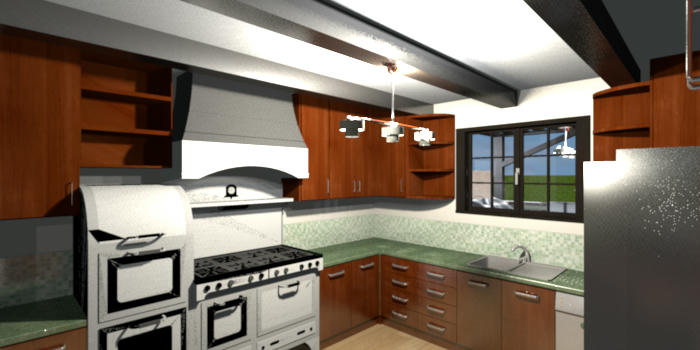
Kitchen. The first picture is taken from next to the pantry. The second picture is taken from the corner between the stove and the window. I love the stove but for some reason it always seems to render strangely.
Guest bathroom; the first picture is taken from the corner near the door, the second is taken from the opposite corner in front of the bath tub.
Guest bedroom; the first picture is taken from just inside the door, the second is taken from near the nightstand in the back corner.
Garage from two different corners.
Now up the first set of stairs.
Main bathroom taken from near the door.
The first bedroom near the main bathroom.
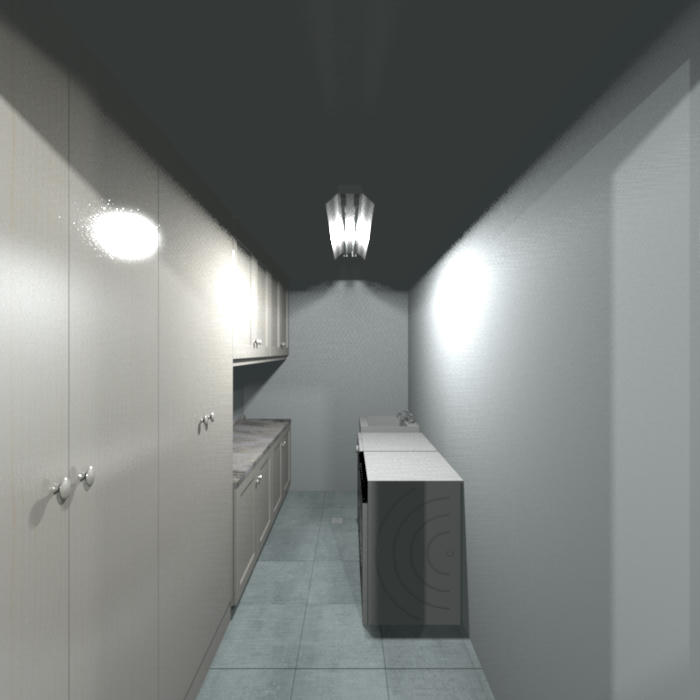
Laundry room. I switched the cabinets.
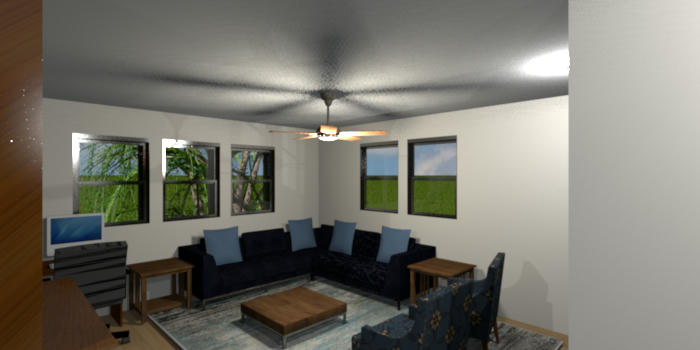
Family room. The first picture is taken from in front of the corner curio cabinet. The second picture is taken from the middle of the corner sofa.
The second bedroom (the one over the garage).
Now to the top level.
Sewing room/Loft. The first taken from in front of the master bedroom door. The second taken from in front of the bookcase in the corner.
Master bedroom. The first taken from just inside the small hallway in the door. The second taken from the opposite corner.
Master bathroom, taken from the corner near the master bedroom door.
----------------------------------------
USA
Joined: Oct 8, 2014
Post Count: 563
Status:
Offline
Re: A house I've been working on (Tudor) redesigned
Since the photo sharing site that I'd used before took itself down, I of course lost quite a few of the pictures I'd shared, especially with the last ones I'd shared of this one. Good news though, I actually had made some updates recently with this house and now have some new pictures I can share.
Front, both Aerial and Virtual Visitor view. As can be seen, I have been able to create the "X" designs on the front of the house, by changing the "Horizontal rotation around" X axis on several blank boxes. Now, what I had in mind is actually visible. I also changed a few things (I found a green stucco texture online that I like), added a few other things, generally what I've done in the past.
The stucco that I found.
Front entrance. As can be seen, I moved the large vehicle out of the garage, basically because I have a VW Beetle inside; I don't remember if I had shared this change before.
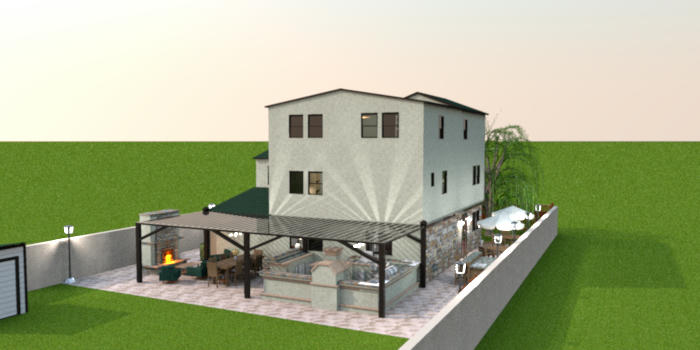
Back Aerial. As can be seen, I added a gardening shed near the back, made a few more changes (mostly textural).
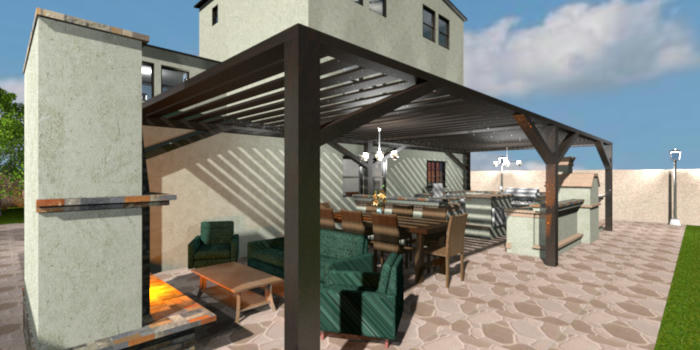
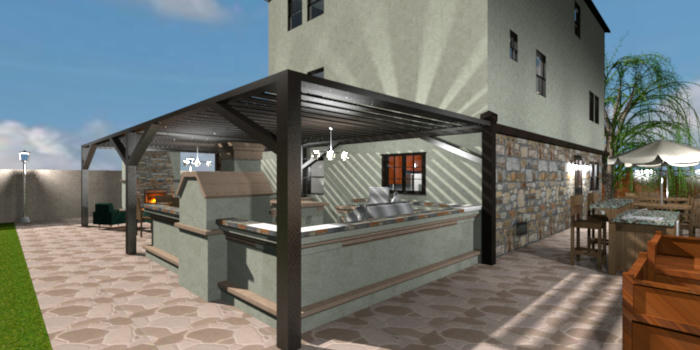
Back Patio, two different angles.
Side
Front Room, two different angles.
Dining Room, two different angles.
Kitchen, two different angles.
Guest Bathroom, two different angles.
Guest Bedroom, two different angles.
Garage, two different angles.
To the Middle Floor.
Main Bathroom.
Bedroom 1.
Laundry Room.
Family Room, two different angles.
Bedroom 2.
To the Top Floor.
Sewing Loft, two different angles.
Master Bedroom, two different angles.
Master Bathroom.
Main Floor floor plan. I wasn't able to include the gardening shed in this screenshot.
Middle Floor floor plan.
Top Floor floor plan.
----------------------------------------
USA
Joined: Oct 8, 2014
Post Count: 563
Status:
Offline
Re: A house I've been working on (Tudor) redesigned
Surprise, surprise! I've revisited an old home and made some changes!
I was looking at the postings I had made here in the past, and it got me thinking that, for the size of this house, maybe a 1-car garage was a little too... little... so I decided to save it as a separate file and work a little on it. Here's the file after the big change, but I still have a bit of work needed on it; I think that there's still a bit of work to do on the middle floor, but the top floor is still in need of much more work.
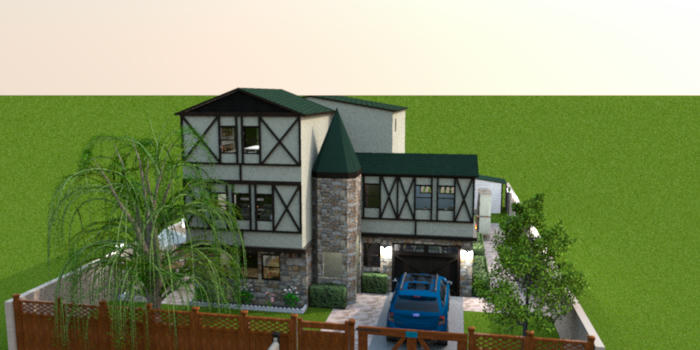
Aerial Front View You can see the major changes I've made to the roofline, as well as brought the turret up an extra story.
Main Floor No major change here other than the garage getting bigger, which called for a few adjustments outside on that side of the house.
Middle Floor Here's where most of the changes have taken place in the last few days. I had to figure out the placement of that whole new area above the larger garage. Instead of just one bedroom over a small portion of it, there's now two bedrooms, a bathroom and a sort of bonus space which I've decorated as a computer room.
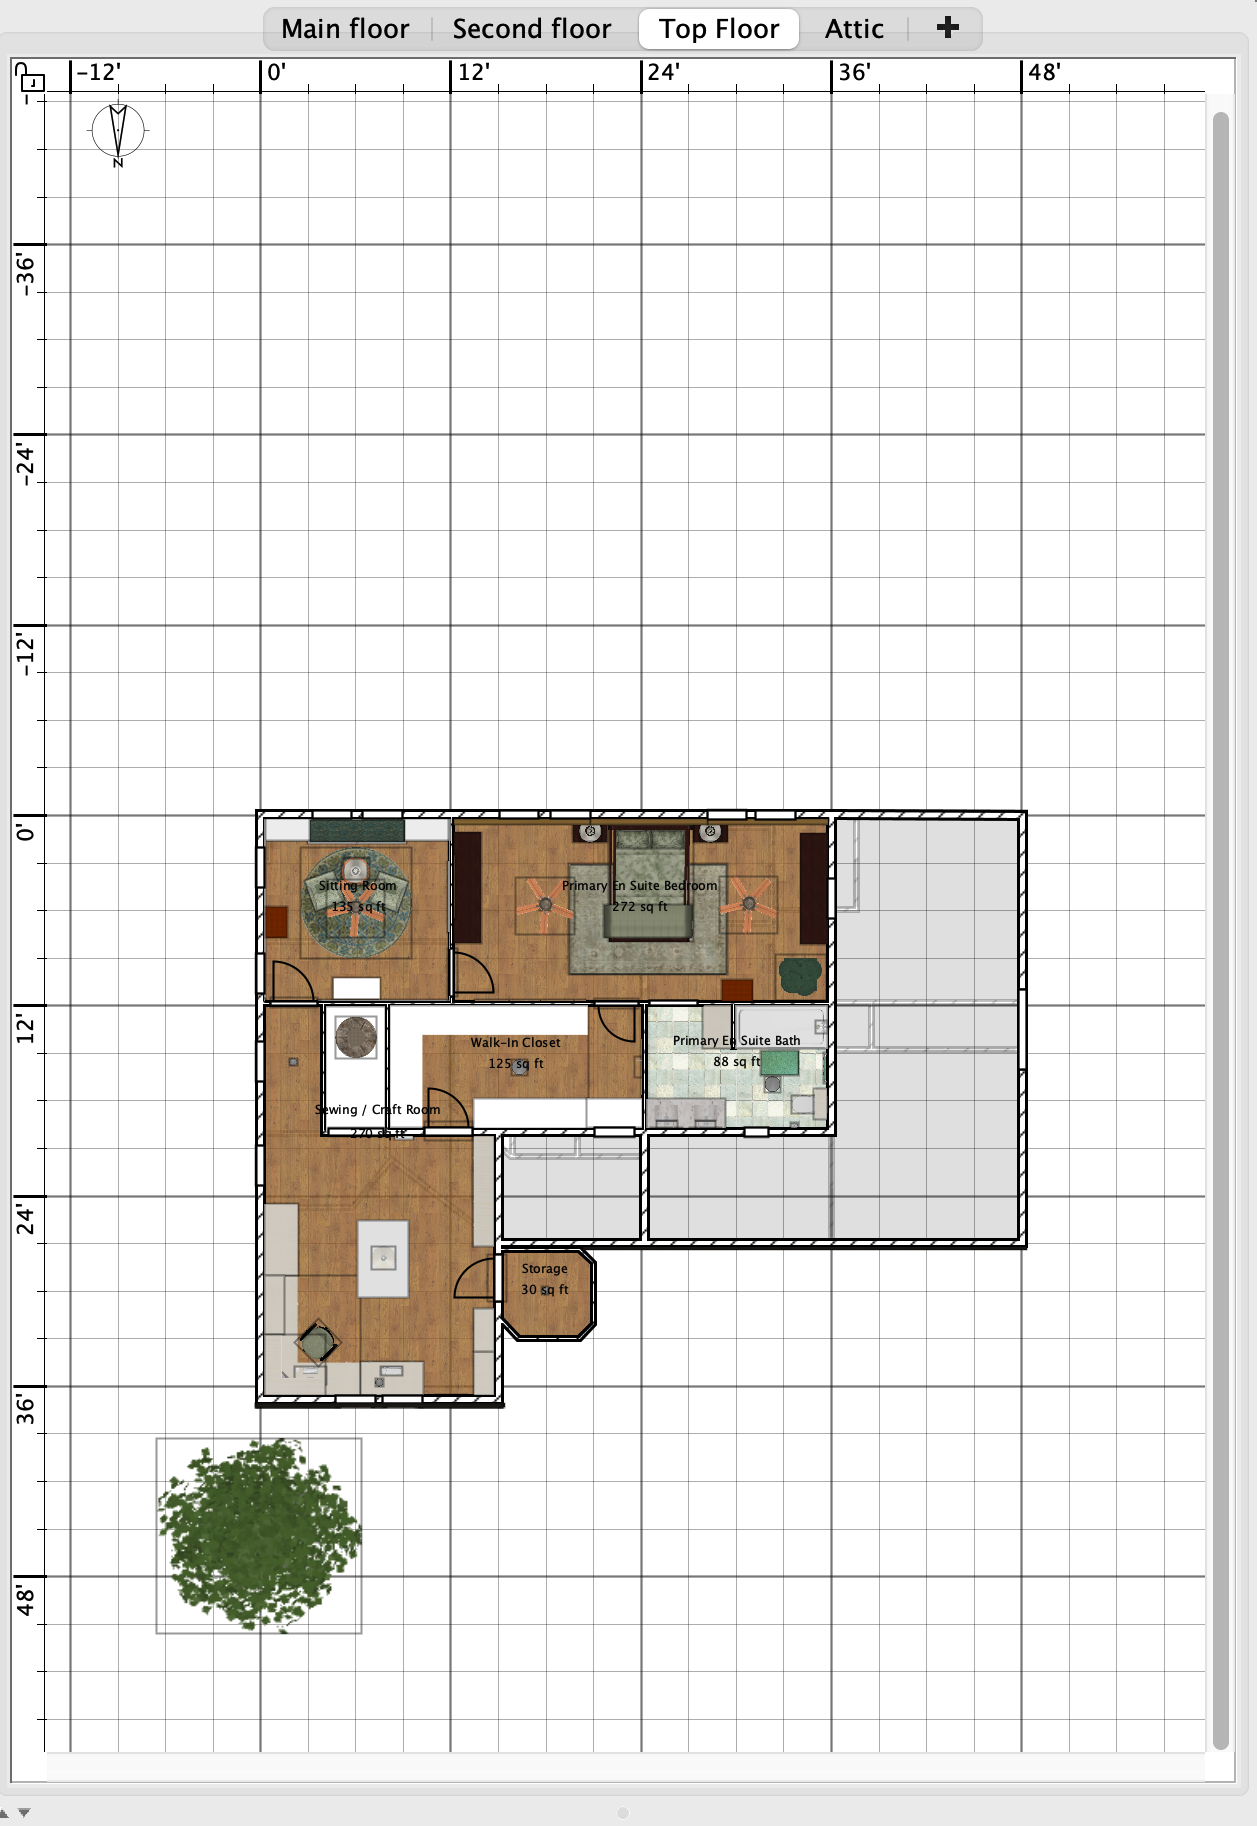
Top Floor Here's some good changes but I'm not sure if I've got it right just yet. I elongated the bedroom space, moved the bathroom over, and added in both a walk-in closet and a sitting room.
I just have stuff roughly in place but I might work on it later in the week when I have the time.
----------------------------------------
USA
Joined: Oct 8, 2014
Post Count: 563
Status:
Offline
Re: A house I've been working on (Tudor) redesigned
I think I've got the new version of this house pretty much updated (well, until I think of something else to add?), and new photos rendered. The house now has a total of five bedrooms, four bathrooms, and a couple of other new rooms. Without further ado, here are the pictures.
Disclaimer: I did not add window coverings inside the house, and in some rooms I did not add wall art. It is to be assumed, and imagined, that these things are there.
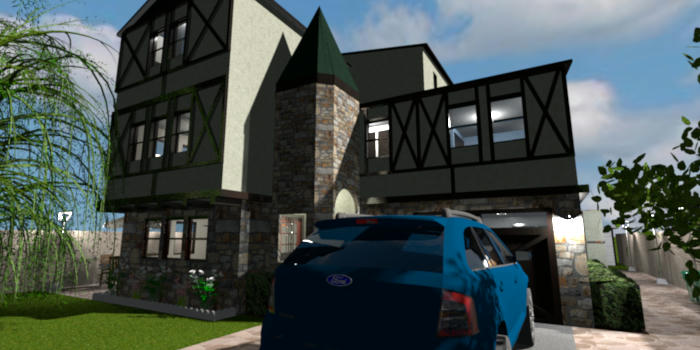
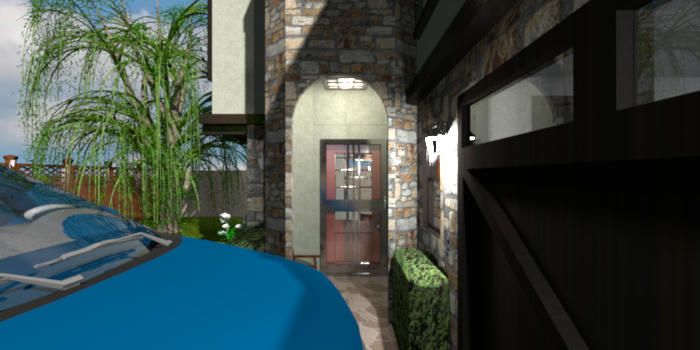
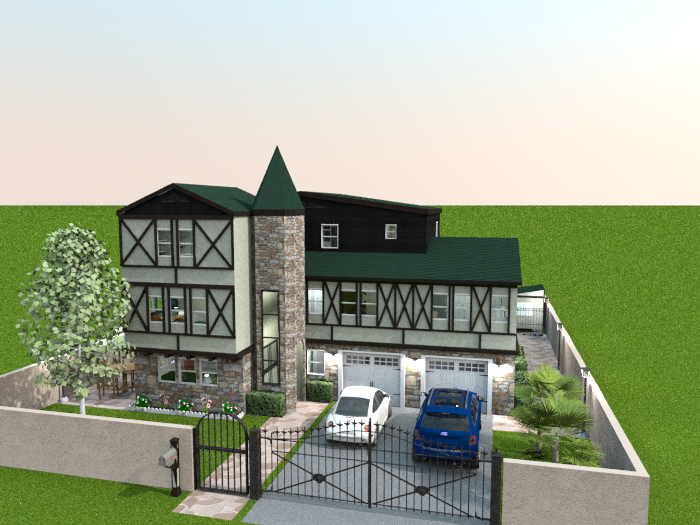
I am, of course, starting with the outside front:
And, as you walk in, on the main floor, you'll see that there aren't all that much in the way of changes (mostly cosmetic), except in the garage:
Now, the second floor, starting with the hallway starting from the stairs:
The bathroom and bedroom closest to the stairs, as well as the laundry room, haven't changed much. The biggest change, with the laundry room, is that I took out the door frame and replaced it with a door.
What I'd previously had as the family room, I've made into one of the new bedrooms, with a small walk-in closet:
The new family room, where one of the original bedrooms had been:
Now, onto the new rooms added above the enlarged garage, starting with the new bathroom:
The first of the new bedrooms, with a walk-in closet:
And, before heading to the top floor, here's the second of the new bedrooms:
Top floor, starting with the sewing/craft room, and not much changed here:
The rest of the rooms have been changed quite a lot, including the addition of the following sitting room:
The revised primary bedroom, and its en suite bathroom (I didn't get a picture inside the large walk-in closet, which also has a door to the sewing/craft room):
Now, the outside back. Not much changed here, just adjusting for the larger garage, and the back fence/gate separating the patio area from the green space.
Finally, the screenshots of each level of the floor plan:
And, before I forget, here's a link to the file if you wish to download it.
----------------------------------------
USA
Joined: Oct 8, 2014
Post Count: 563
Status:
Offline
Re: A house I've been working on (Tudor) redesigned
Okay, I've thought of something else to add to this house, and in so doing ended up making a few corrections as well as changed out some of the furniture models that took up a TON of space. Here's the updated file.
And here's a "sneak peek" at only a few of the changes.
I'll add the updated pictures later, with brief descriptions of the changes (if I remember them all) possibly tomorrow; since I've been making the changes and taking the pictures all day, I'm pretty tired (it is now 1:30am here in California).
----------------------------------------
USA
Joined: Oct 8, 2014
Post Count: 563
Status:
Offline
Re: A house I've been working on (Tudor) redesigned
So, it's now "tomorrow" and here are the pictures and all I mentioned in my previous message. Also, since I didn't detail the changes in my last message, here they are: the willow tree was replaced with a birch, the smaller tree near the garage was replaced with a couple of fan palm trees, the stucco on the top floor (front and side) was replaced with the same wood siding I'd used at the top, and I added the gable vent near the roof peak in back.
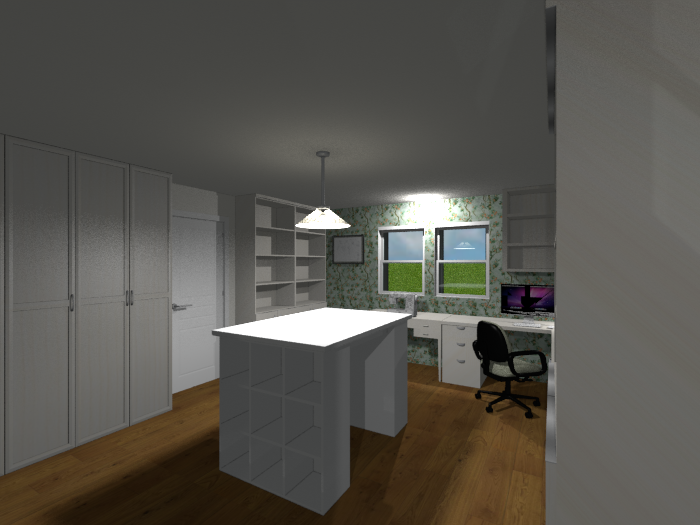
So first off, what started this whole... thing... was my thinking that I had created a wasted space when I had made the entry tower taller. Sure, it's not that big of a space, but still space that wasn't being used. Since it was basically attached to the sewing/craft loft, that space is now extra storage there.
Because of that, I ended up deleting one of the bookcases on that wall in order to have access to the new space. I also noticed that I had forgotten to finish the wall at the top of the tower (oops) and fixed that. Done quickly.
Then I realized that the entire file was HUGE! It was over 80 MB! My computer was running a bit slow, especially when it came to rendering pictures and saving the file even compressed. Come to find out, I had used some furniture models that could be replaced with similar pieces but smaller file sizes, so I went through the list of furniture in the house and switched pieces out. I replaced the full bookshelves with what you see in this picture, and most of the other replacements are in the following pictures.
While doing that, I also decided that I wasn't fully happy with a few things about the Main Floor, mainly that the guest bathroom door opened up right into the dining space . After adjusting a couple walls, this house now has a Guest Suite (or could be called an In-Laws Suite).
As you can see, I've been able to rearrange the furniture in here, mainly because I made the closet space a little shallower. There's even got a nice wallpaper accent wall. I added the blanket to the bed.
After doing that, I realized that if there were guests over, there might be situations where having them use the now guest en-suite bathroom would be very awkward, so I had to come up with someplace for a powder room. I ended up adding another couple of walls, closing up that little hallway kind of space to the garage, and creating a mudroom and powder room.
With closing off a section of what had been a part of the great room and making it part of the Guest Suite, I no longer really had room for a full table set. And with the new wall to the mud room in place, I had an awkward corner I couldn't figure out what to do with. What came to mind was banquette seating!
I realize that now there's a tiny dining table and probably not enough chairs, especially for the sheer number of bedrooms in this house, but my thinking is that banquette makes up for some of it (and if need be, maybe there's a leaf for the table and extra chairs that might be stored in the garage, or something like that, for any extra guests). Other things I did was replace the China cabinet and the two armchairs. I also added some artwork over the banquette as well as another lamp next to the couch. Another thing I did was fix the height of the door frame to the stairwell.
I almost forgot to mention; the niche bookcase in the one corner near the door to the new mud room. The blank space seemed a bit kind of awkward to me, and it needed something.
One of the large-file pieces of furniture in the house was on the Second Floor in the Loft space. The Entertainment Center was a whopping 7,239 kB. What I replaced it with was 2,553 kB; still pretty large but almost a third the size. And because of the switch, the TV placement went from one side of the entertainment center to the middle, which meant having the couch in the corner wouldn't work so well. Easiest solution I came up with was moving the door to the one bedroom.
Oh, and I also got rid of the wall and door frame into this space as it seemed a bit ridiculous to me.
I also found that the bed in the one new bedroom (it's now labeled "Bedroom 4") that I'd just moved to door to was another file-size glutton . I replaced it with the same model I used in some of the other rooms.
I thought the room looked a little sparse with only the bed, nightstands, and dresser, I wanted to add a wallpaper accent wall like I did in basically all the other bedrooms. I didn't want to put the wallpaper on the wall with the door, so I rearranged the furniture. Also, since the new furniture model didn't have bedside lamps I added a couple.
The next large file-size piece of furniture was in the Master Bedroom's sitting room. I replaced the TV cabinet with a smaller file-sized one. The armchairs were also replaced. Then I took a look around the room and thought that the walls looked a little bare, so I added more of the wainscoting to match what was behind the window seat.
The next replacement was the dressers in the Master Bedroom. While I was in there, I decided that I'd go ahead and try and redecorate it similarly to a couple of of en-suite bedrooms I'd recently posted about, seeing as I was thinking of this room as mine.
This wainscoting is actually a smaller file-size than the kind in the sitting room, so I thought I could "splurge" a bit. While trying to make sure that the rectangles were all about the same size, I ended up with a small section that wasn't covered, so I thought that using a box to cover it would work, but looking at this picture I think that small space needs to be re-addressed. I also added some picture frames to the one wall between the bedroom door and the closet door. I moved the painting that had been over the bed to over the dresser near the bedroom door, and to make the space a little more balanced I added another window over the other dresser on the opposite wall.
With all of the downsizing I was doing, I thought that I could add a couple of things to the Master Walk-In Closet. I added a full-length mirror and a picture light above it.
The last replacements were to a couple of hanging lights over the Patio.
I realized that I didn't have any kind of lighting over the sitting area so I added a ceiling fan there. The bar area needed lighting as well so I added a couple of pendant lights there as well.
Three replacements I didn't picture were a couple of dressers (one in Bedroom 1, and the other in Bedroom 3), and the depth of the cabinets in the new Bath.
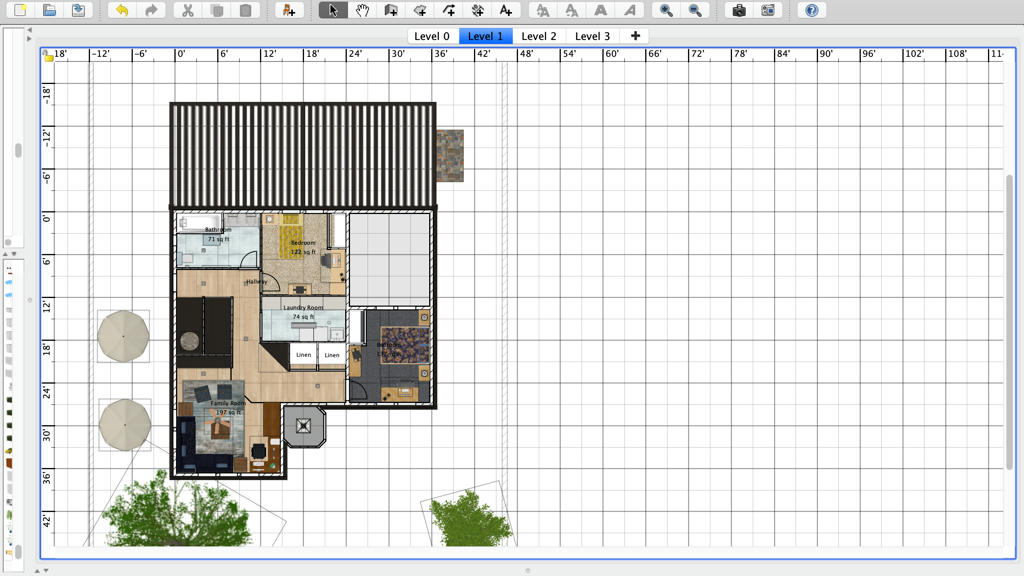
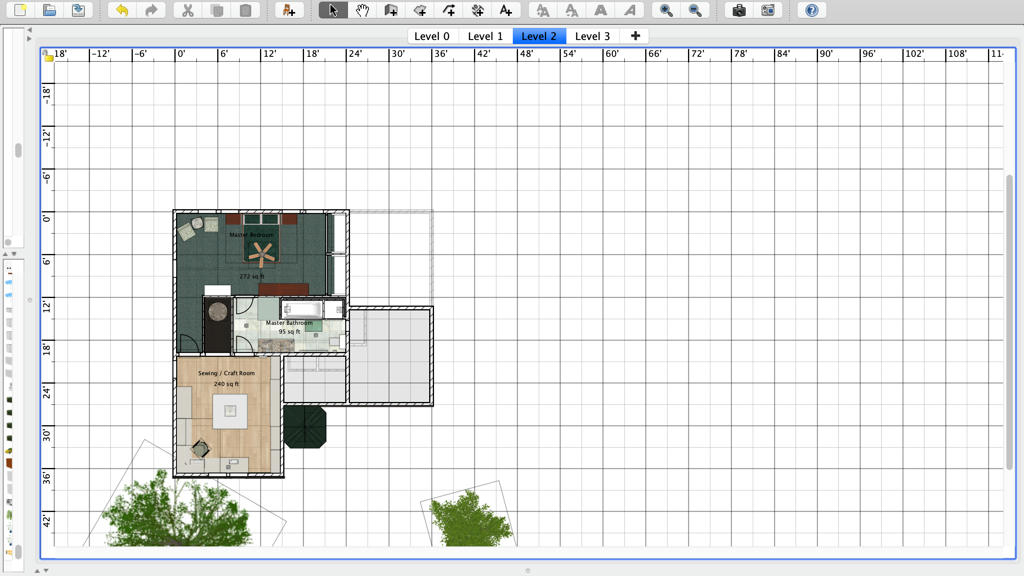
Last, but certainly not least, the screenshots of each level.
And as I'm looking over this post, I'm thinking that maybe I should change one of those Linen closets on the Second floor into a broom closet...
----------------------------------------







 :
: 



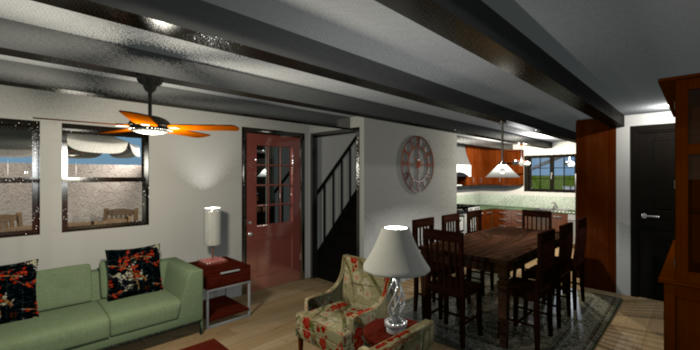
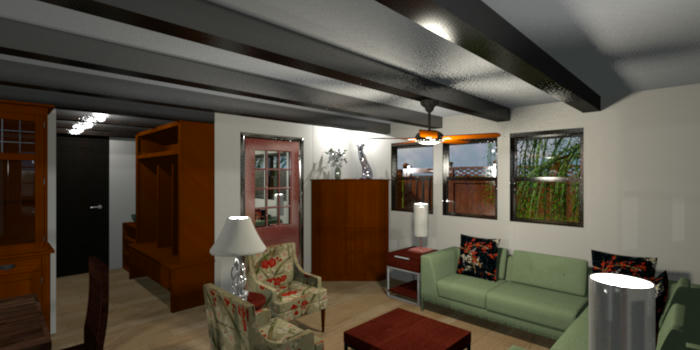
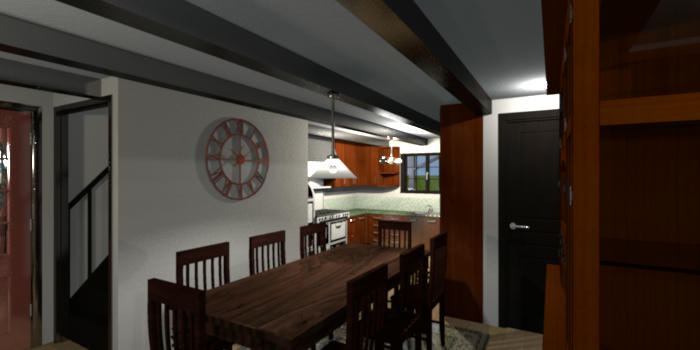
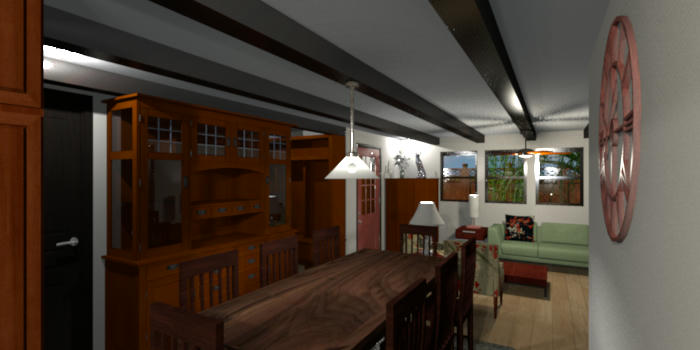
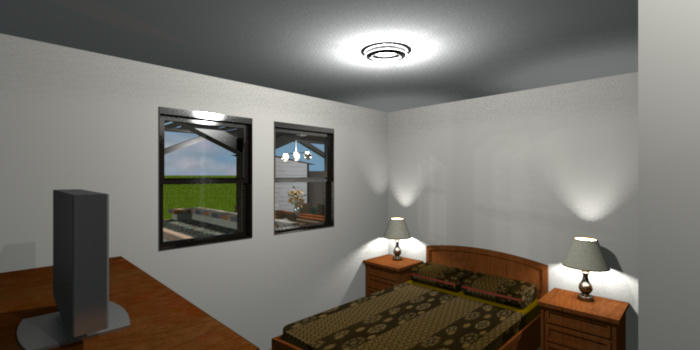
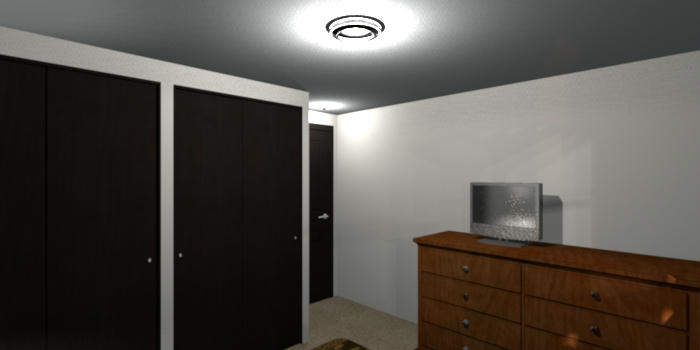
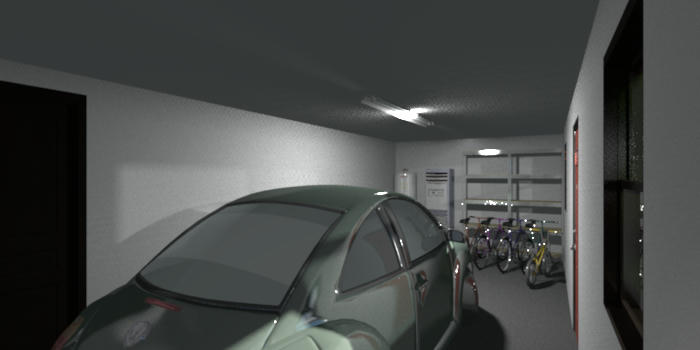
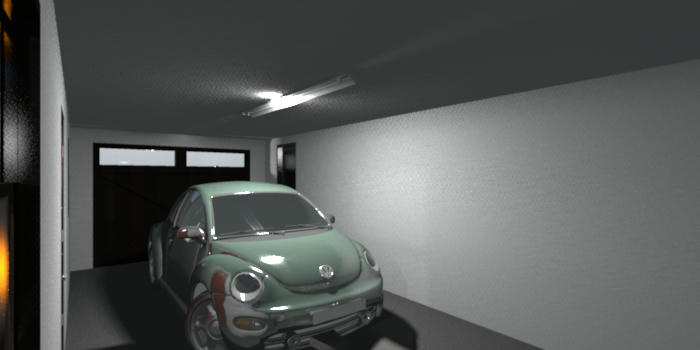
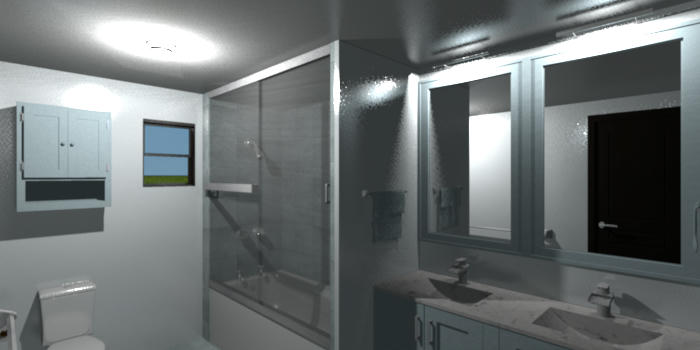
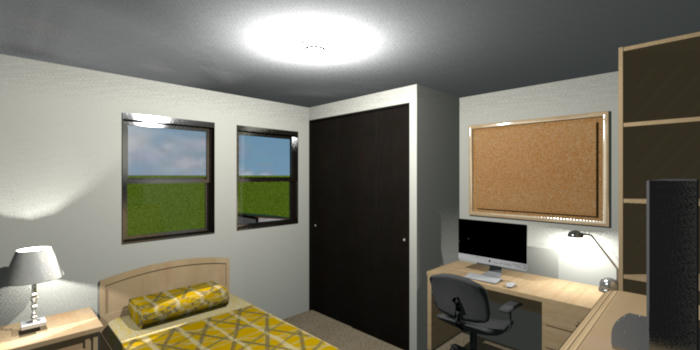
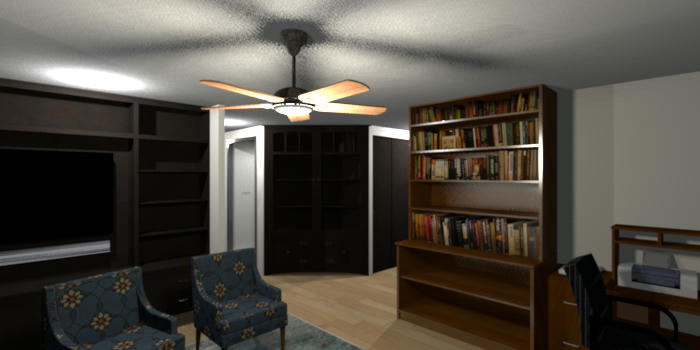
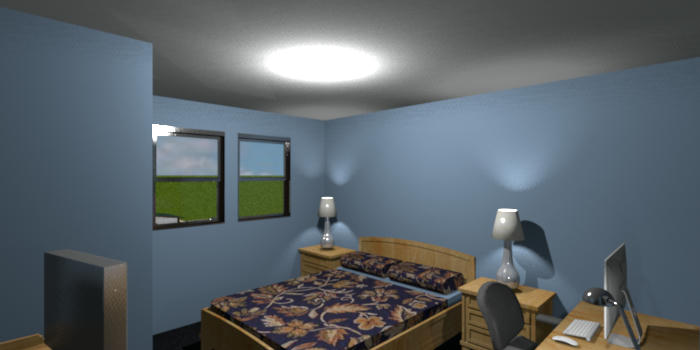
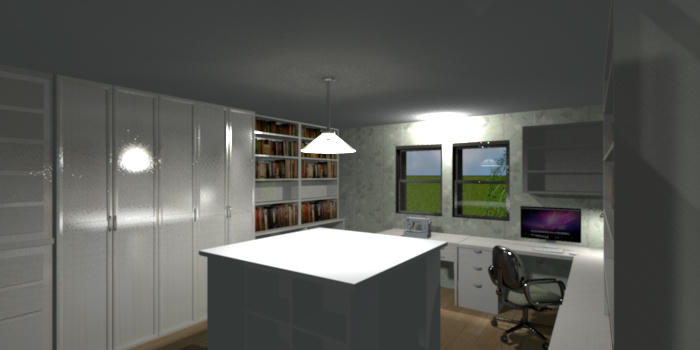
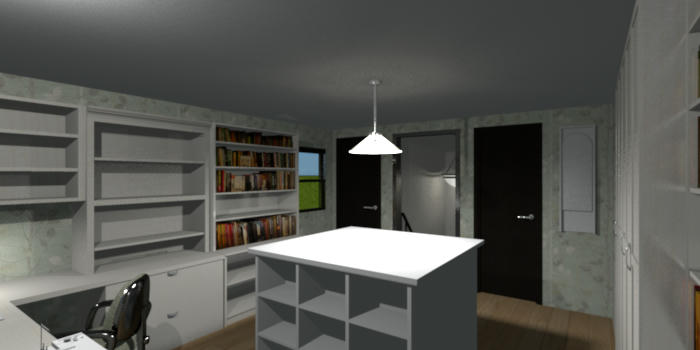
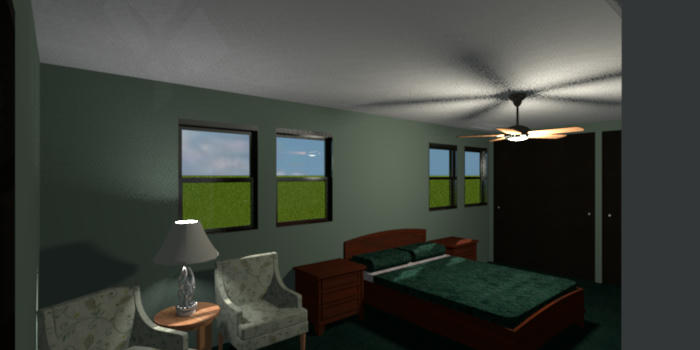
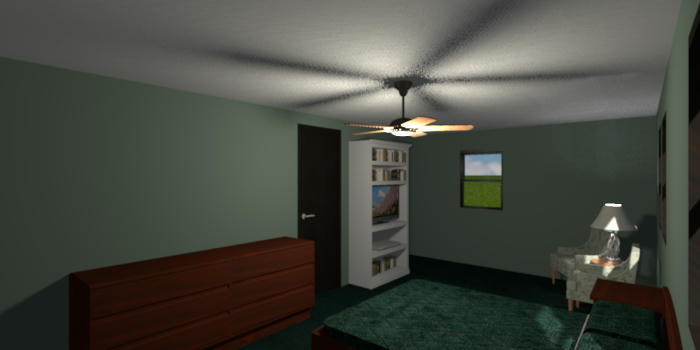
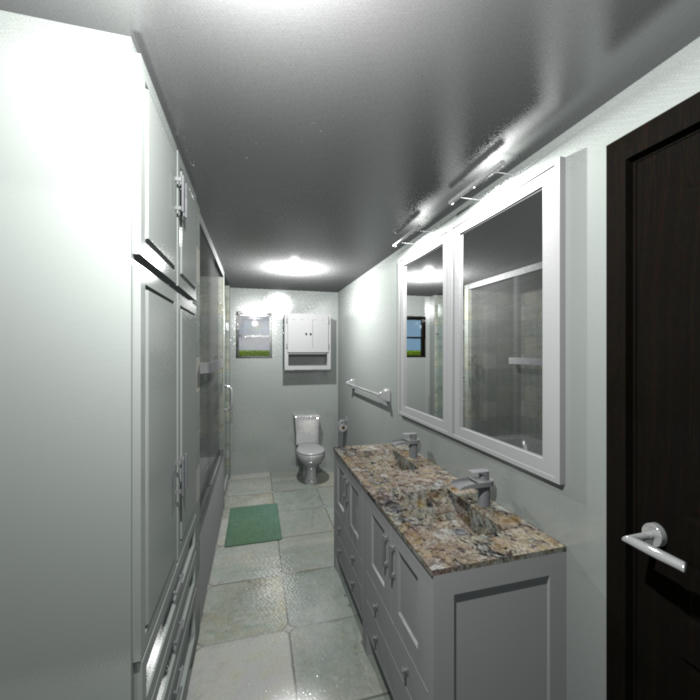
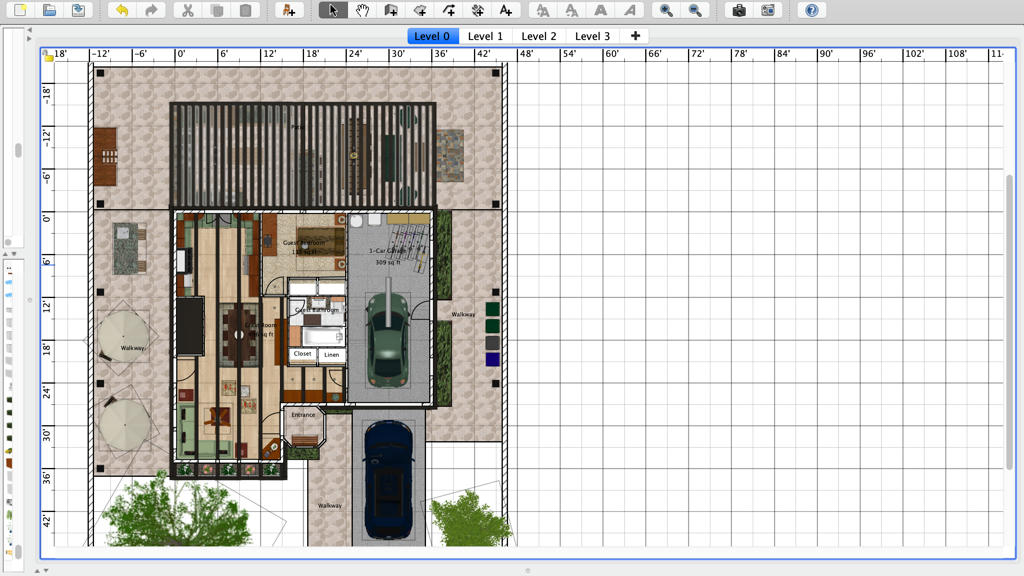



 . After adjusting a couple walls, this house now has a Guest Suite (or could be called an In-Laws Suite).
 I added the blanket to the bed.