Maximum control over lighting in SH3D using render settings

This topic has been viewed 286 times and has 5 replies
Thread status: Active
Share your snapshots made with Sweet Home 3D here [img]http://www.sweethome3d.com/images/flags/en_small.gif[/img]
Post Reply New Topic
User avatar
GaudiGalopin3324
Advanced Member
Posts: 760
Joined: Sat Aug 13, 2022 9:58 am
Country: Russia

Maximum control over lighting in SH3D using render settings

Post by GaudiGalopin3324 »

Dear Sjb007 shared his DD3D development in this topic viewtopic.php?t=15174. Unfortunately, I couldn't figure out how to use this product, I didn't figure out how, it's all my fault. The rendering done with DD3D is very good. But Sjb007 gave us one very important idea, which opens up the possibility of working with realistic lighting in the SH3D program itself.
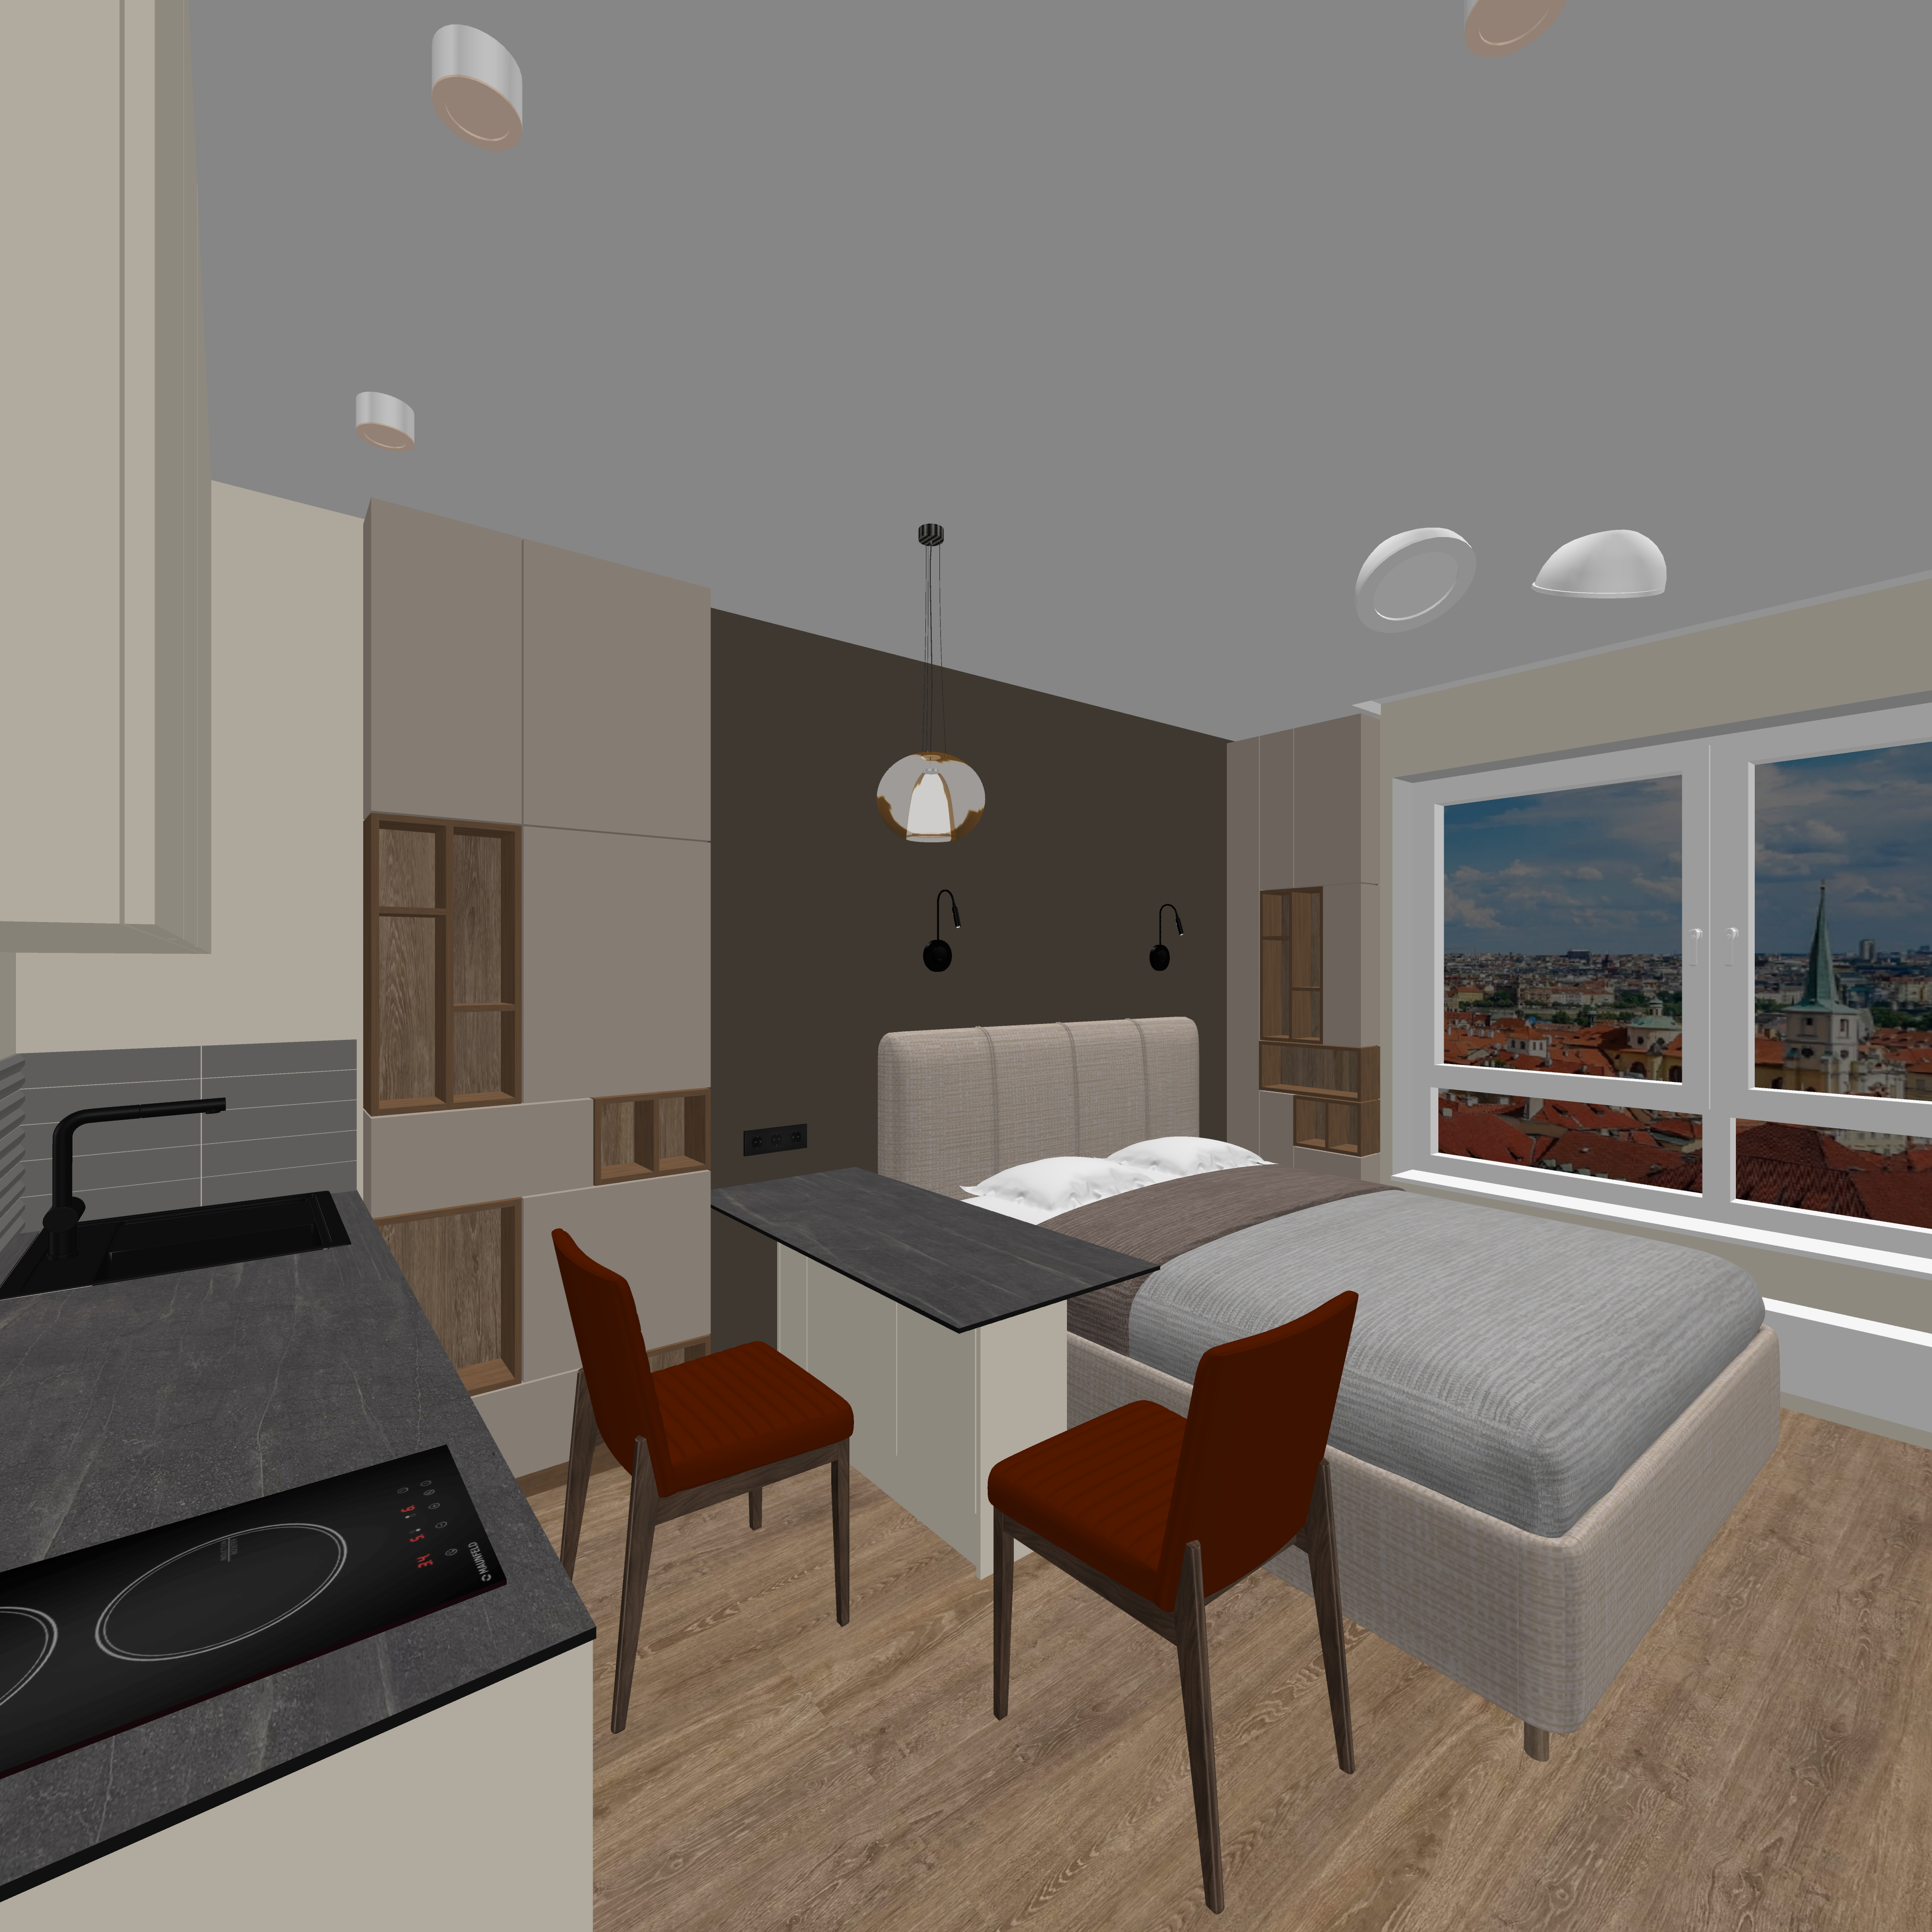
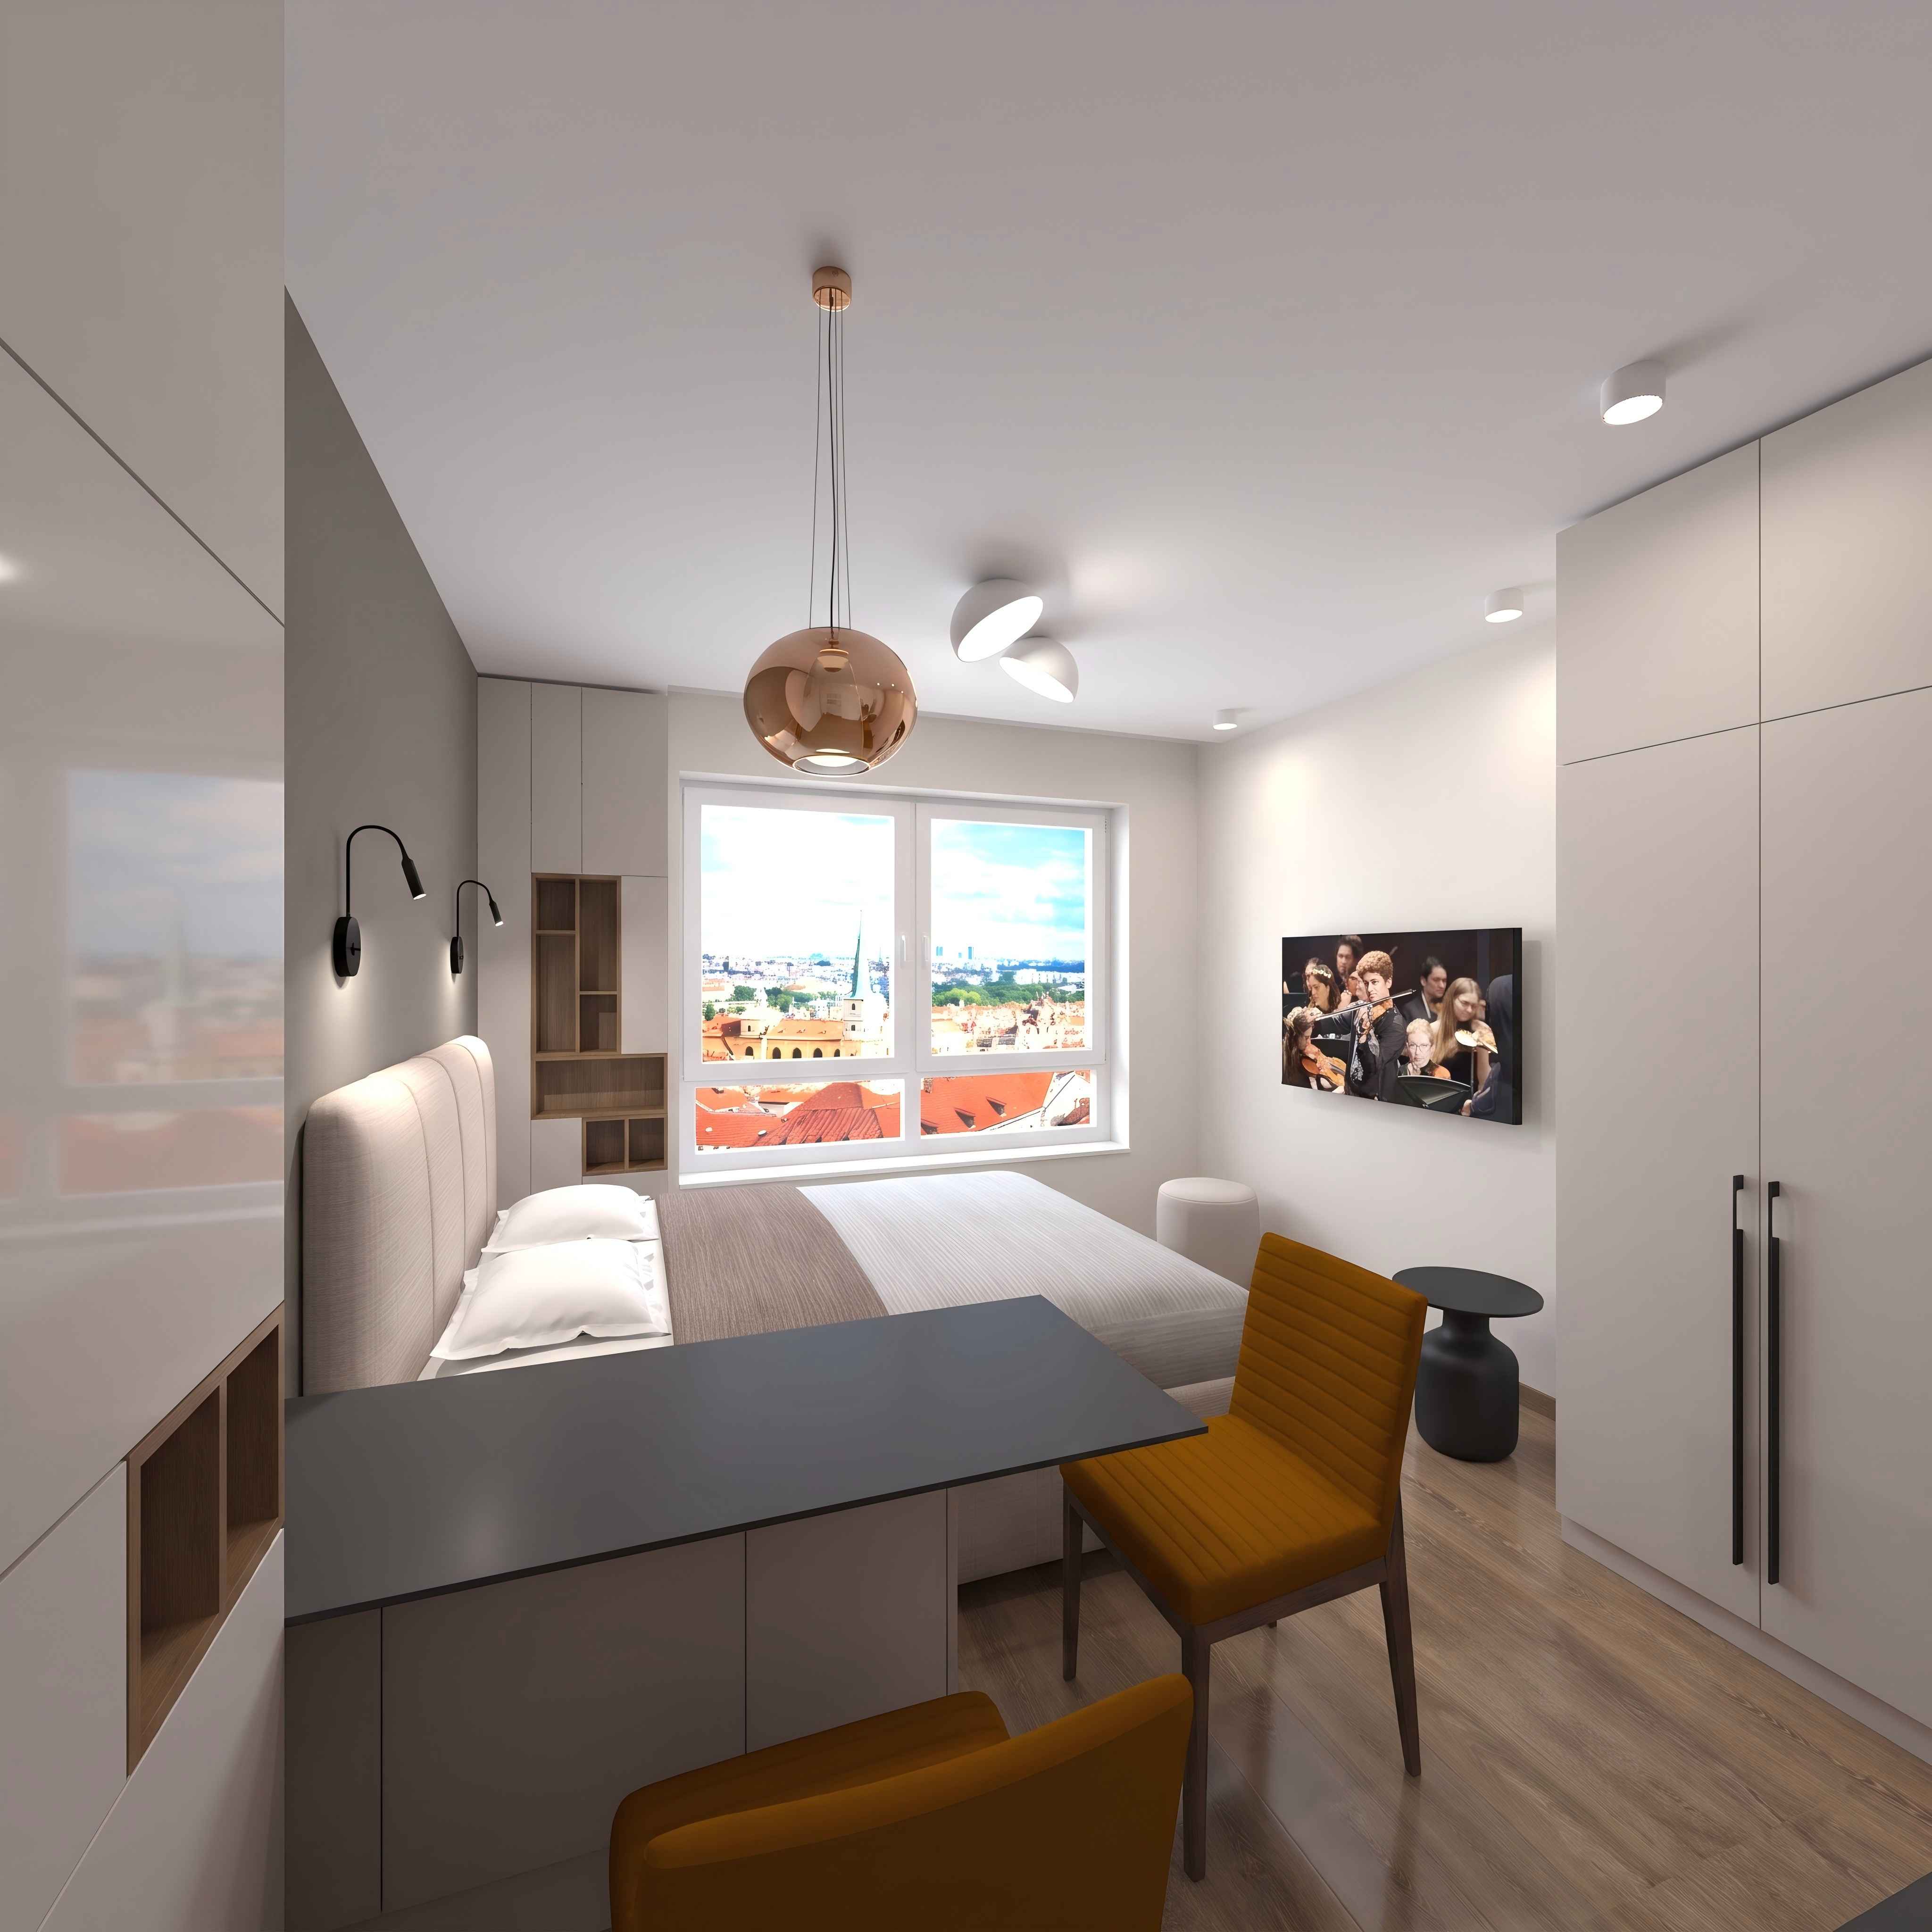
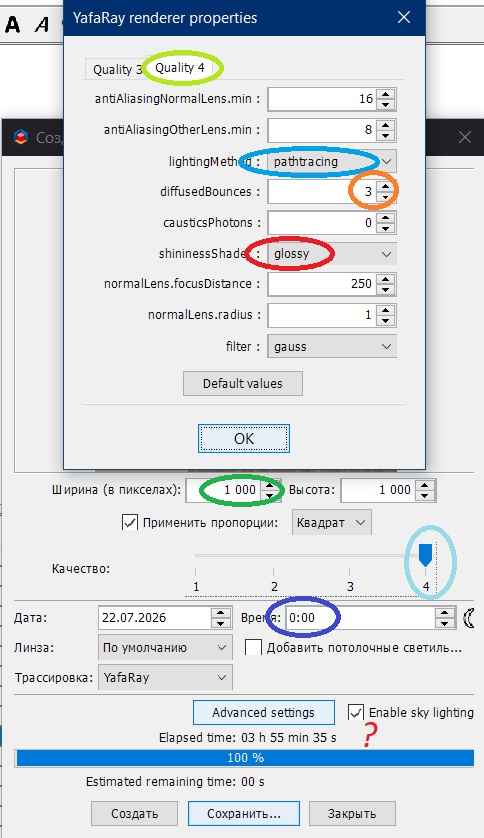
The advanced rendering settings have one of the most important parameters, which is responsible for reflexes and reflected light from the surfaces of objects. Pathtracing. It is impossible to get a realistic picture without it. This parameter is very energy-intensive and very difficult to work with in SH3D. And it is necessary. What can be done? Sjb007 gave a hint that it is possible to make ONE dominant light source and not make other sources that are usually made in the interior. This dominant main source is the street light that penetrates through the window into the room. Most rooms have windows, fortunately)). I created a complex 3D room scene in the SH3D program. Landscape outside the window I have this image of the city on the front of a large box, the box is installed near the window. To make such a landscape look plausible, you need to set the horizon of the picture correctly. Now I need to make the dominant light, I installed an invisible light panel, rotated it 90 degrees, set it 10 cm in front of the landscape box and directed the light into the window column. It's just like in reality. The lower edge of the panel should be positioned at the horizon level so that the main rays illuminate the surfaces on the floor, and only a small part of the rays fall on the ceiling, as in reality in daylight with diffused light from the street. The light mostly goes towards the floor, not towards the ceiling. The panel power is 10%, the color is white, you can use a little blue. There are built-in lights on the ceiling, I have placed mini-spots from the library, the power is 30%. These mini spots are also inserted wherever there are light sources - in chandeliers and sconces. Now you need to set the rendering parameters. Immediately set the highest quality level to 4, although it will still be terrible quality.
Image
The DiffusedBounces parameter is responsible for the intensity of reflected light from surfaces. The larger it is, the stronger the effect of the color of objects on the color of the render as a result. For example, if there are a lot of green objects in the room, then at a maximum value of 9, the render will be mostly unnaturally green from reflected light. Therefore, you do not need to bet a lot. 3-4 are enough. All other parameters can be left unchanged, as they are in the basic setting for quality level 4. There is also an additional option, Enable Sky Lighting, it seemed to me that with this option enabled, the rendering speed slightly improved, but this is not accurate. The mode itself does not affect anything in the picture, because the whole landscape is an image on the box, there is no sky here.
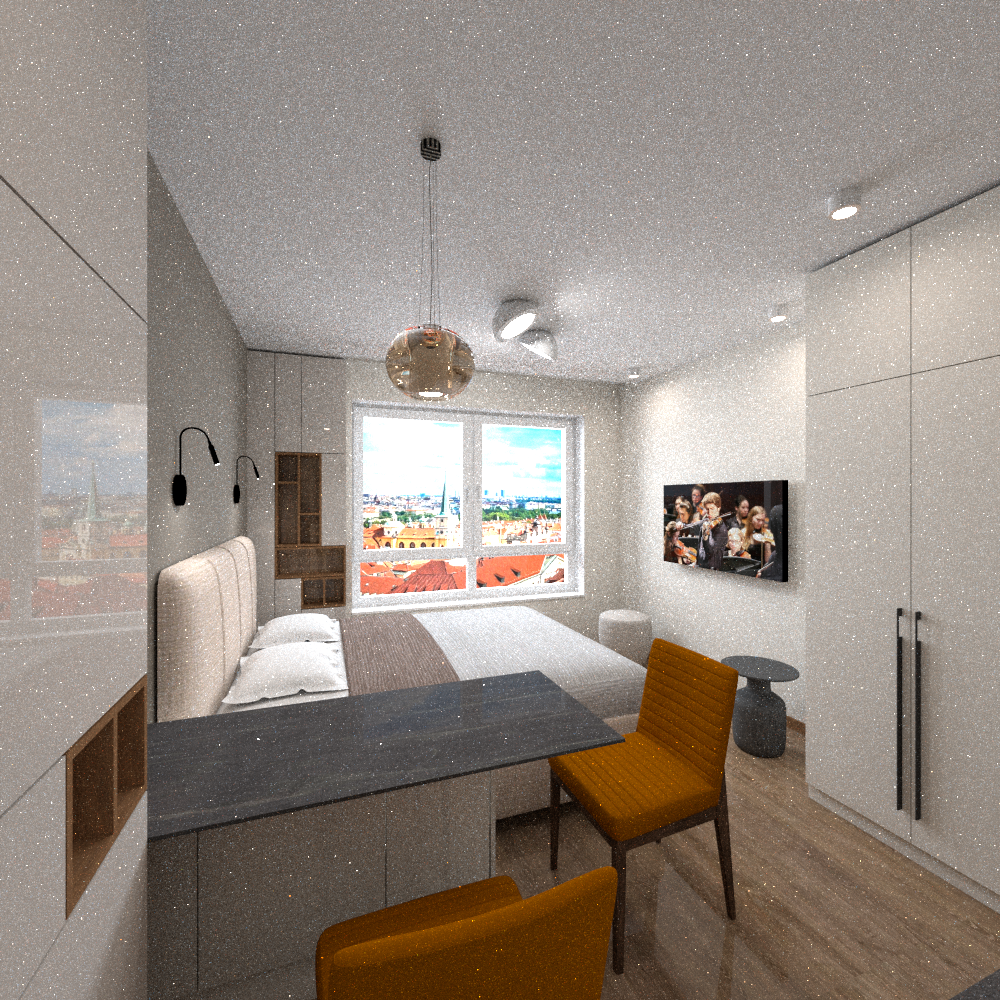
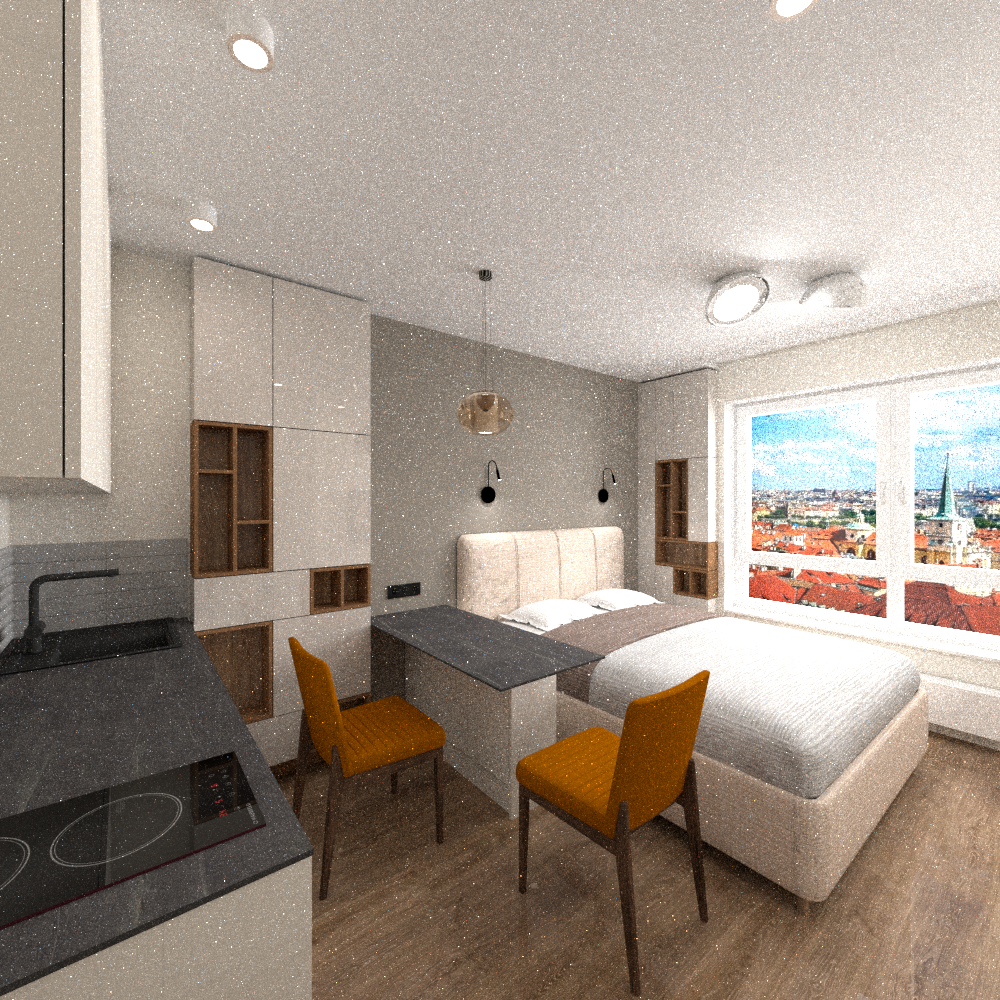
My 3D room scene took 4 hours to load at a quality of 4 and a size of 1000 pixels (I took a square). Look at the terrible noise and all the wandering dots. Nightmare. But it's almost a victory!! Without suffering, we got a very realistic picture of the interior with daylight diffused. There are no hemispheres, spheres, or additional panels. There is only one panel on the street and formal minispots for marking point sources. But there are no black unnatural surfaces at all, which are already boring. Everywhere there are truthful surfaces illuminated by reflected light. Realistic image!! It's okay that it's terrible and noisy. This is fixable.
Image
Yes, I forgot to say that you first need to make a few trial runs at 200 pixels to adjust the brightness level. And only then do a terrible noisy render of 1000 pixels.
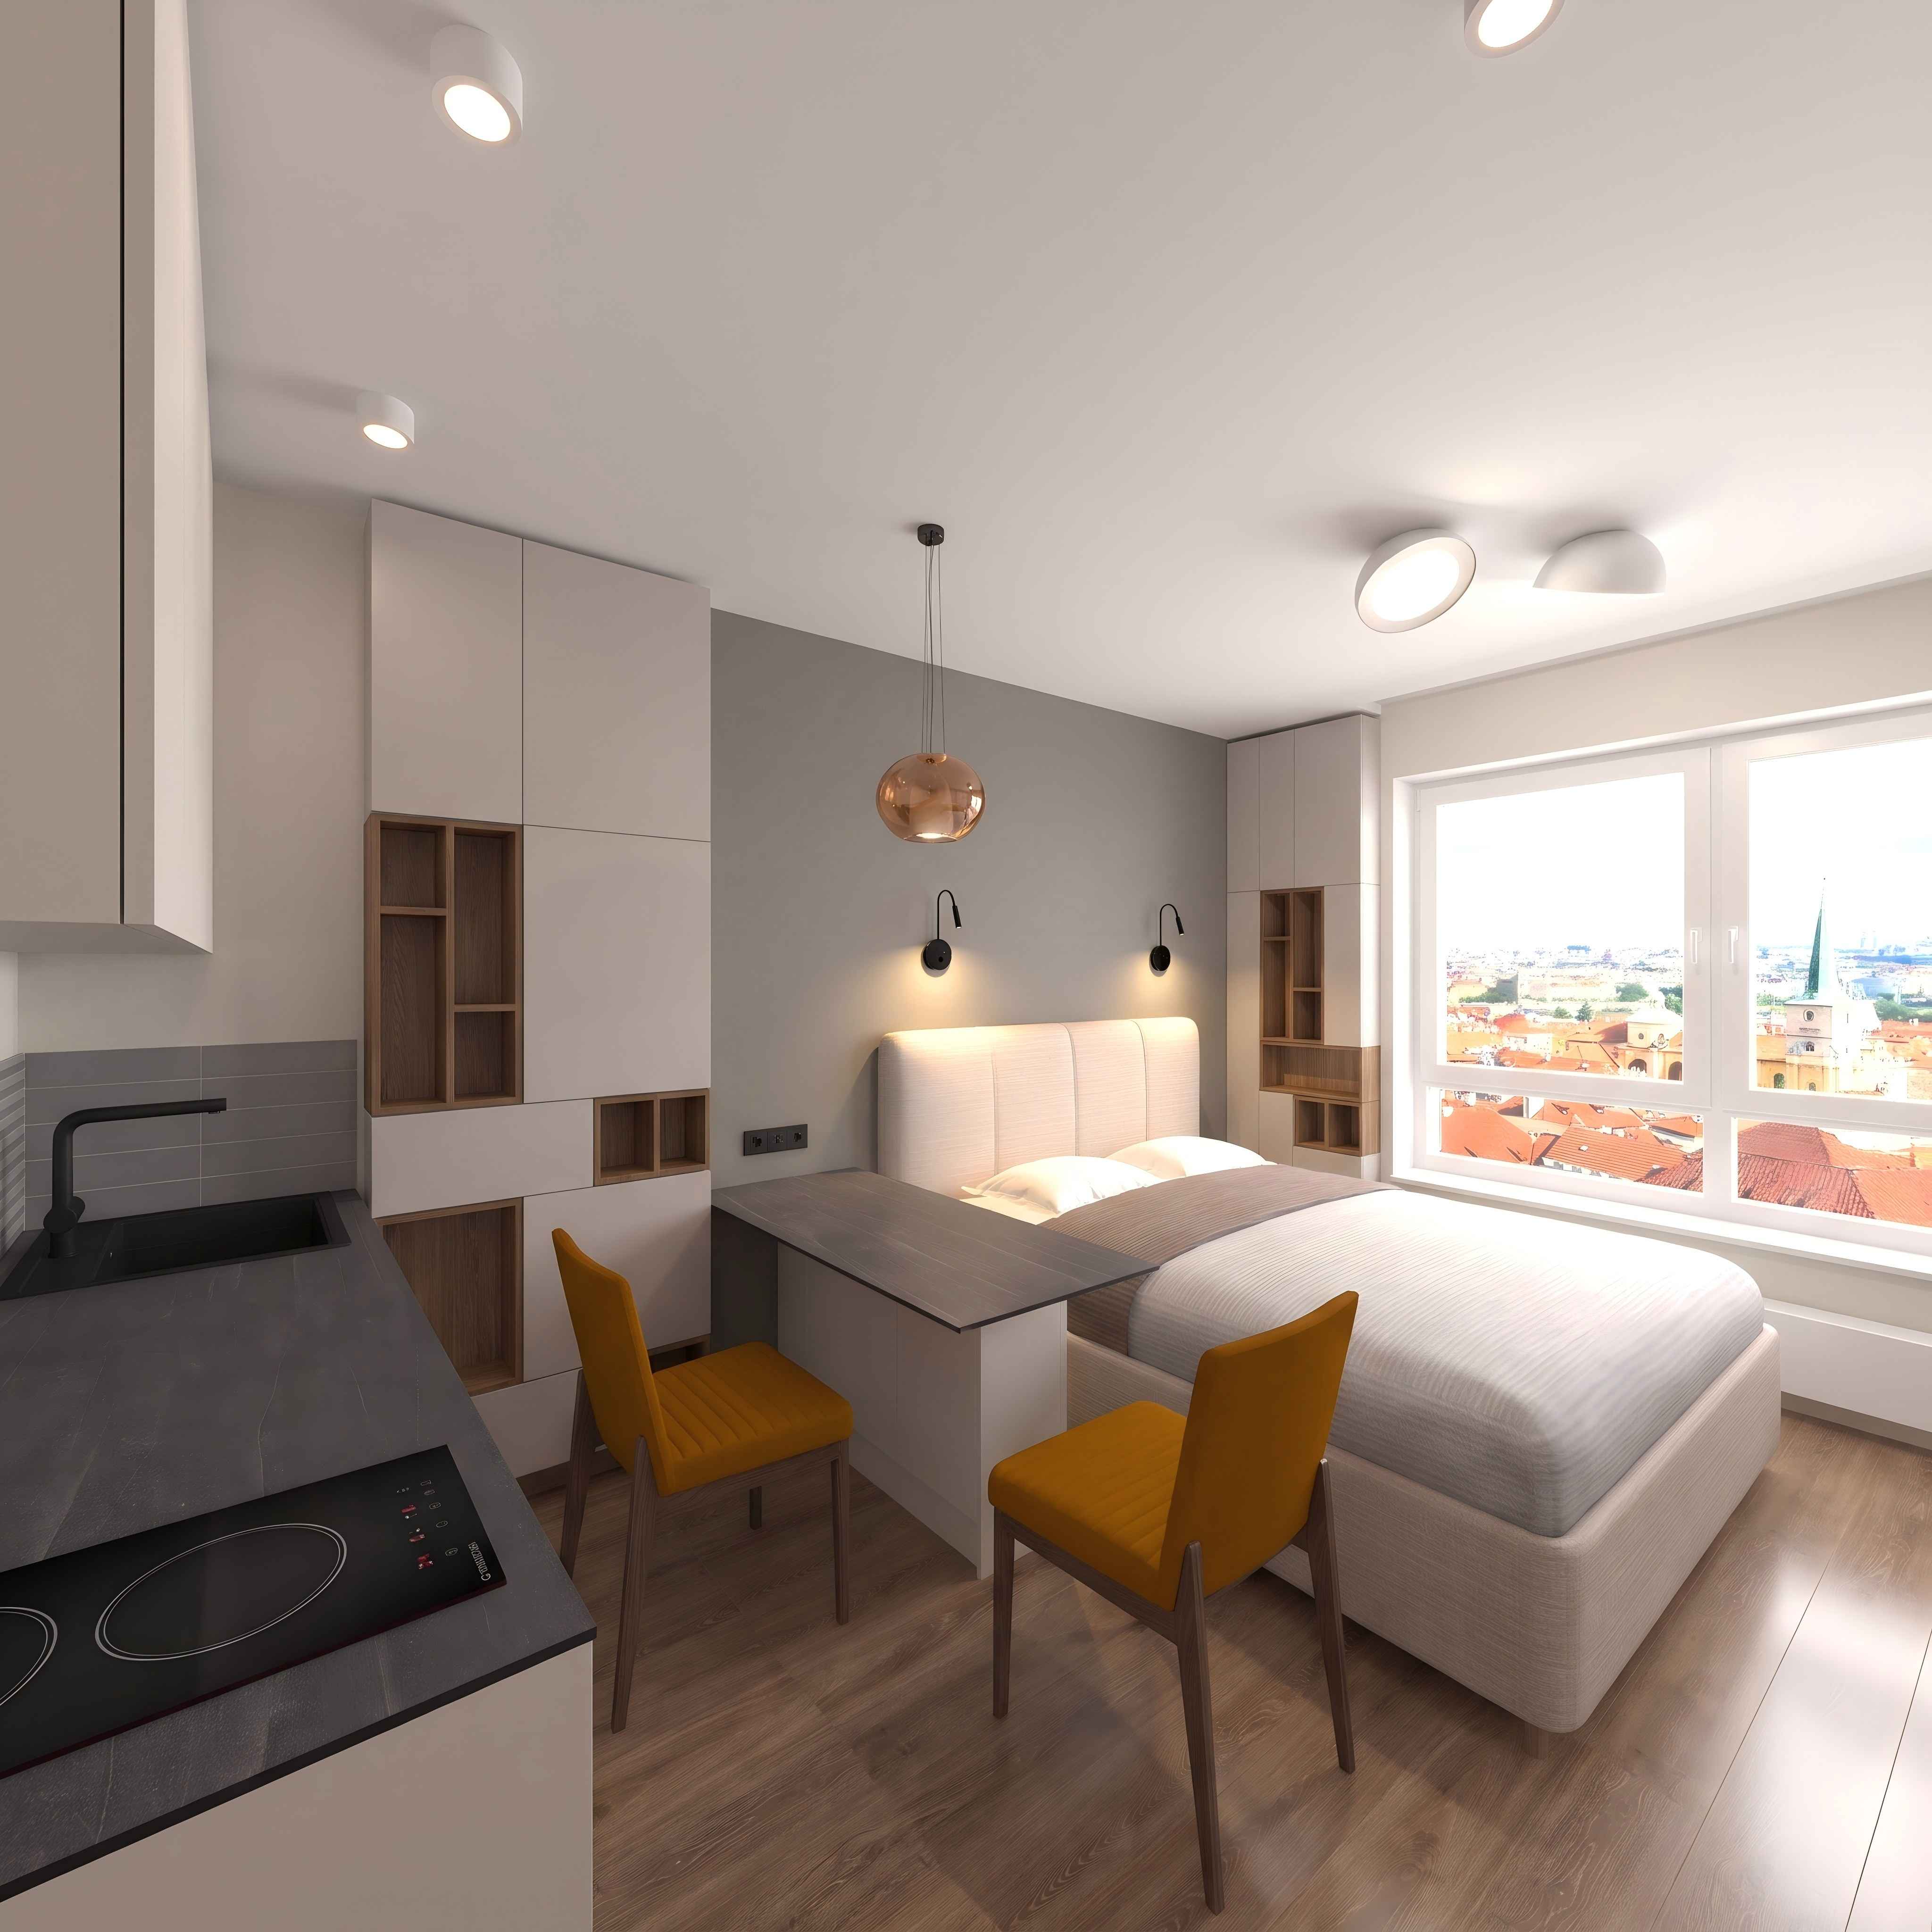
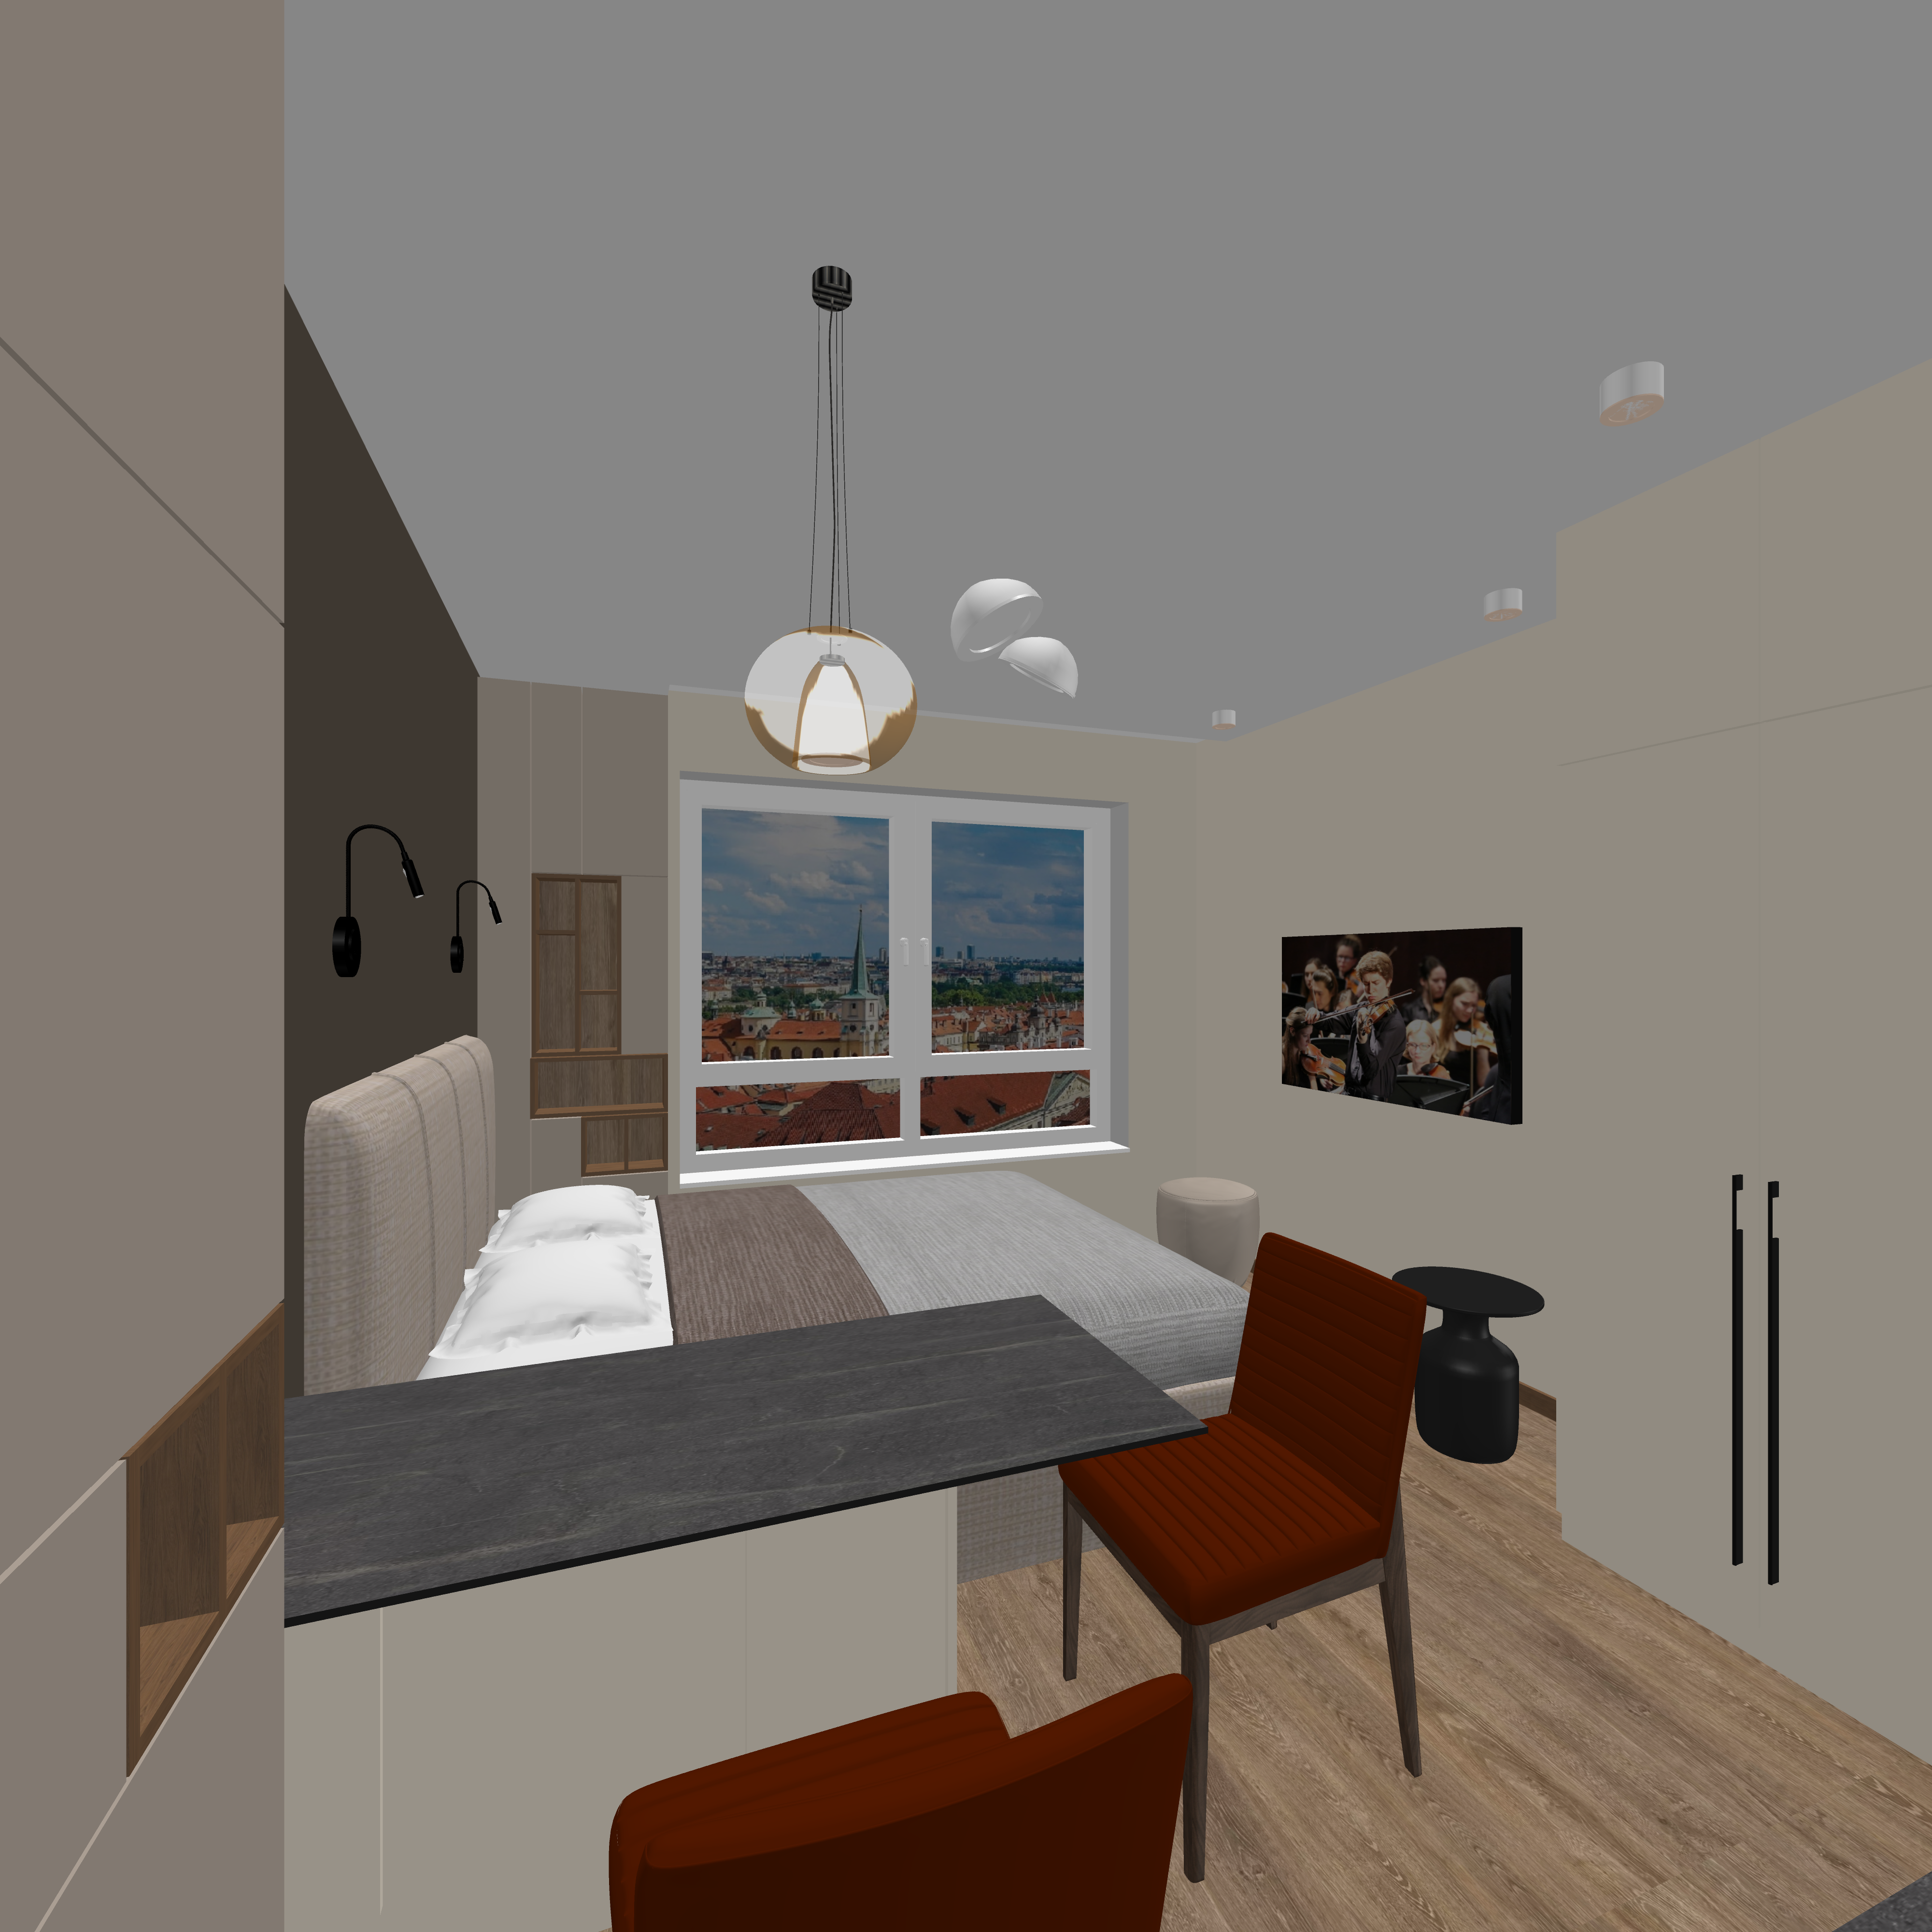
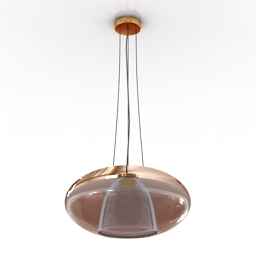
Well, now the main secret. You need to make a render with a quality of 1 (where light is not taken into account) with a size of 4000 pixels. This will be the benchmark for picture clarity. And the lighting reference will be a terrible render with noise and white dots. And now everything needs to be uploaded to AI. It is useful to add pictures of a glass chandelier to clarify, write a promt, where everything is explained once again. But the samples and standards are starting to work!!! And almost on the first attempt, a high-quality render is obtained. This method does not require the skills of an artist, it is automatic. And the most important thing is maximum control over this uncontrollable AI. Although of course there are still no guarantees. I hope Sjb007 and SM will be able to embed DD3D inside SH, and then these tambourine dances won't be needed.. :idea: :!:
Image
Image
Image
Image
Image
Image
sjb007
Advanced Member
Posts: 349
Joined: Tue May 18, 2021 1:49 pm

Re: Maximum control over lighting in SH3D using render settings

Post by sjb007 »

Your results are very nice! The one gremlin I see is the banding on the ceiling gradient. It's on cupboard doors too, but the ceiling is more obvious. I don't know if this is being caused by the rendering, the AI, or something in your process.

On: "I hope Sjb007 and SM will be able to embed DD3D inside SH"

DD3D is a complete replacement for SH3D. It cannot be embedded or back-ported into SH3D because Space Mushrooms have zero interest in the continued existence of the open source version of SH3D. They only care about subscriptions from paying customers and frankly, having seen some of the posts by those customers in these forums, they don't seem particularly interested in those people either. If you want any improvements or fixes, you can either repeatedly pay for entry to the SM walled garden, or you switch to DD3D.

DD3D was created by Dawid Laszuk (kretyn in this forum) and he did the initial modernisation work, but then he went radio silent. I created the general fork (under org DobryDom3D) to try and avoid it being abandoned. I invited him to the org, but he hasn't accepted, so I guess he isn't so interested, or just busy with "life". I also added a few fixes and changes of my own. I haven't really tested building release packages so far. It needs the appropriate OS to build release packages, and I think that can be done in Githubs CI system. I know I won't be able to build Win and Mac builds on my Linux system. I could temporarily make a Linux release available, but if you have Linux it is already not too hard to get it working, though you will need Java 26 installed.

I should probably focus on that before I try to do anything else.
User avatar
GaudiGalopin3324
Advanced Member
Posts: 760
Joined: Sat Aug 13, 2022 9:58 am
Country: Russia

Re: Maximum control over lighting in SH3D using render settings

Post by GaudiGalopin3324 »

sadly.. I hope that SH and DD won't die after all.. :| And the gradient and stripes are the features of photo hosting. They seem to compress a large image with such defects. I have everything exactly right in the source file.
sjb007
Advanced Member
Posts: 349
Joined: Tue May 18, 2021 1:49 pm

Re: Maximum control over lighting in SH3D using render settings

Post by sjb007 »

I've created test release builds that work just like SH3D release packages. I've already tested the Linux version. I don't know what you use, but it would help me confirm the Github builds are working if you can test it regardless of system.

For the package see: https://github.com/DobryDom3D/DobryDom3 ... .1.0-test1

For the instructions see: https://github.com/DobryDom3D/DobryDom3 ... r-Guide.md

Interestingly, in my test I did a very basic test with both Sunflow and YafaRay using paths and diffuse bounces for an externally lit room. At the same settings Sunflow actually looked cleaner, with less noise!
test_trans_dd3d_sunflow.png
test_trans_dd3d_sunflow.png (116.39 KiB) Viewed 156 times
test_trans_dd3d_yafaray.png
test_trans_dd3d_yafaray.png (135.09 KiB) Viewed 156 times
User avatar
GaudiGalopin3324
Advanced Member
Posts: 760
Joined: Sat Aug 13, 2022 9:58 am
Country: Russia

Re: Maximum control over lighting in SH3D using render settings

Post by GaudiGalopin3324 »

I started learning DD, downloaded it. I have Windows 10, interestingly, the RVR2.7 plugin installed in DD does not work, there is a corresponding inscription when trying to open the RVR2 render.7. I think this version of Enko Nyito is the best for two reasons. There are two time scales (the loading time from the start and the rest of the time to the finish), and it is also possible to interrupt the rendering and look at the completed fragment, which is usually slightly wider than the visible window. In other versions, including 2.8, everything disappears and there is no scale from the start. And the second reason is that I see that this version 2.7 highlights surfaces in shadow more vividly, in other versions this reflex illumination of shadow zones seems darker and less expressive. Version 2.8 and earlier versions read well in DD, but they have their drawbacks. My main question is, how do I see the newest SJB DD plugin in operation? What do I need to download specifically? Or is it a Windows issue? :?:
sjb007
Advanced Member
Posts: 349
Joined: Tue May 18, 2021 1:49 pm

Re: Maximum control over lighting in SH3D using render settings

Post by sjb007 »

Don't use PVR for now, I haven't done anything with that so far. Use the "Advanced settings of photorendering (v1.4.1)" menu option to change the settings of high quality rendering modes. This impacts the normal rendering values of the built-in photo/video creator in the "3D view" menu (i.e. nothing to do with PVR).

Screenshot From 2026-11-05 15-50-09.png
Screenshot From 2026-11-05 15-50-09.png (37.98 KiB) Viewed 118 times

Then use the "Create photo..." menu option in "3D view" to create the photo.

Screenshot From 2026-11-05 15-53-45.png
Screenshot From 2026-11-05 15-53-45.png (73.79 KiB) Viewed 118 times

There you will find the turbidity, transparent sky, lighting tweakers, and forcing of sky lit interiors. Ignore the Ozone setting. That's just in my local dev build, and I'm still figuring out if that is even having an effect.

Screenshot From 2026-11-05 15-56-04.png
Screenshot From 2026-11-05 15-56-04.png (28.68 KiB) Viewed 118 times
Post Reply New Topic

Who is online

Users browsing this forum: No registered users