Denmark
Joined: Jul 7, 2013
Post Count: 637
Status:
Offline
Re: Light & textures - rendering examples of this and that.
Part four (B) Other things I do…
I like my textures to be unique to my projects. That’s why I spend time on making my own textures. I create most of my textures from photos; snapshots of buildings, walls, fences, doors, pavements, graffiti… and what have you. Cloudy days are best for photographing. On cloudy days the light is flat and there are few shadows. I don’t like it when shadows are pointing in the wrong direction.
There are also a number of websites with free textures that are good starting points for creating unique textures. Anything can be combined. Sometimes I just try a “wrong” texture on an object, just to see what it looks like. I found a nice abstract image on a free textures website. I applied it to the cover of a duvet.
Changing textures is an easy way to change the atmosphere...
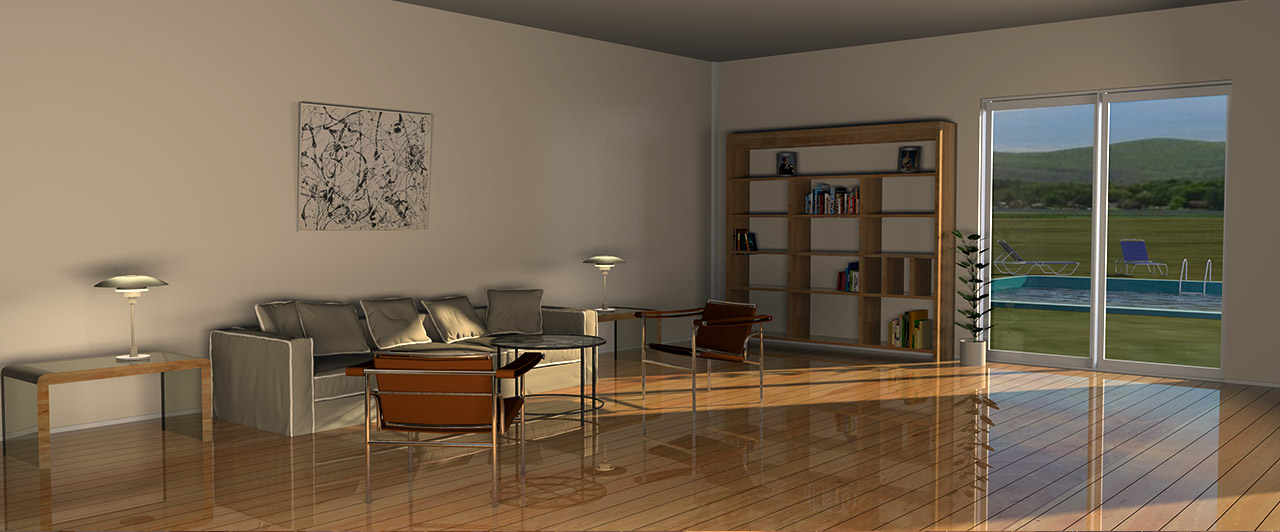
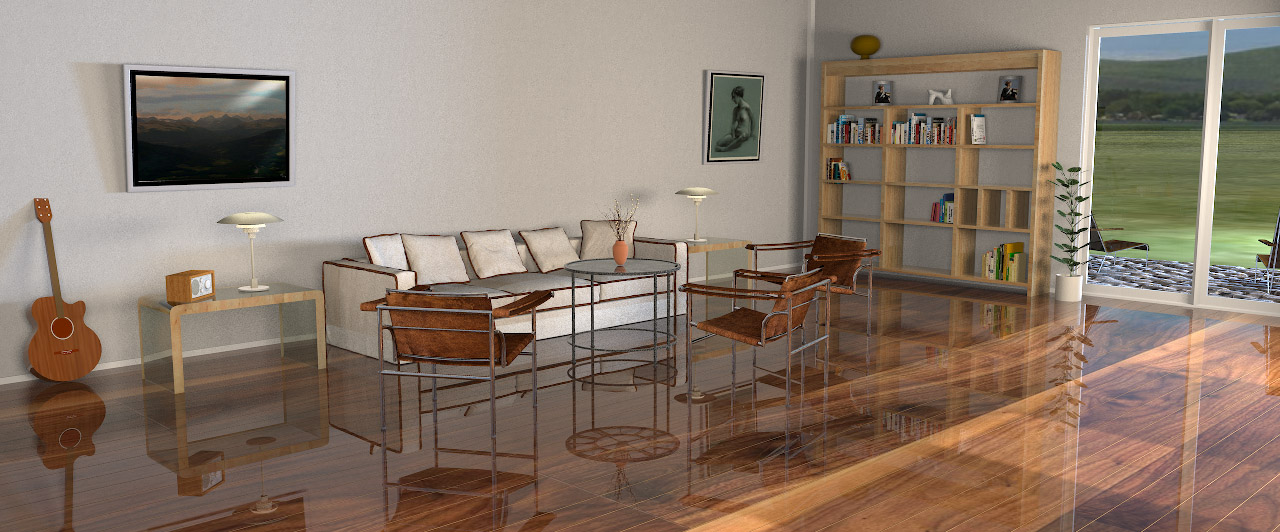
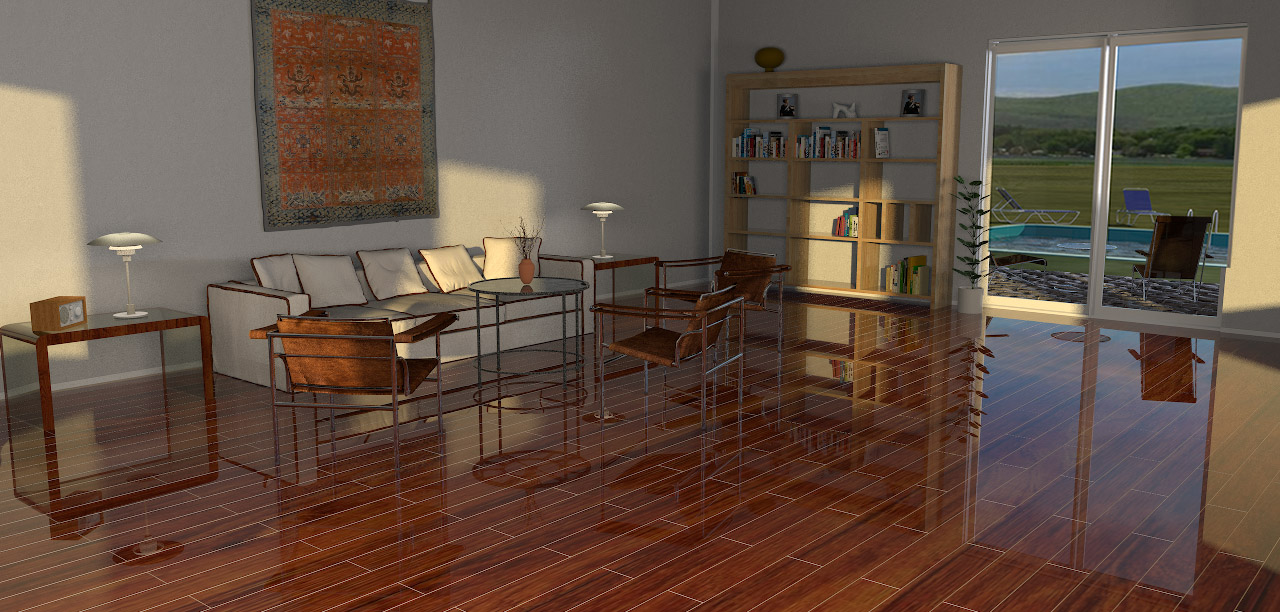
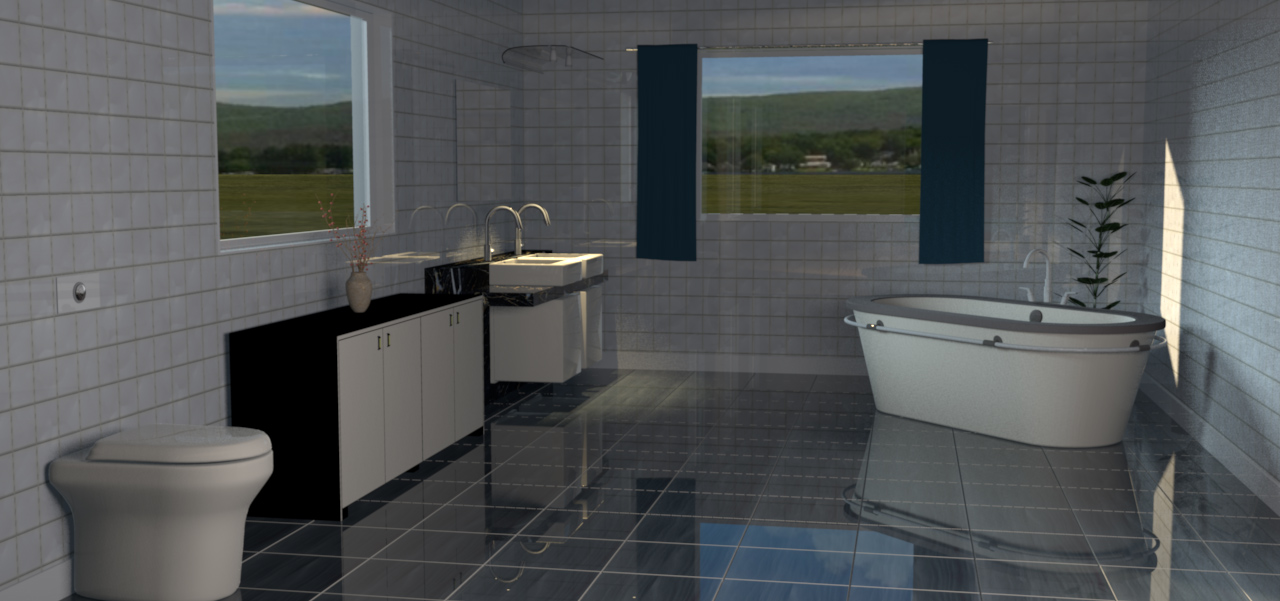
Finding the right texture can take a while, and sometimes the right texture just isn't even created yet. Sometimes creating a simple 3D model is a lot faster than searching for the texture of your dreams, especially when it comes to flooring. Floorboards and tiled floors can easily be made with Photoshop ( and maybe with Gimp?) using 3D extrusion. A model can be textured with any kind of texture, or just coloured, without losing the structure.
Here is a project file: Flooring.sh3d. I have made some example renderings.
Livingroom floors:
Bathroom floors:
(For shiny floors, give it a bit of shininess and set the ShininessShader to Glossy when rendering.)
A short comment on texturing terrains ( answering some questions I have got on email):
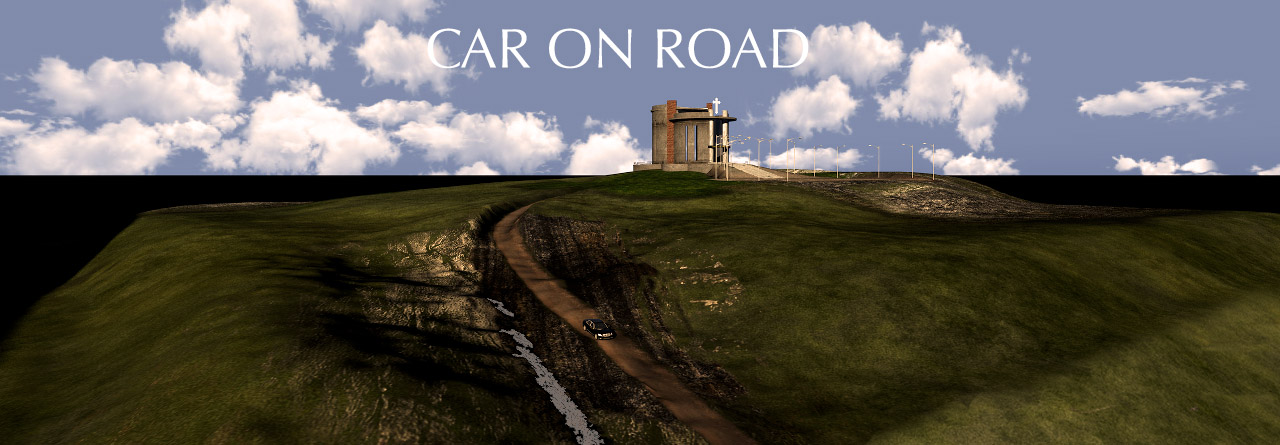
Everything is easy when you know how to do it, but I know from experience that creating complex height field maps take a lot of trying and failing. The easiest way to start is to use Verto Studio 3D as terrain generator, and to use Gimp, Photoshop or what have you, to start playing with gradients and grayscale. Designing a correct height field map that perfectly reflects the real surroundings of a house, is more than I’m able to. I know there’s a way to accomplish this by using Google maps and a new plugin made for Photoshop, but I’m not familiar with that technique yet. Answering a question about texturing a terrain: If it’s a terrain created from a home-crafted height map, it’s quite easy; just enlarge the height map and start applying textures to the right places. I will show an example on how I do it:
It’s a try and fail game, so be patient. This took some hours:
____________
Note: Apart from where it’s evident that my images have been subject to post production ( photoshopping), all images here are straight out of SH3D. The only postproduction is downsizing the images from 4K to 1280 px.
Denmark
Joined: Jul 7, 2013
Post Count: 637
Status:
Offline
Re: Light & textures - rendering examples of this and that.
I'm really sorry about the typos here. Spellcheck think it knows better than me what I want to write, and tends to automatically substitutes even words that I have spelled correctly. Alas, it is too late to edit this post now, so the wrong words are here to slay... ...STAY! forever.
I'm browsing through my collector... I mean collector... COLLECTION!
Norway
Joined: Apr 19, 2014
Post Count: 269
Status:
Offline
Re: Light & textures - rendering examples of this and that.
(...) texturing is all about applying chaos.
Yes. And you can even turn it around and say: Chaos is texture. In the world of computer-aided composition and performance we can apply a process that creates a touch of randomness to pitch and timing. When we apply this process to our music we make it sound like it’s being played by a human rather than by a machine. This process is called Humanizing. The amount of randomness in this process is however quite questionable as the computer is dependent upon certain parameters to be set prior to applying the process, and as you say; computers can't really do random. Neither can nature, in my opinion. Nothing is random. Everything is dependant upon the state of the initial conditions.
I see no unstructured randomness in your perfectly applied chaos. I guess that's the secret to creating these lifelike images.
I have just read this whole tread once again from start to end. You have obviously put a great deal of work into this. I can only say thank you for sharing your knowledge, your creations and your thoughts.
btw: You should revise your spellcheck settings and untick the automatic replacement ( or what it’s called).
Norway
Joined: Apr 19, 2014
Post Count: 269
Status:
Offline
Re: Light & textures - rendering examples of this and that.
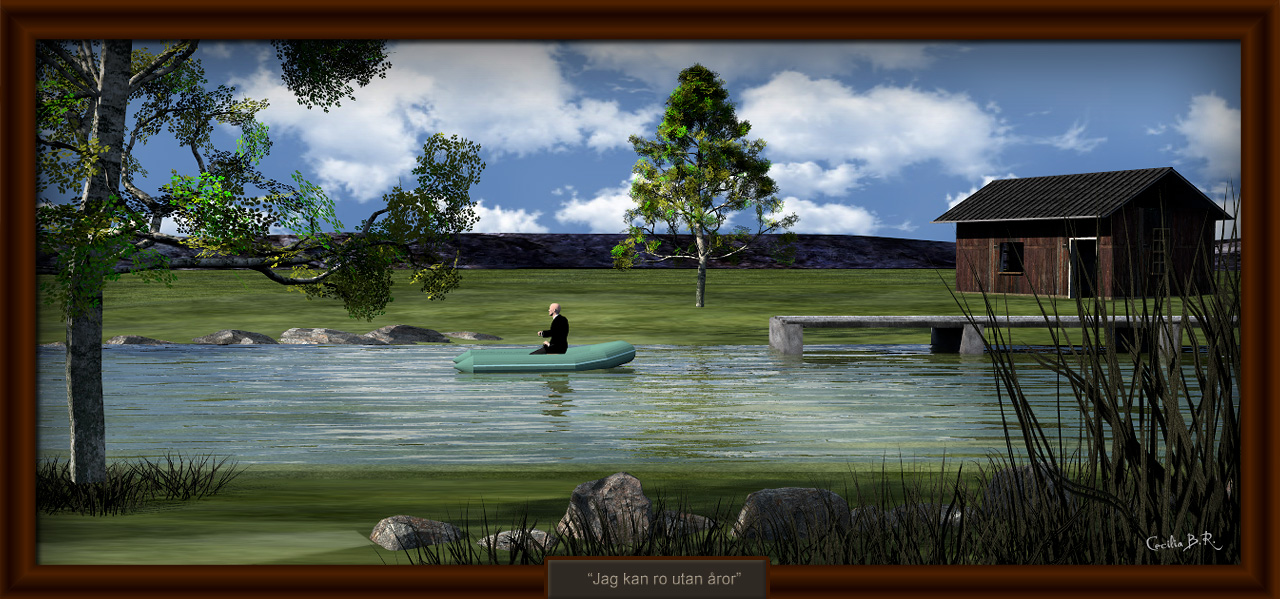
Just noticed the title of the last image: "Jag kan ro utan åror" It's actually quite funny, meaning I can row without ores
The title is taken from a Swedish song, known all over Scandinavia. Here is a recording made for the film: A Cowboy in Sweden, performed by Nina Lizell and simultaneously translated by Lee Hazlewood:
Denmark
Joined: Jul 7, 2013
Post Count: 637
Status:
Offline
Re: Light & textures - rendering examples of this and that.
It so interesting
A little experiment with the compass: This is a 24 hr sequence of the midnight sun with the coordinates from Hammerfest in Norway, the first urban settlement in Northern Europe to get electrical street lights.
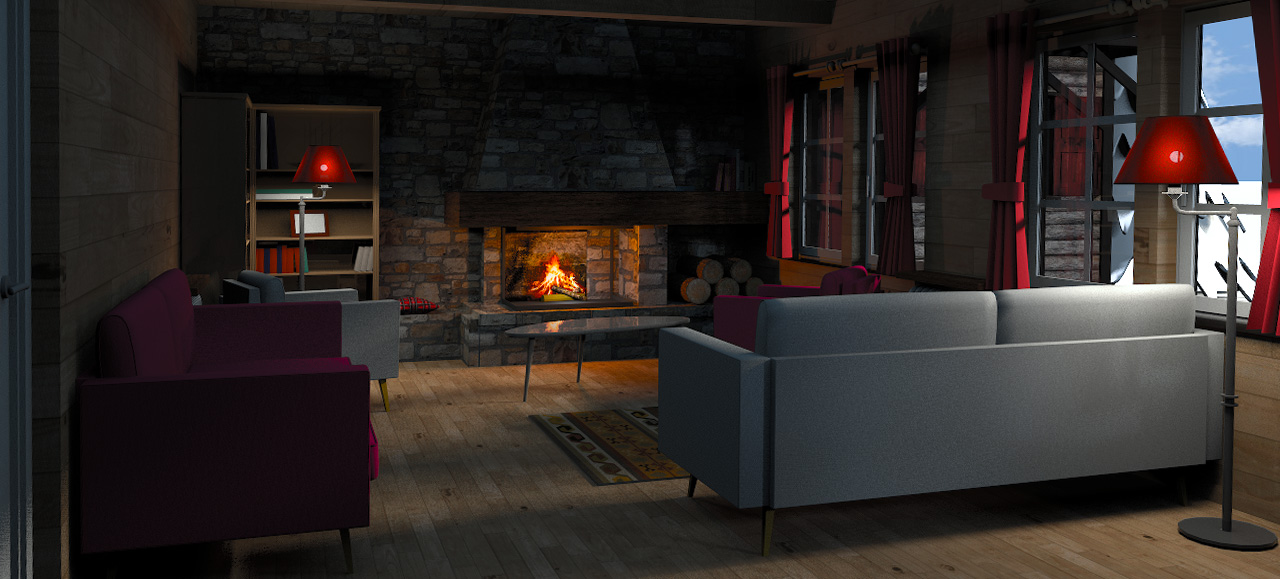
My intention was to continue an earlier experiment where I quite unsuccessfully tried to create the illusion of a slightly visible light bulb inside a lamp shade. I was thinking that Enkonyito's new opaque light sphere would be perfect for achieving the effect I was after. However, continuing to work with the original project file was too boring. The Alps Hotel demo file, on the other hand, seemed to be perfect, as it already had all the elements I needed, plus a lot more that made it interesting to work with. I just needed to perform some minor modifications for the project to suit my purpose.
First I changed the texture of the red lamp shades to a 95% opaque red fabric texture. Then I inserted an opaque light sphere inside, and added four incandescent lights encircling the lamp shade — both to illuminate the shade from the outside and to create a bright spot around the image of the opaque sphere light that had now become visible thru the barely transparent lamp shade. I did this for both the red lamps in the room. The result was okay, although not as perfect as I had hoped for.
But of course I couldn't help myself, so I removed the Christmas tree ( since Christmas is long gone), I modified the fireplace slightly, and I placed some panel lights here and there (some inside the room and some outside the windows). The rest was left untouched (I think). And then I made this rendering
The modified project file (28 Mb) is HERE for anyone interested in seeing what I have done.
_____________________
Afterwards I added some surroundings and played around with some other stuff, to see if I could create an exterior snapshot. It turned out like this:
That's it.
Cec
----------------------------------------
[Edit 1 times,
last edit by Ceciliabr at Feb 6, 2019, 1:22:51 AM]