|
Posted by GaudiGalopin3324
at May 21, 2024, 6:25:41 PM
|
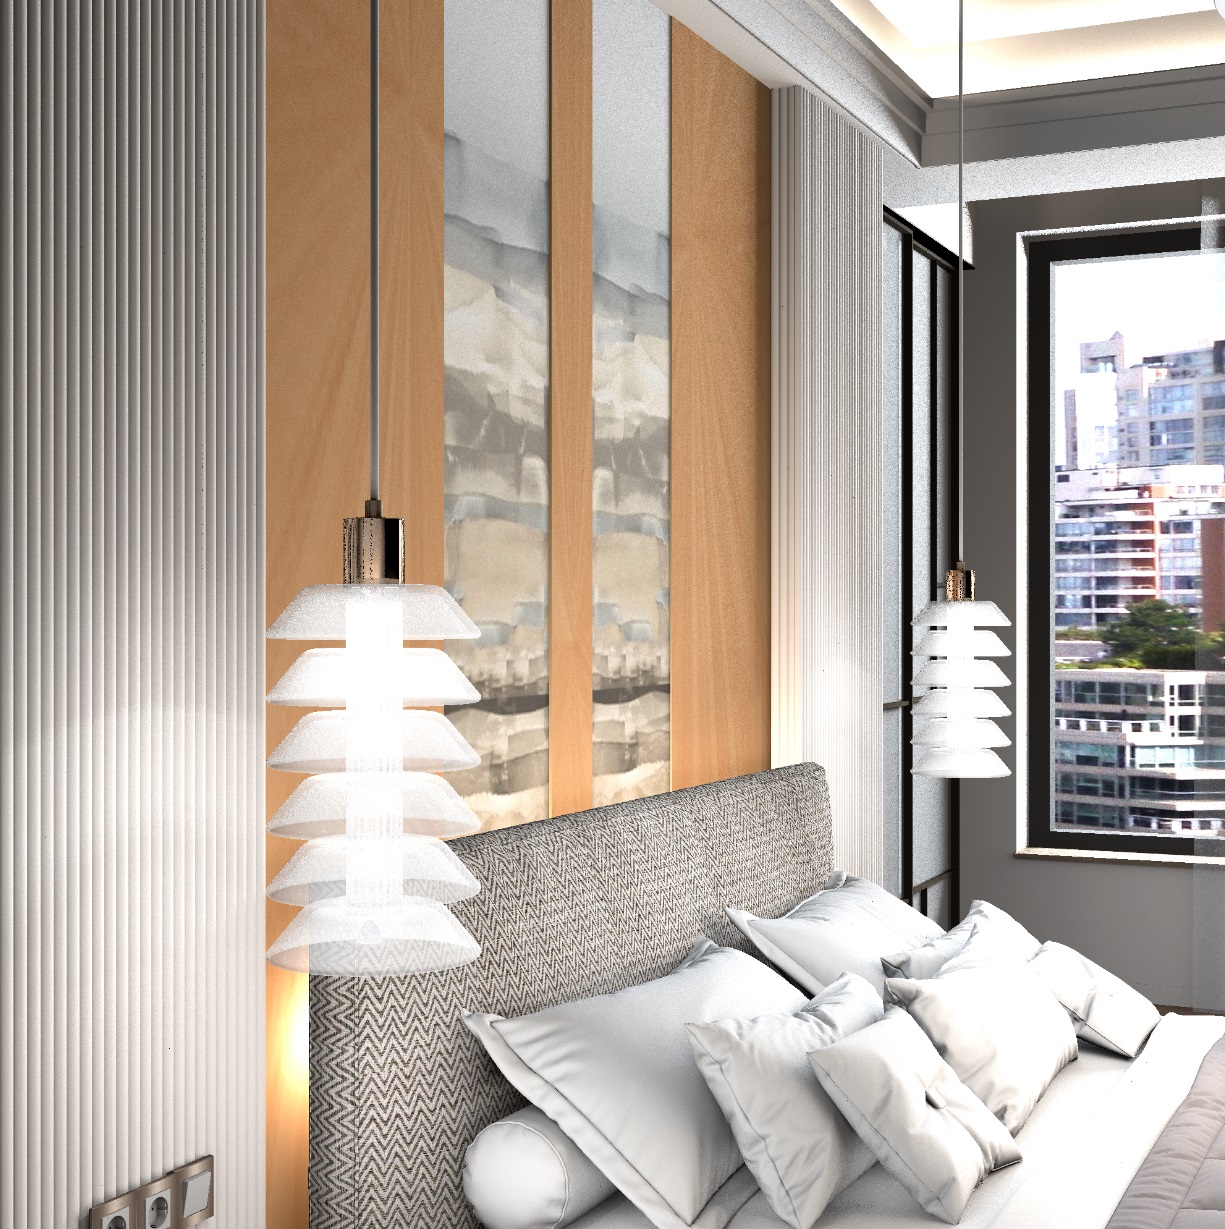
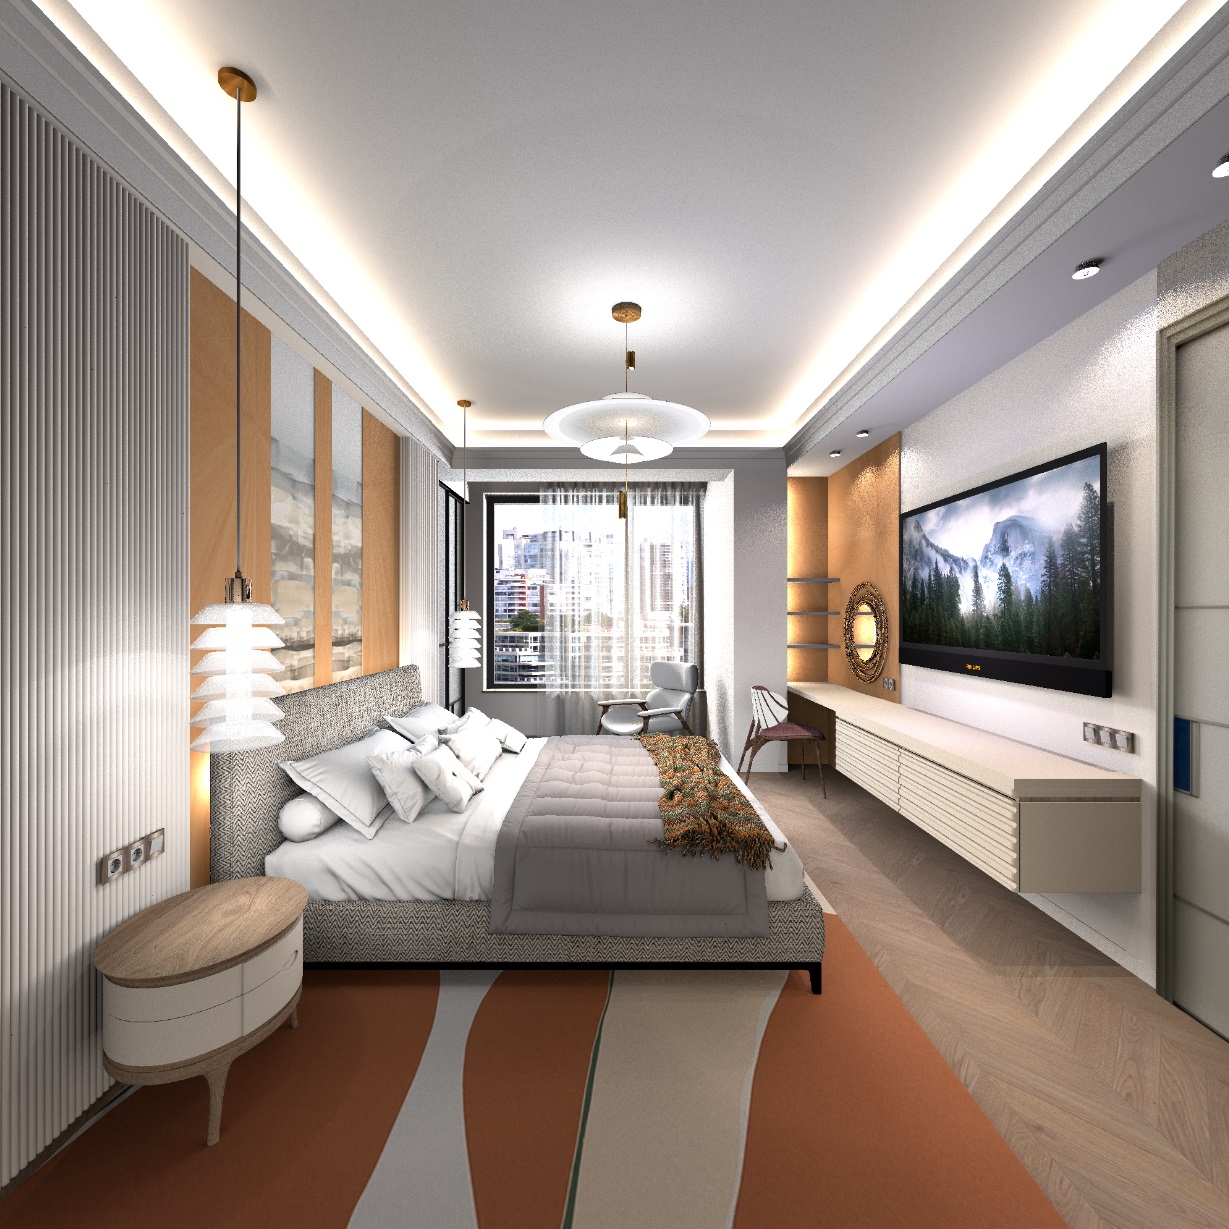
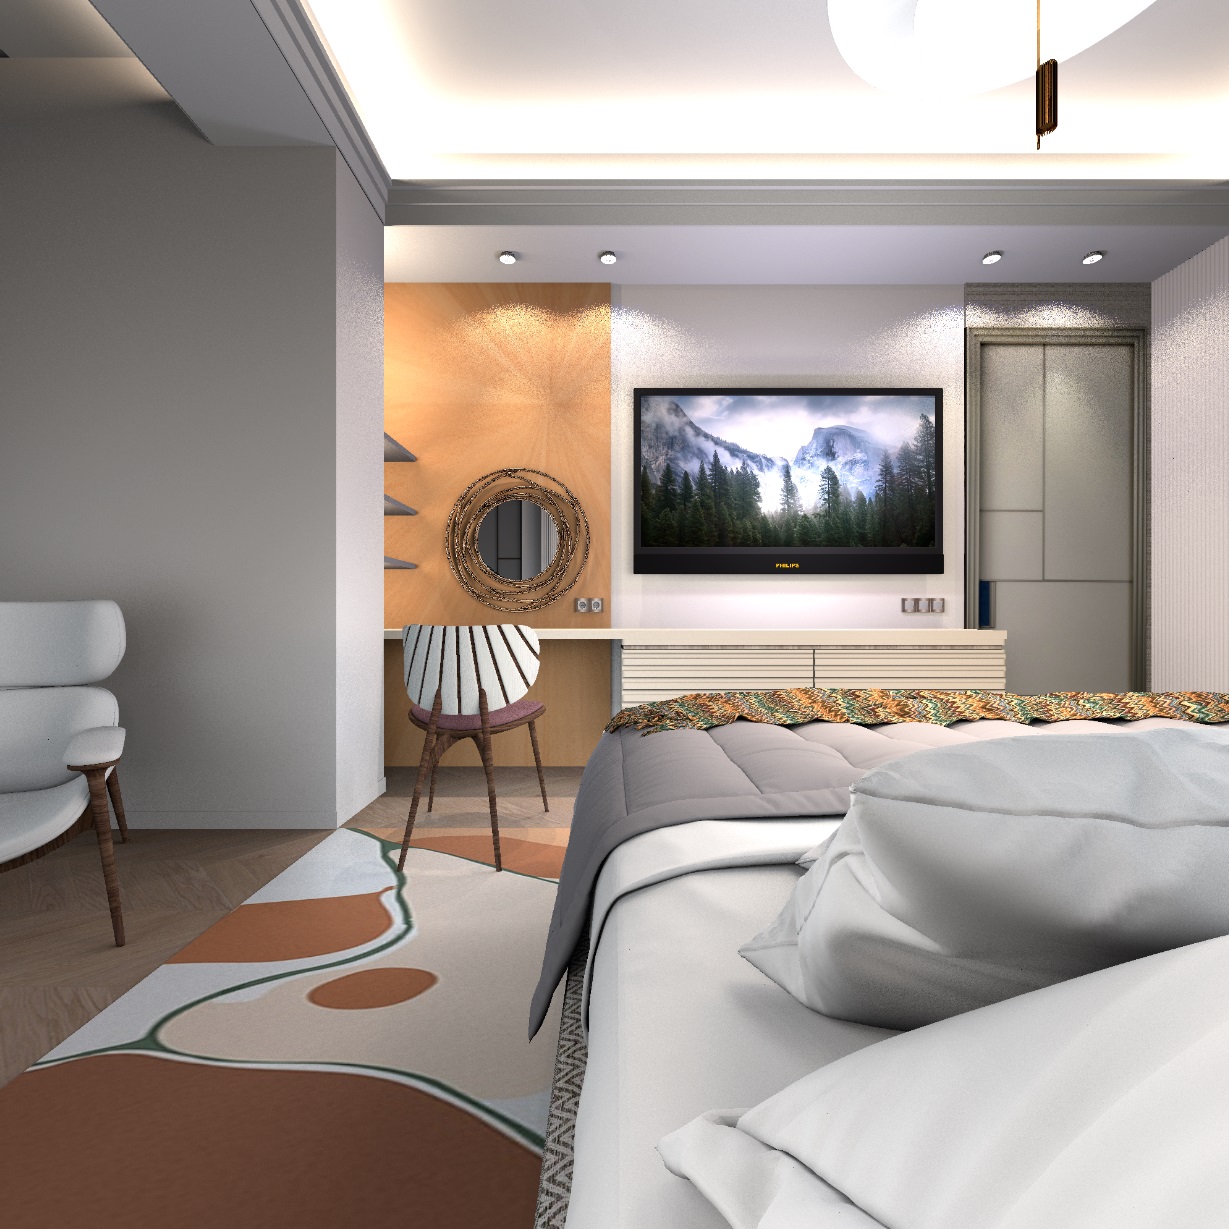
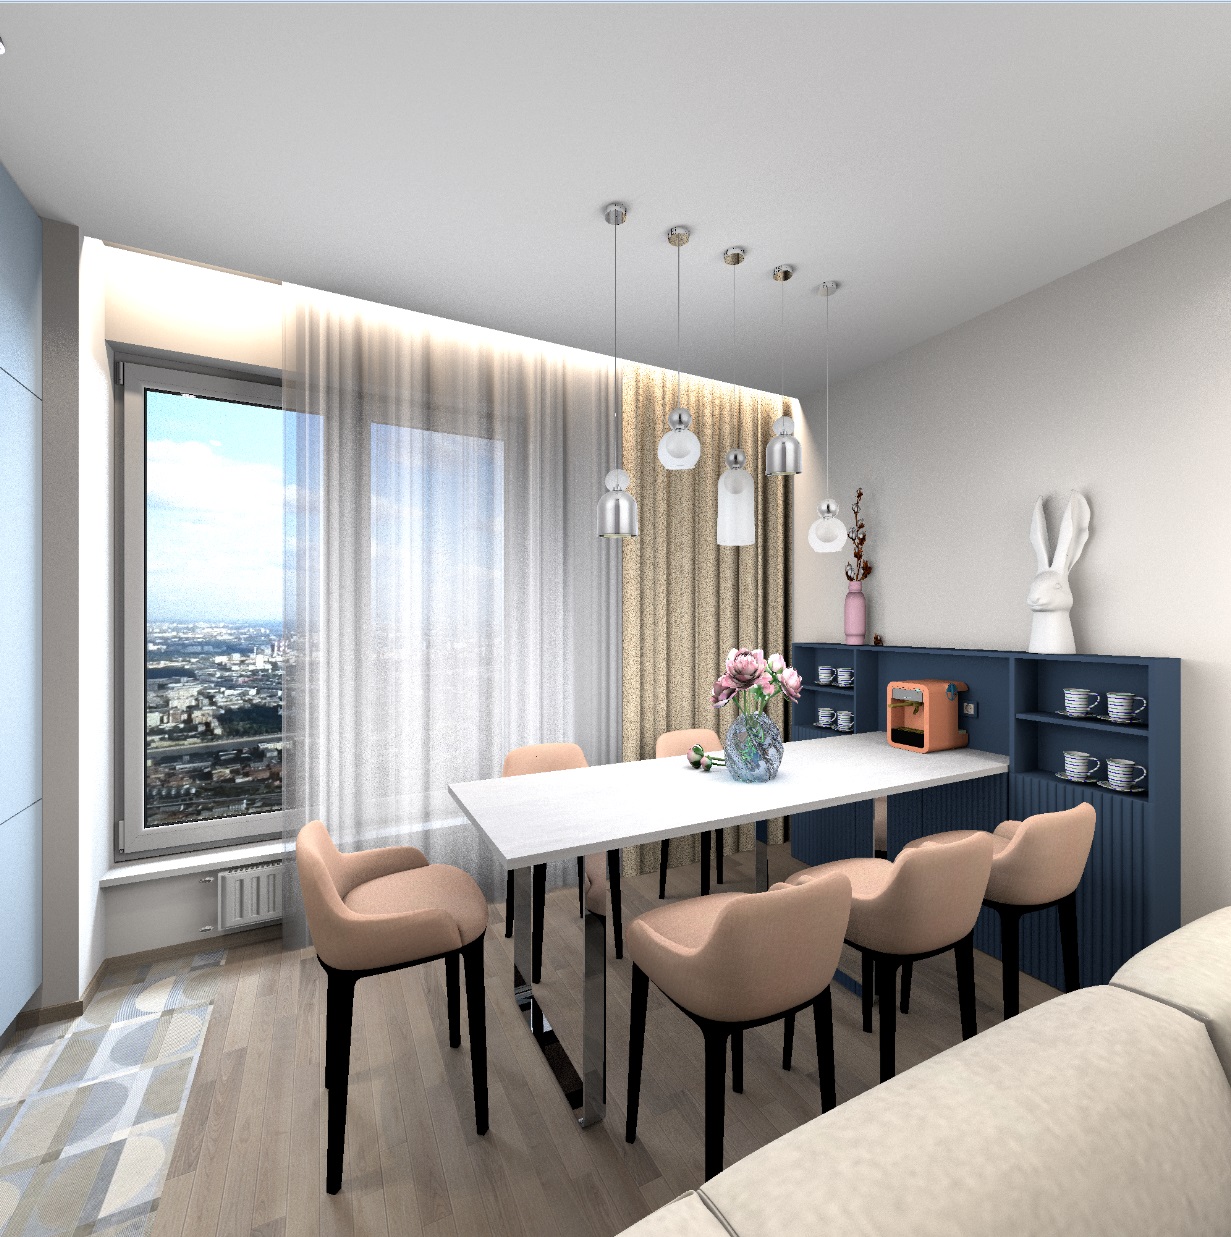
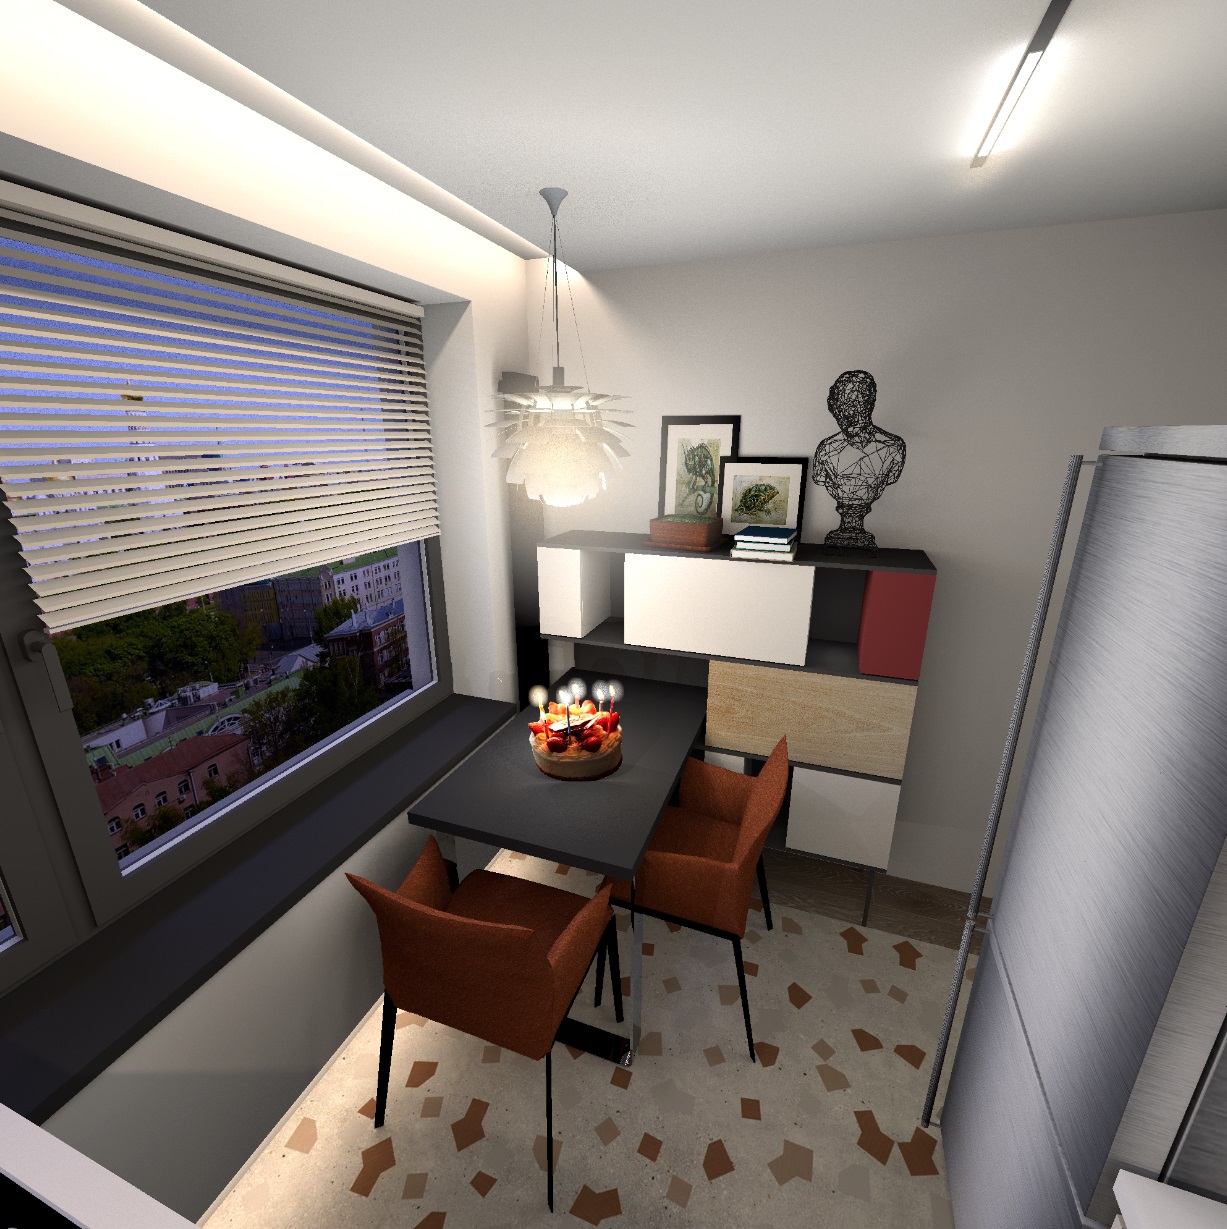
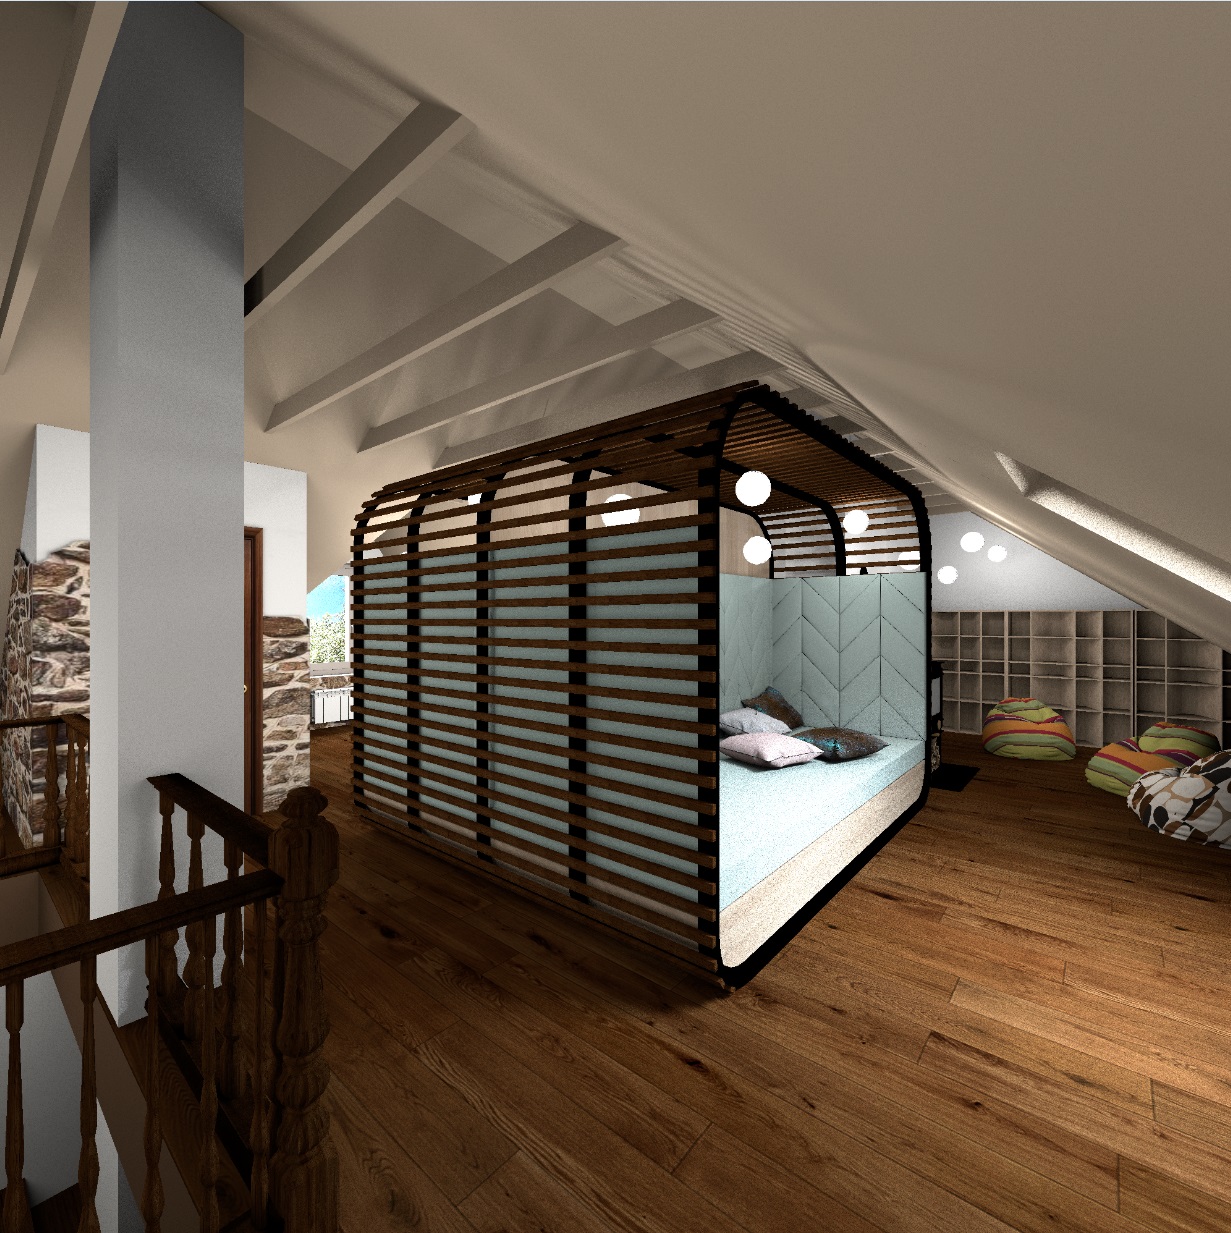
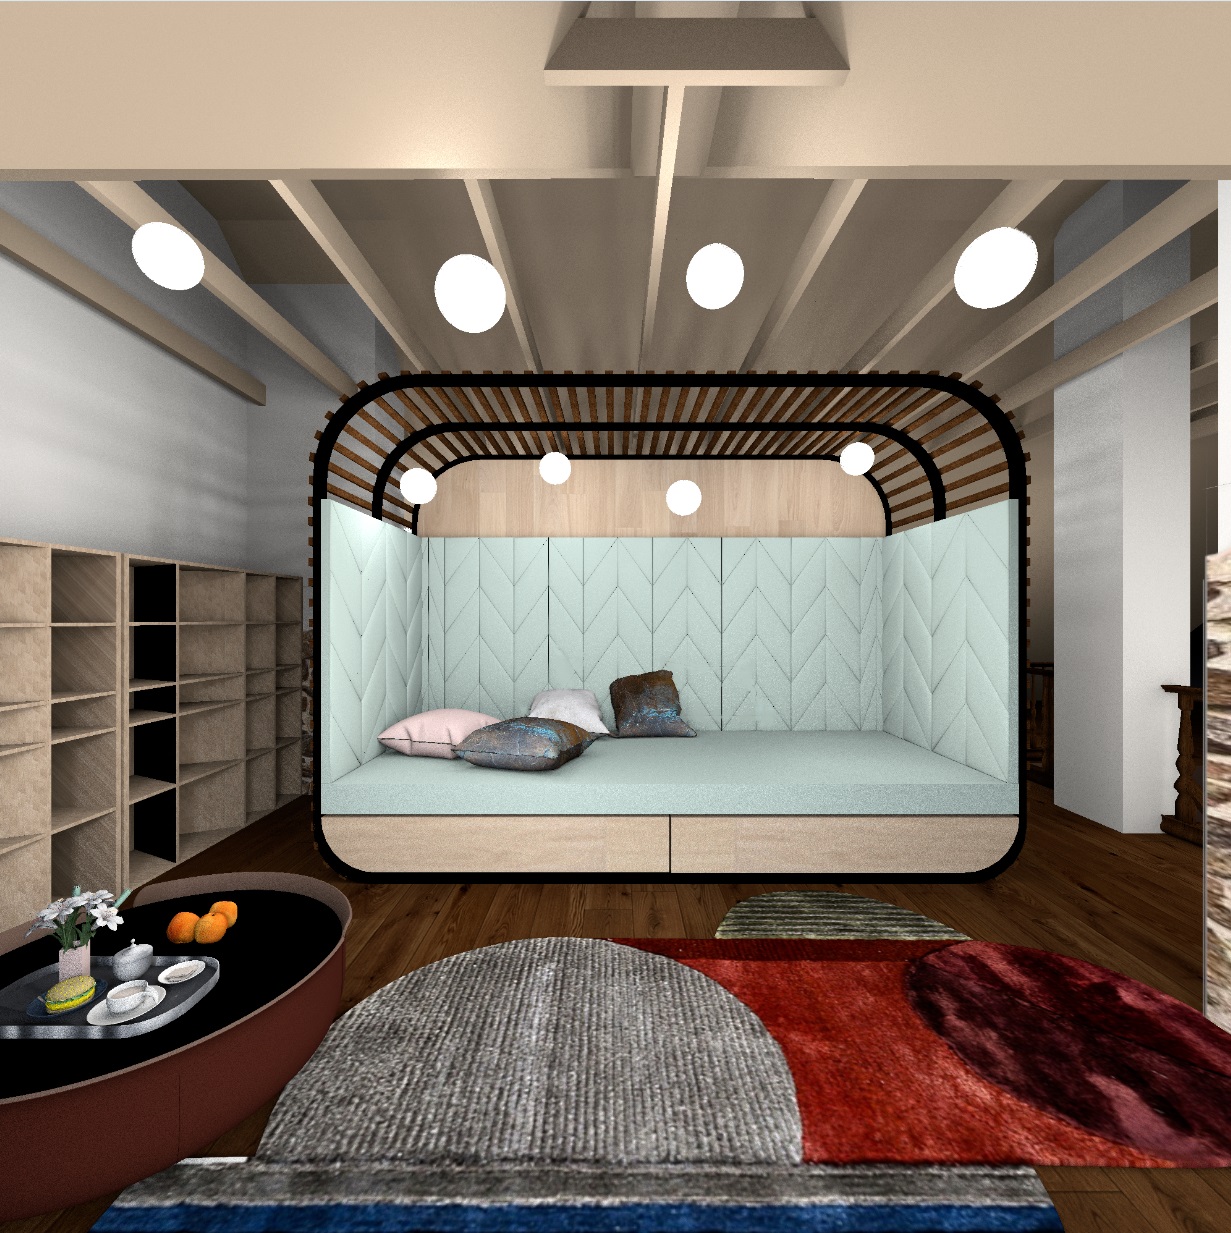
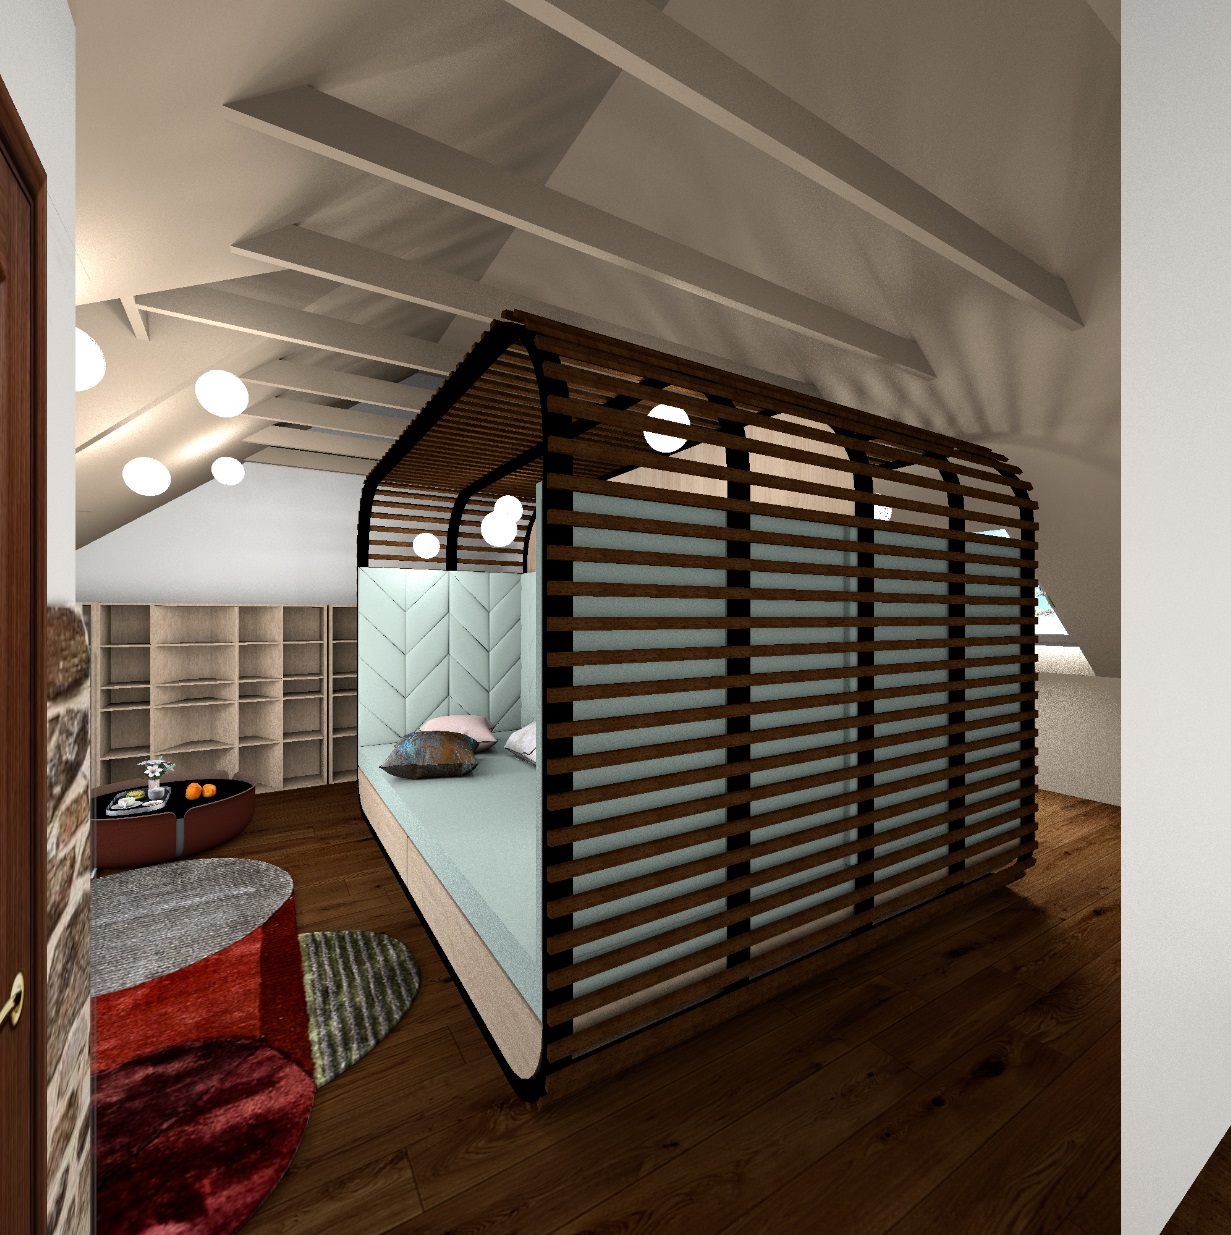
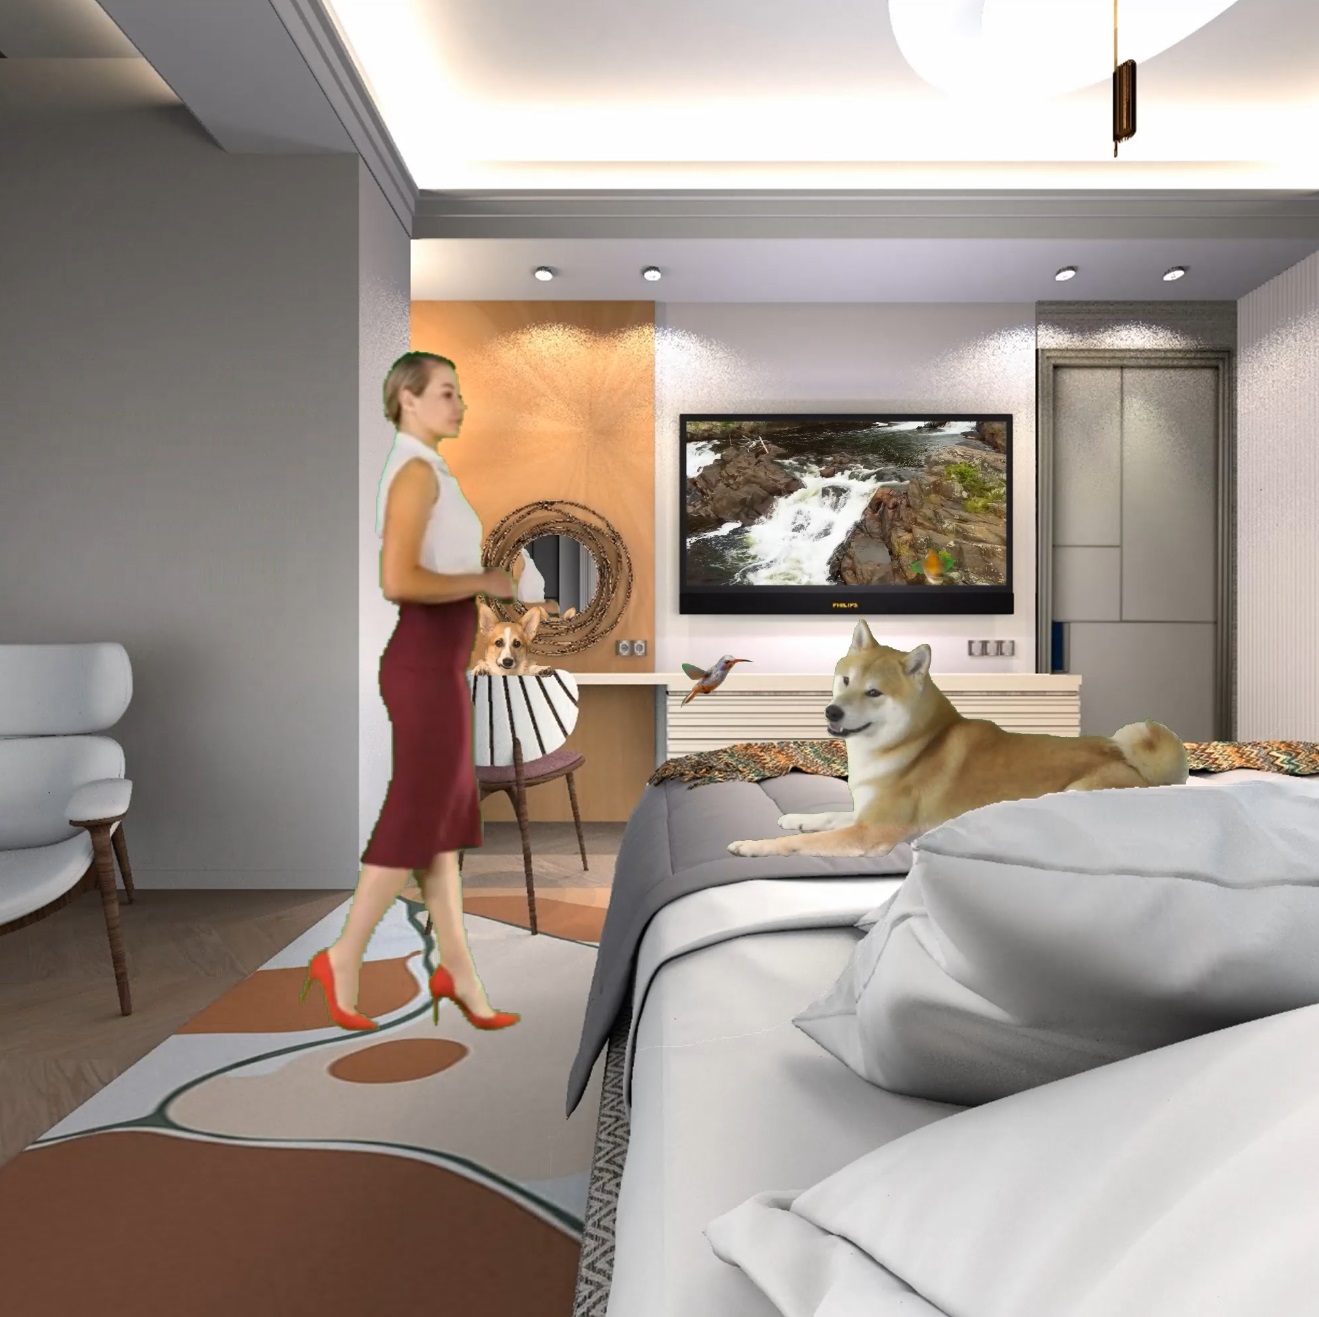
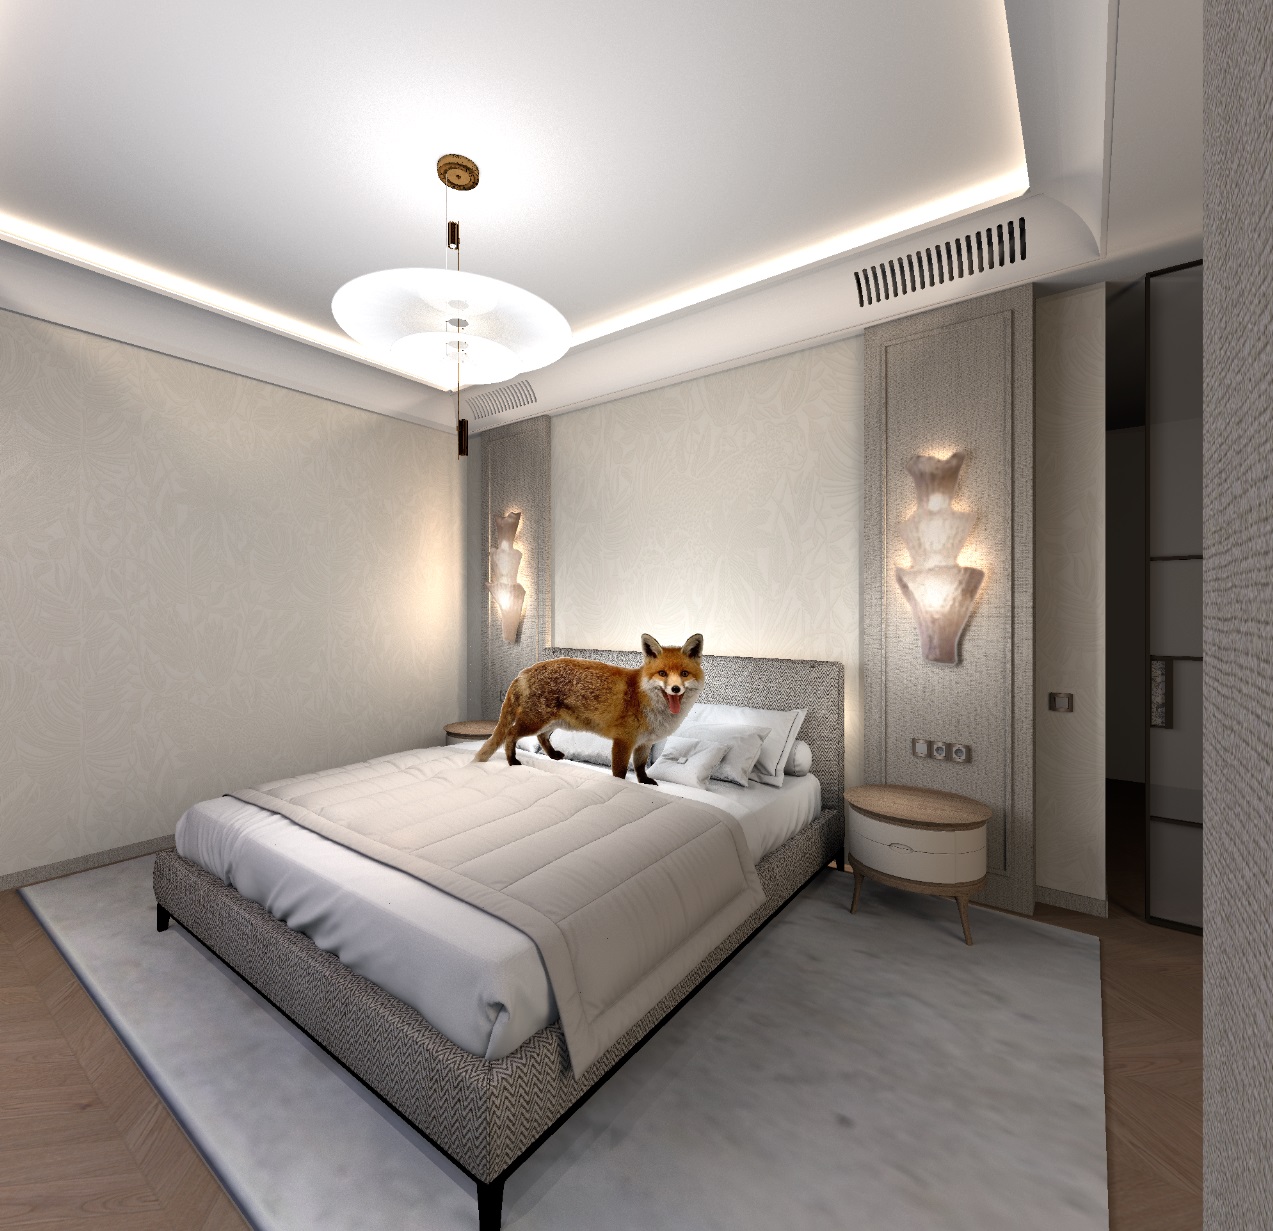
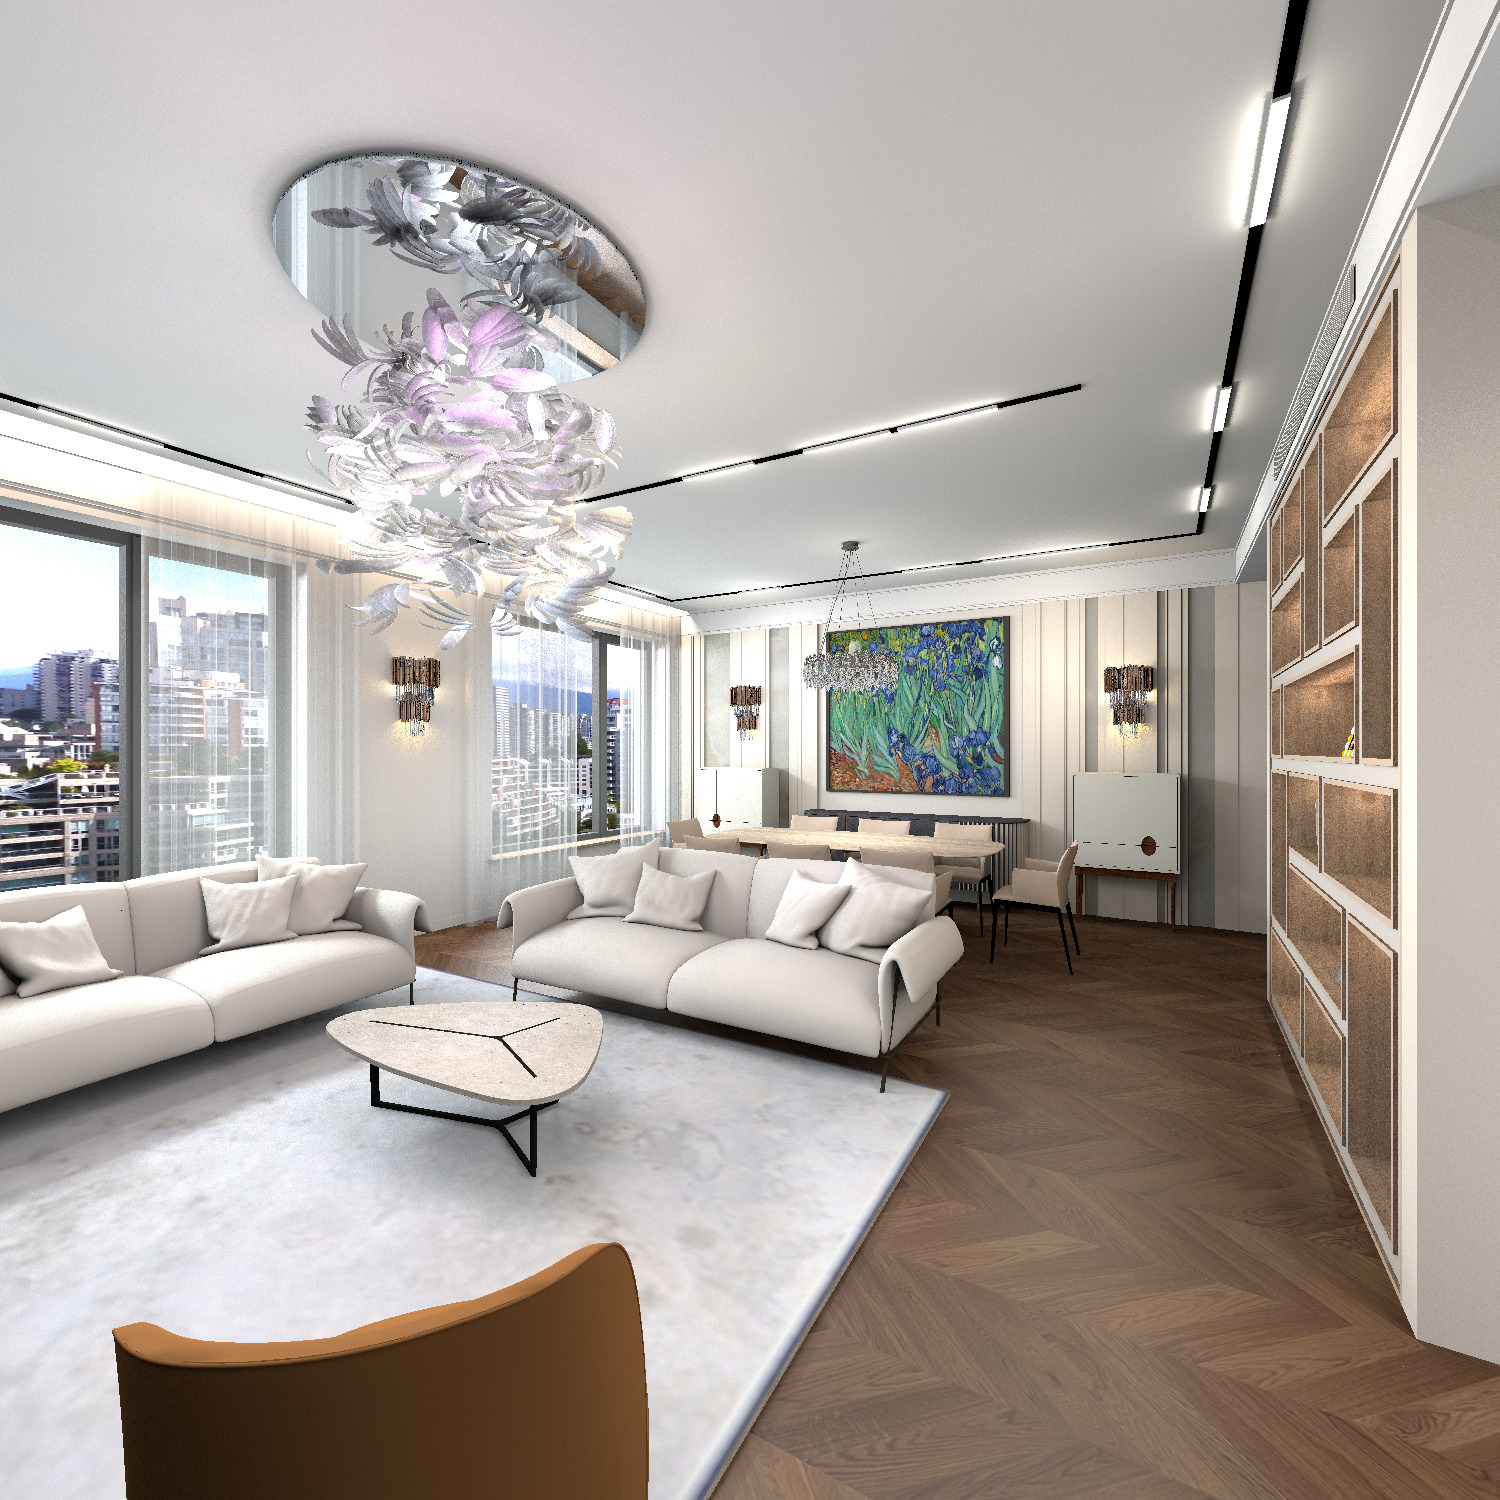
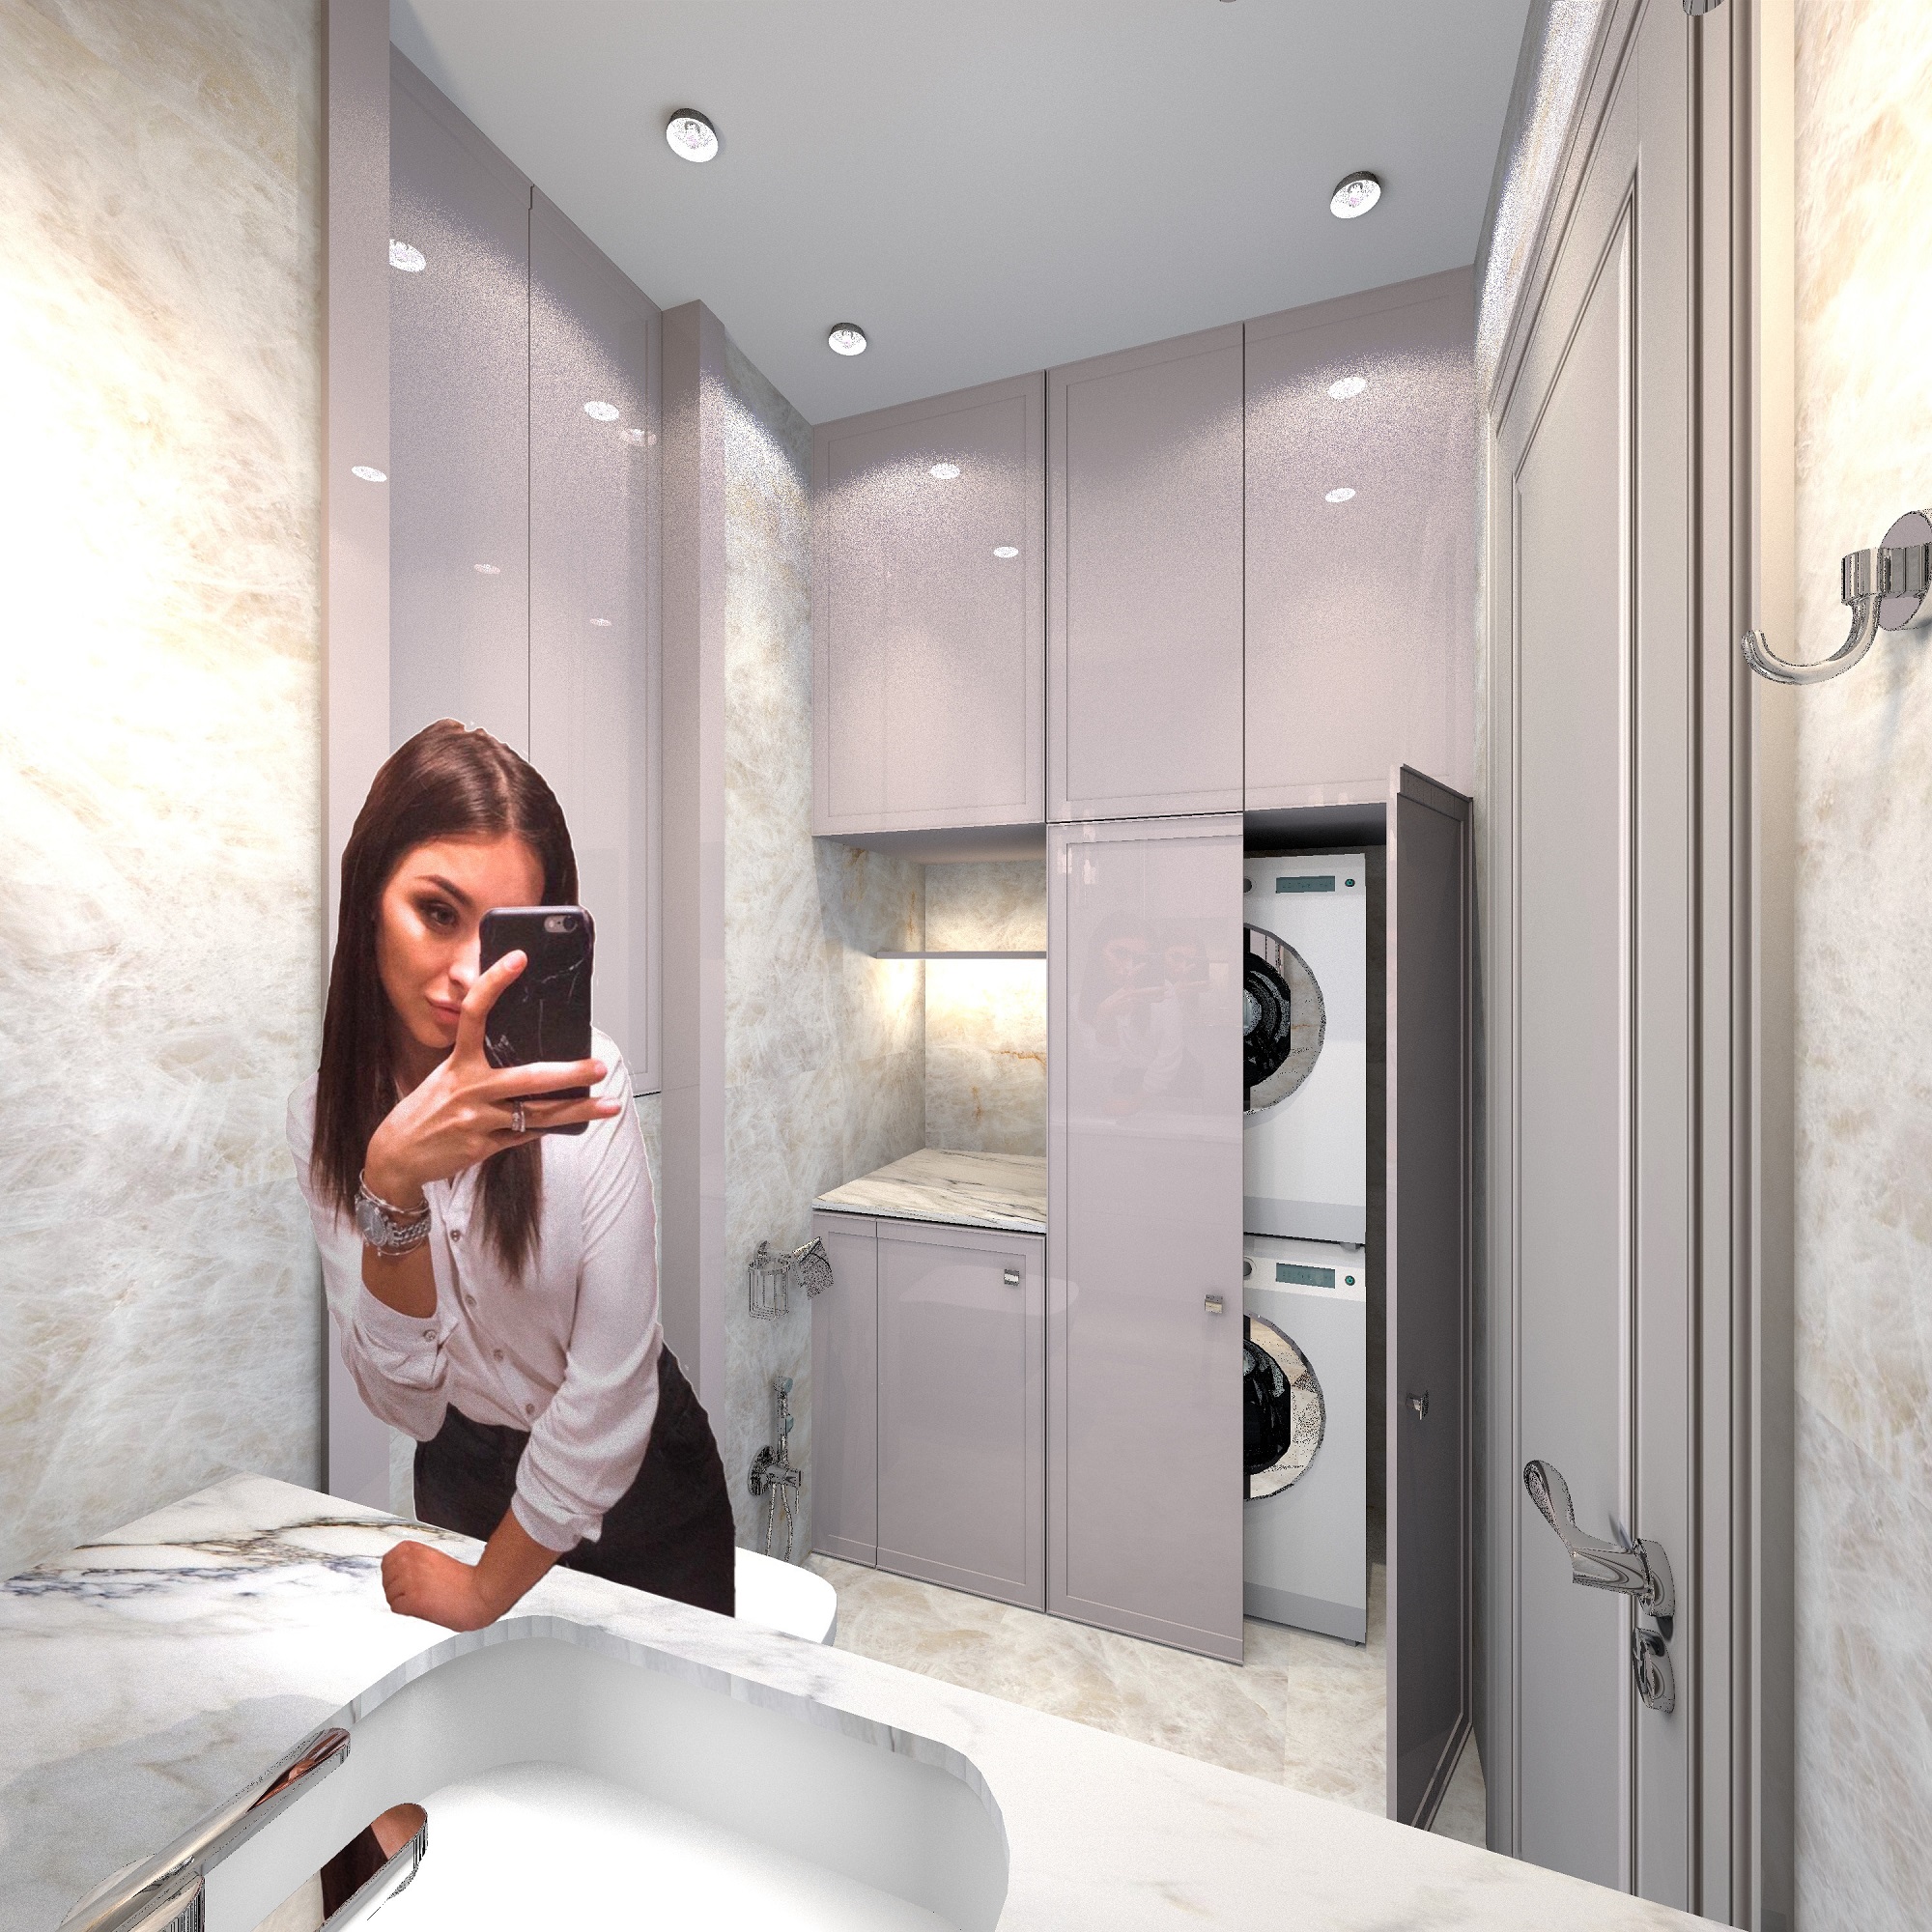
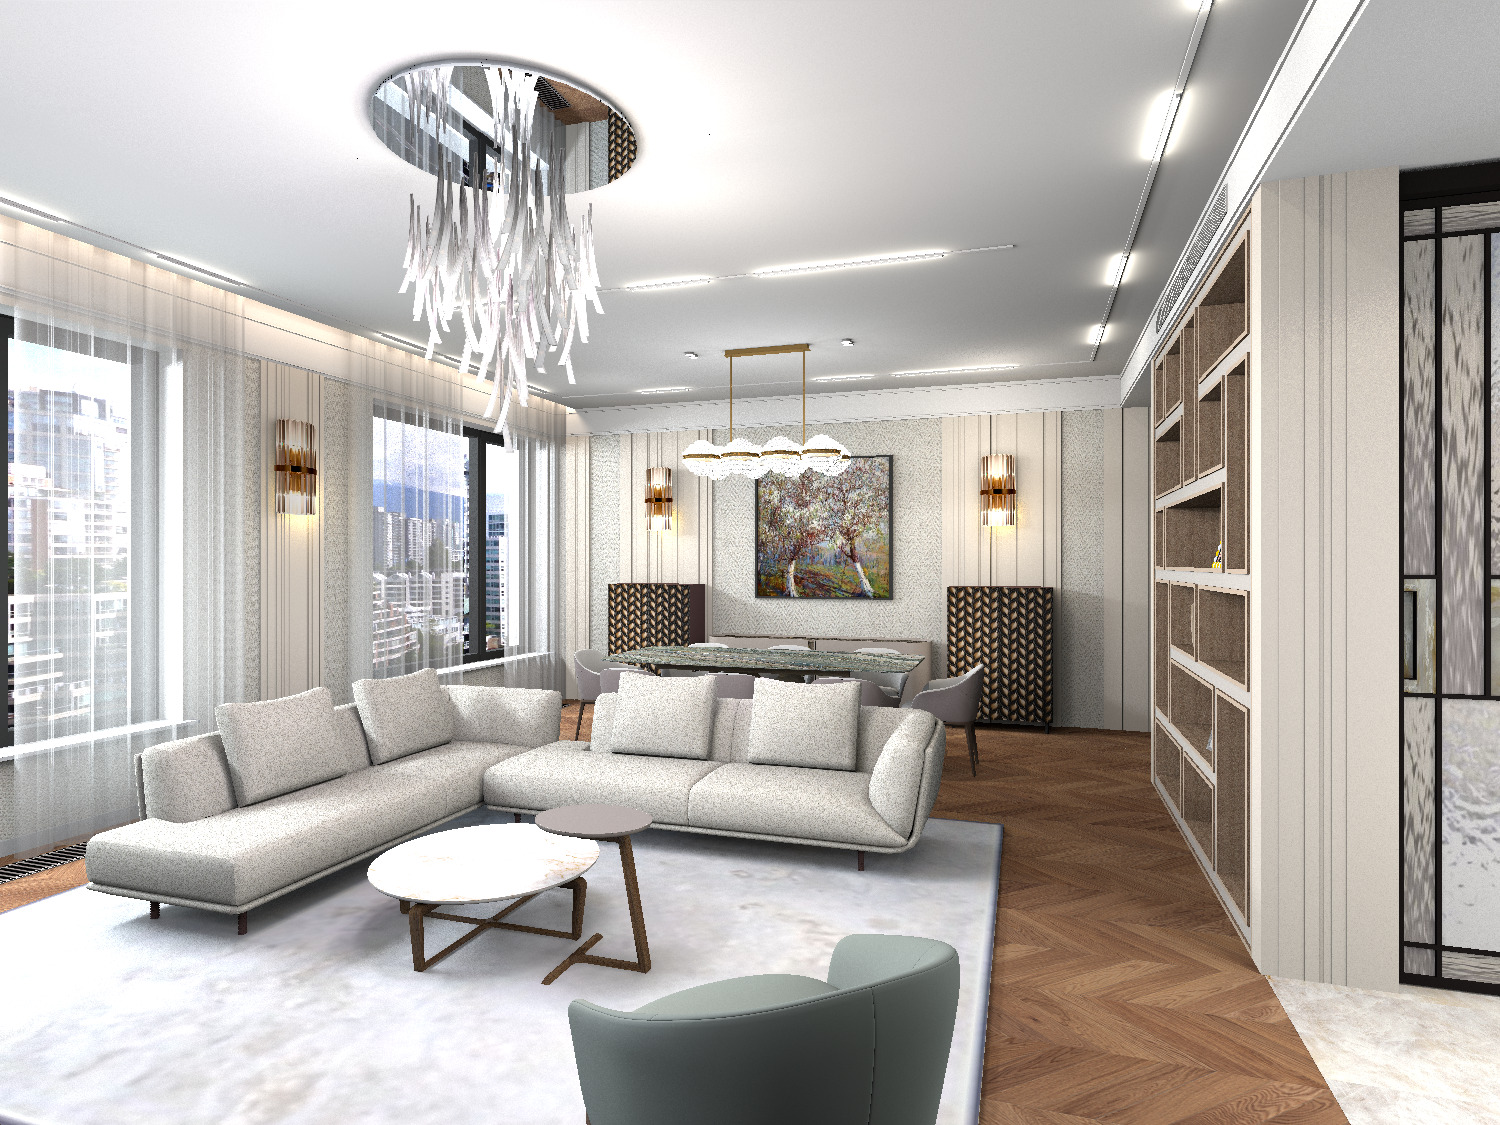
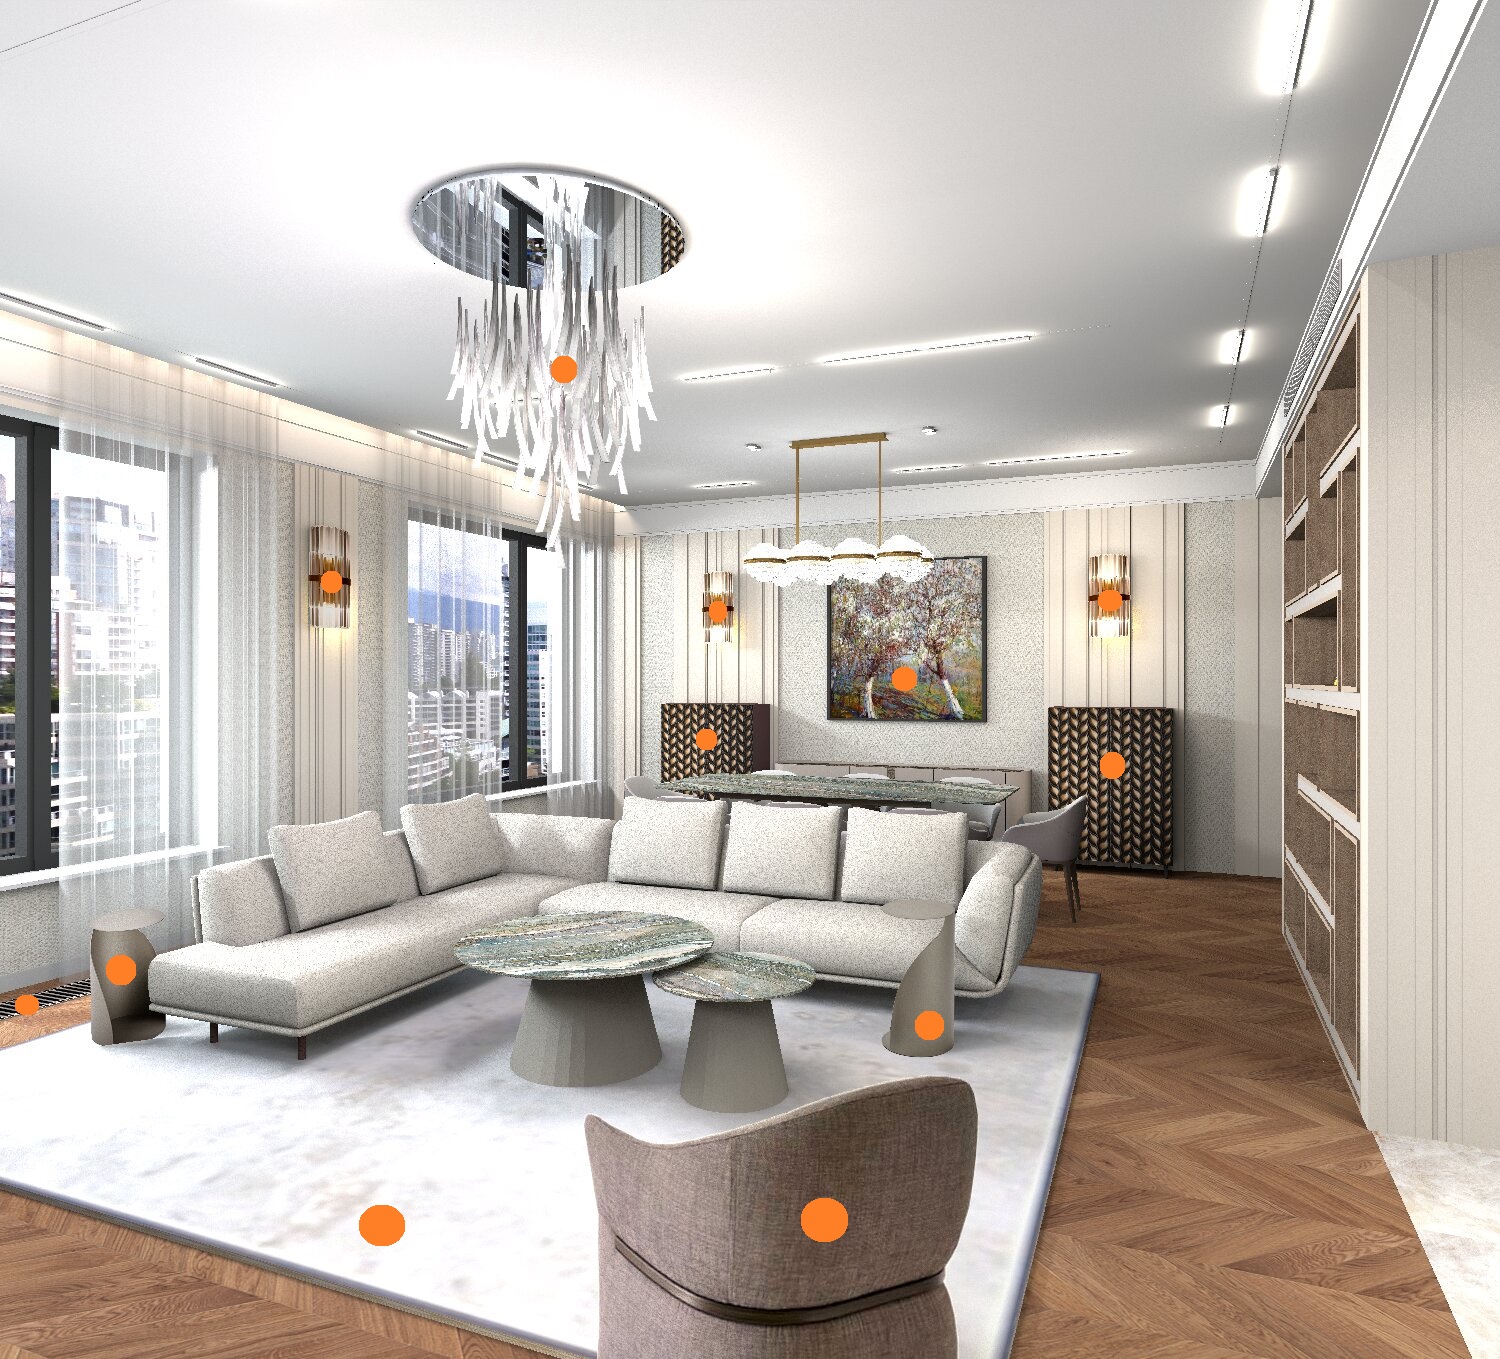
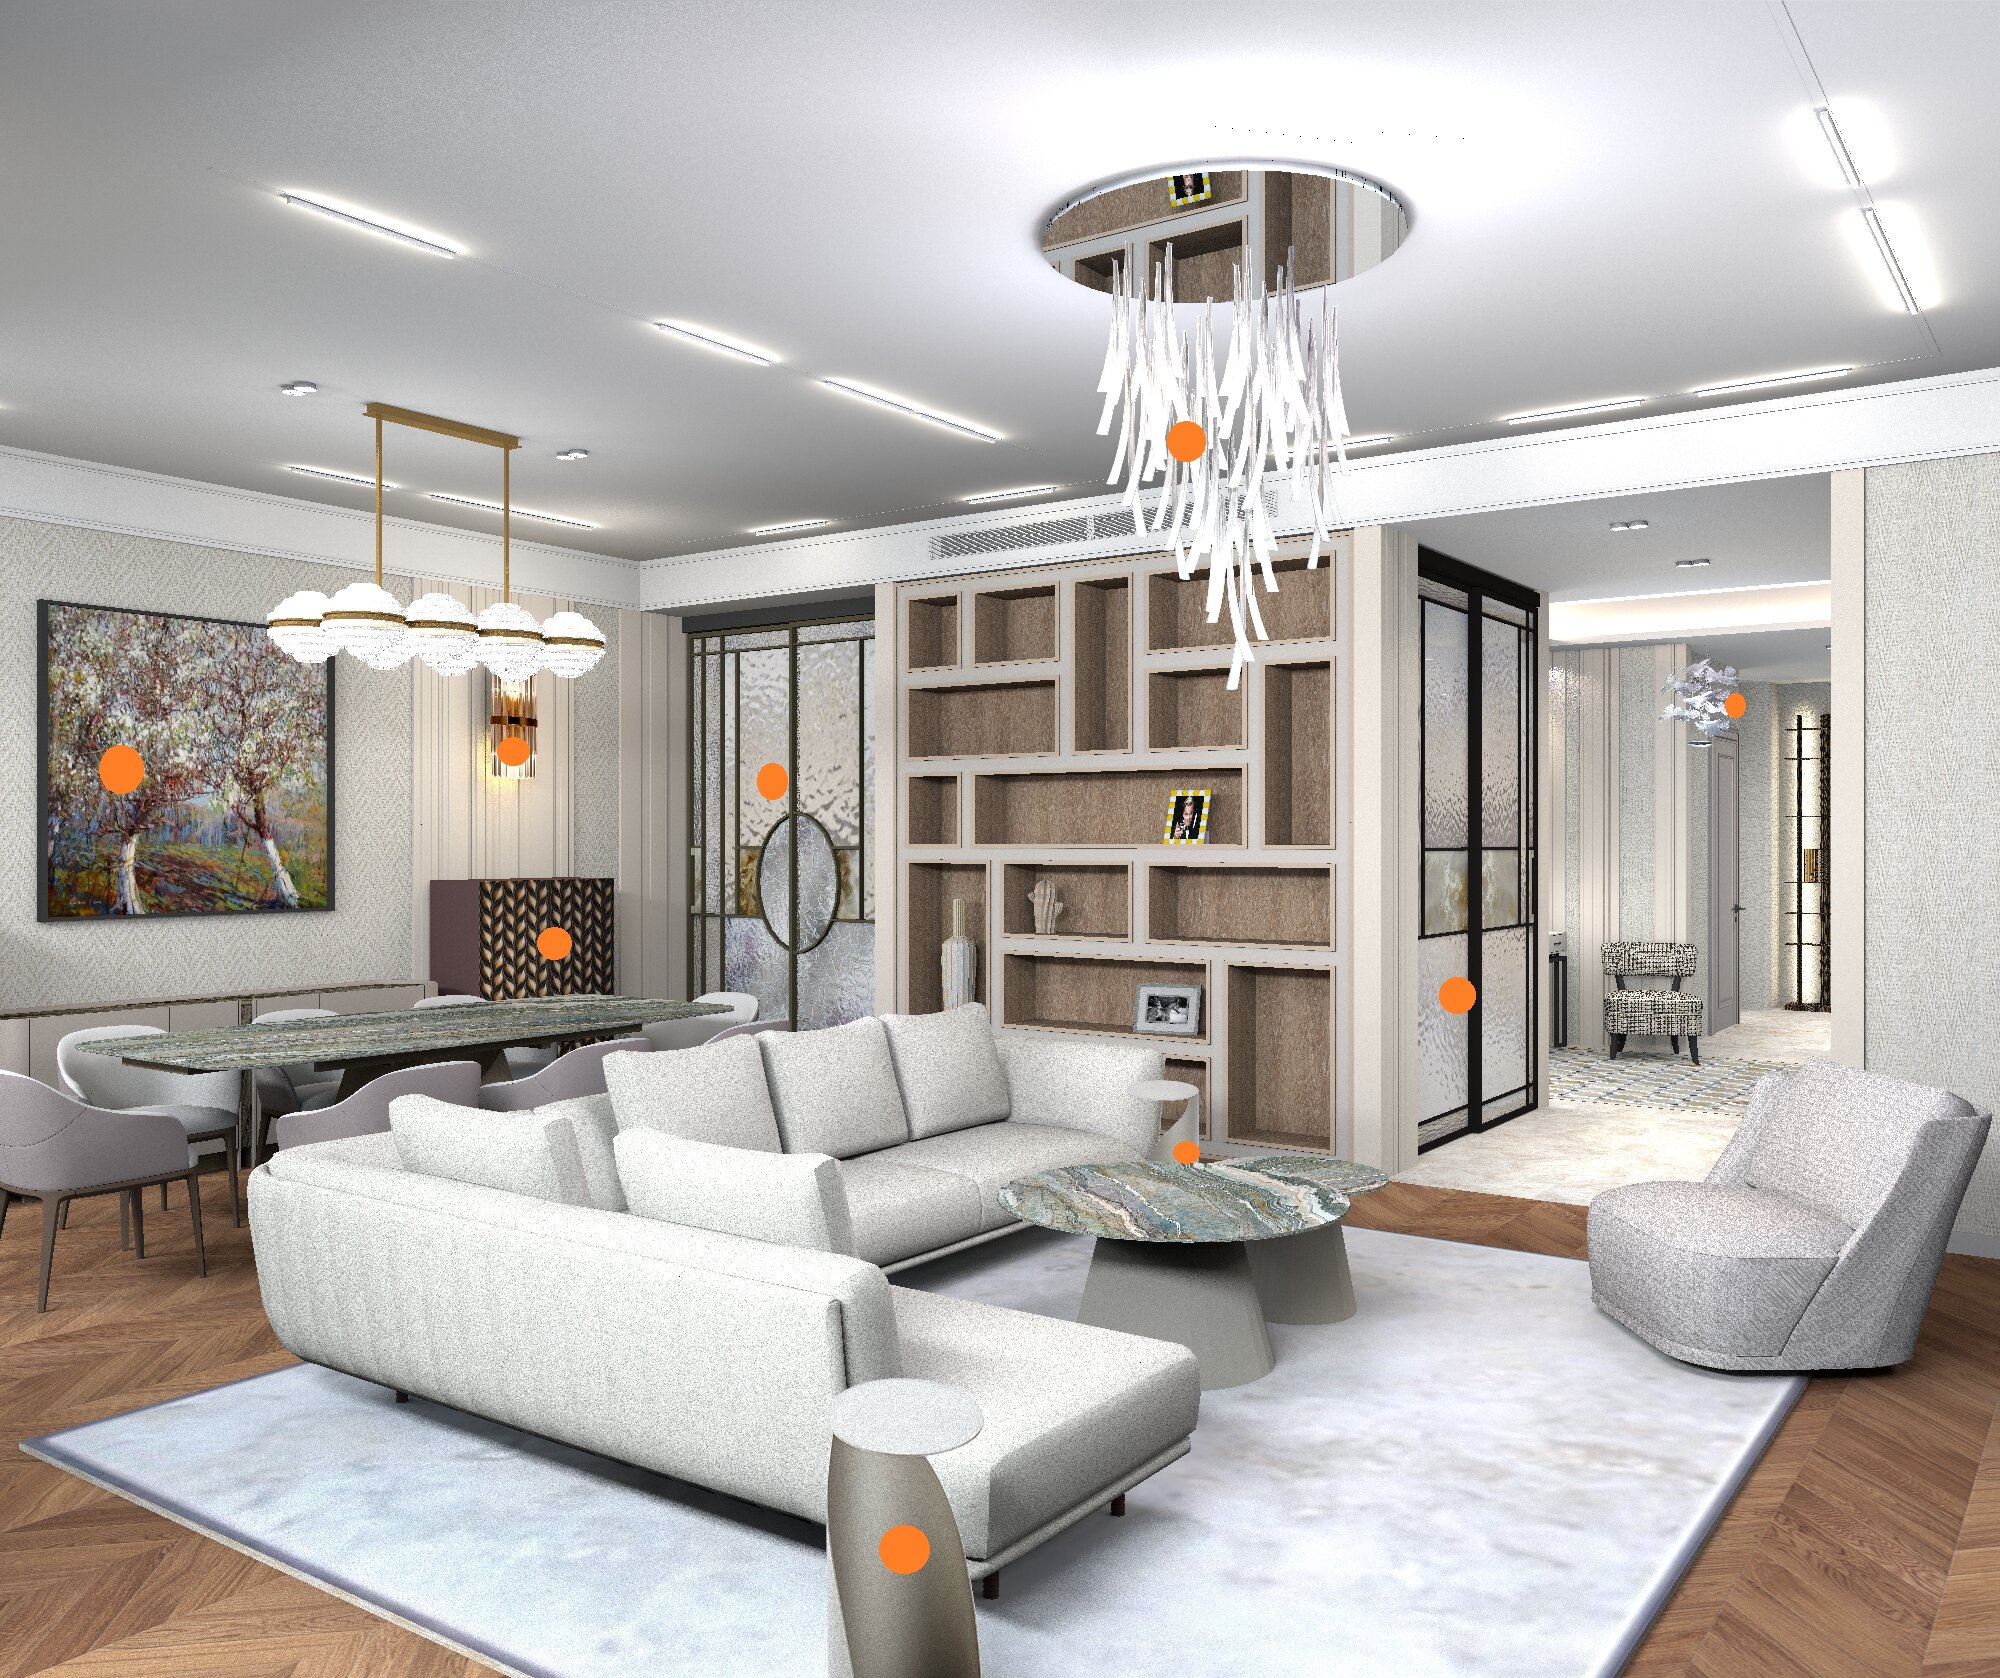
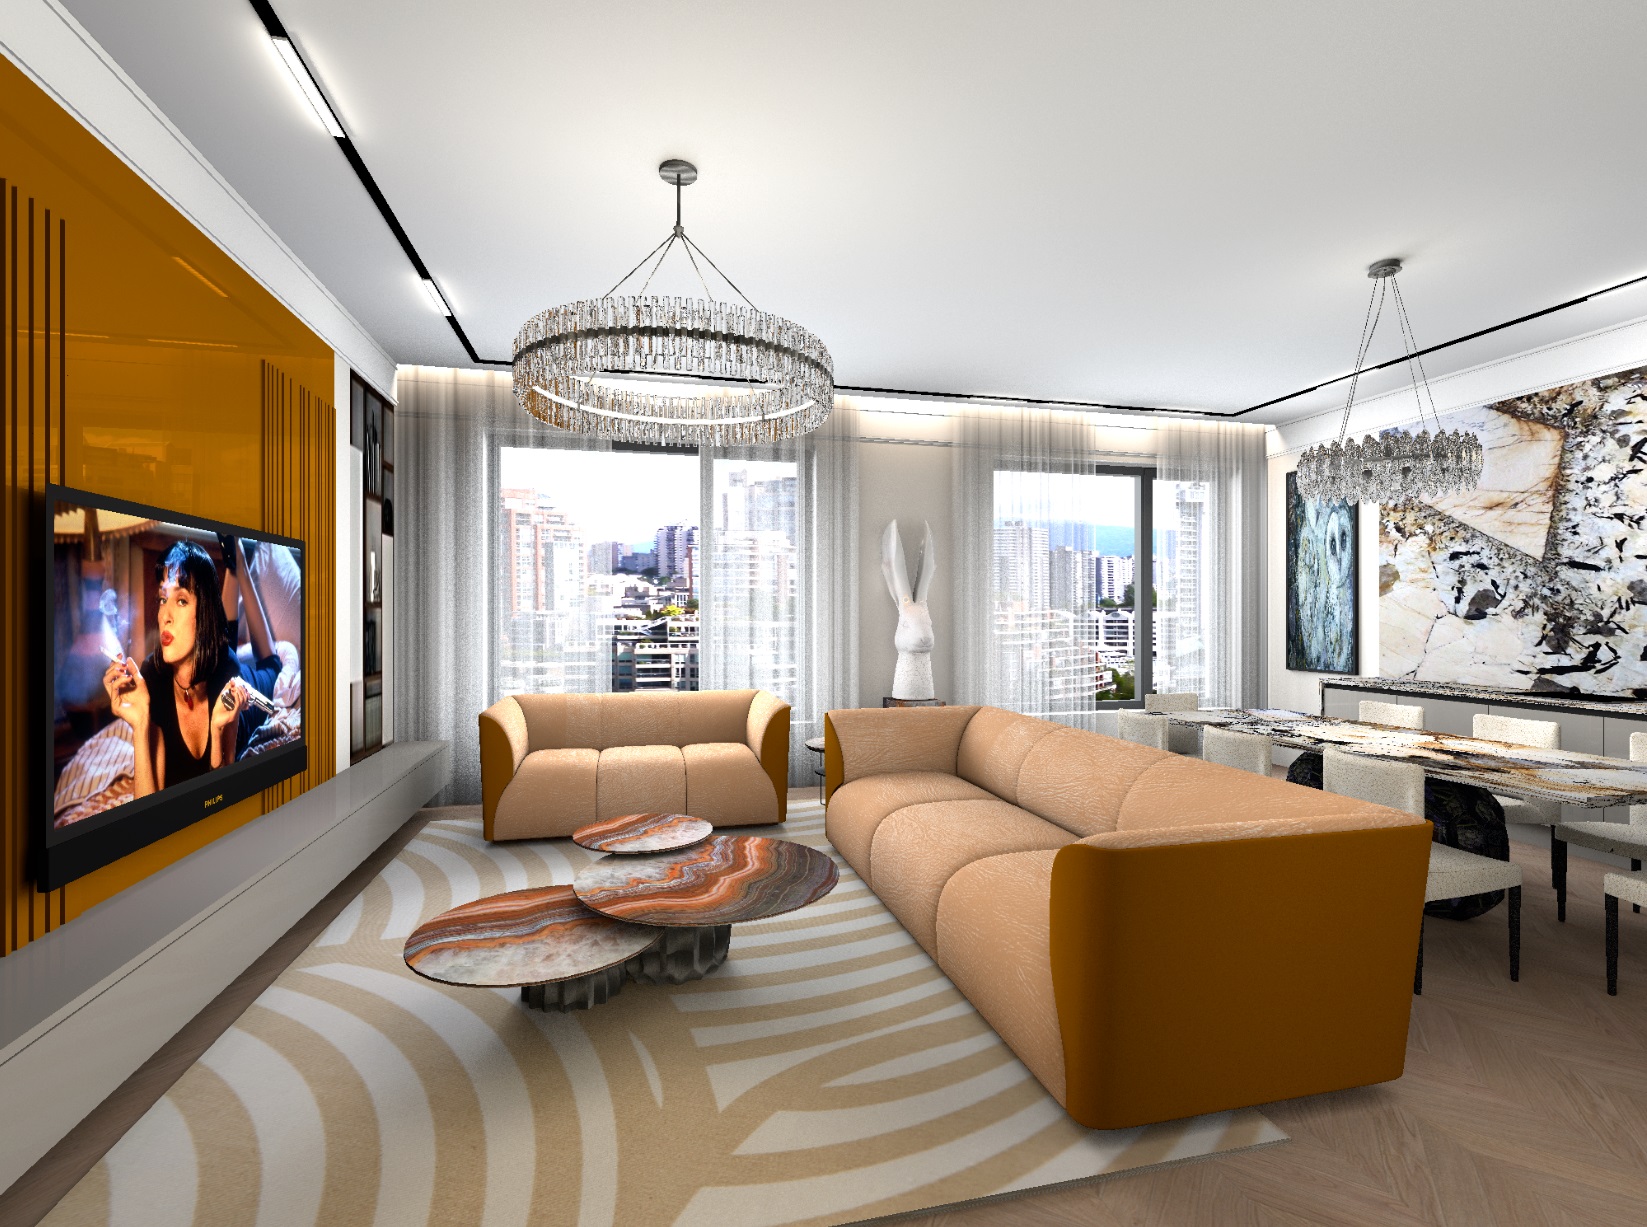
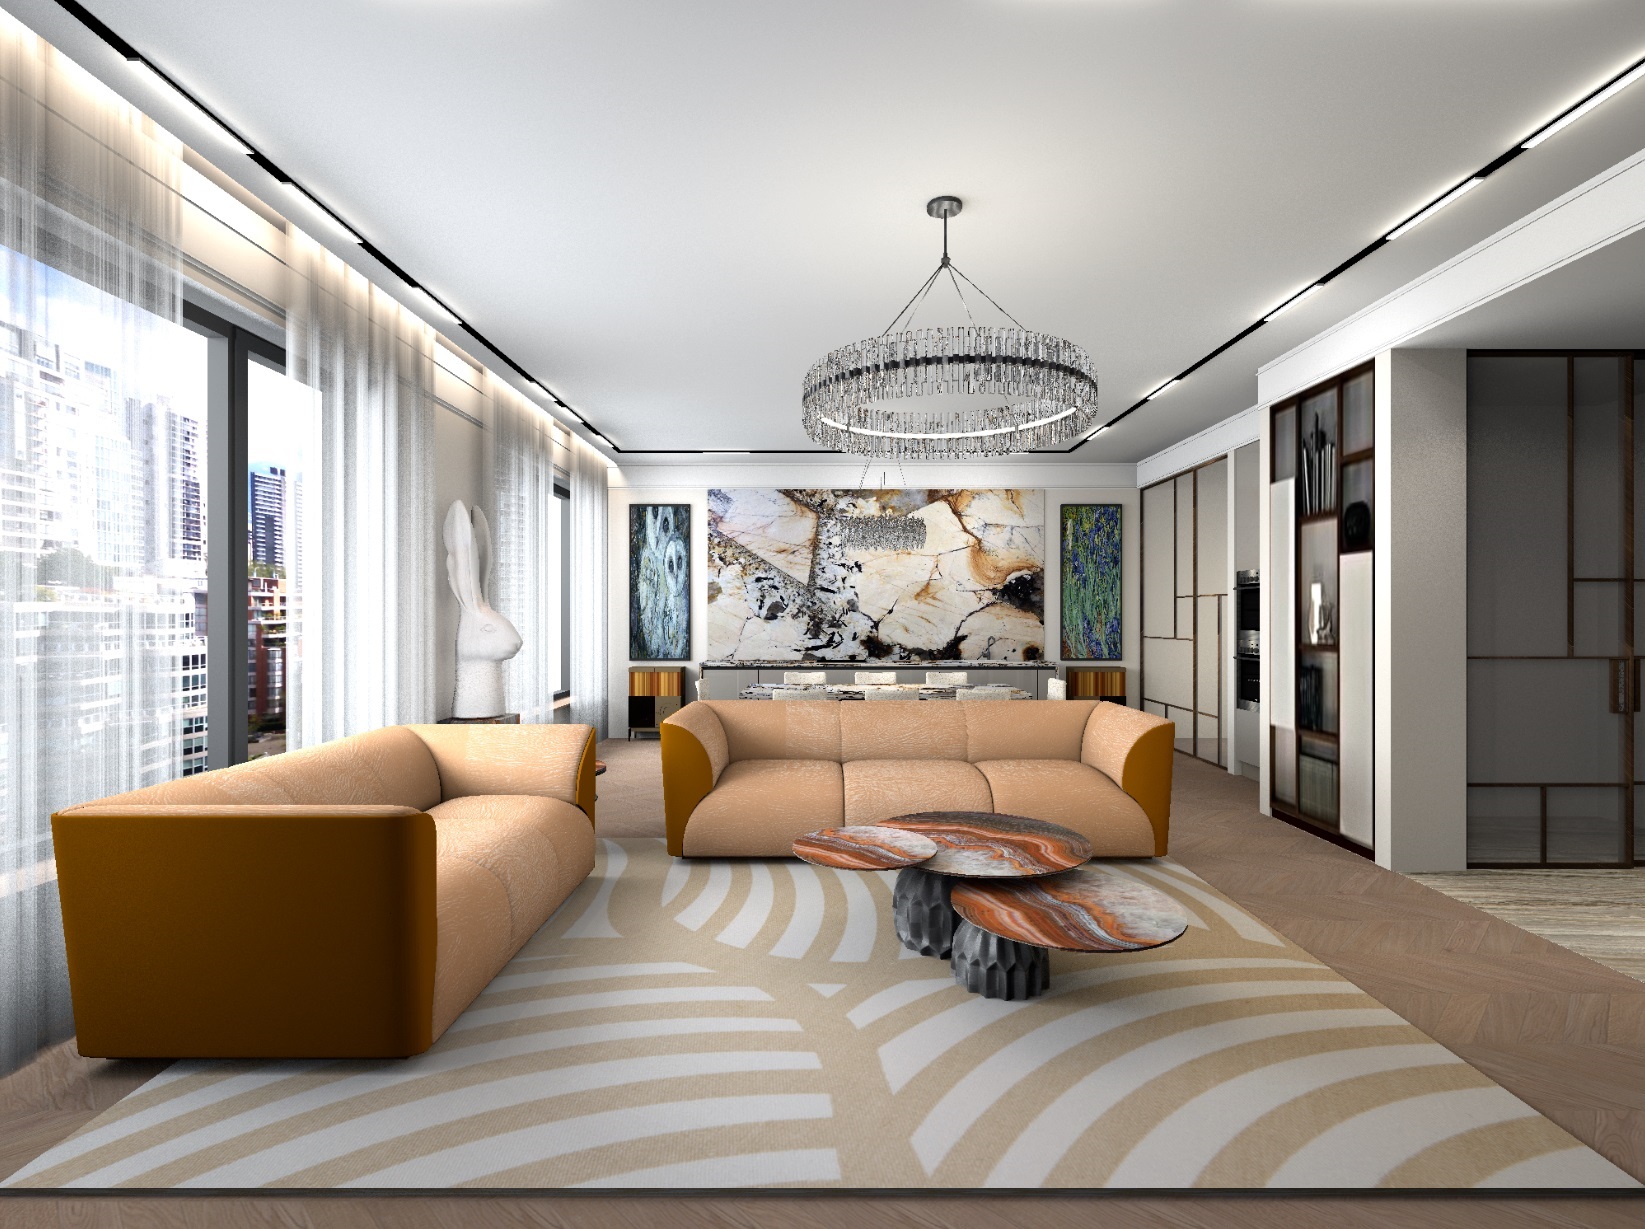
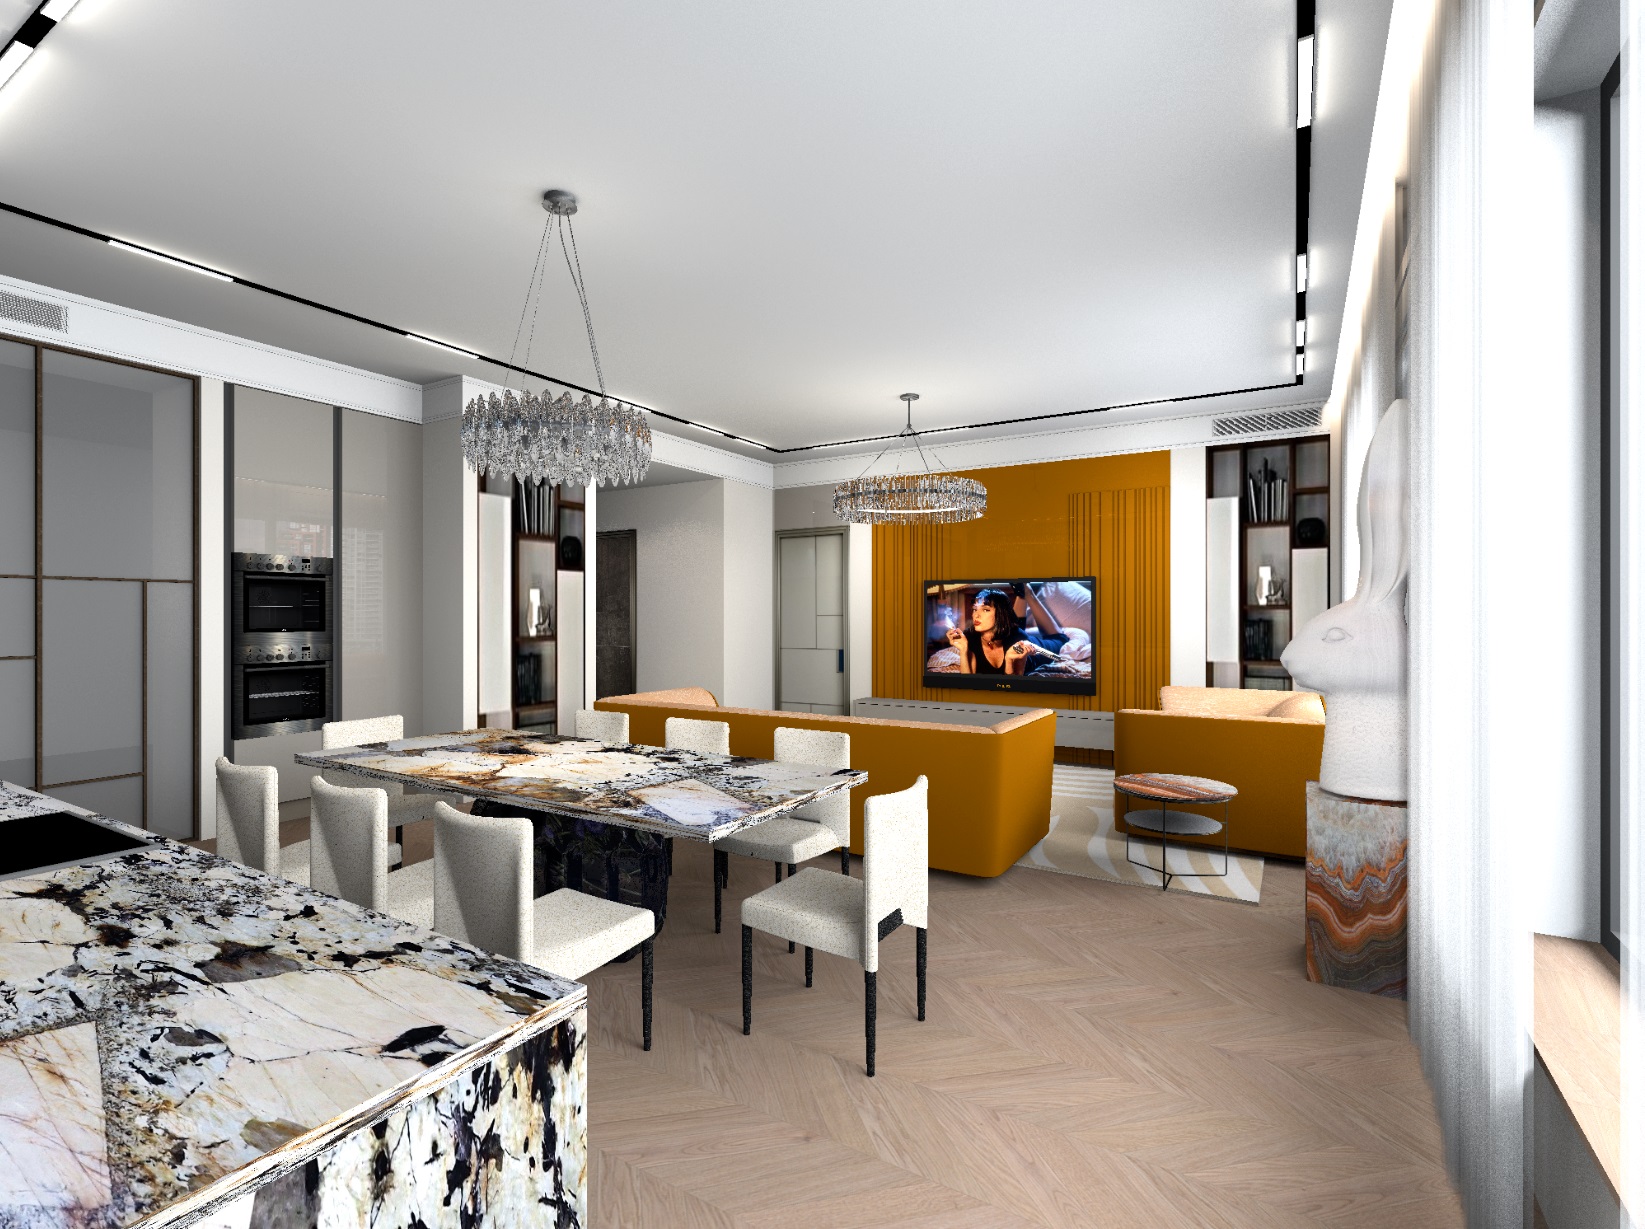
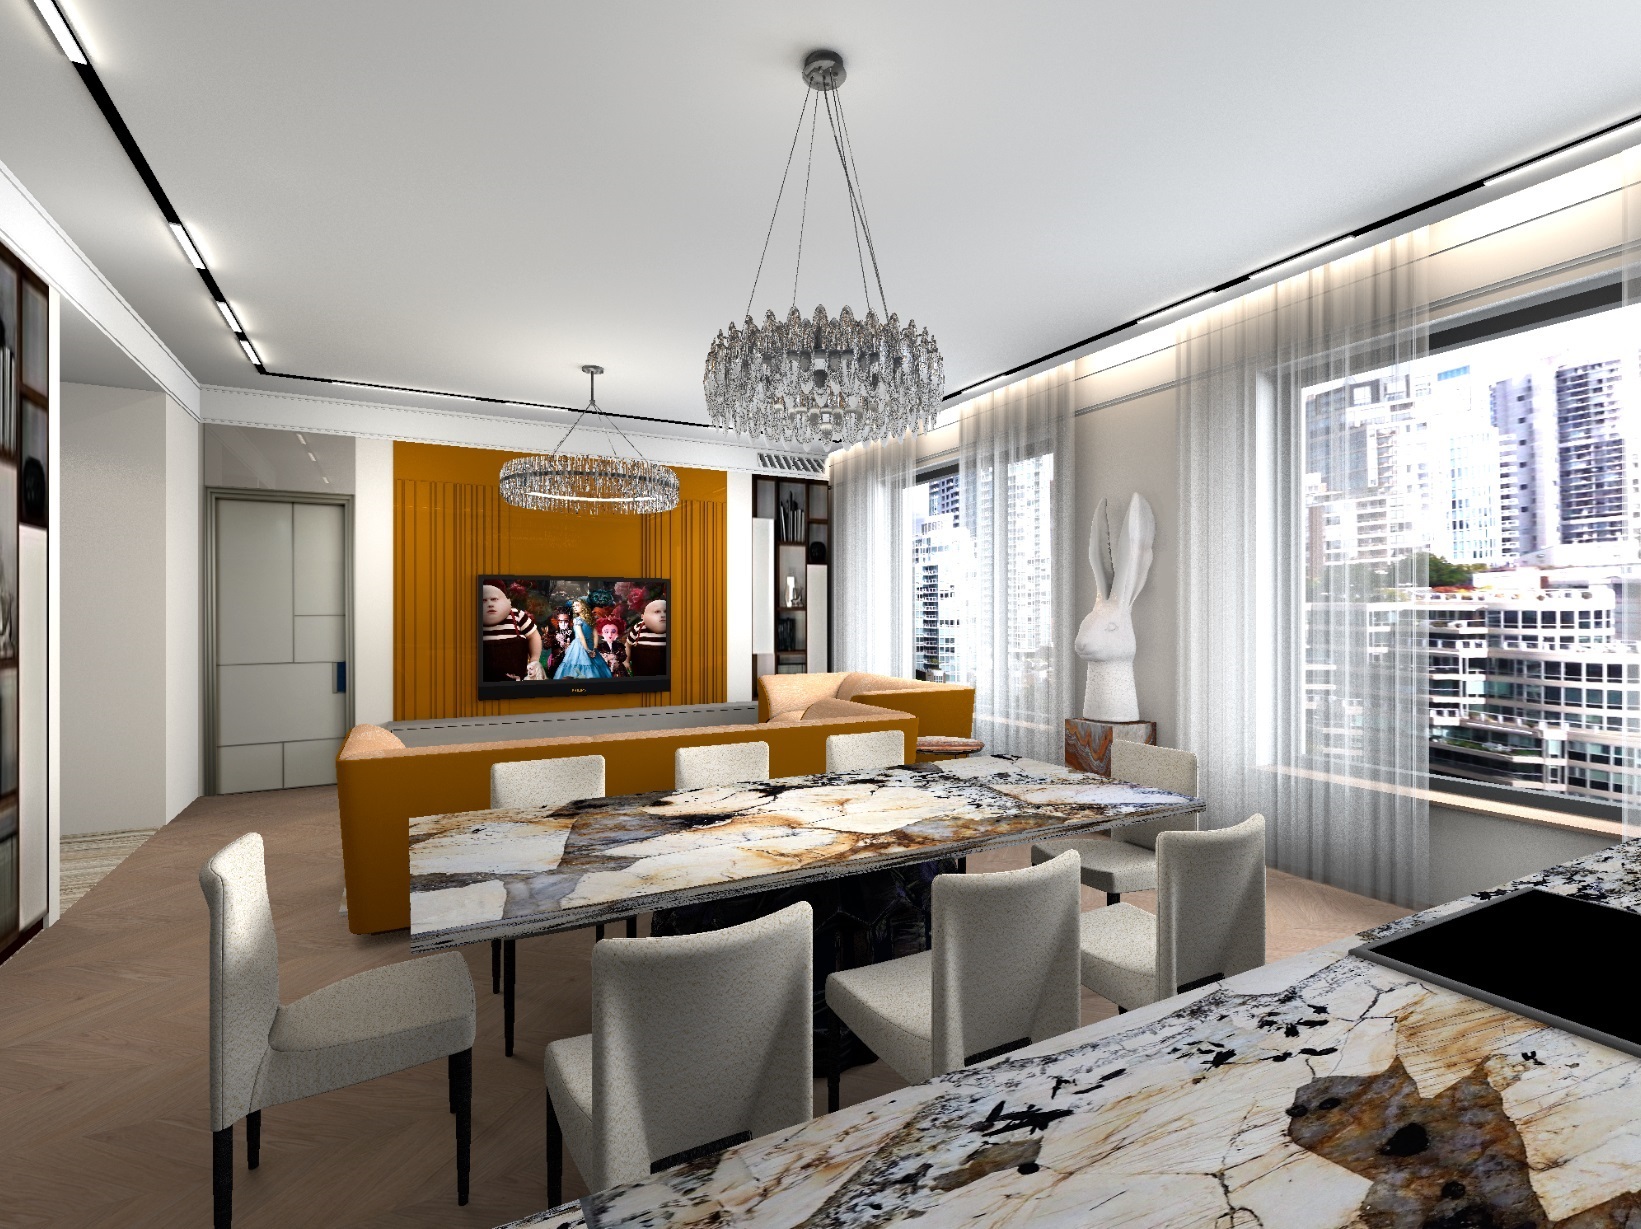
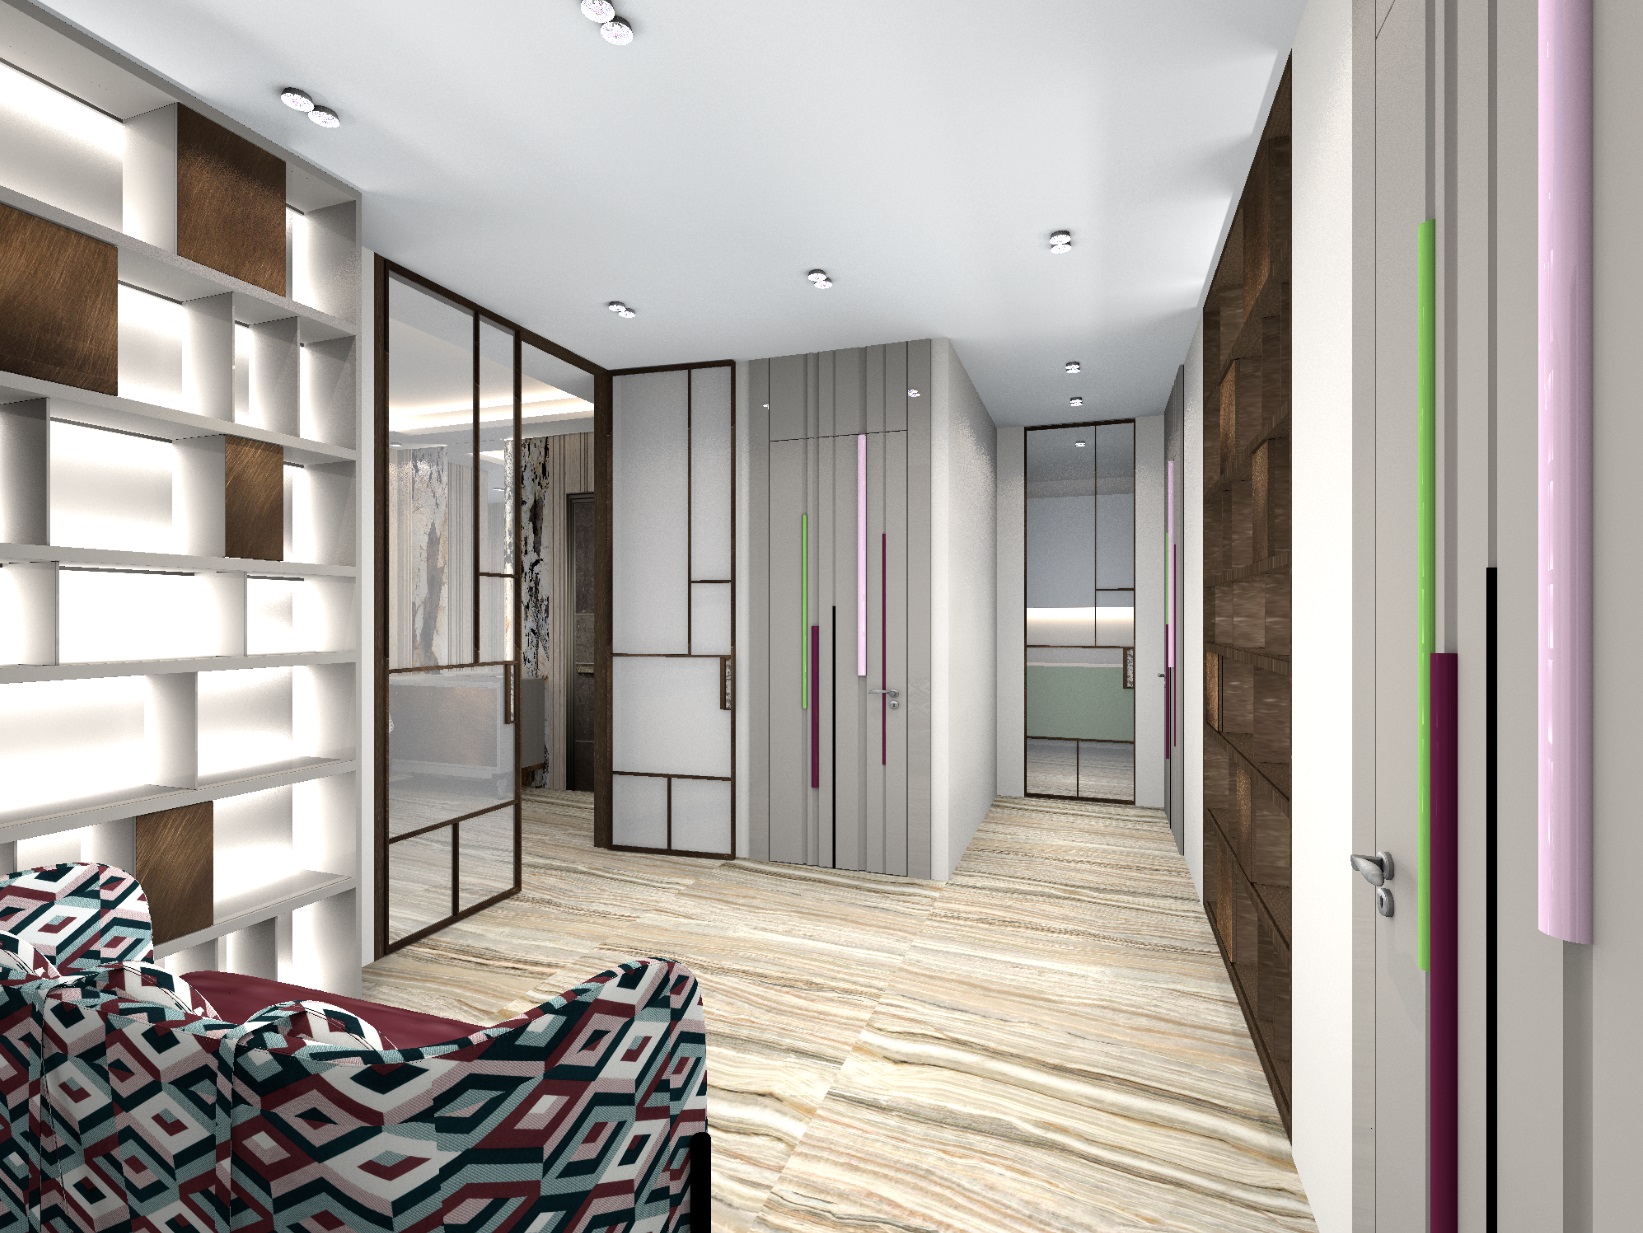
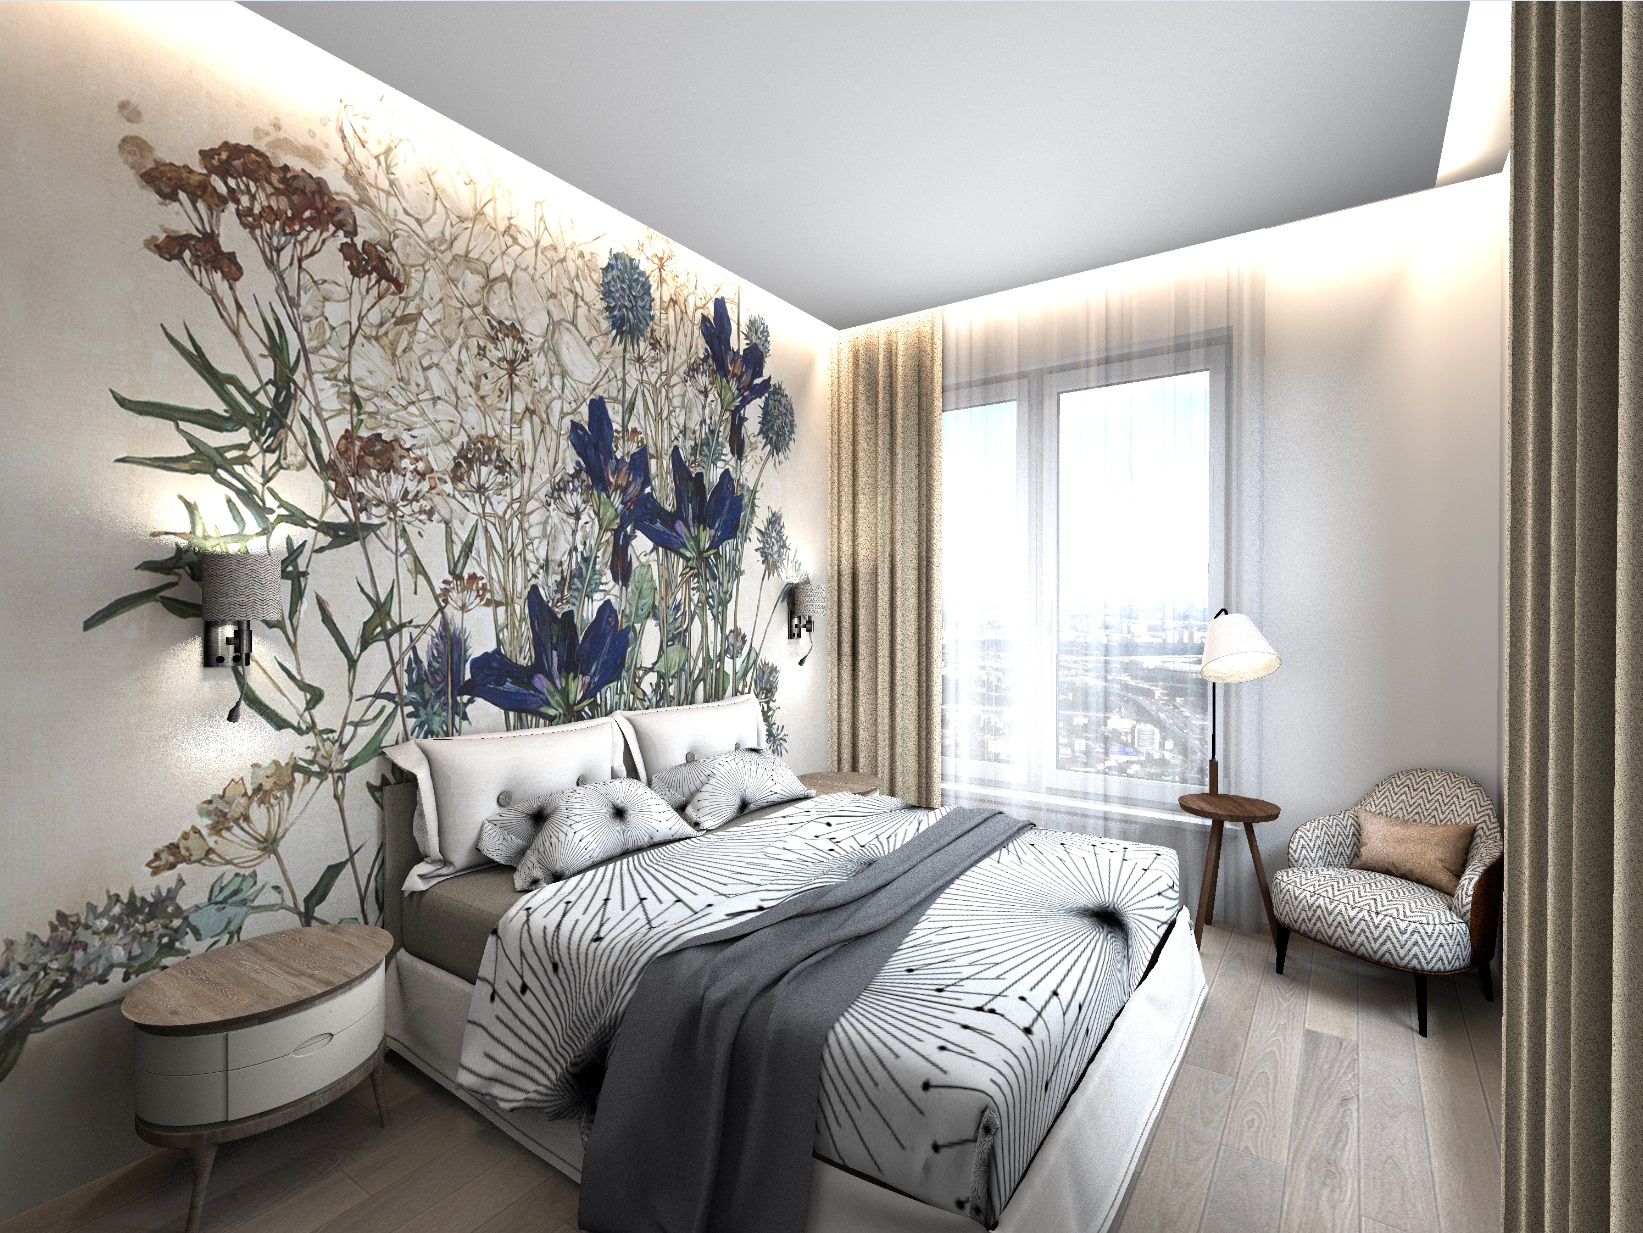
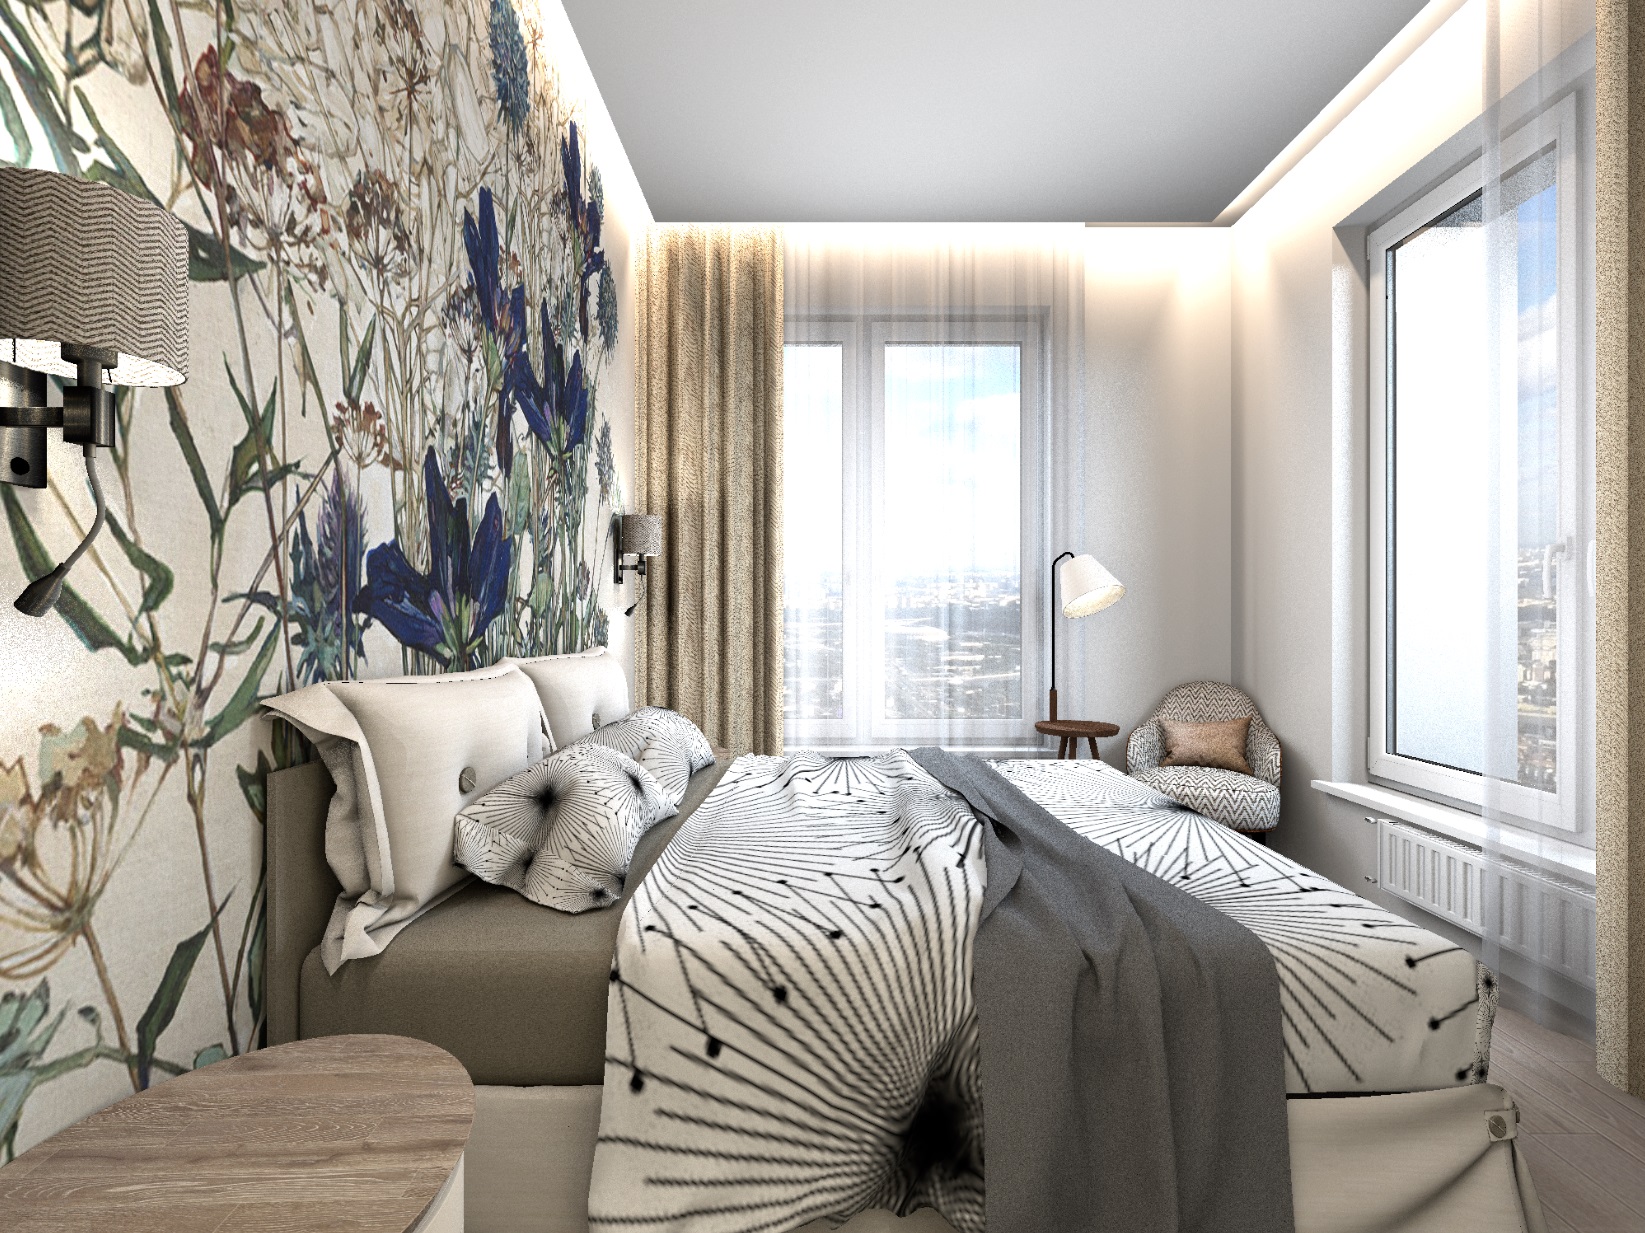
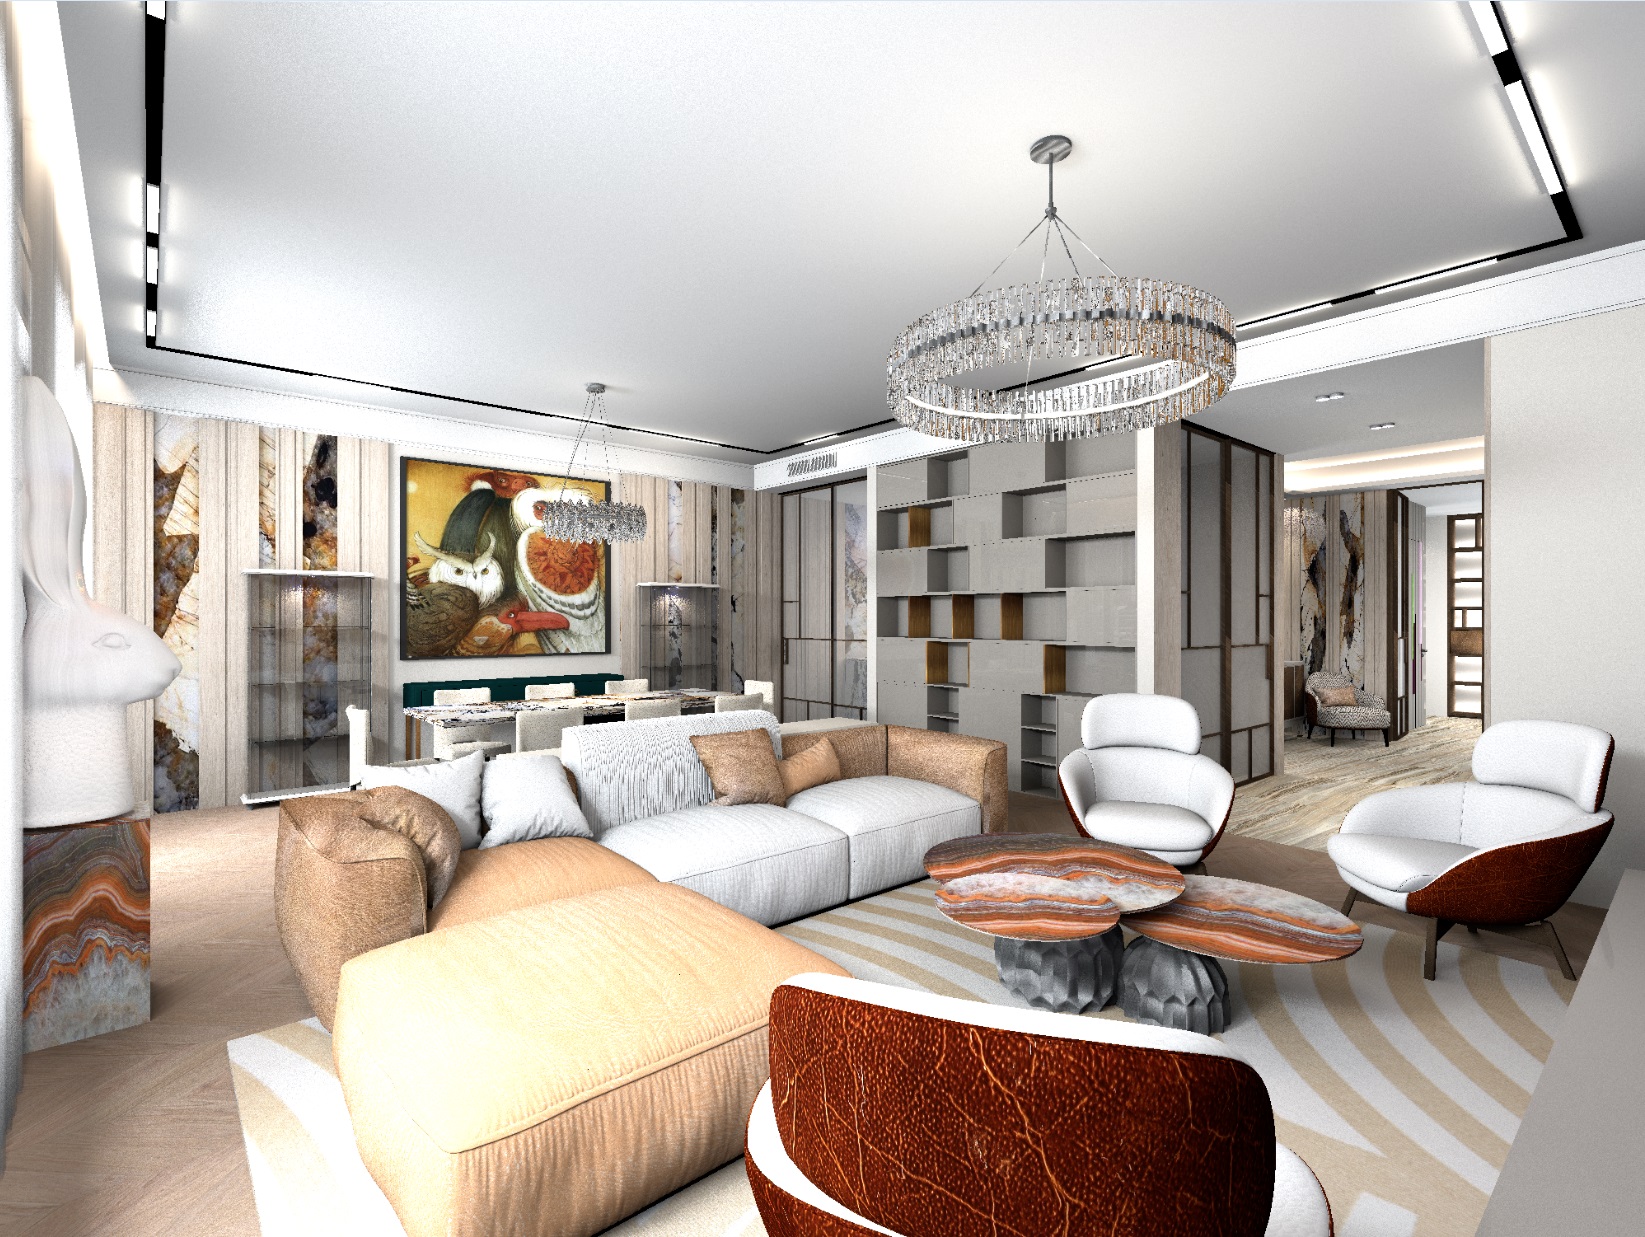
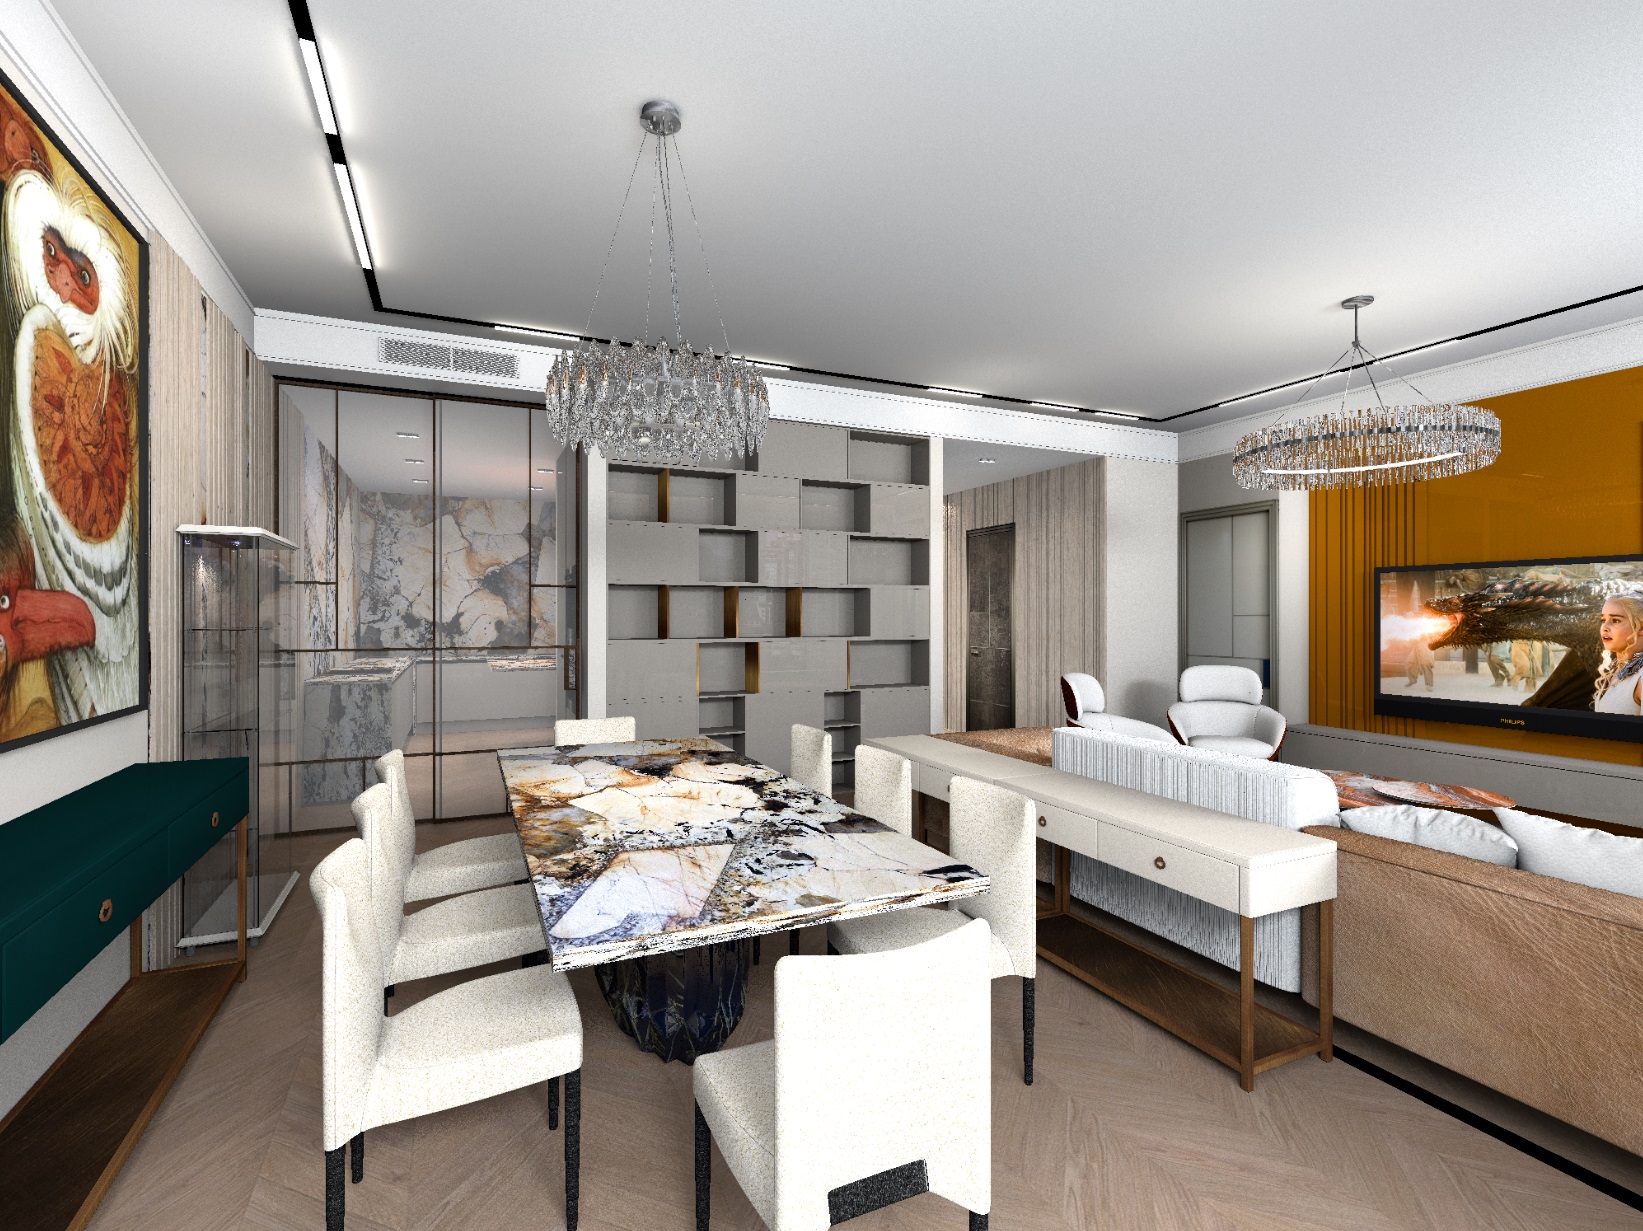
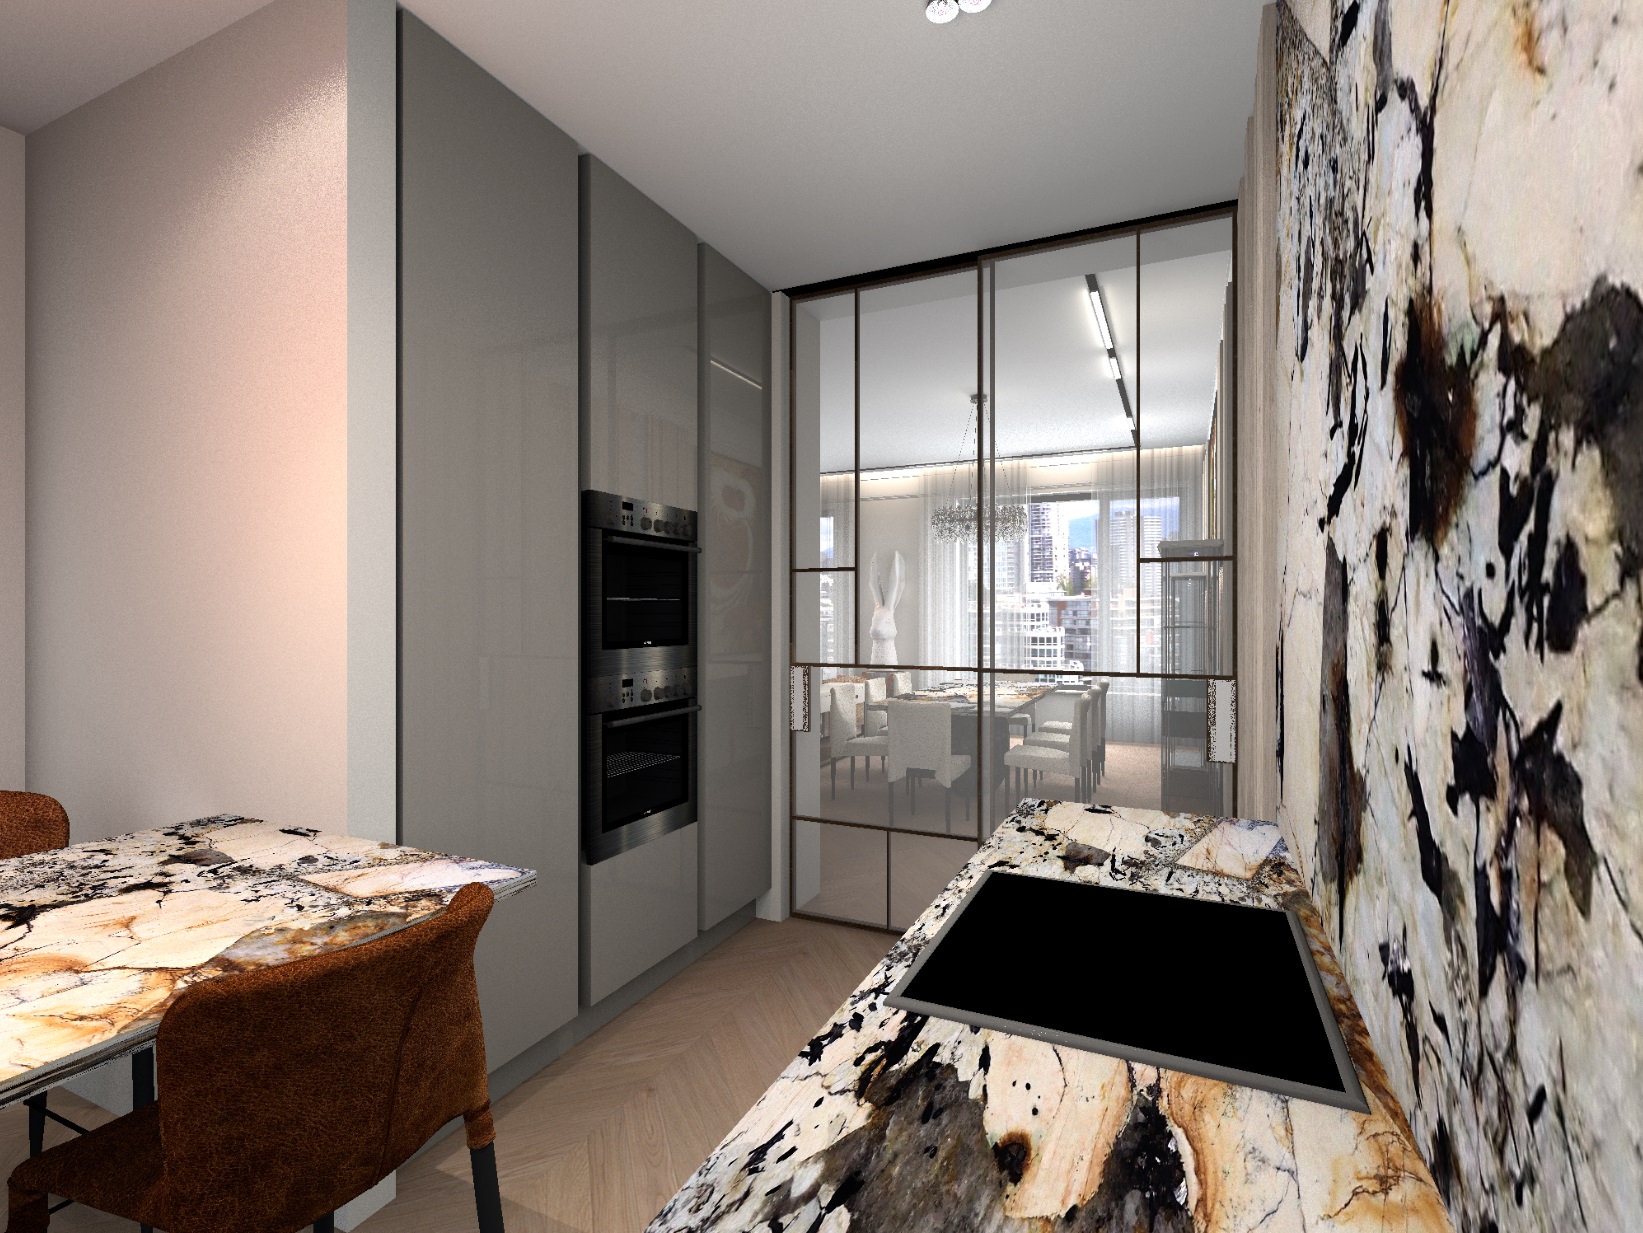
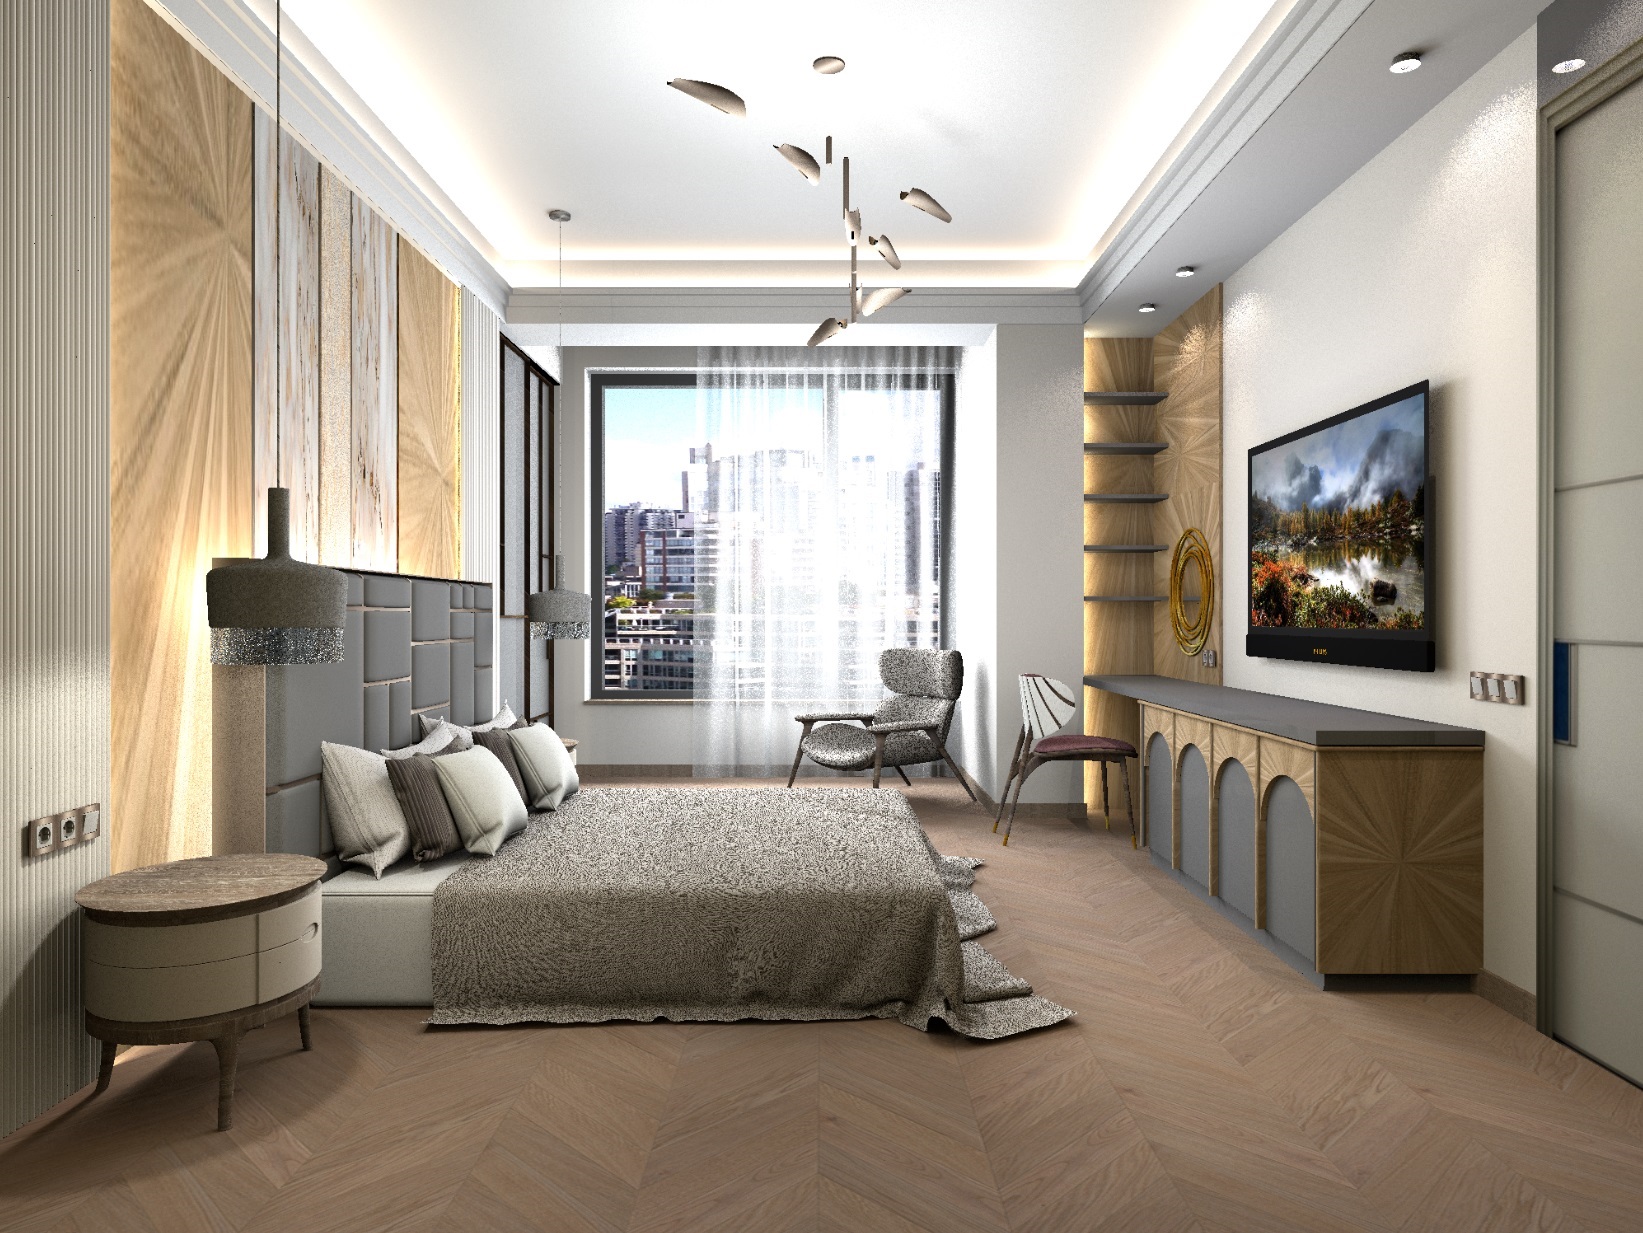
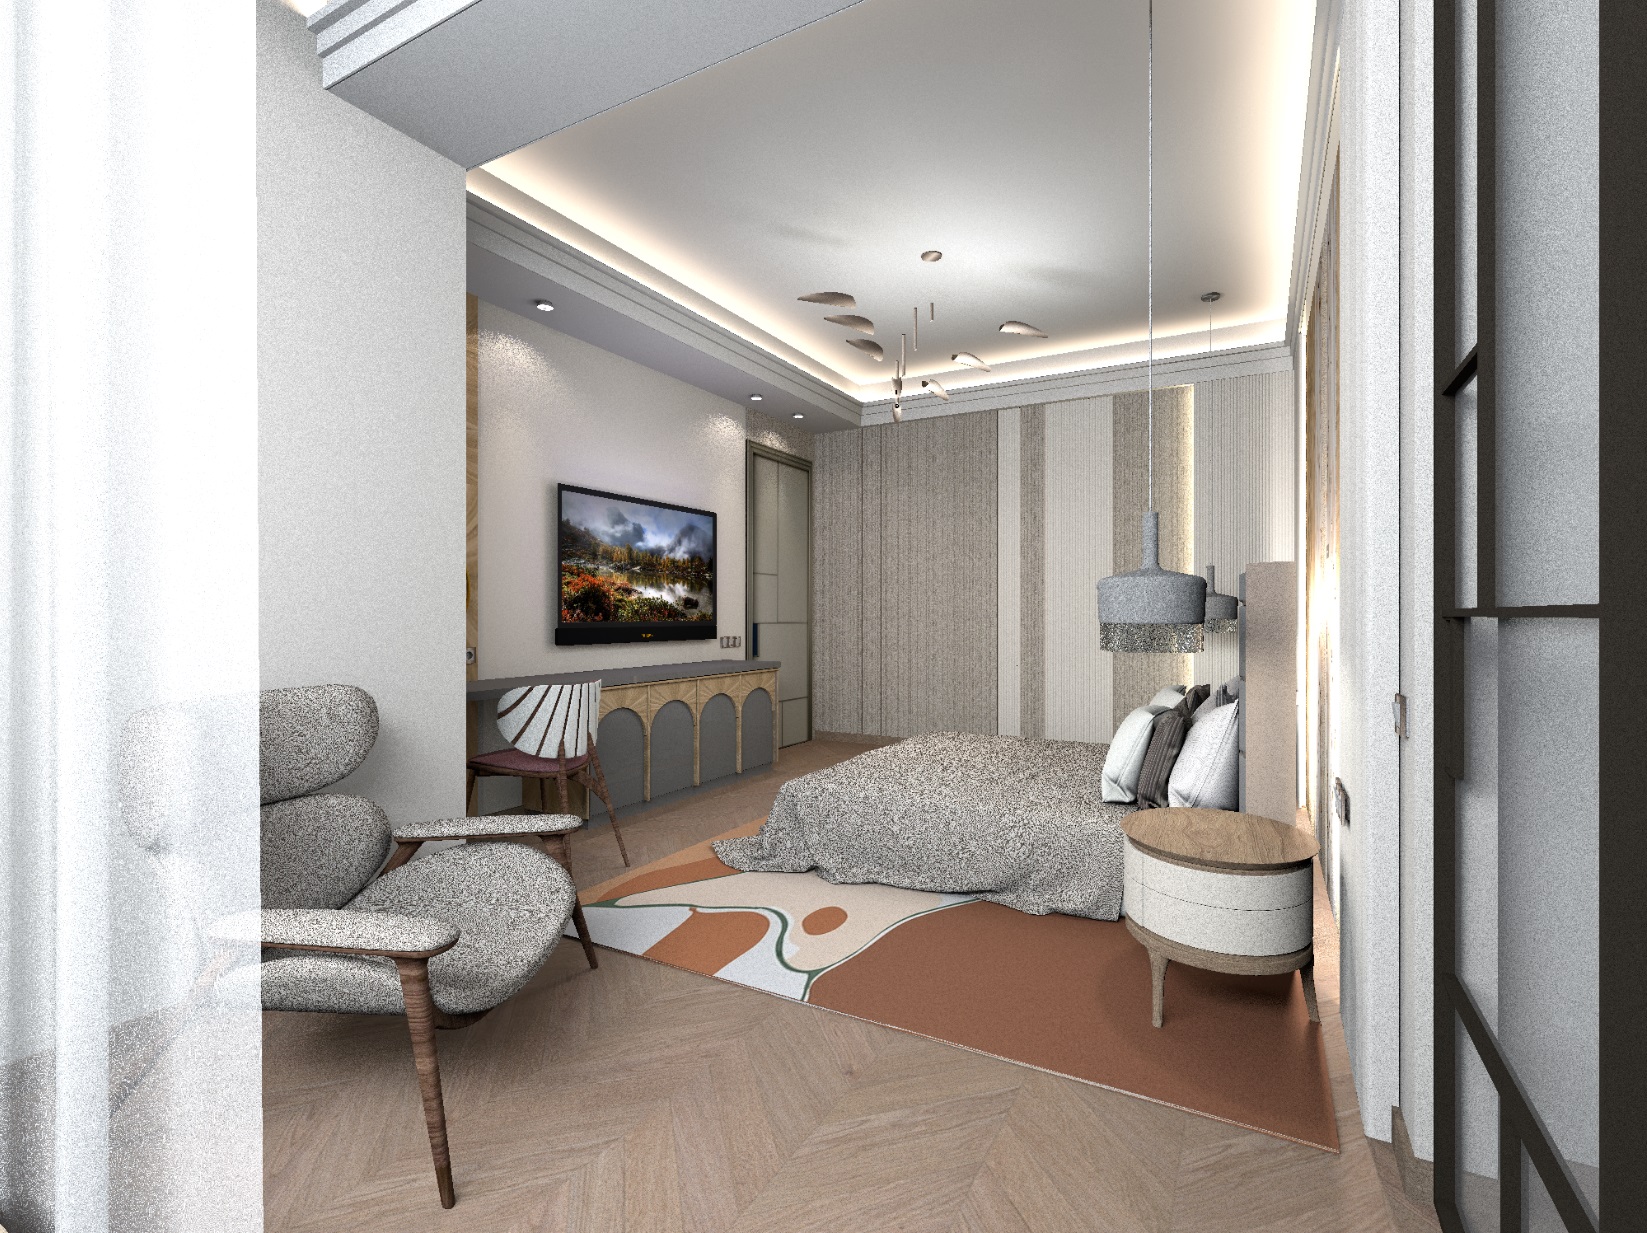
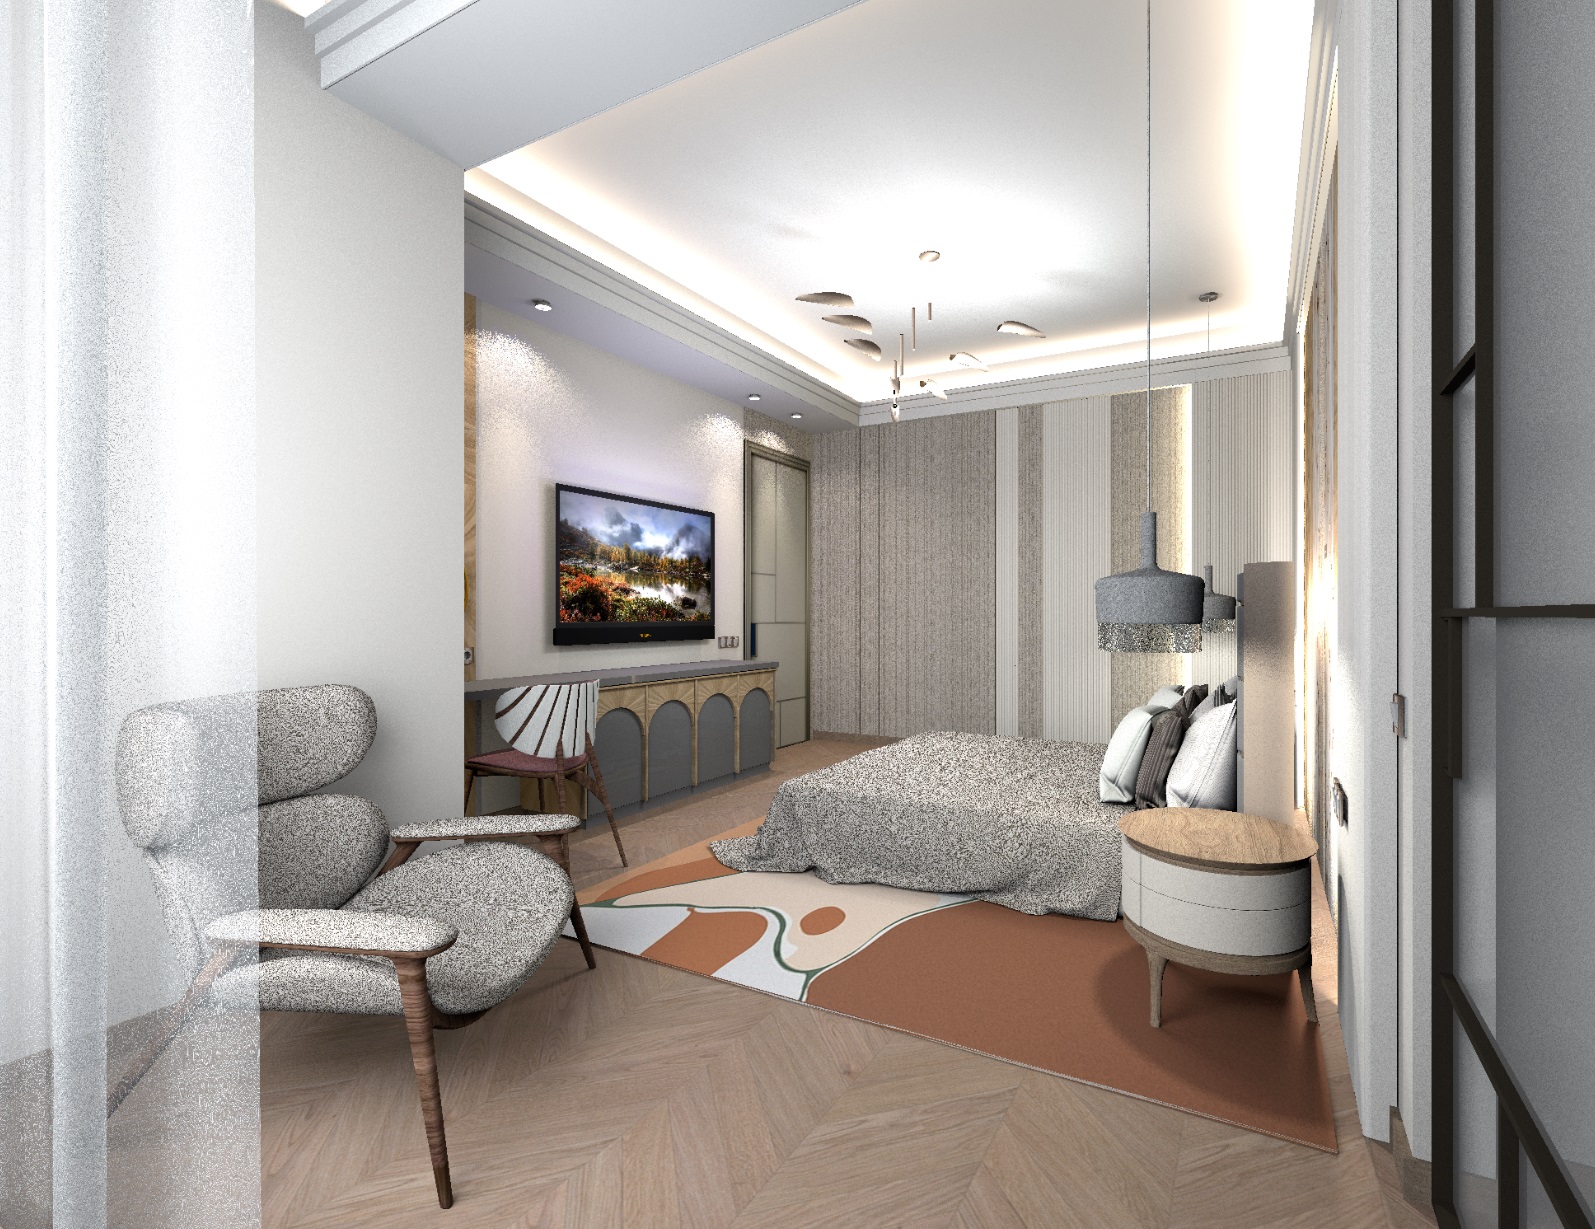
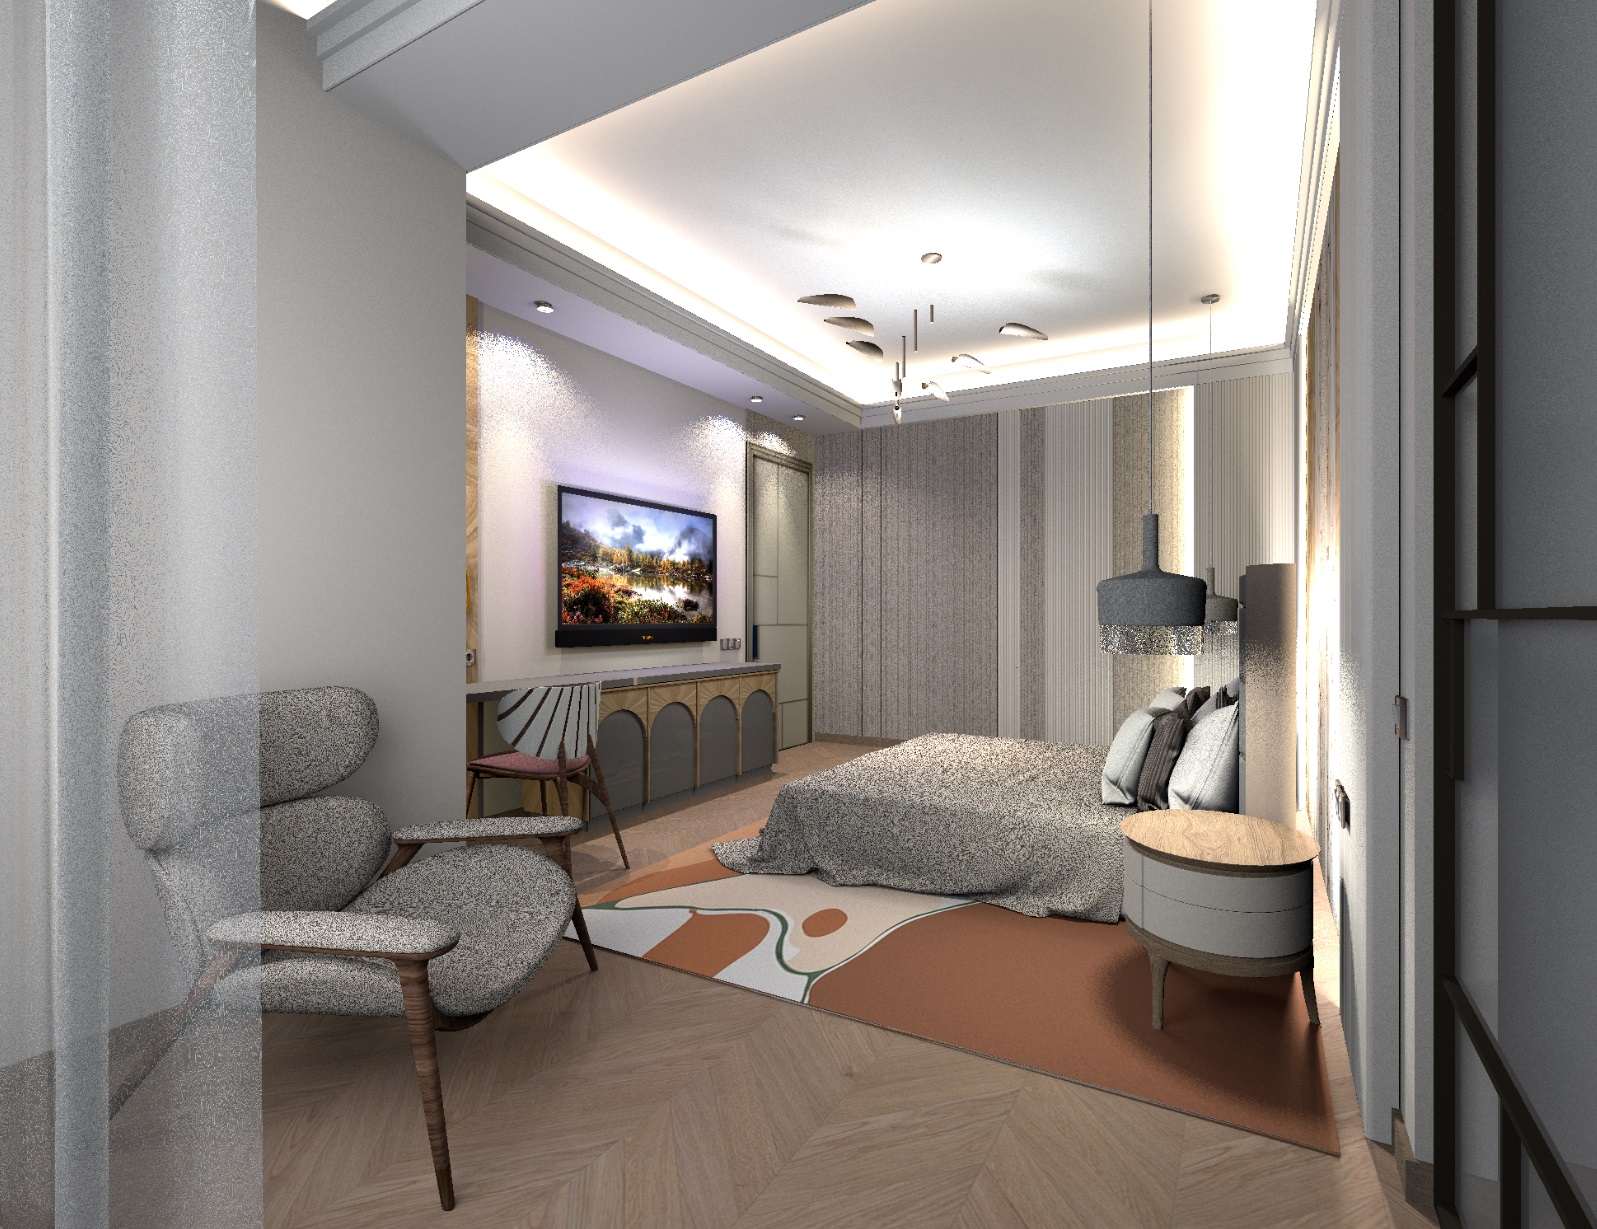
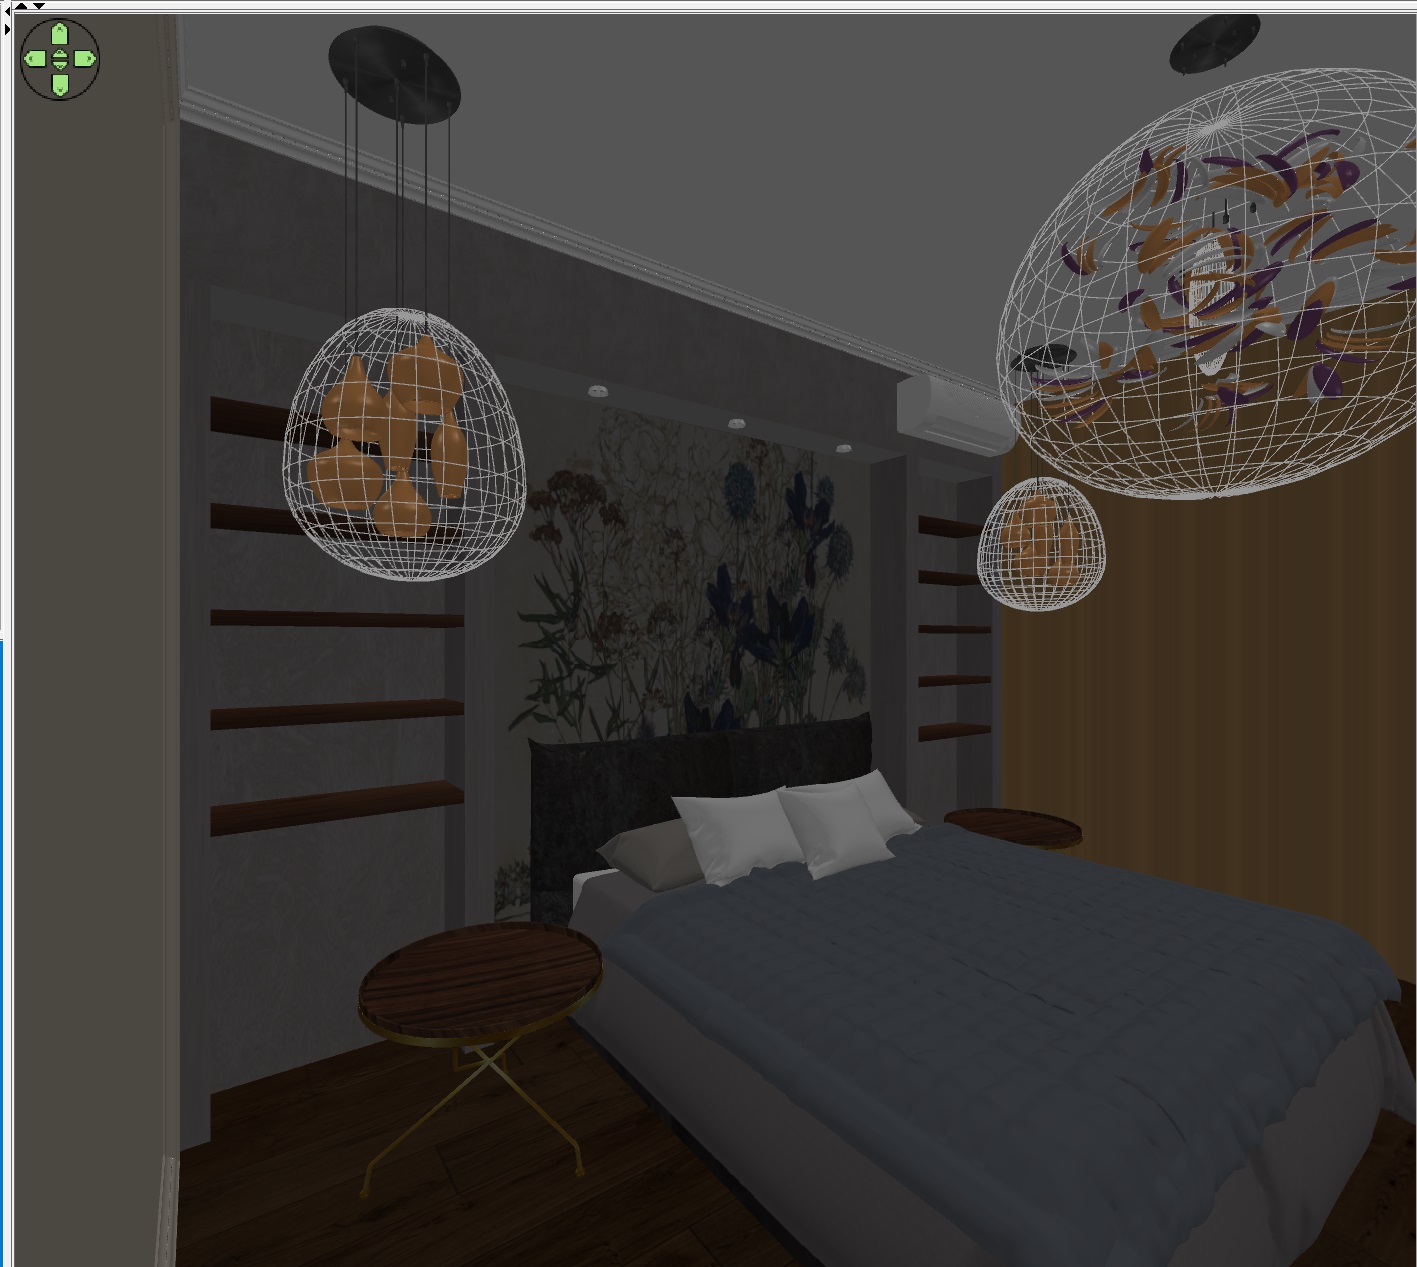
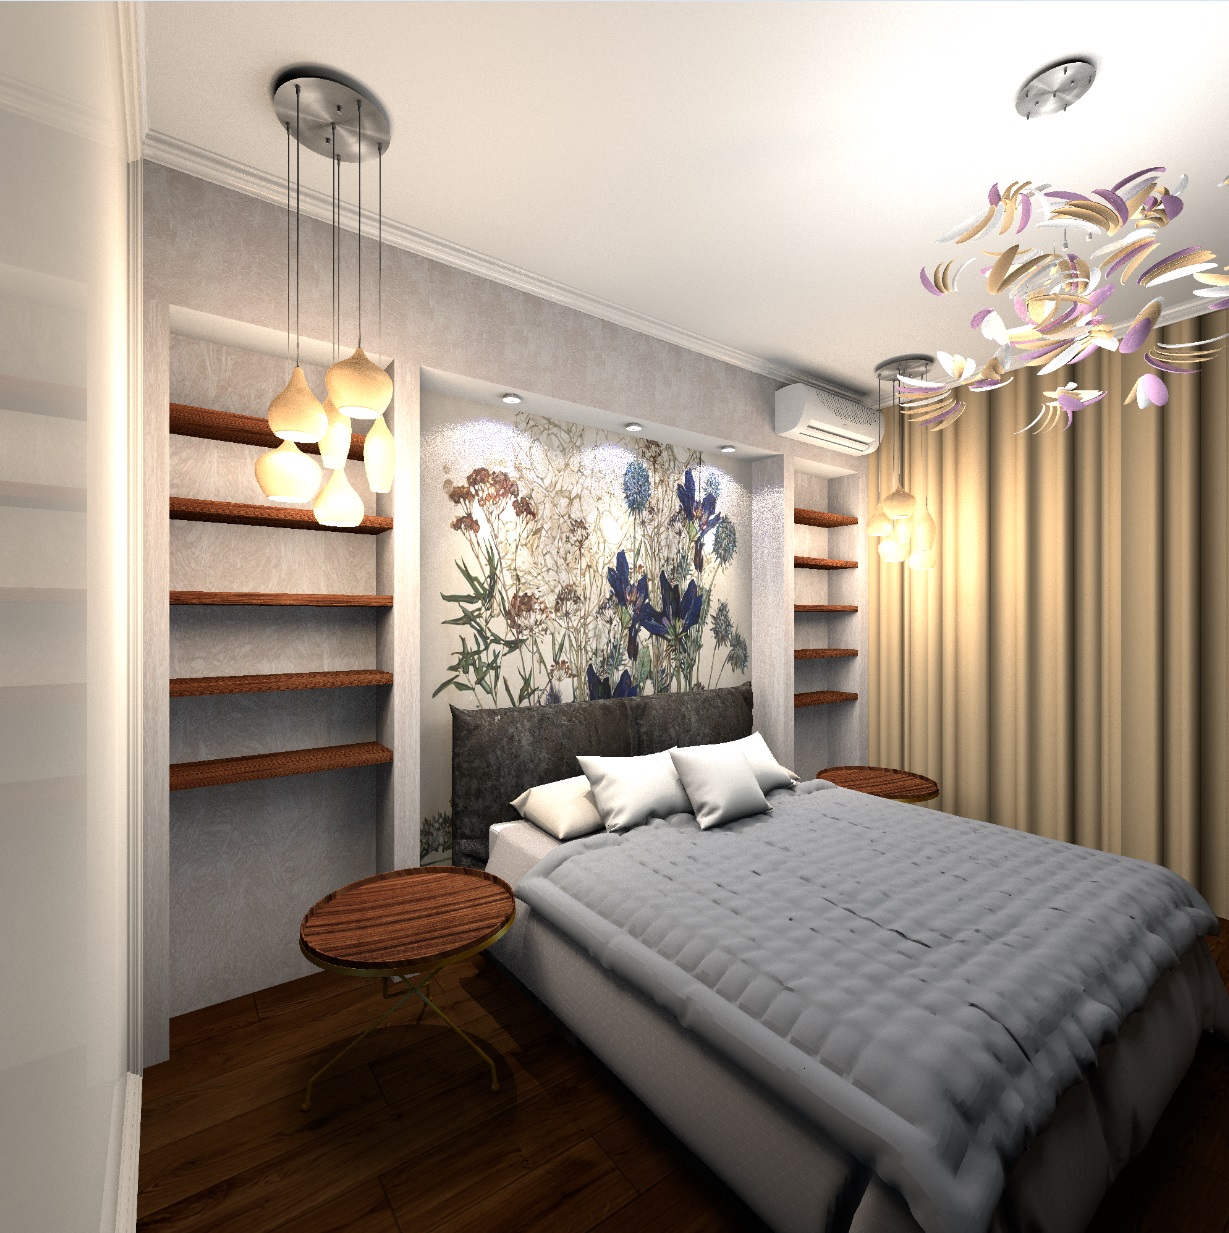
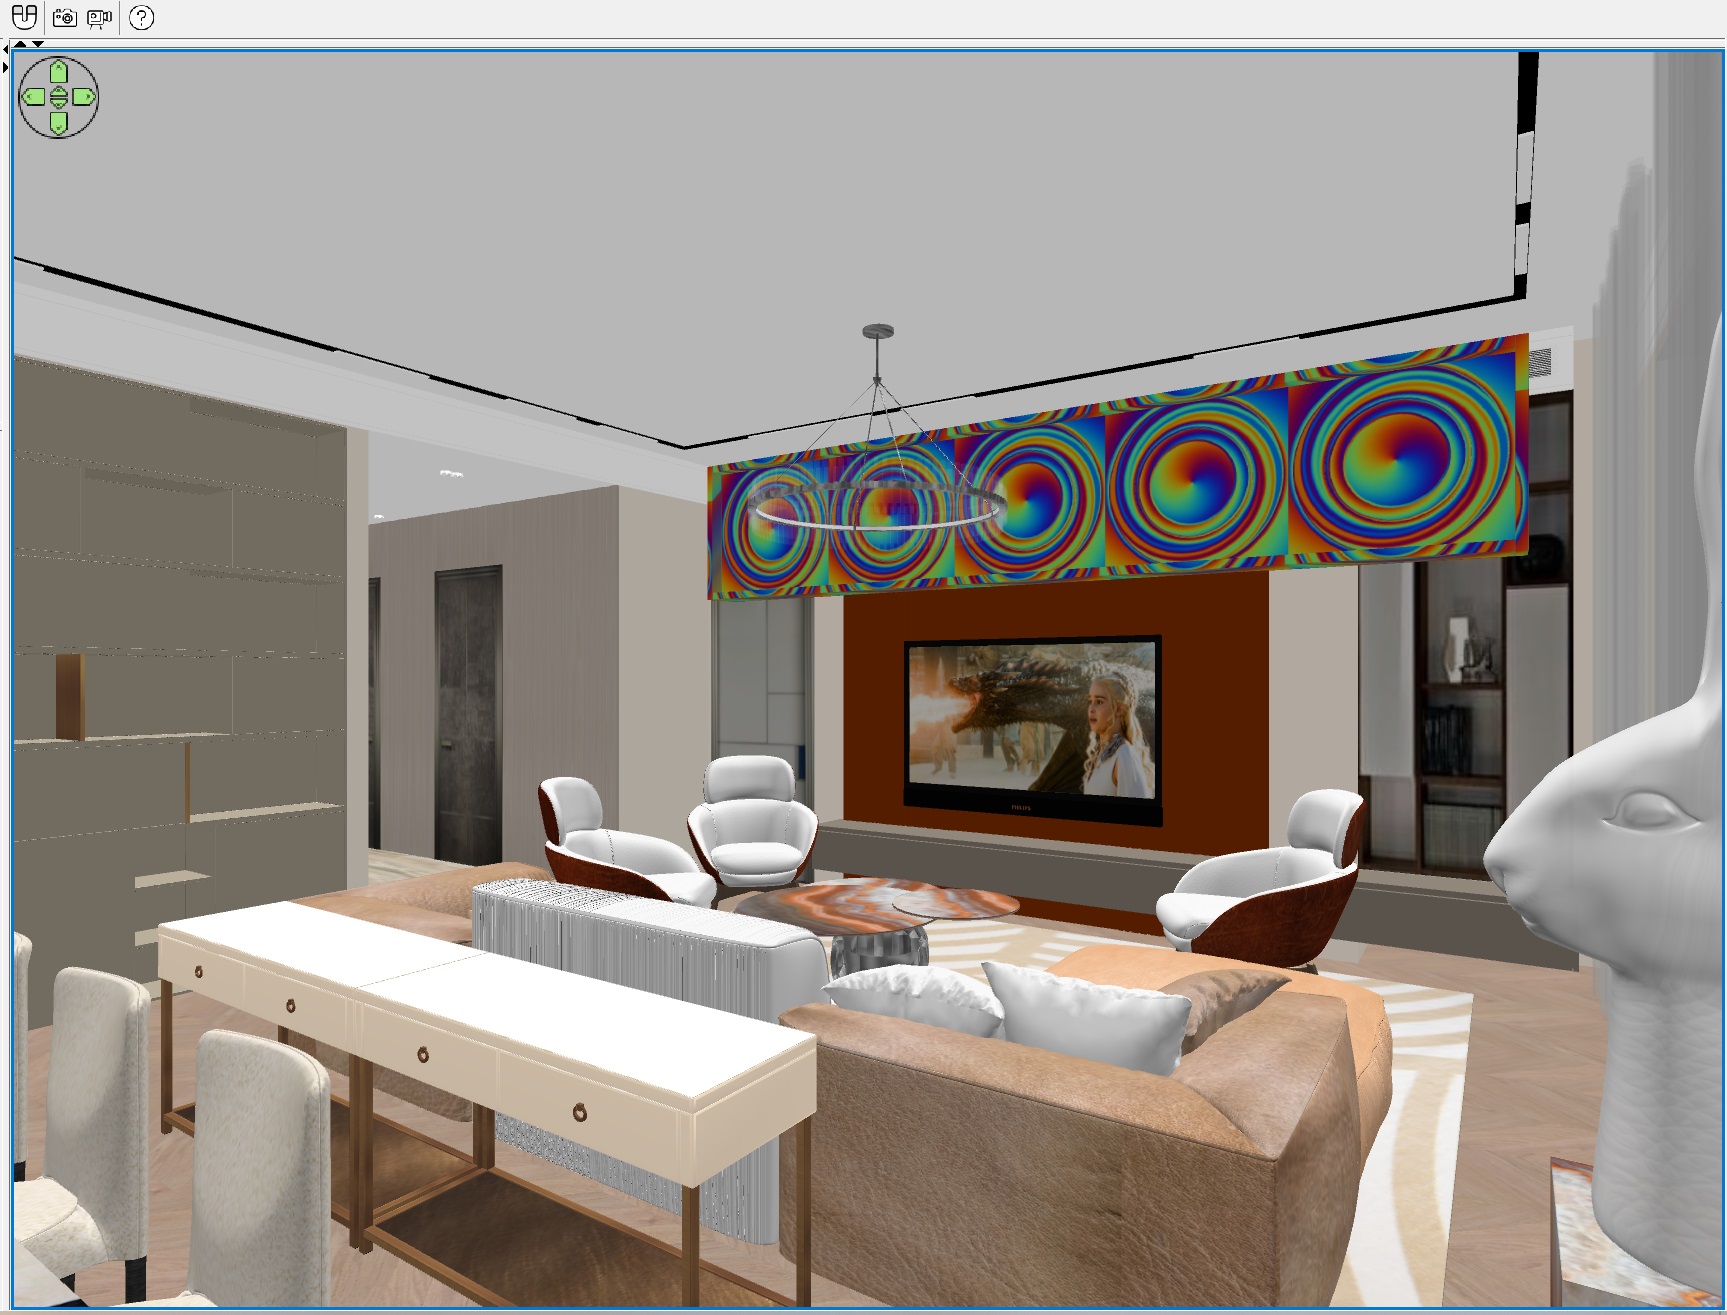
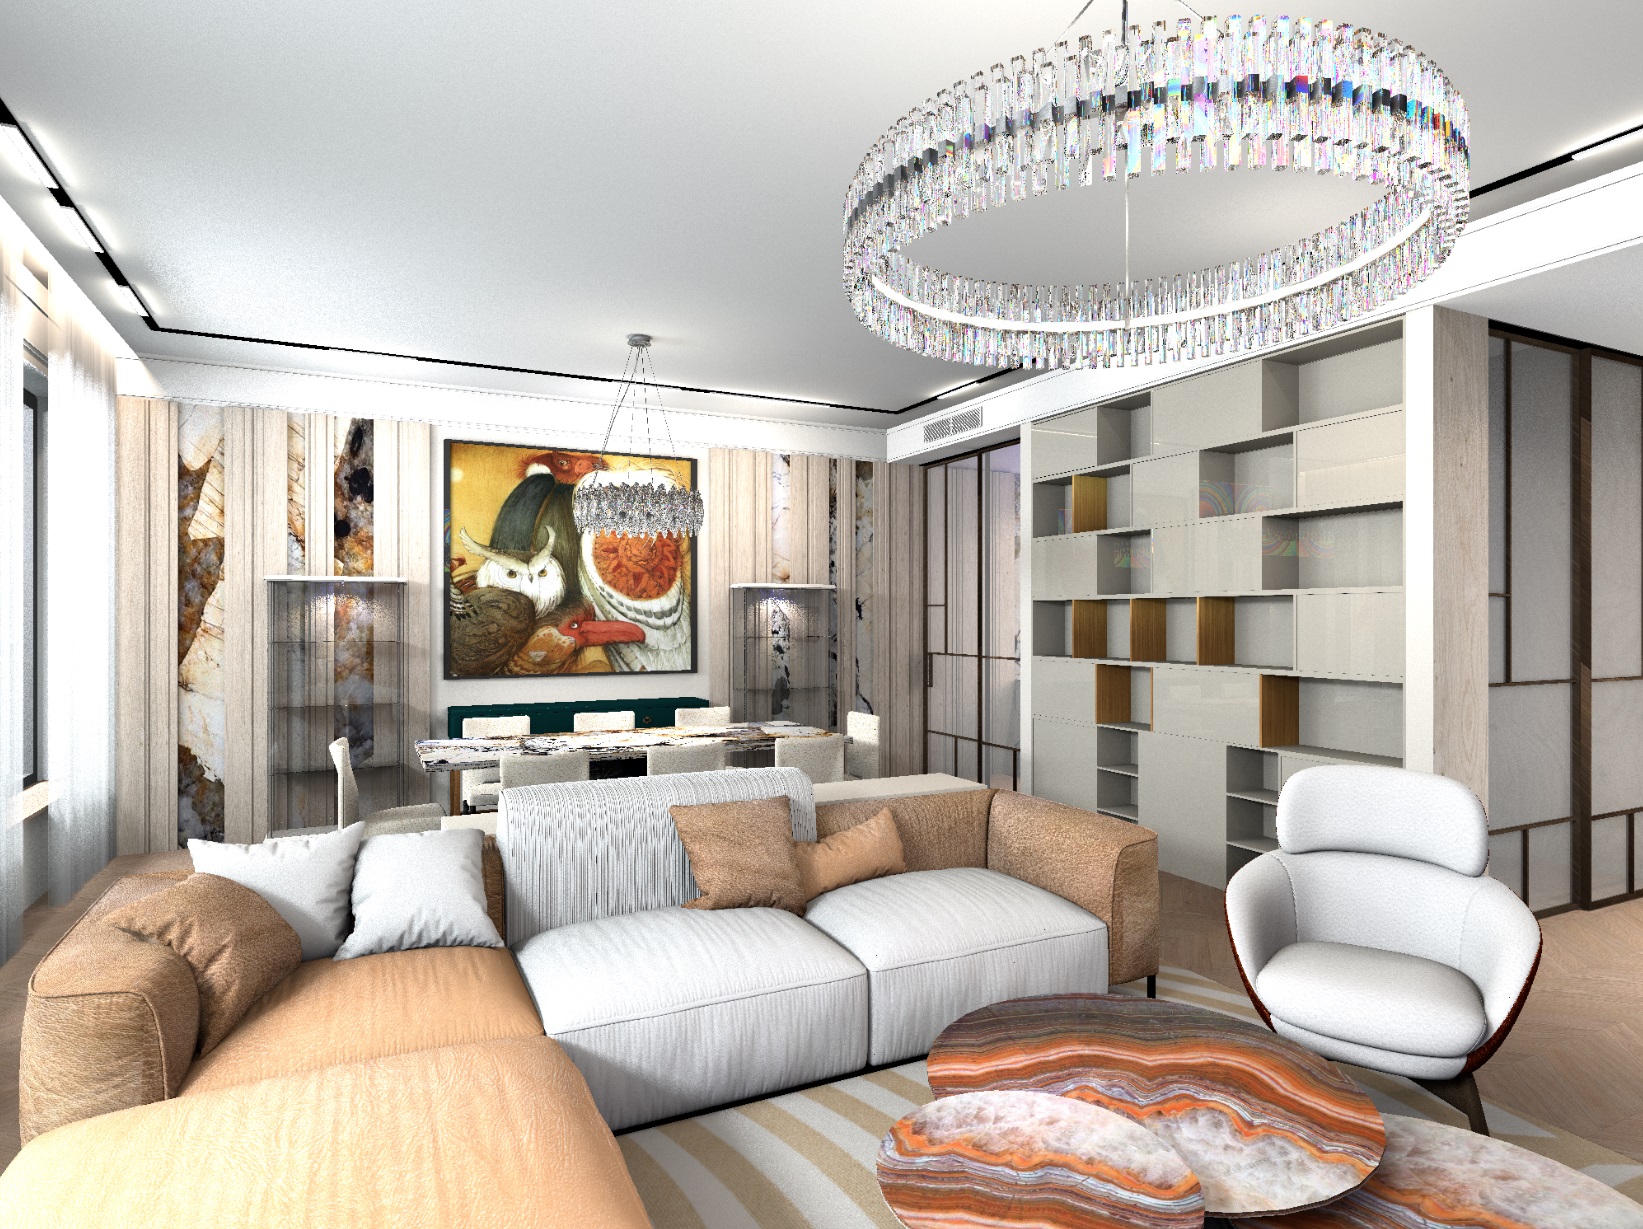
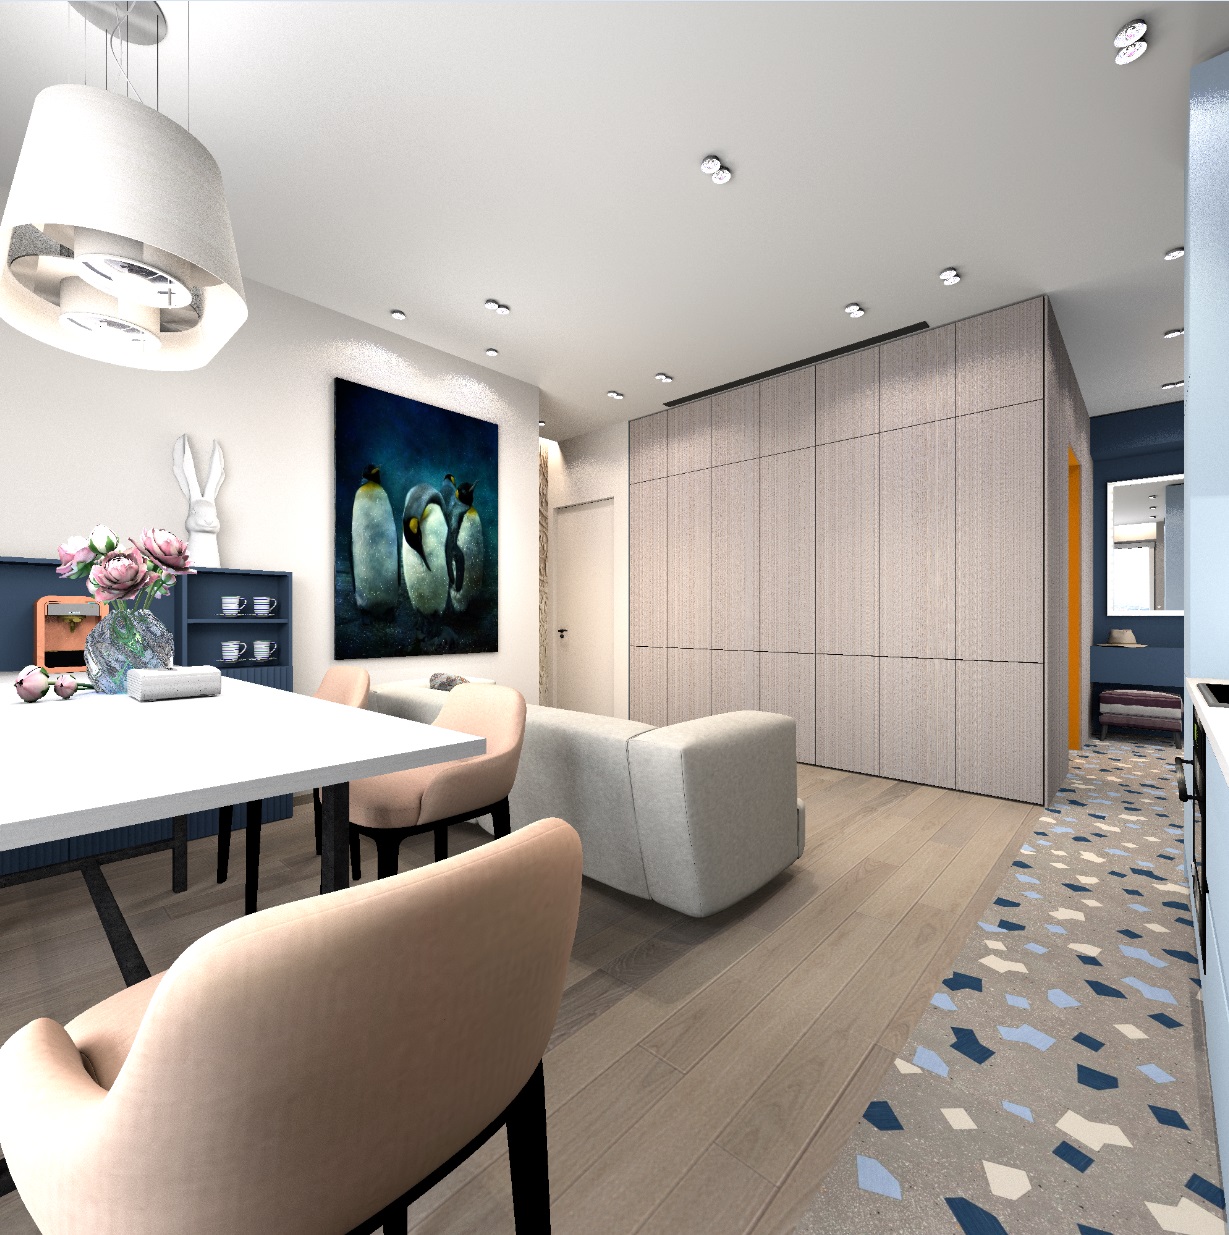
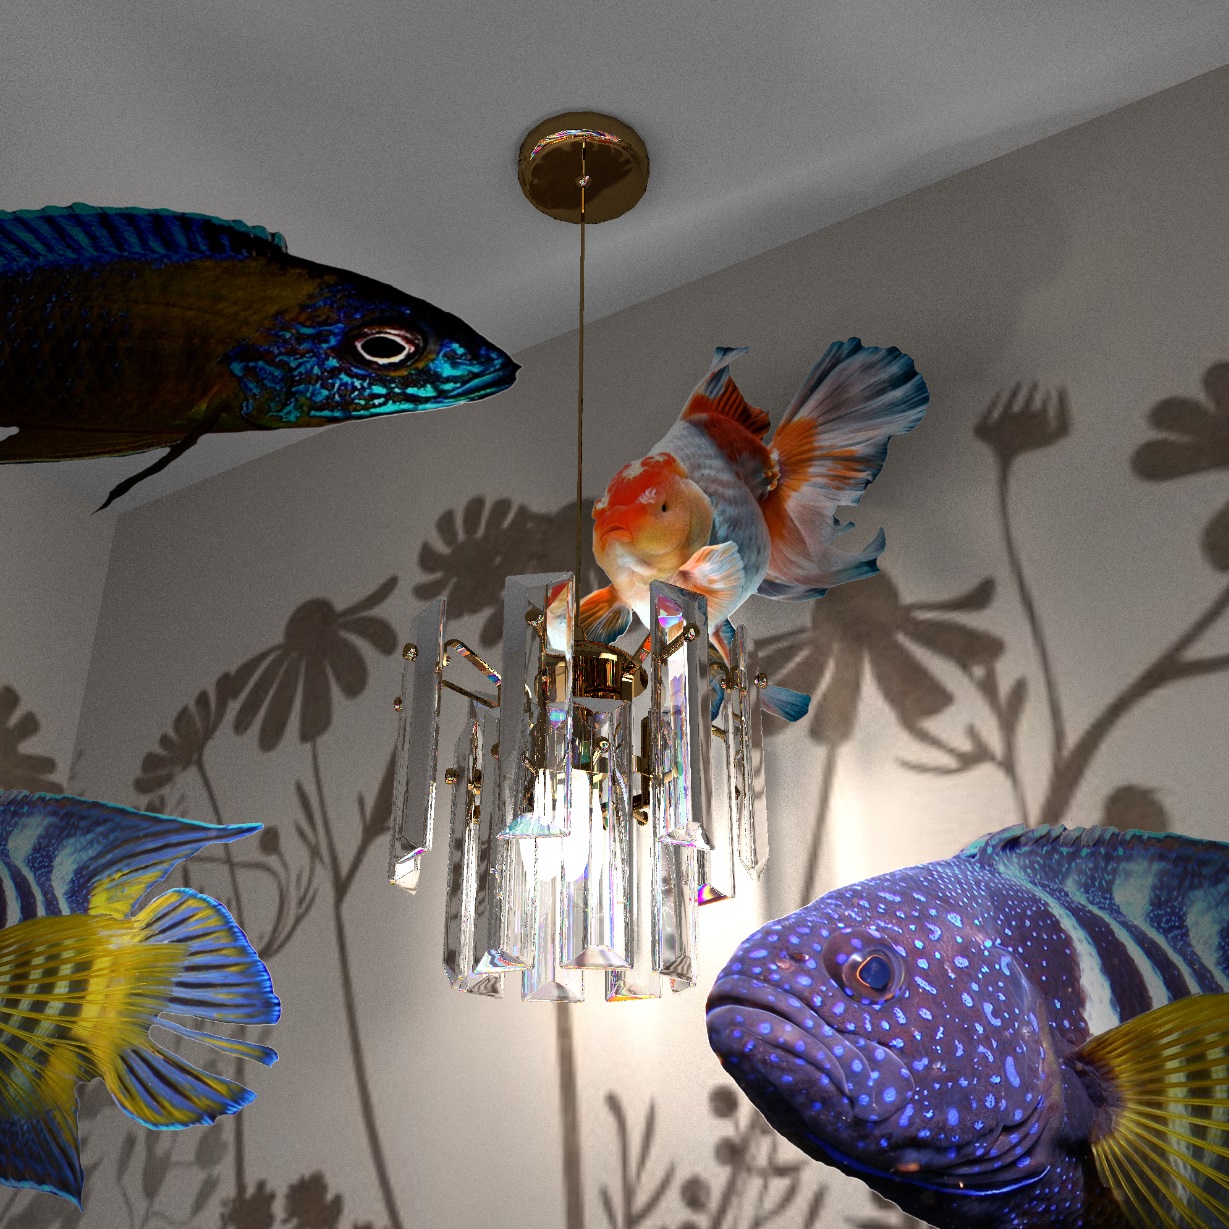
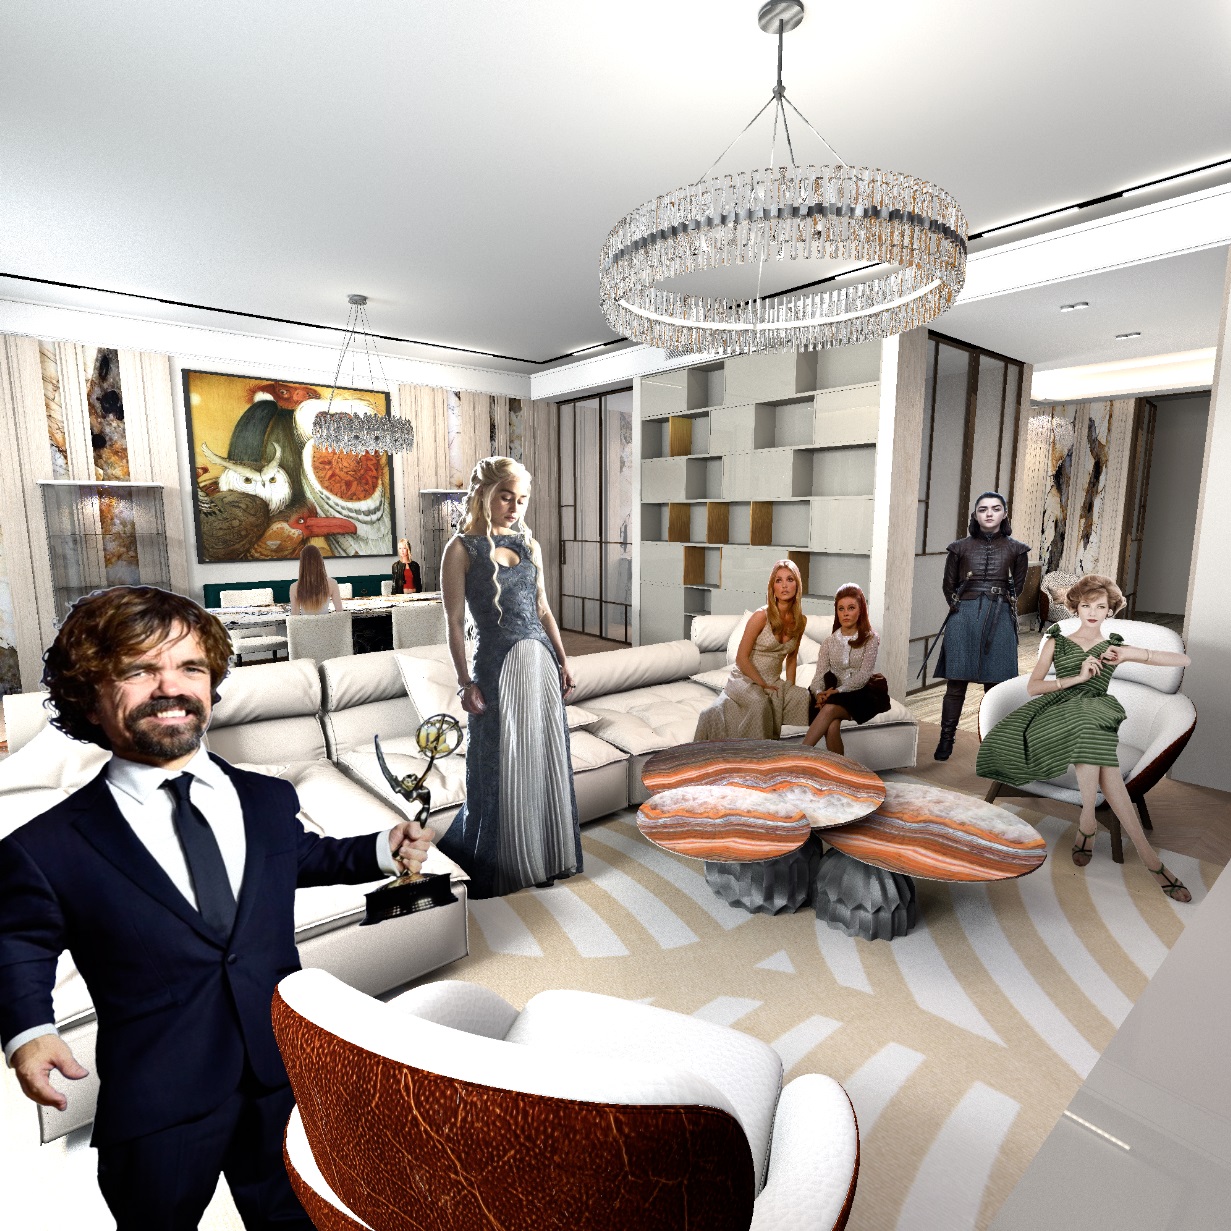
 Re: Apartment project with lighting by invisible hemispheres. I continue advertising
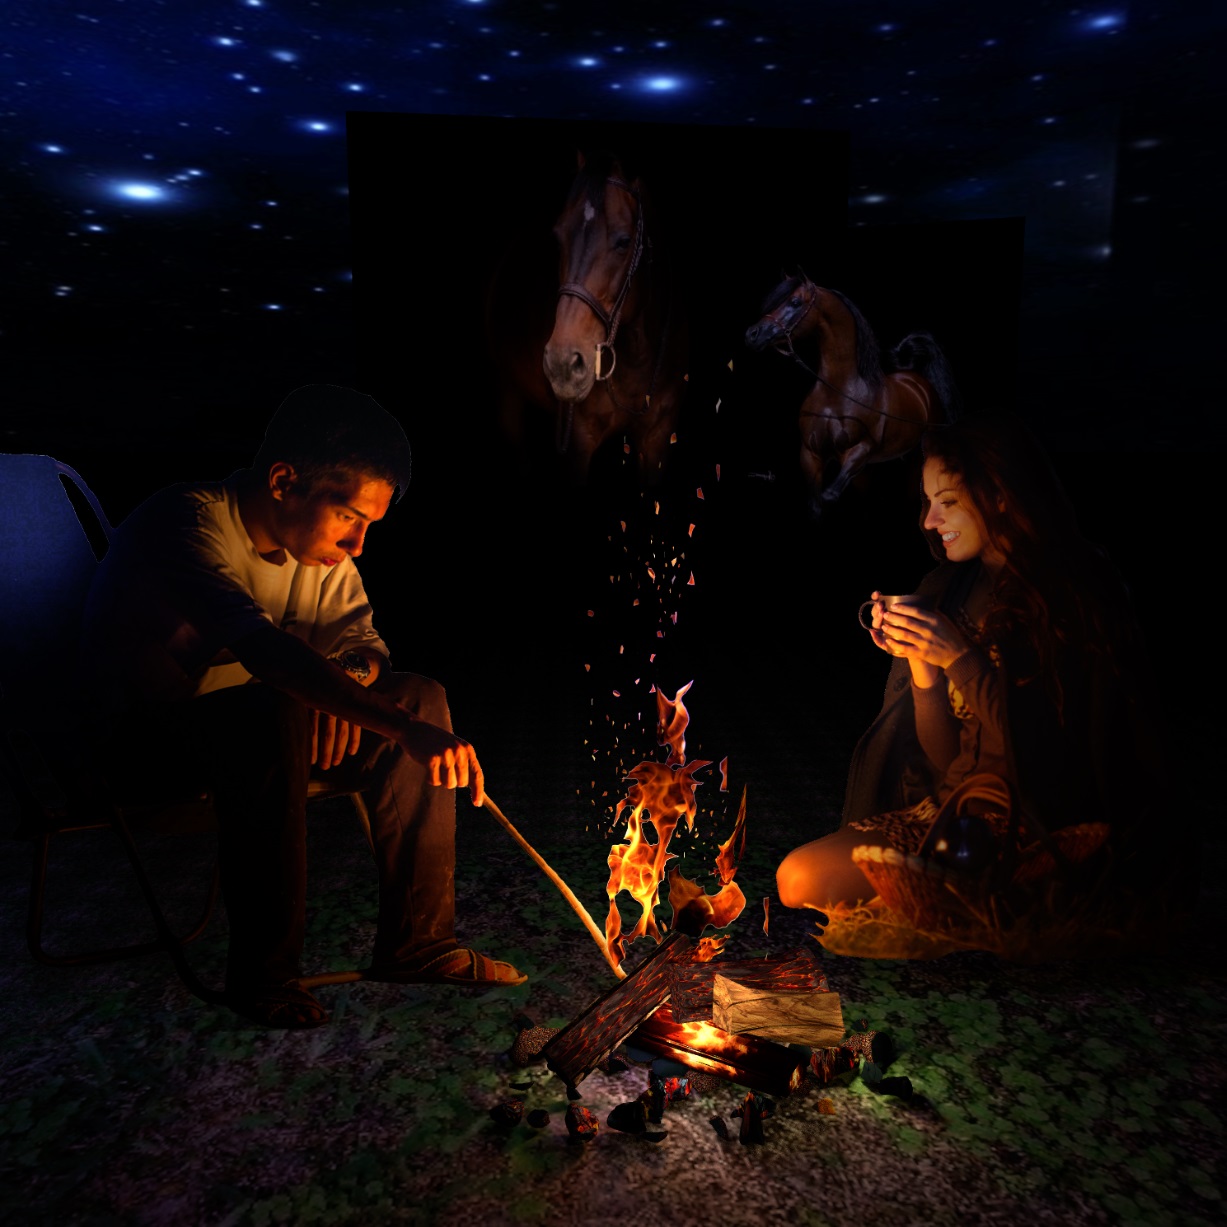
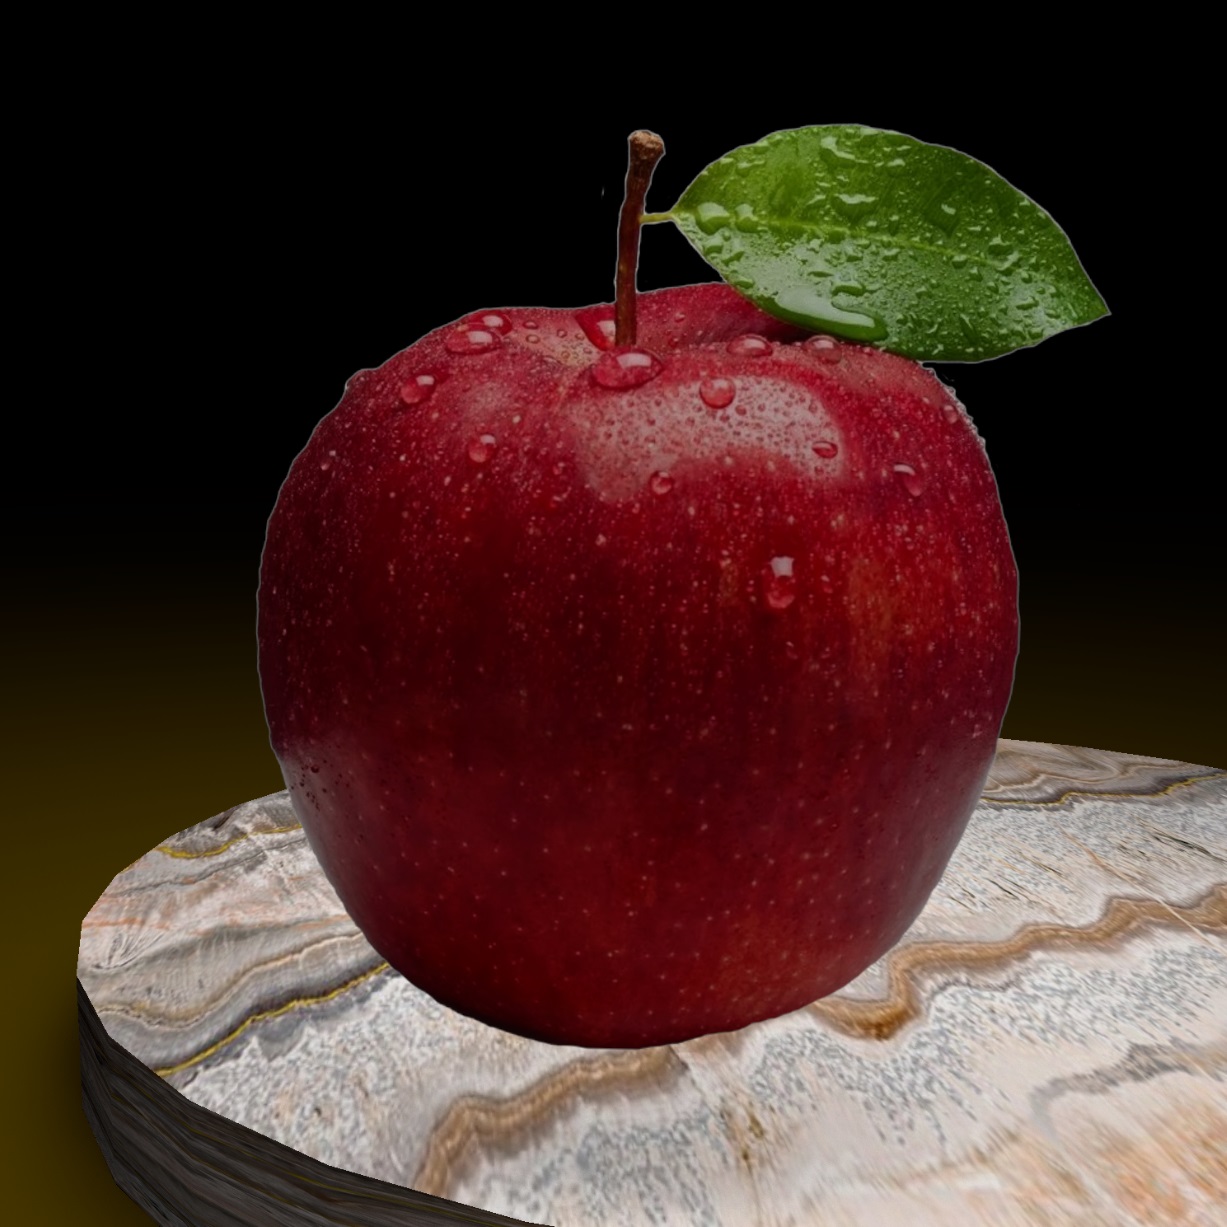
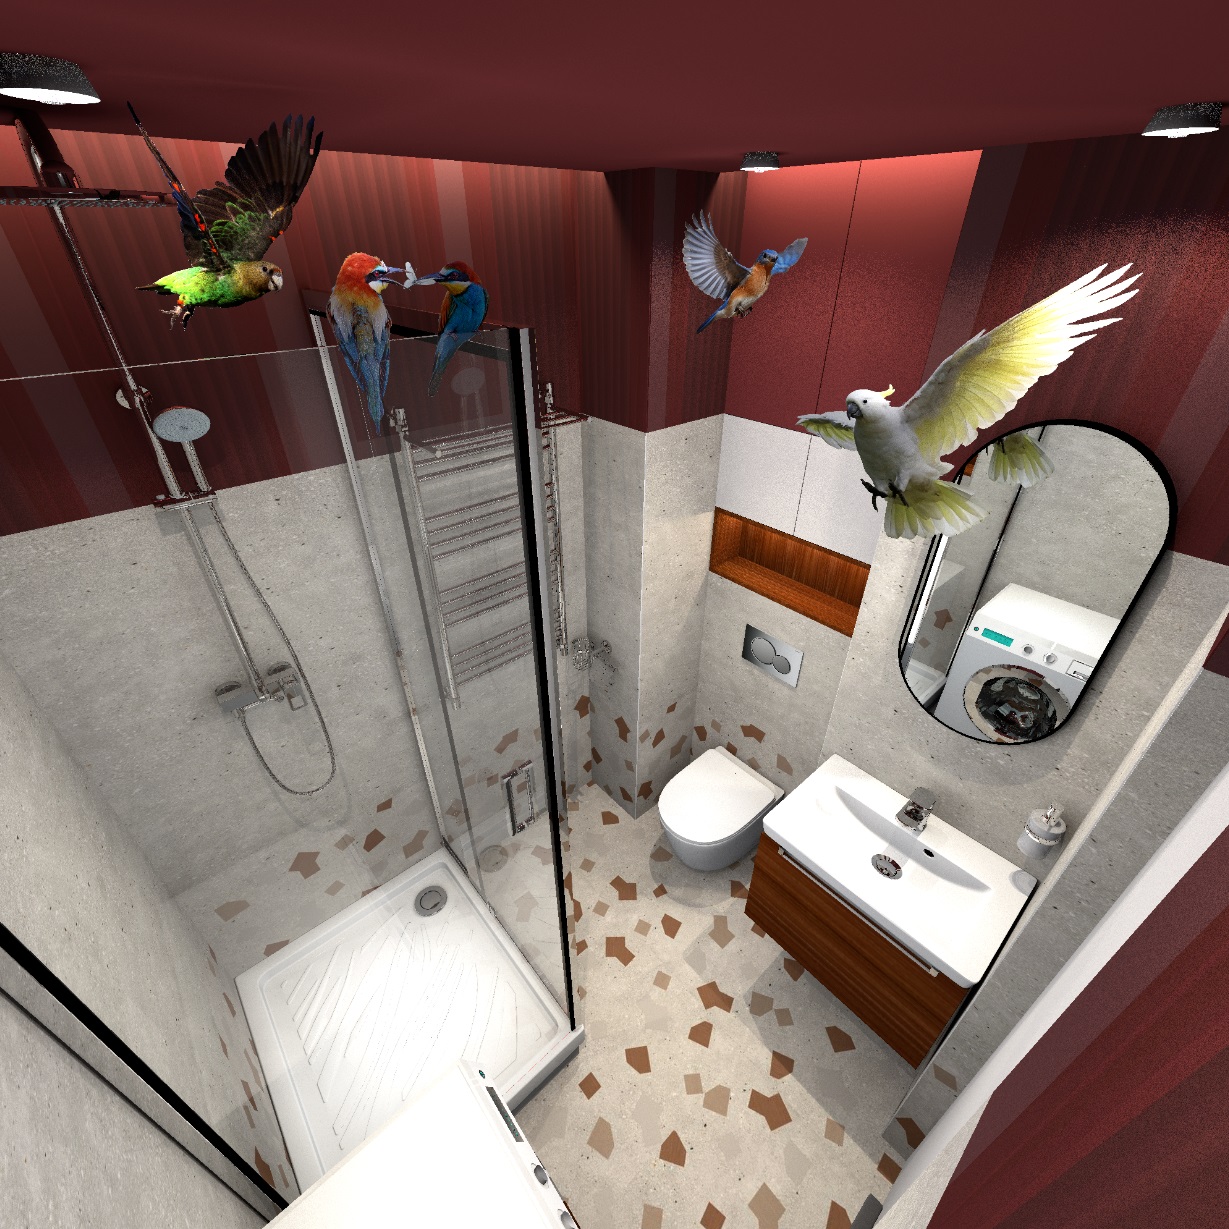
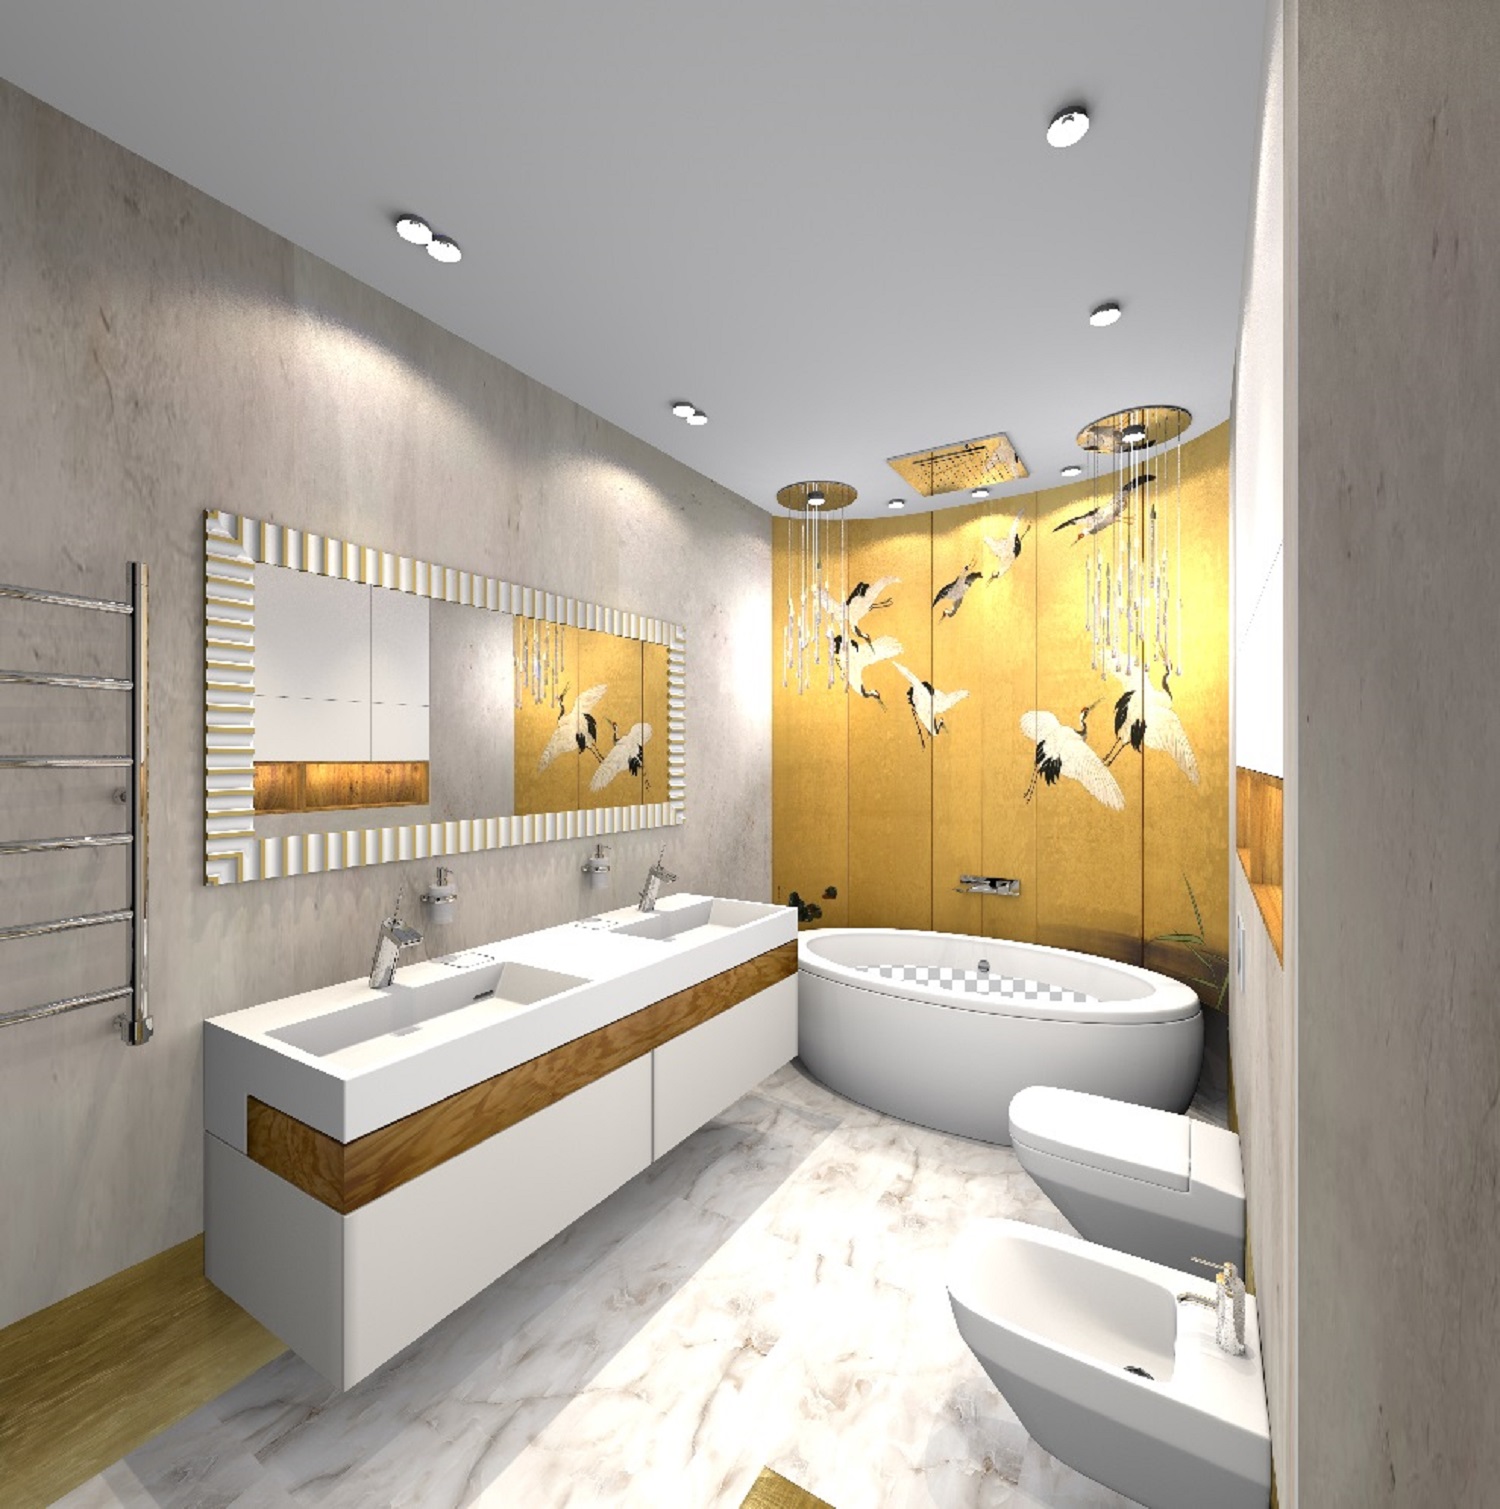
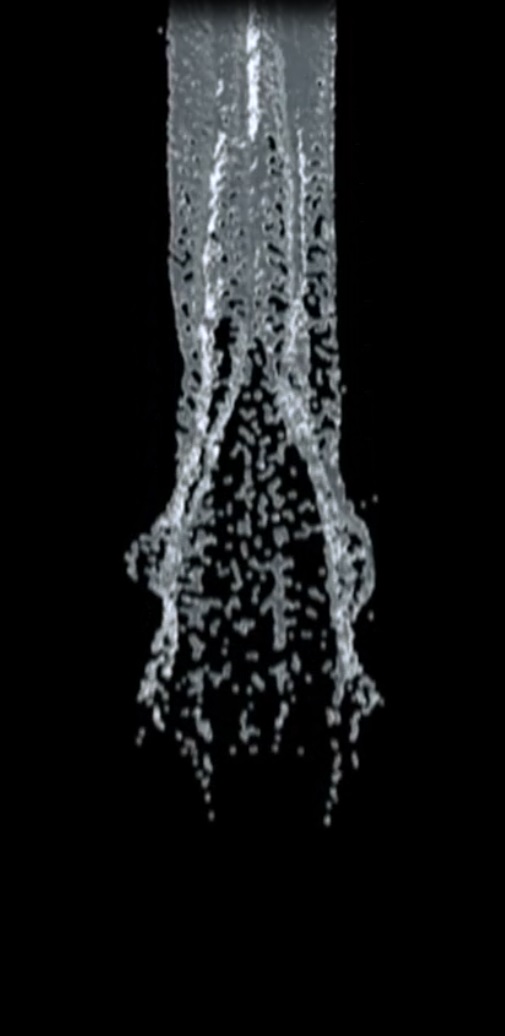
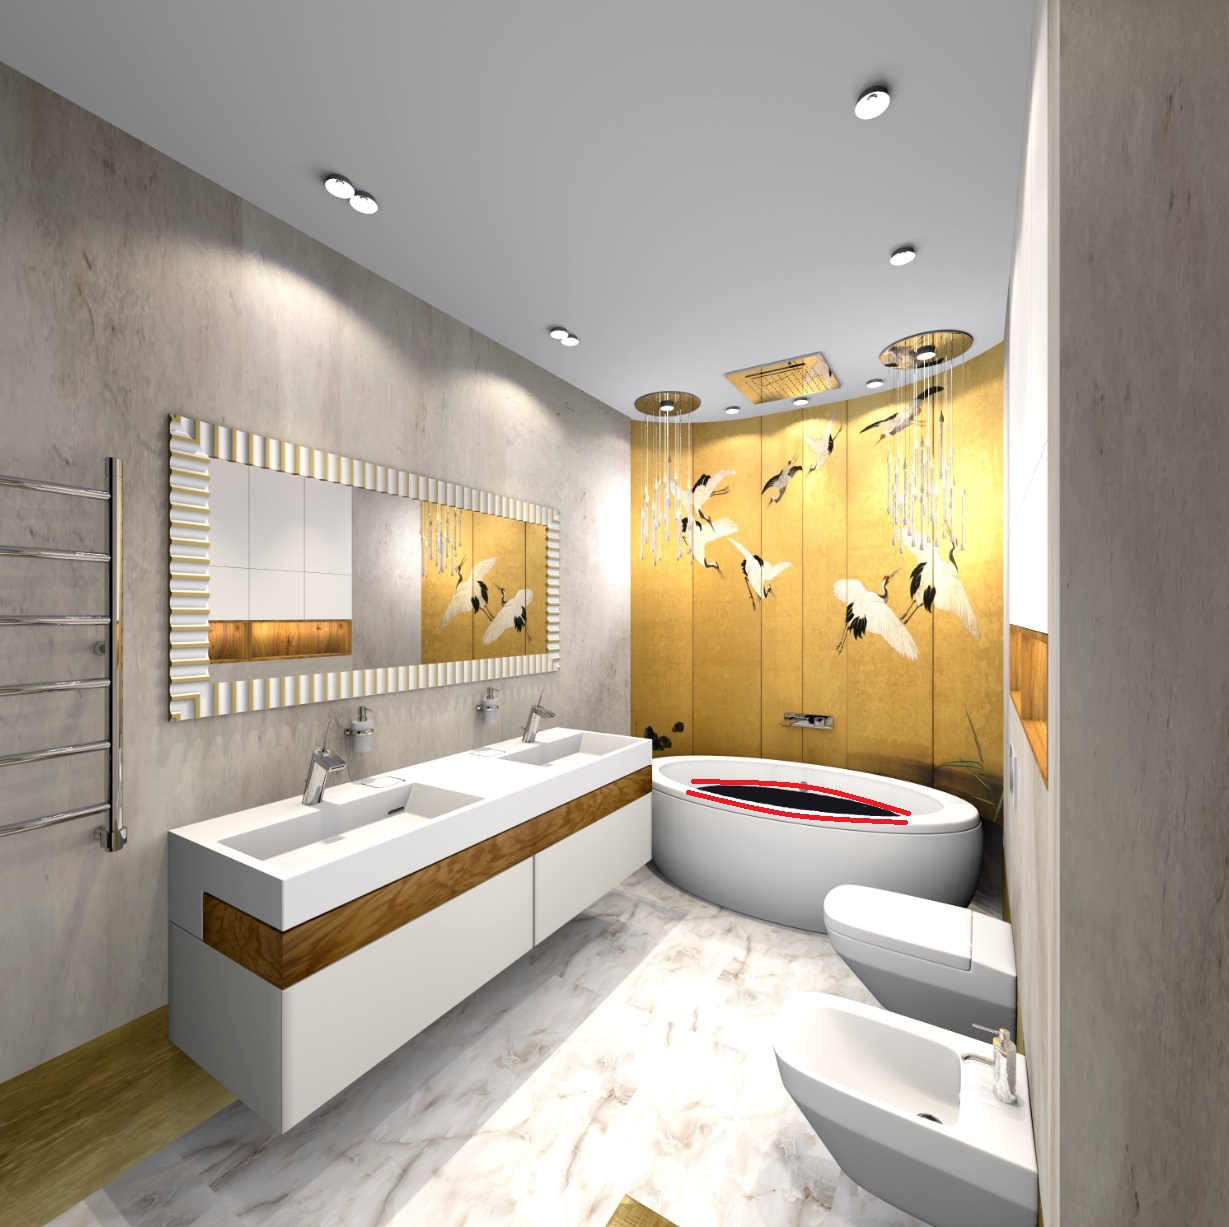
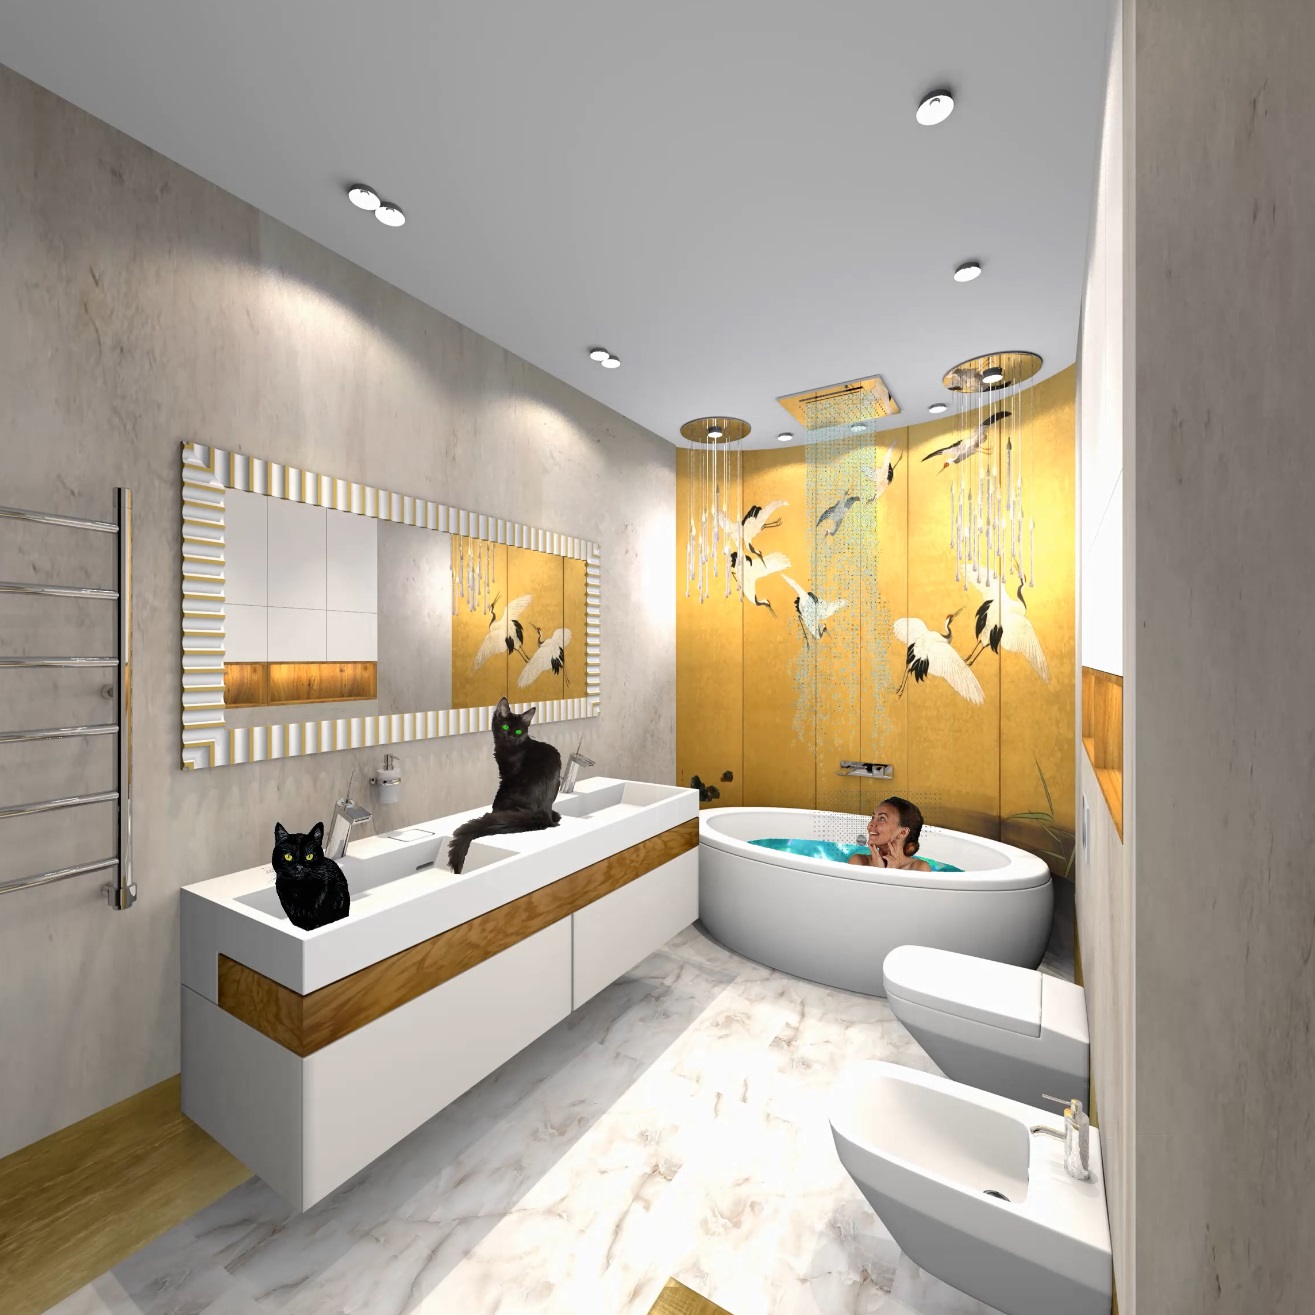
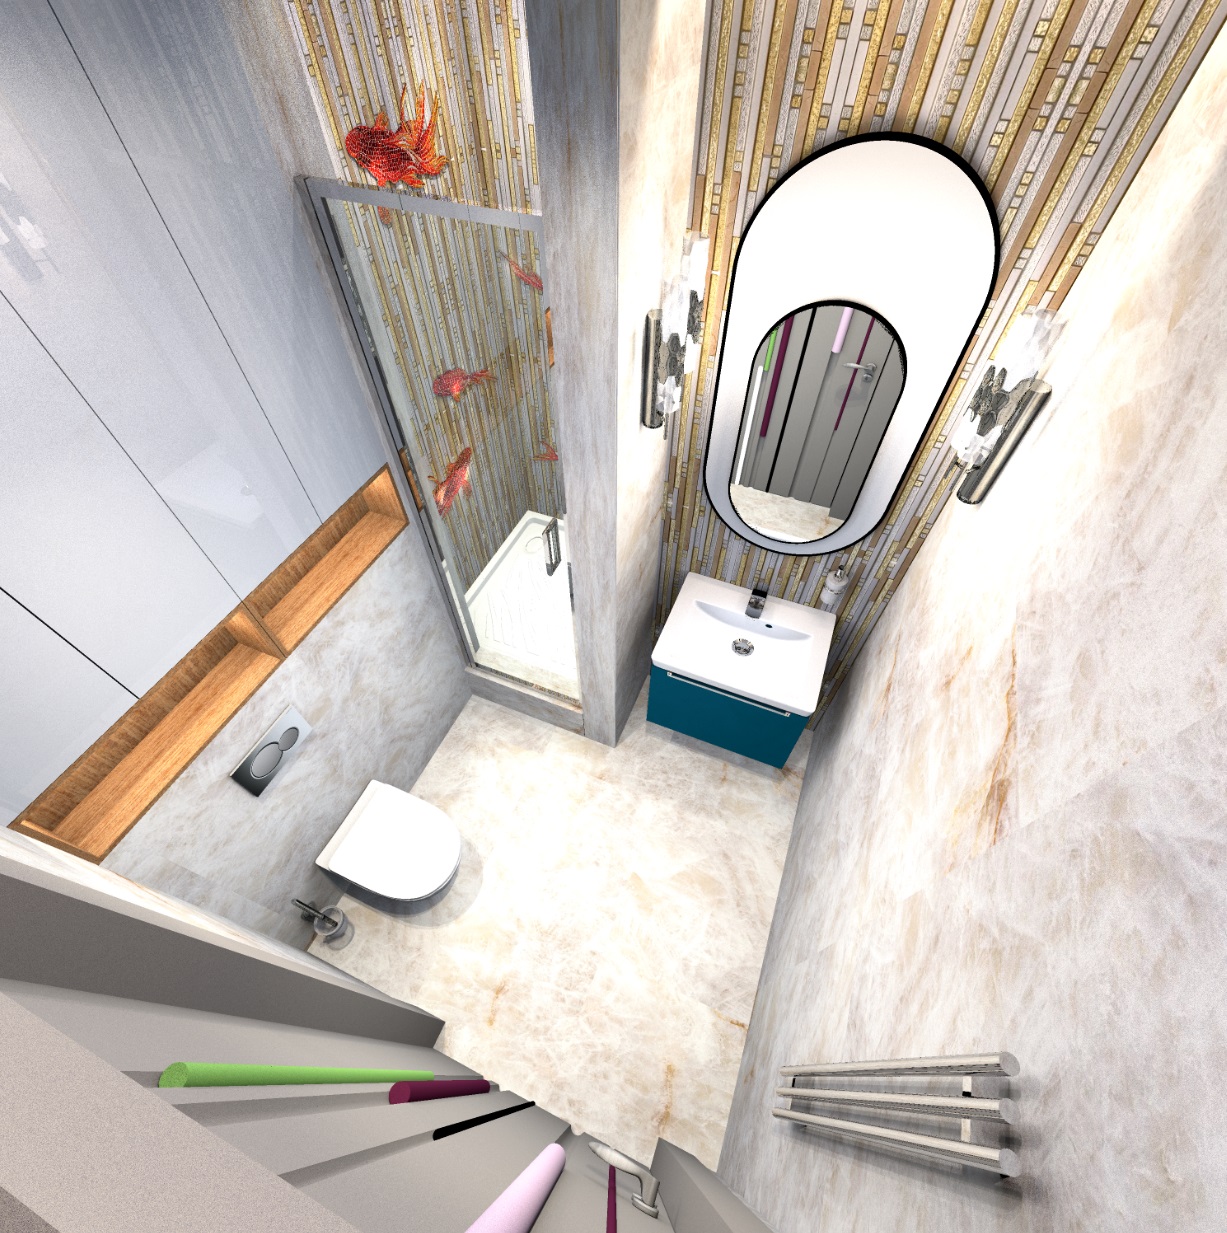
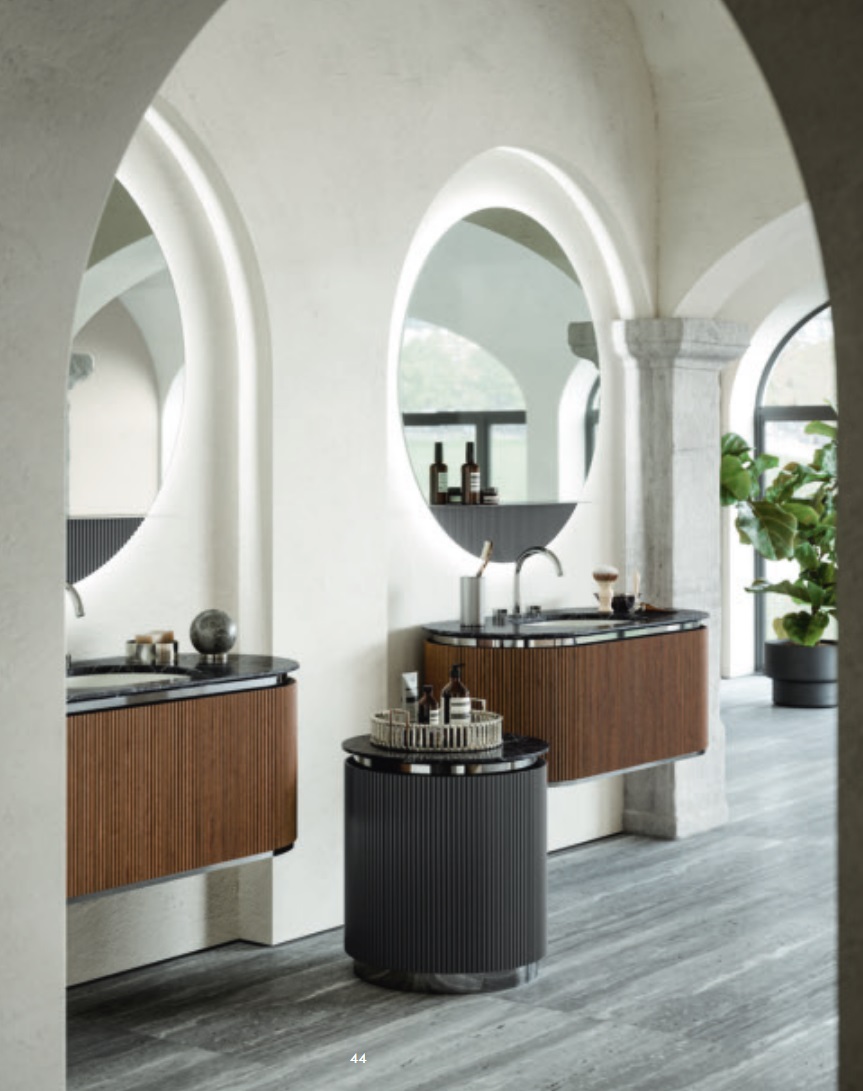
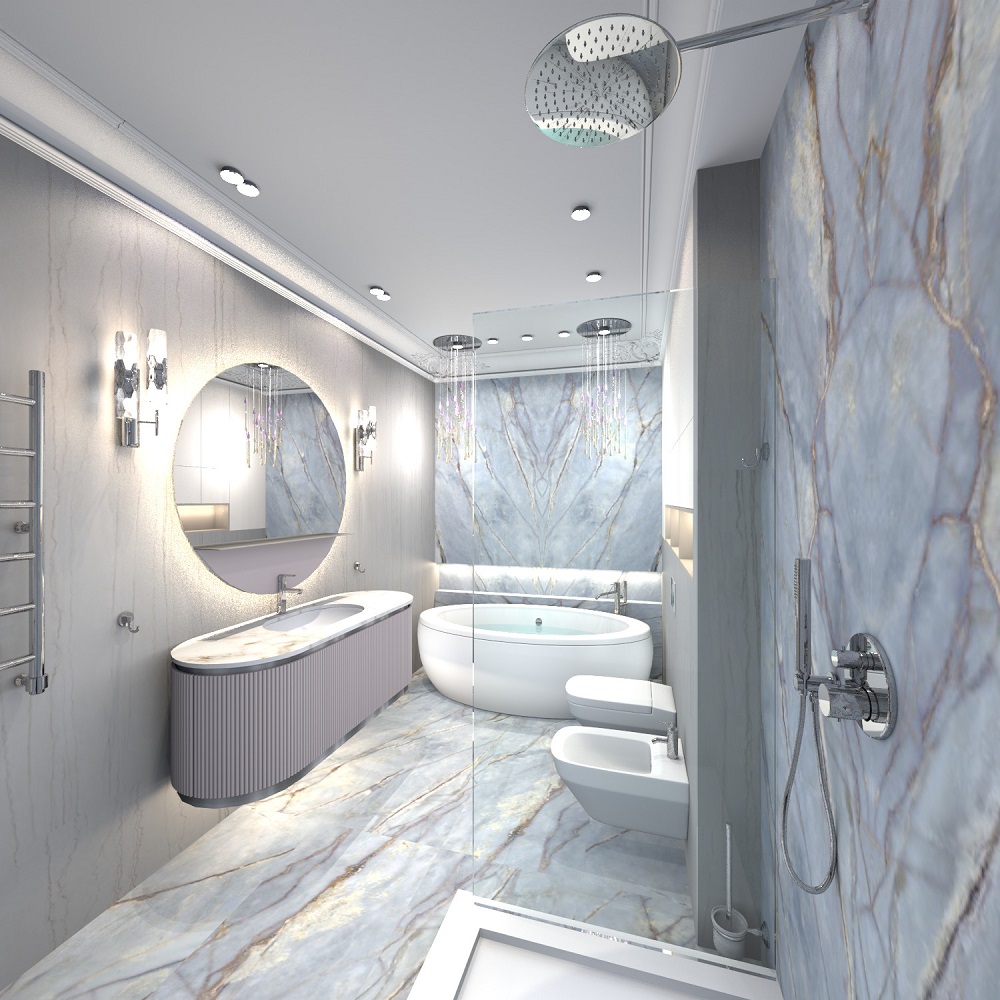
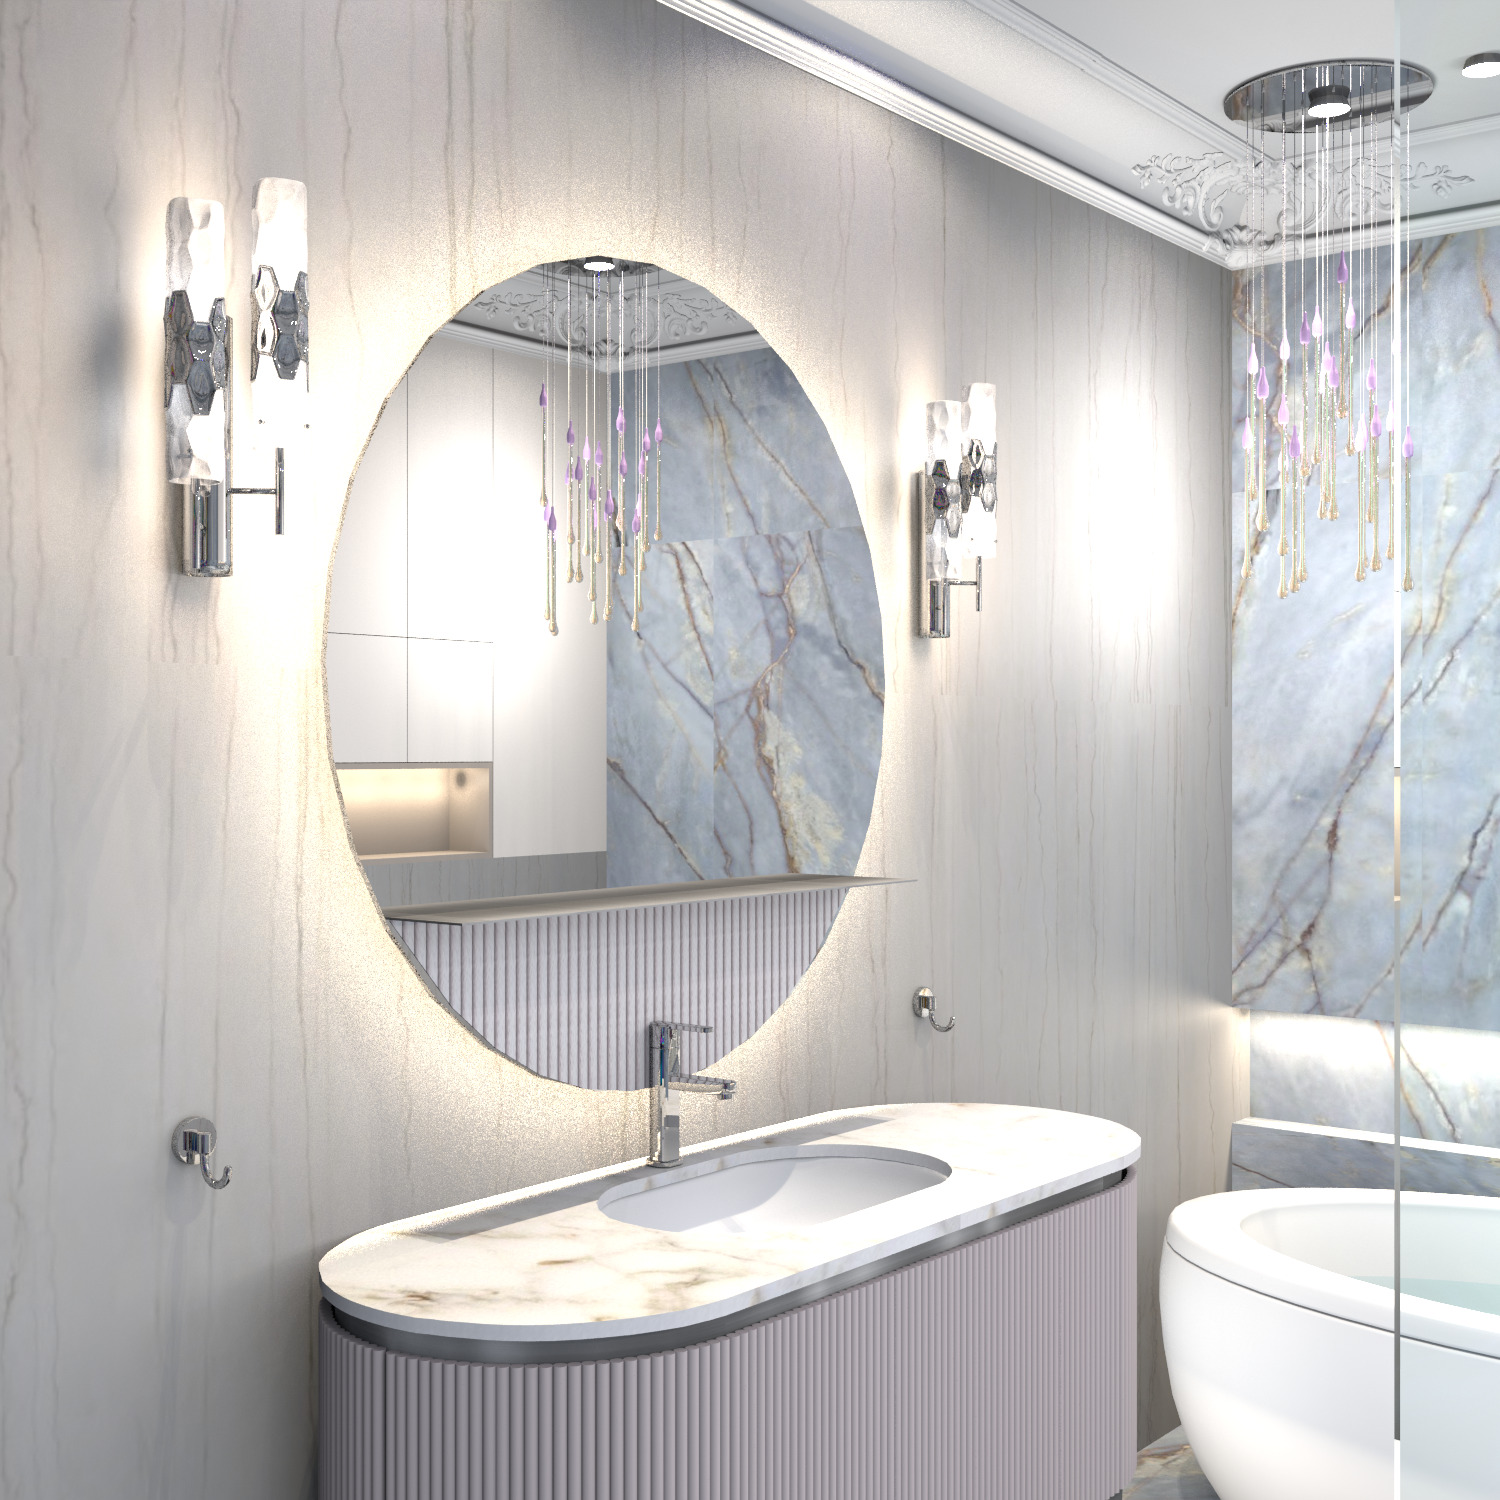
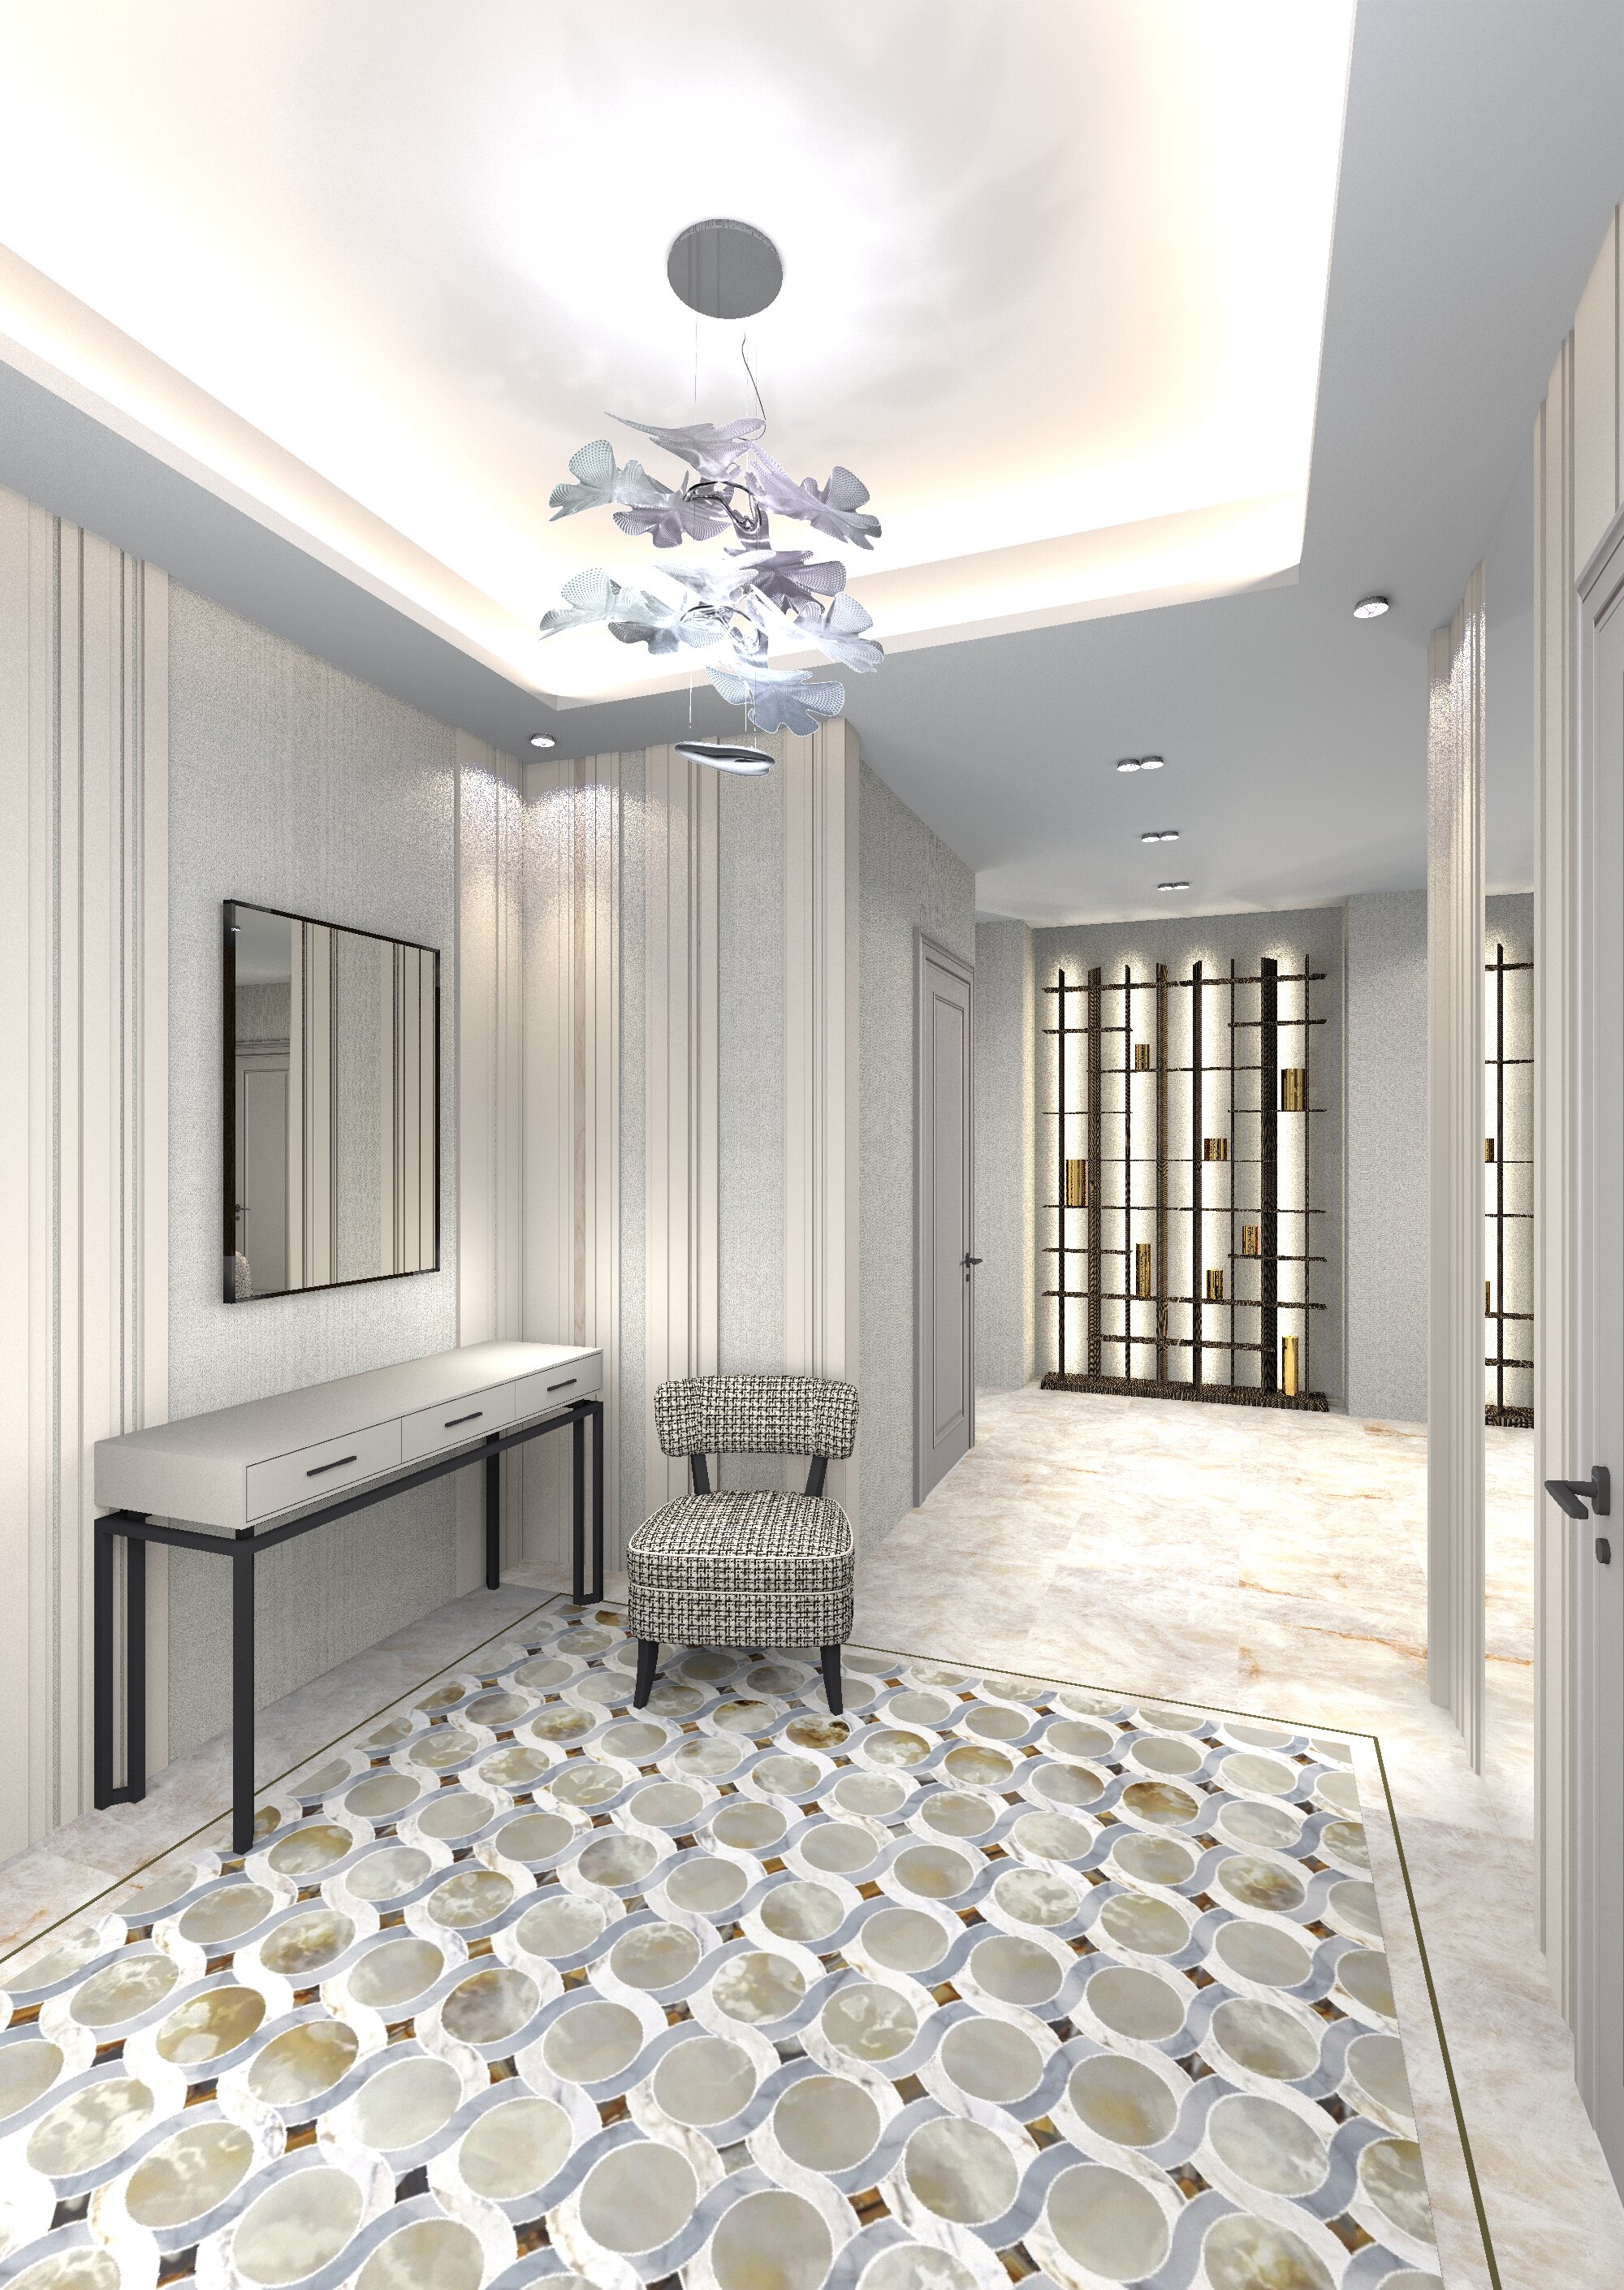
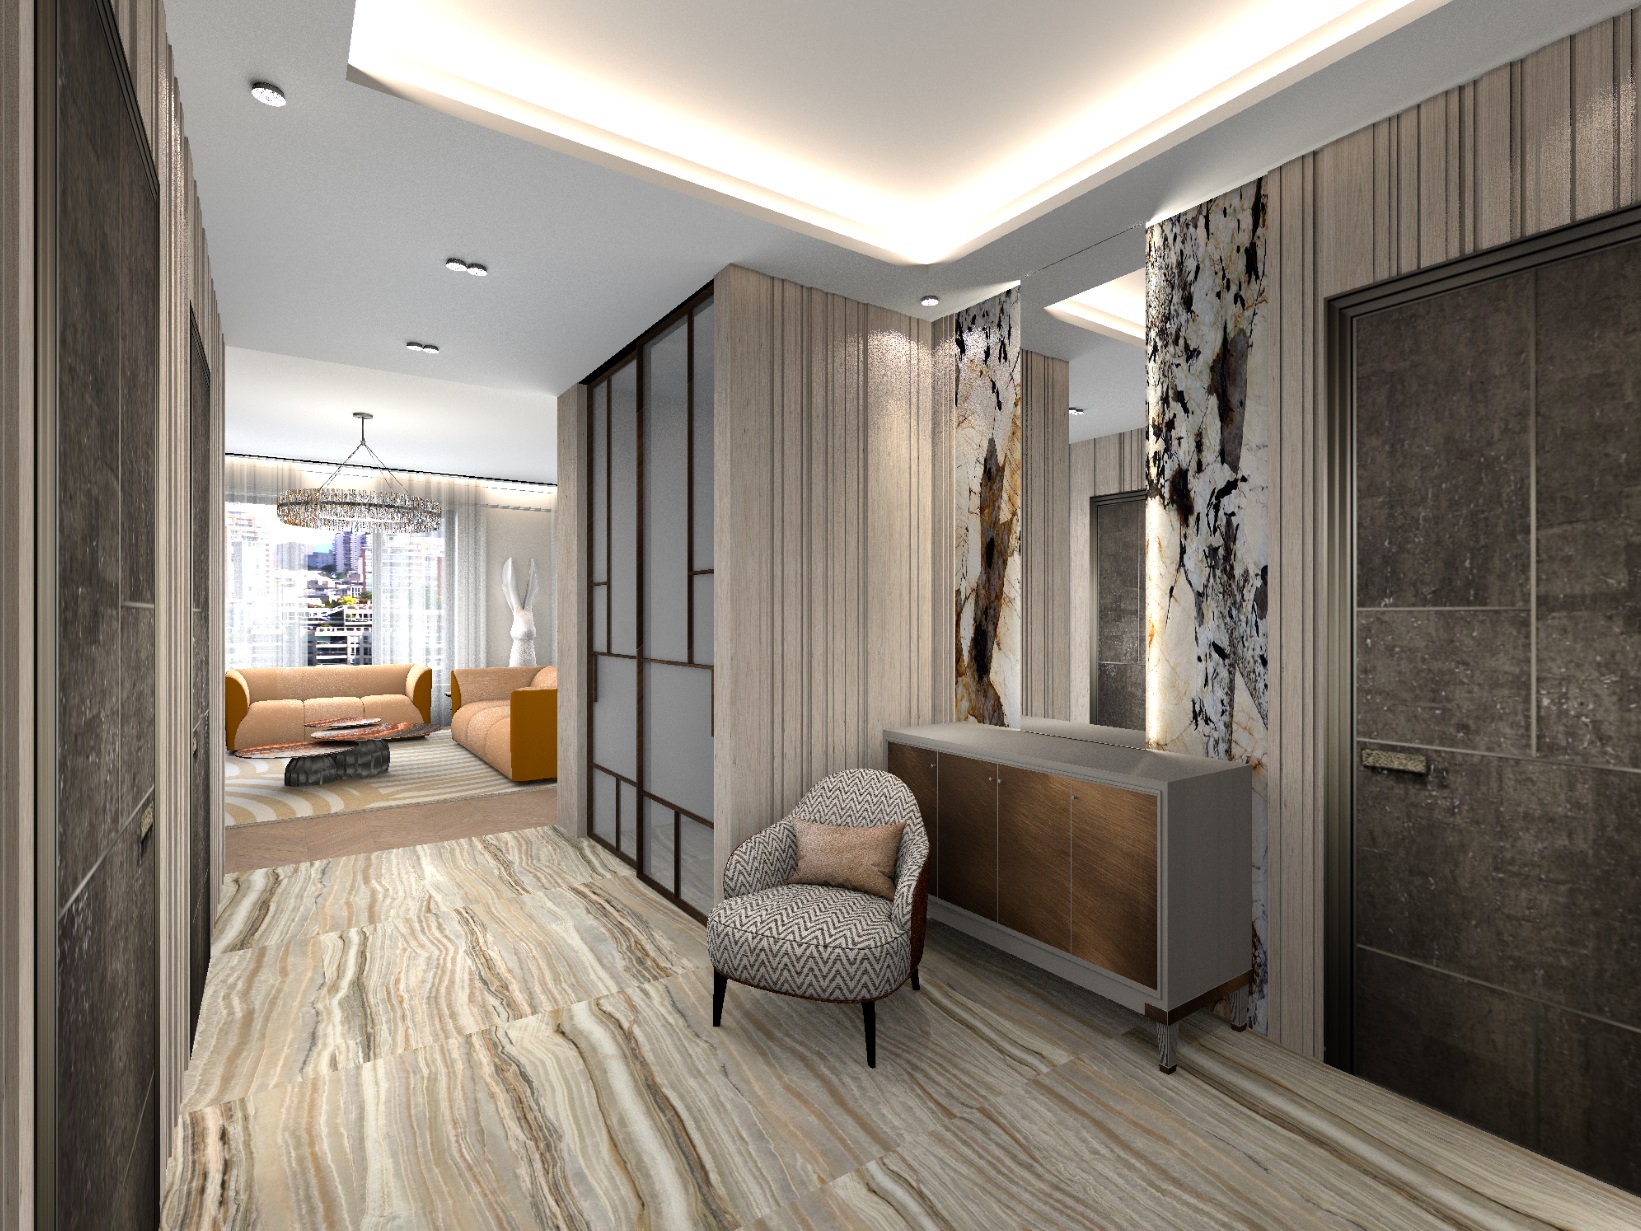
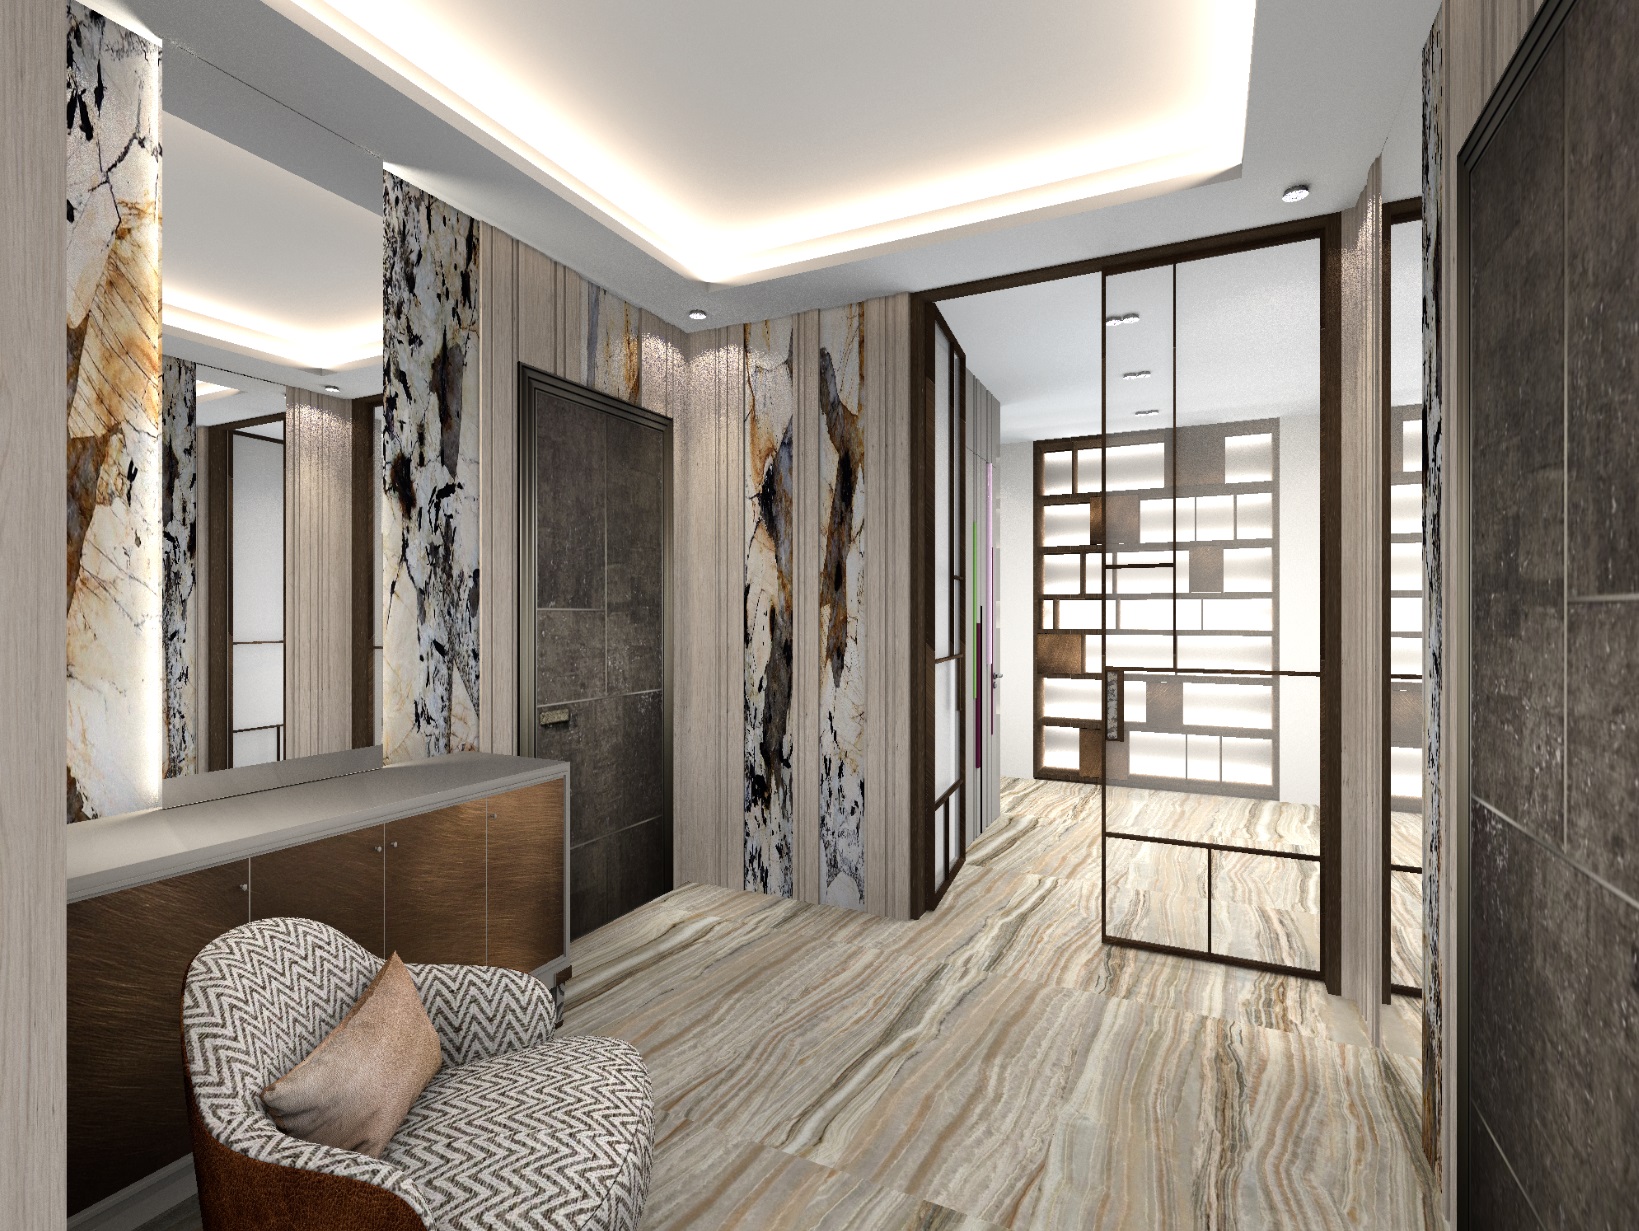
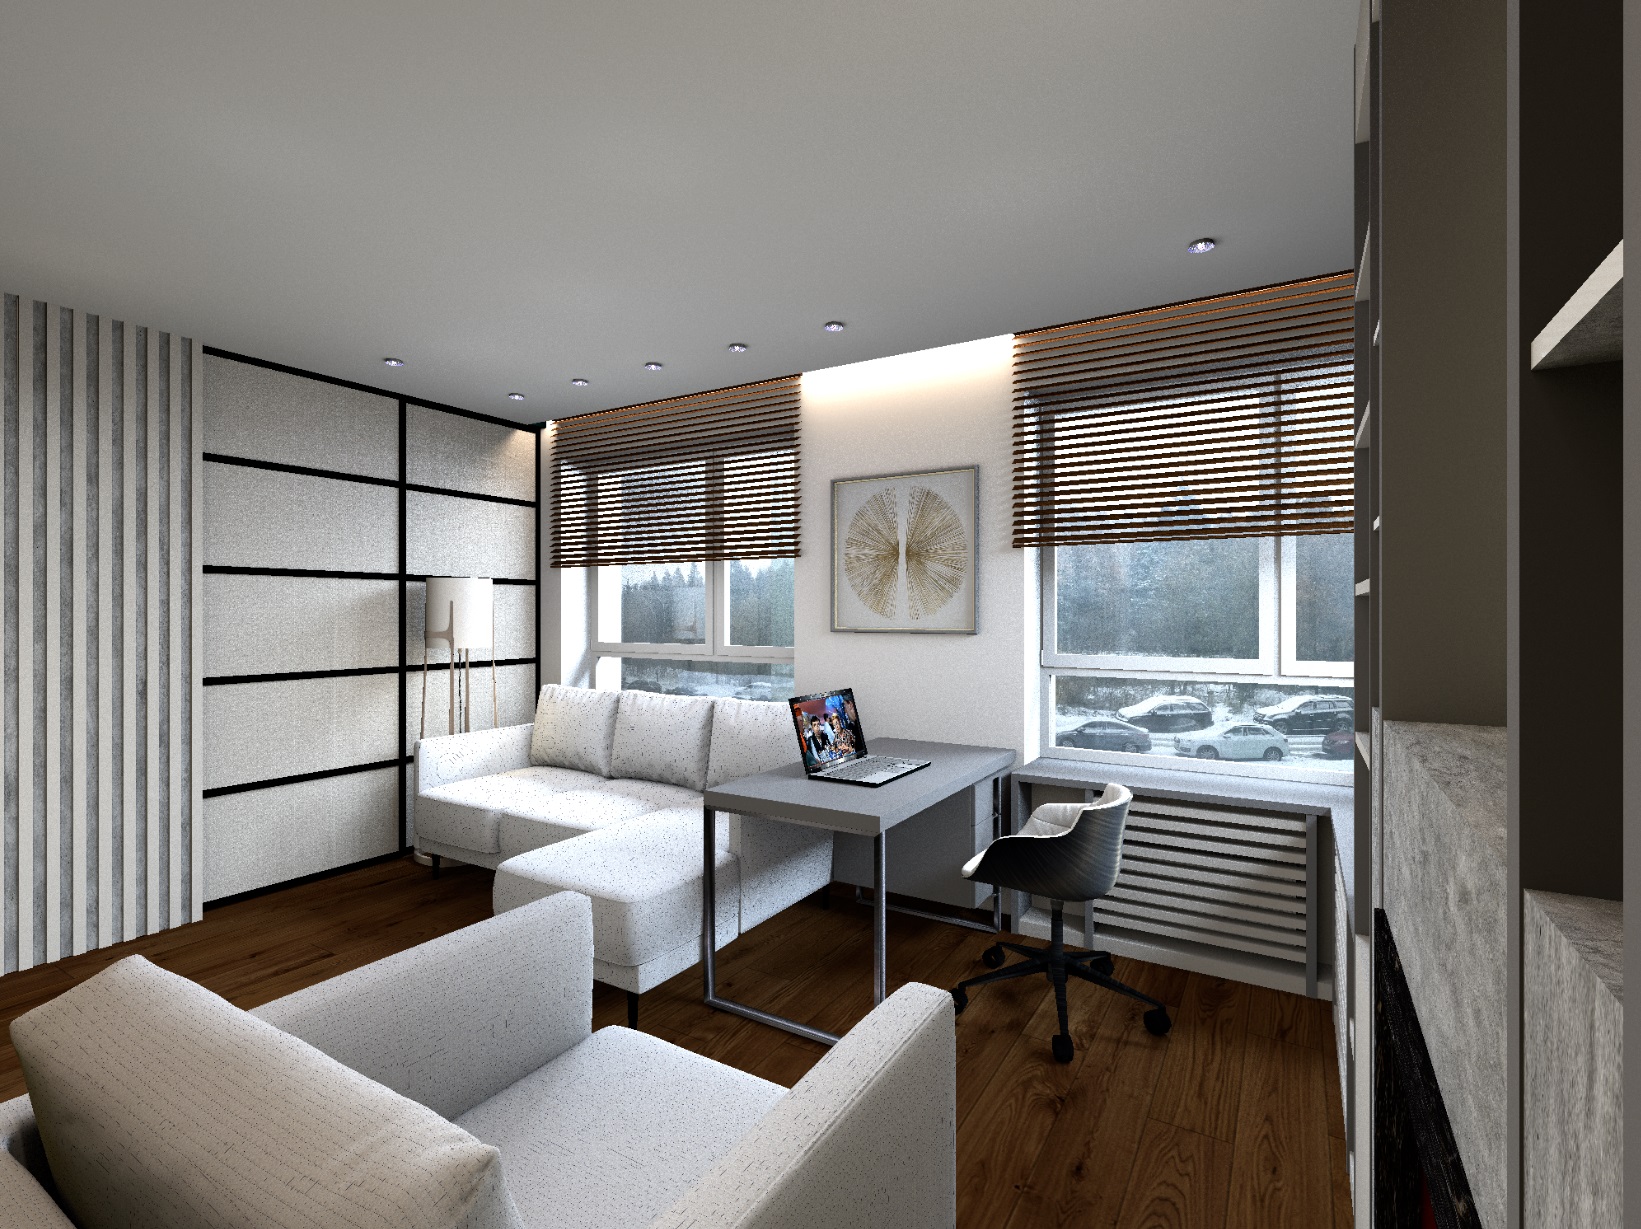
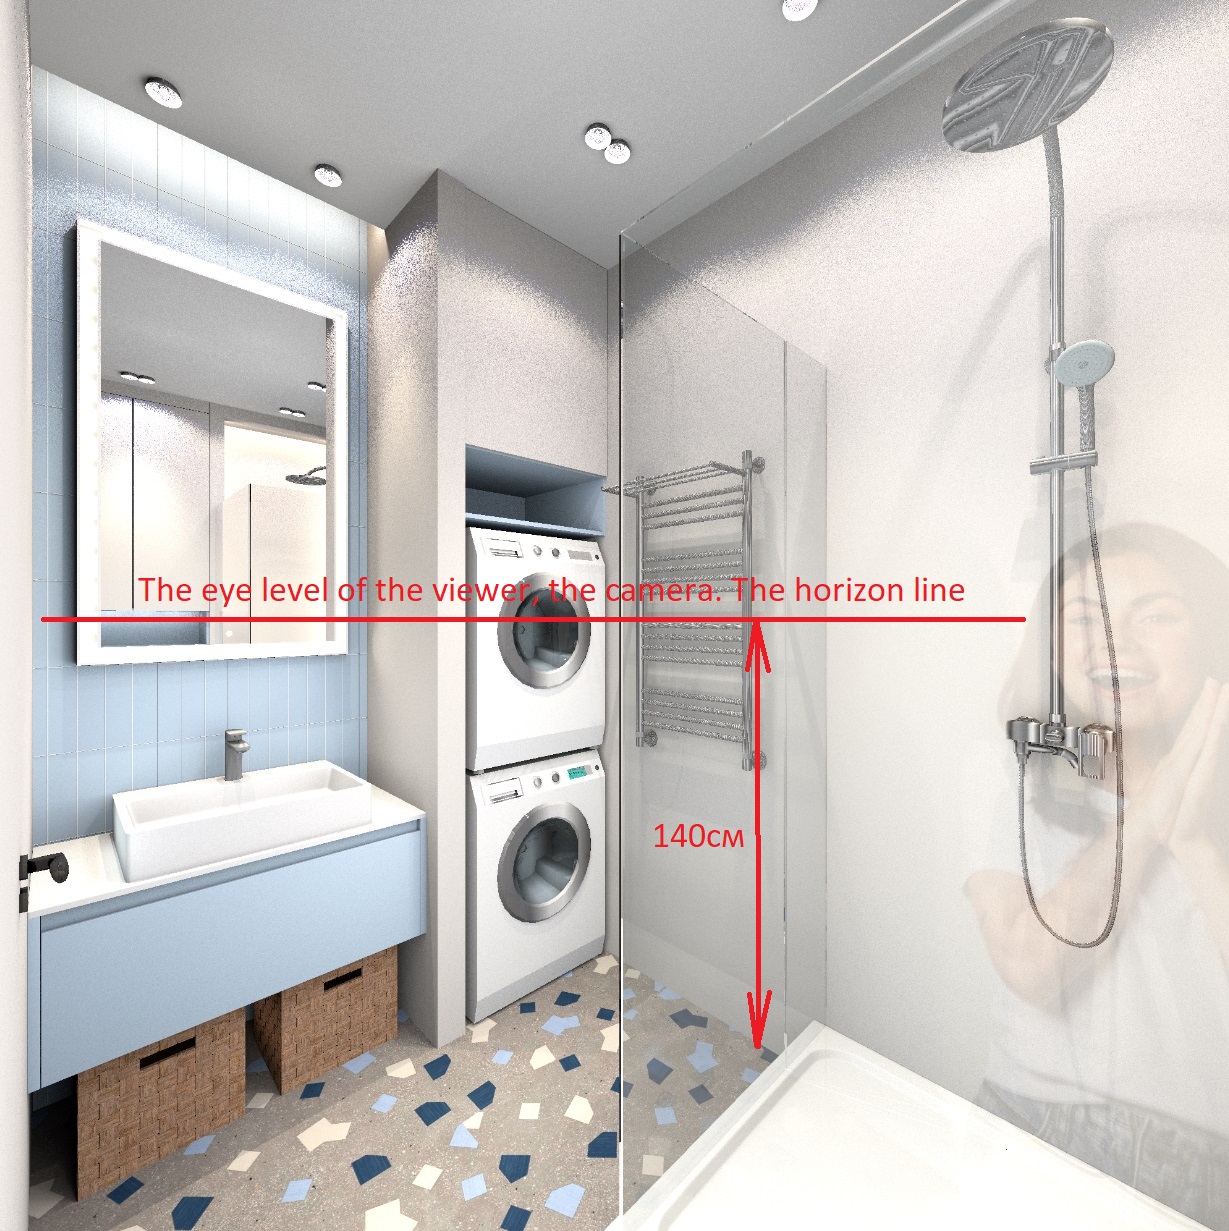
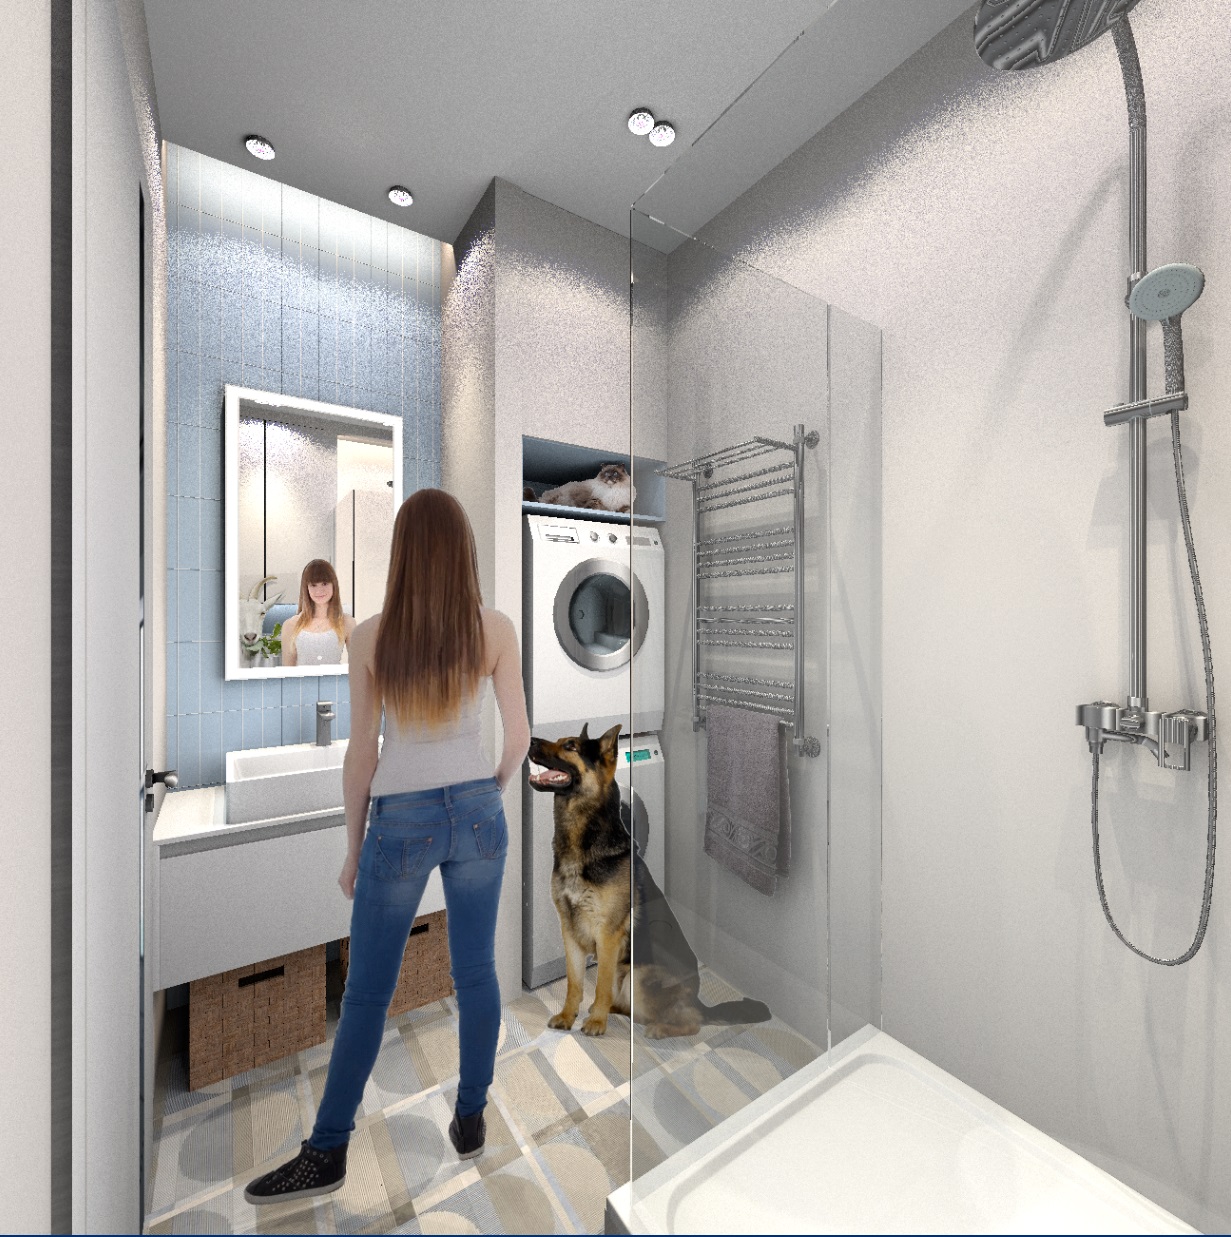
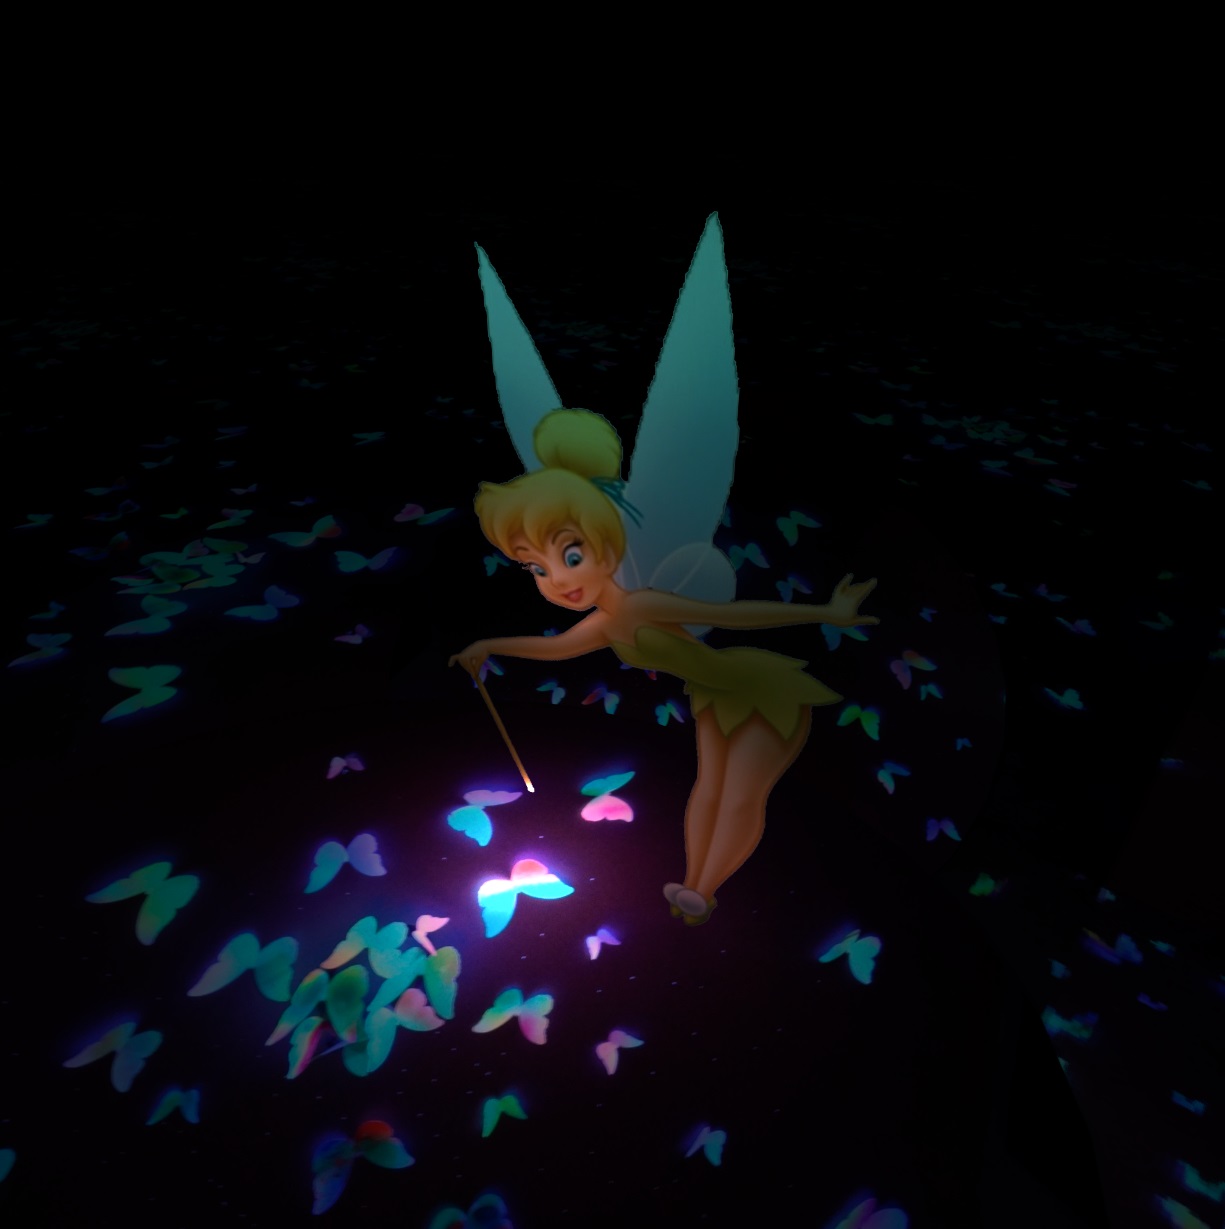
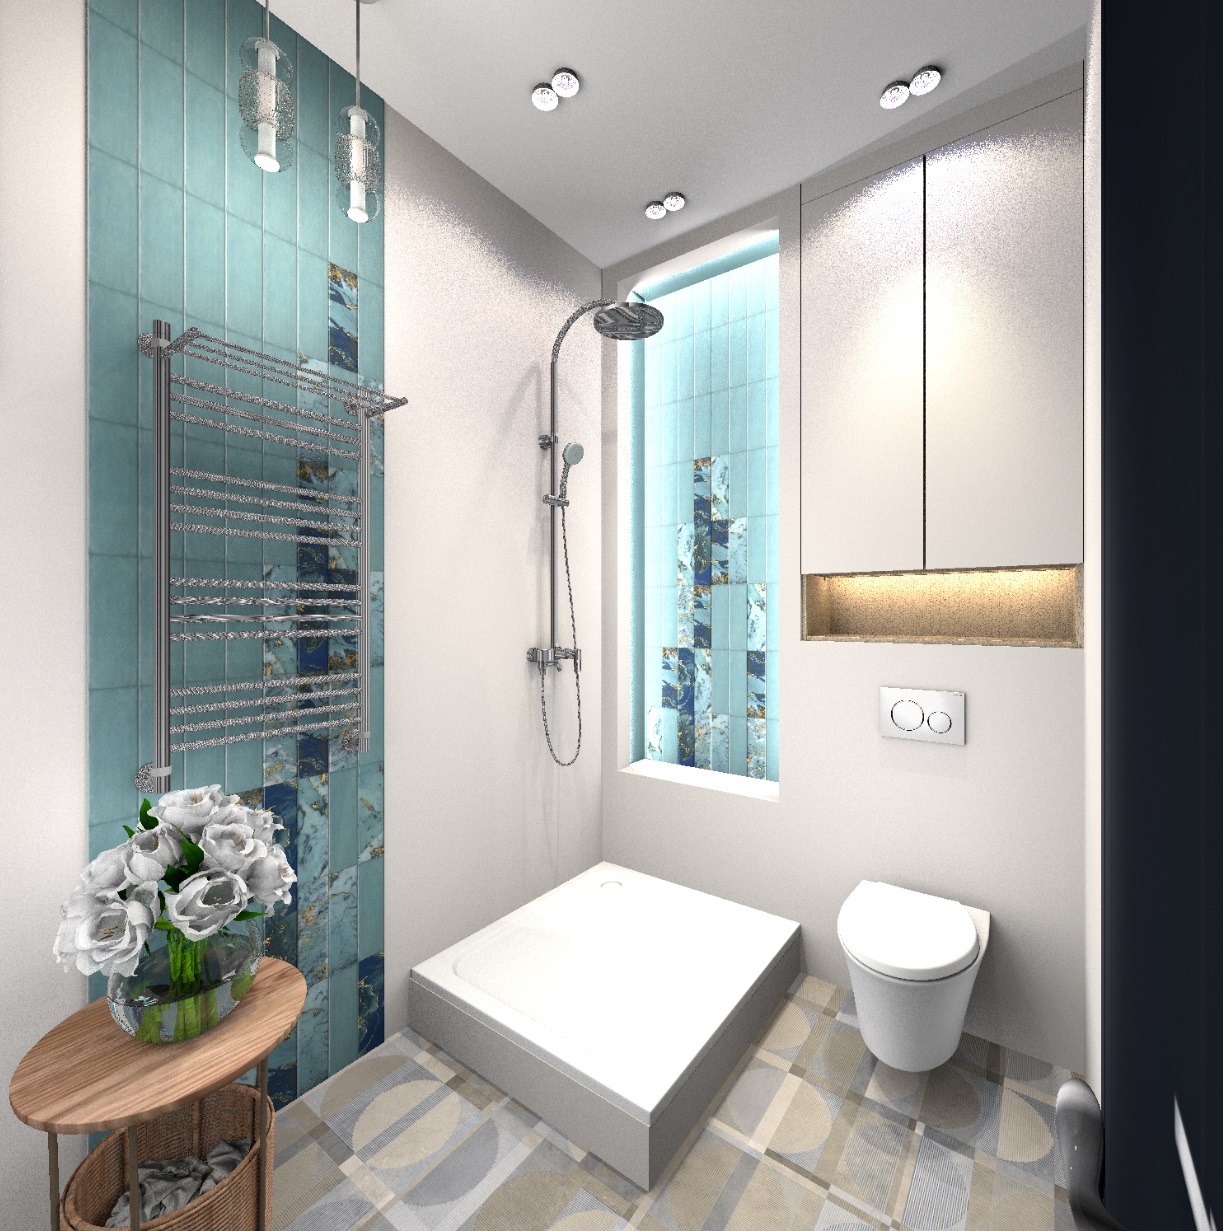
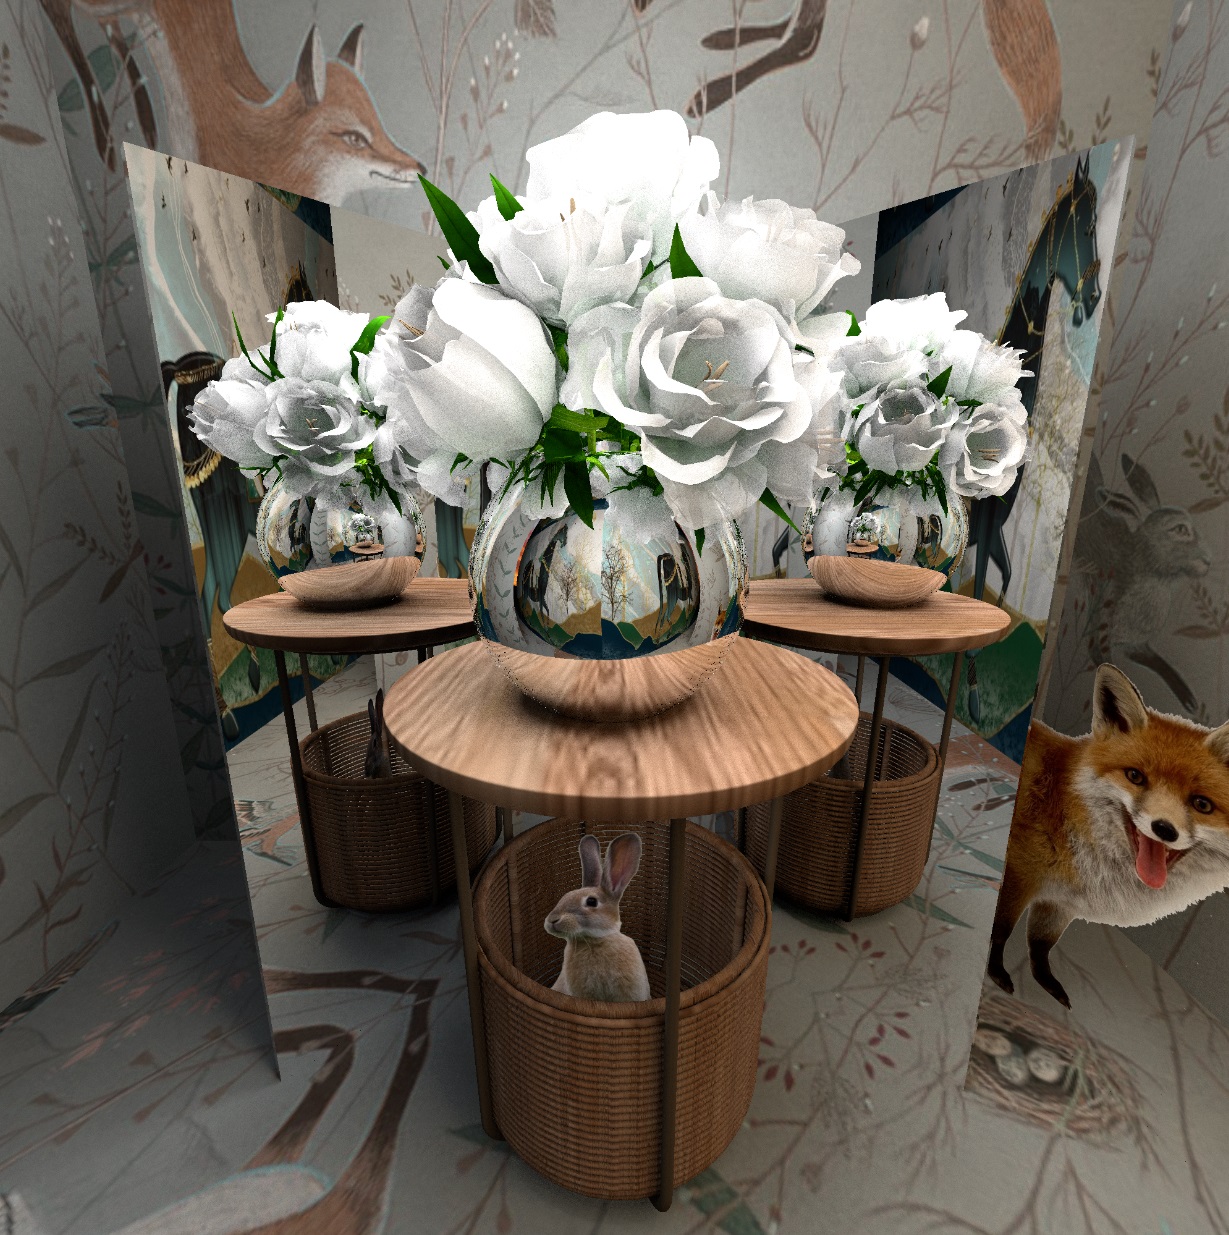
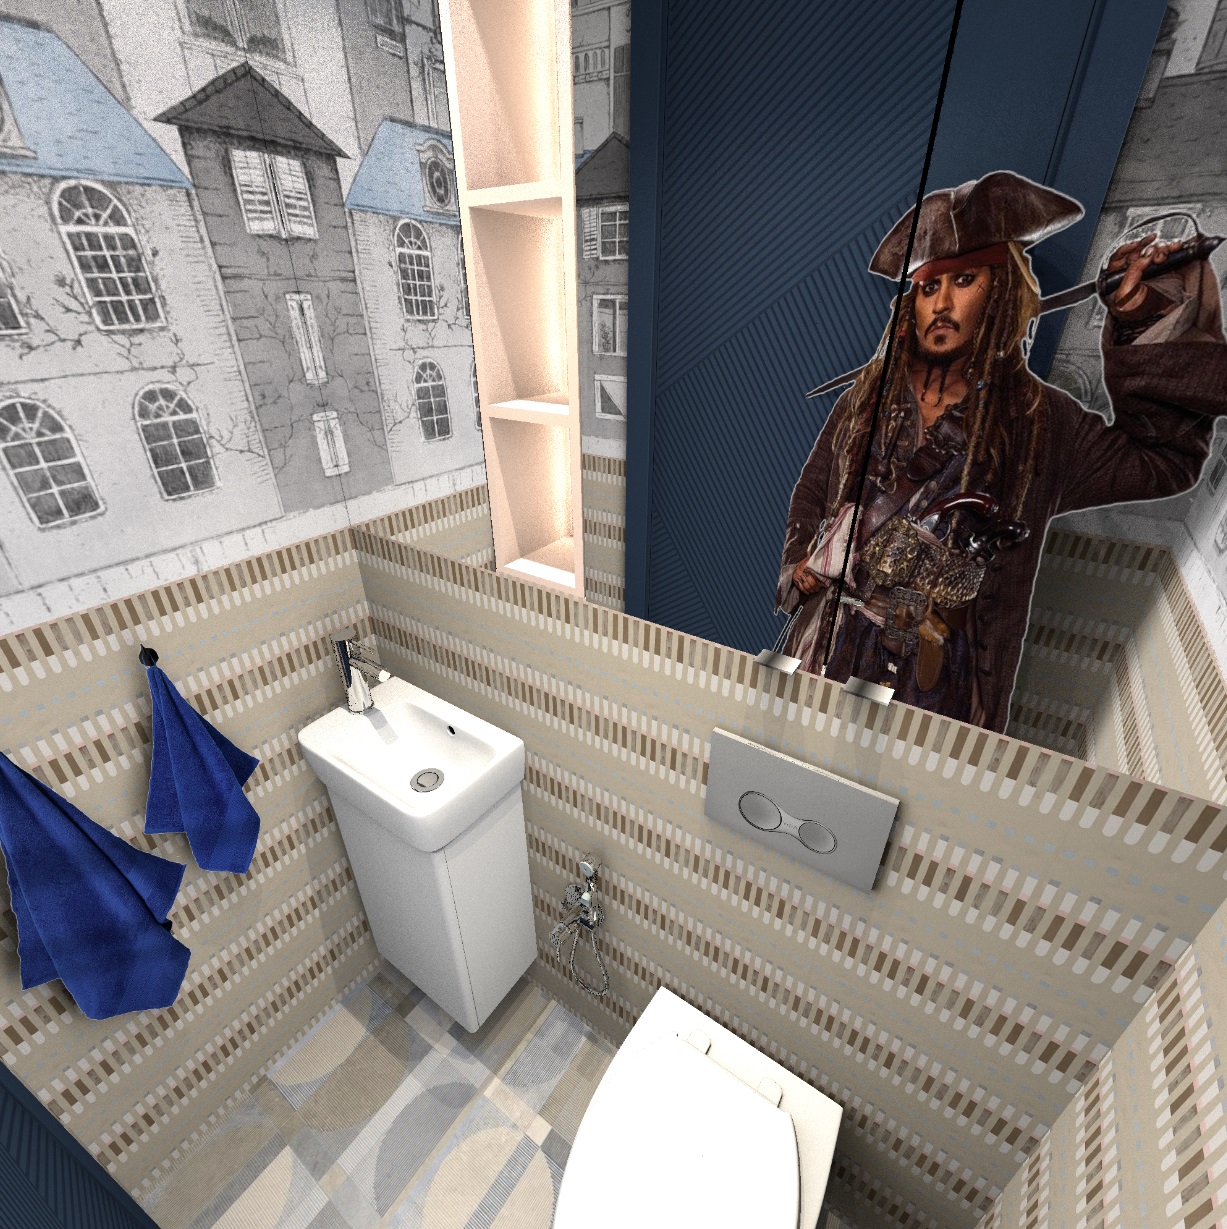
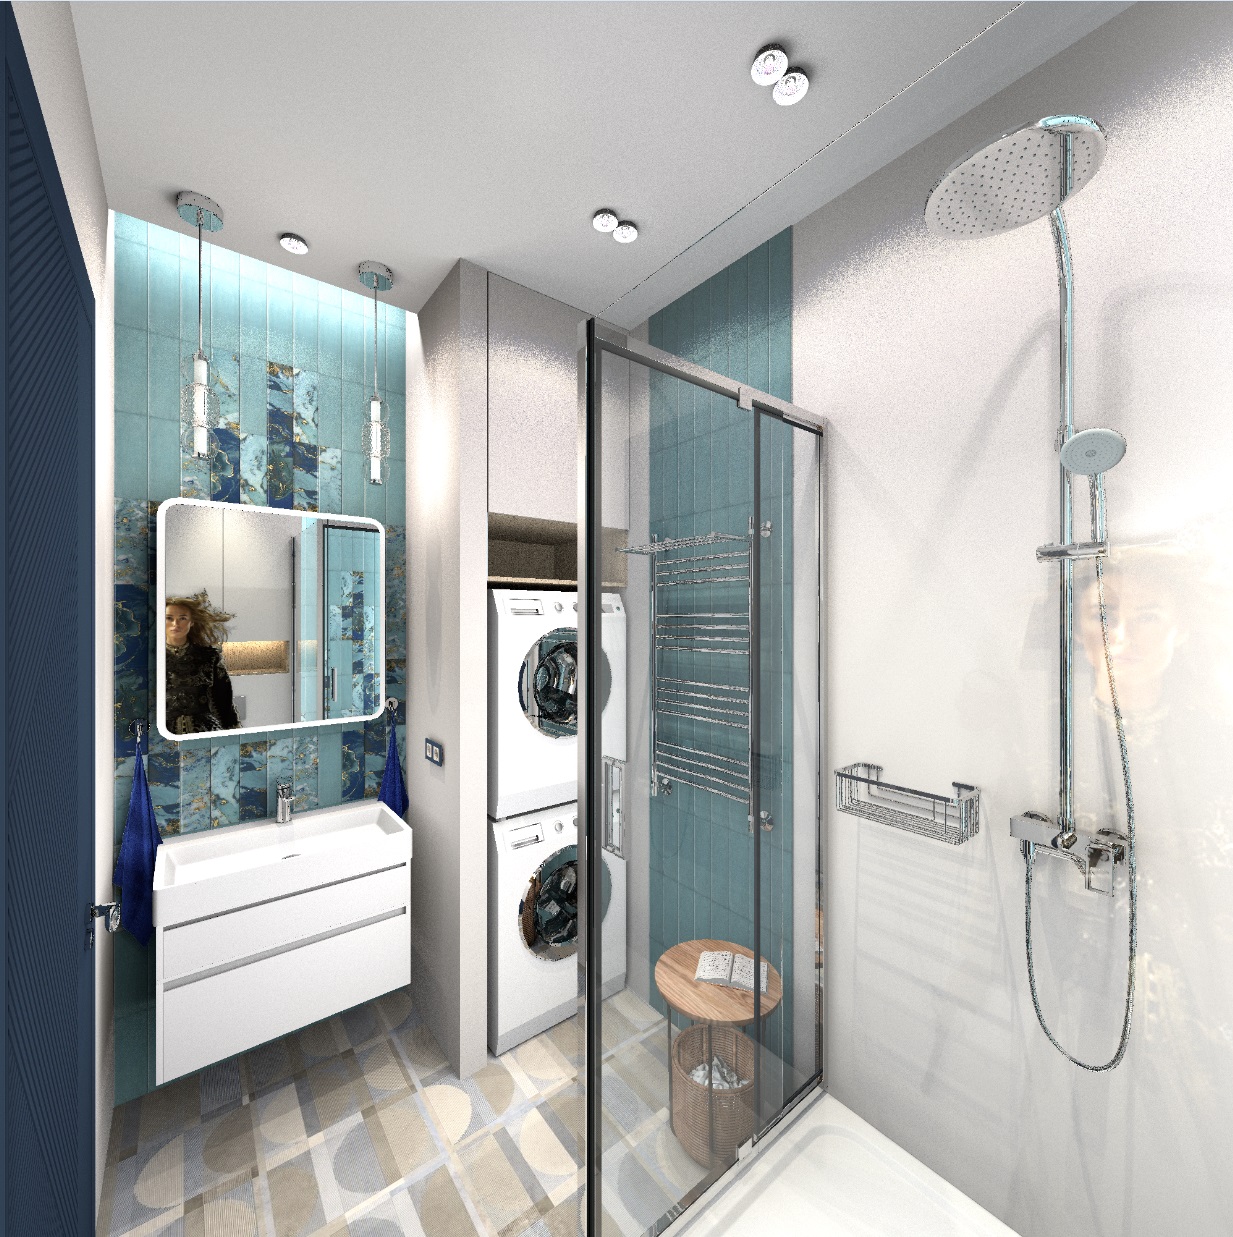
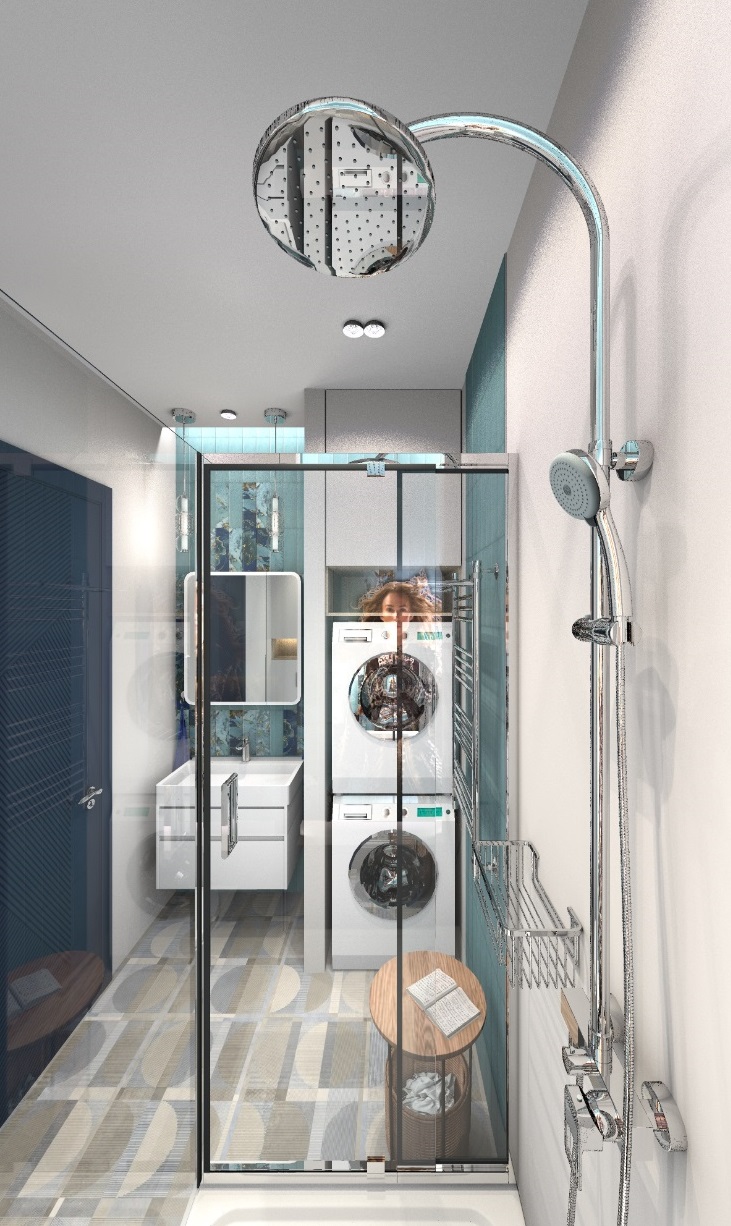
I haven't eaten well for three days and haven't slept much. The water from the shower head turned out to be a difficult problem for me. My conclusions are as follows. The program does not allow you to compete with complex visualization programs for very complex processes. Therefore, it is necessary to analyze the impression of falling water and try to give just such an impression, not to repeat physics in its pure form. To understand the physical meaning of water, you need to look at all these jets and drops under a microscope, and as a result, the entire interior is always shown from afar to cover the entire space. The drops don't work here, like on a Coca-Cola commercial. The main thing in our work is the whole interior as a whole, so water should also be shown as a general impression, not as a central element of the work.
What is the most important thing from watching the falling water from the watering can?
1. It is perceived as a dense cluster of silvery dashes, lines, sometimes dots, but the movement of drops is always blurred and the eye sees sparkling drops as lines, not as balls. The water balls are visible only in the freeze frame in the photo. Therefore, the lines!
2. This array is transparent, through it you can always see what's behind. This is the biggest problem for visualization. Simultaneous density and transparency of the drip flow. How can I show it??
3. Gravity! The lines of falling water are always under the influence of gravity and are directed towards the earth. But the water from the holes may not come out strictly vertically. Here you need to adjust the line.
4. Water tends to collect in puddles. Oh no, you can also make puddles, because they are also moving. Horror.
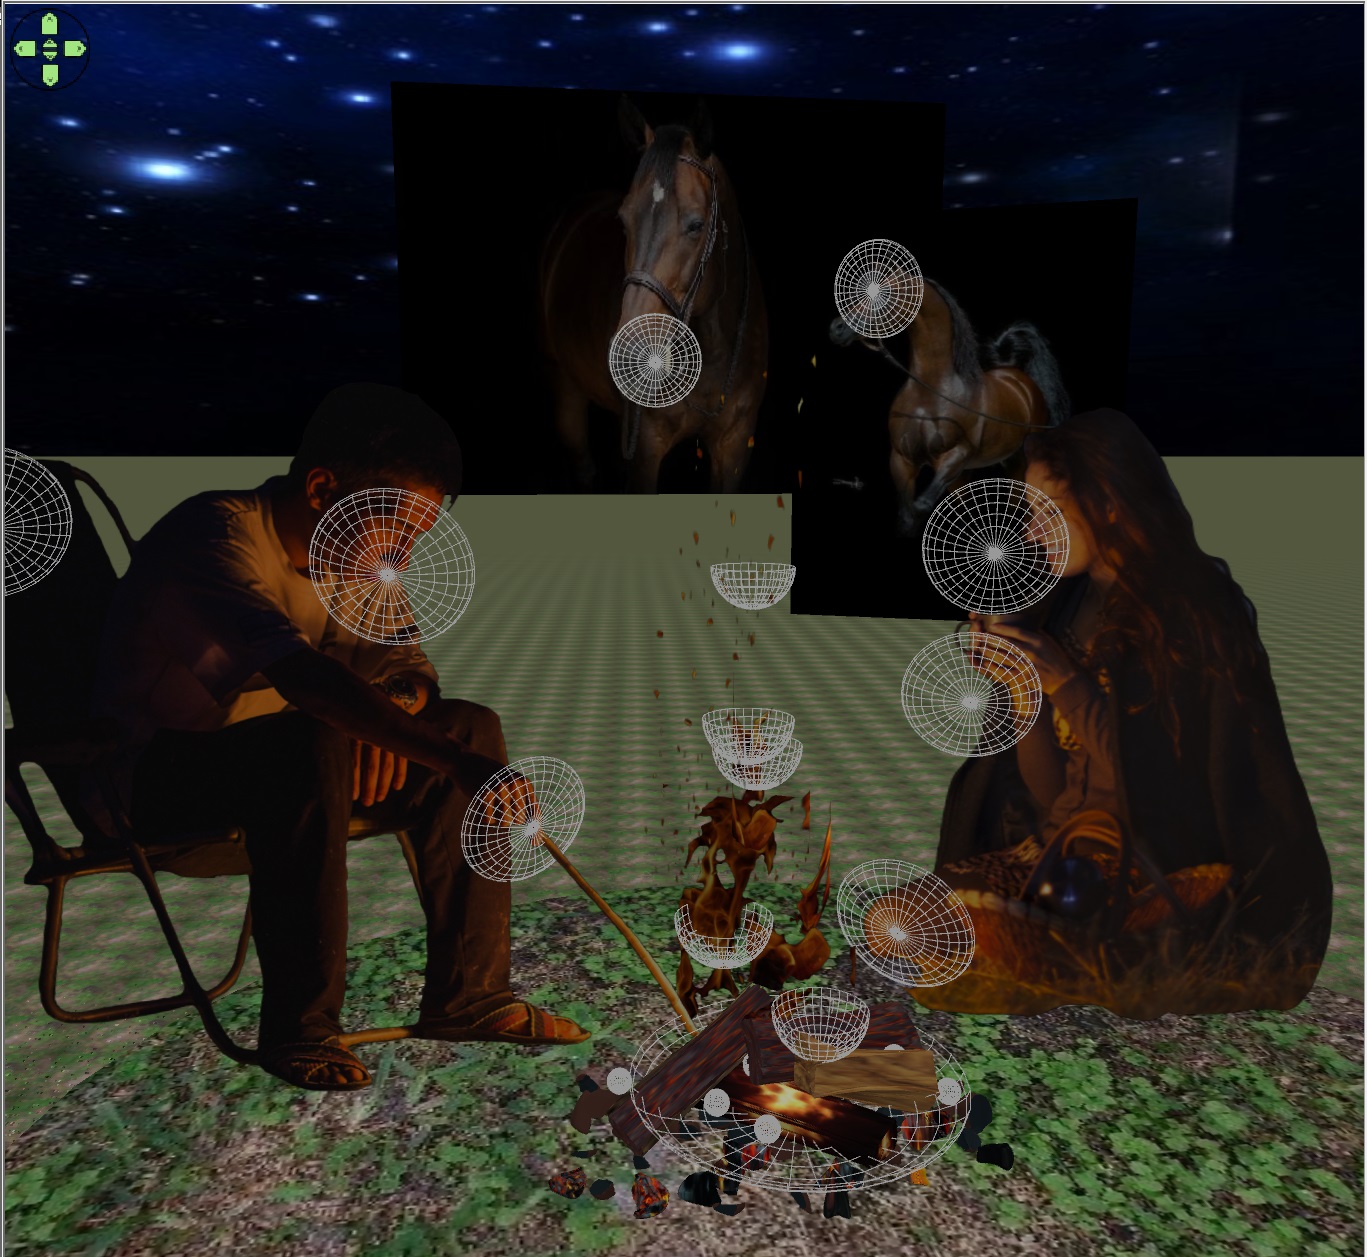
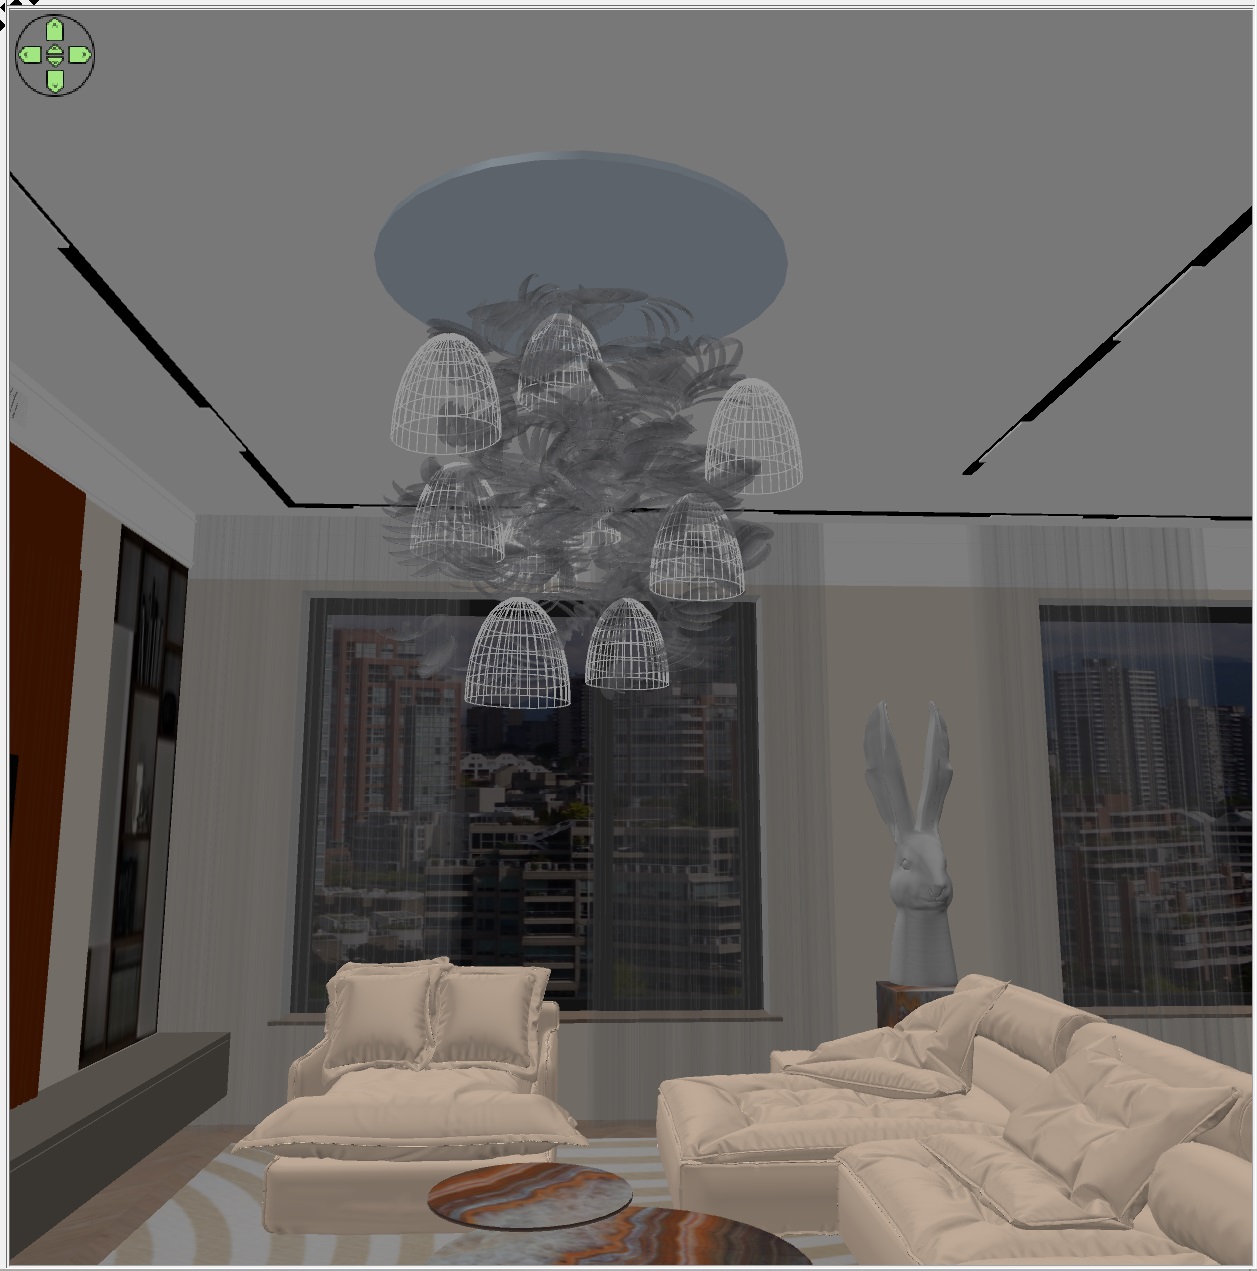
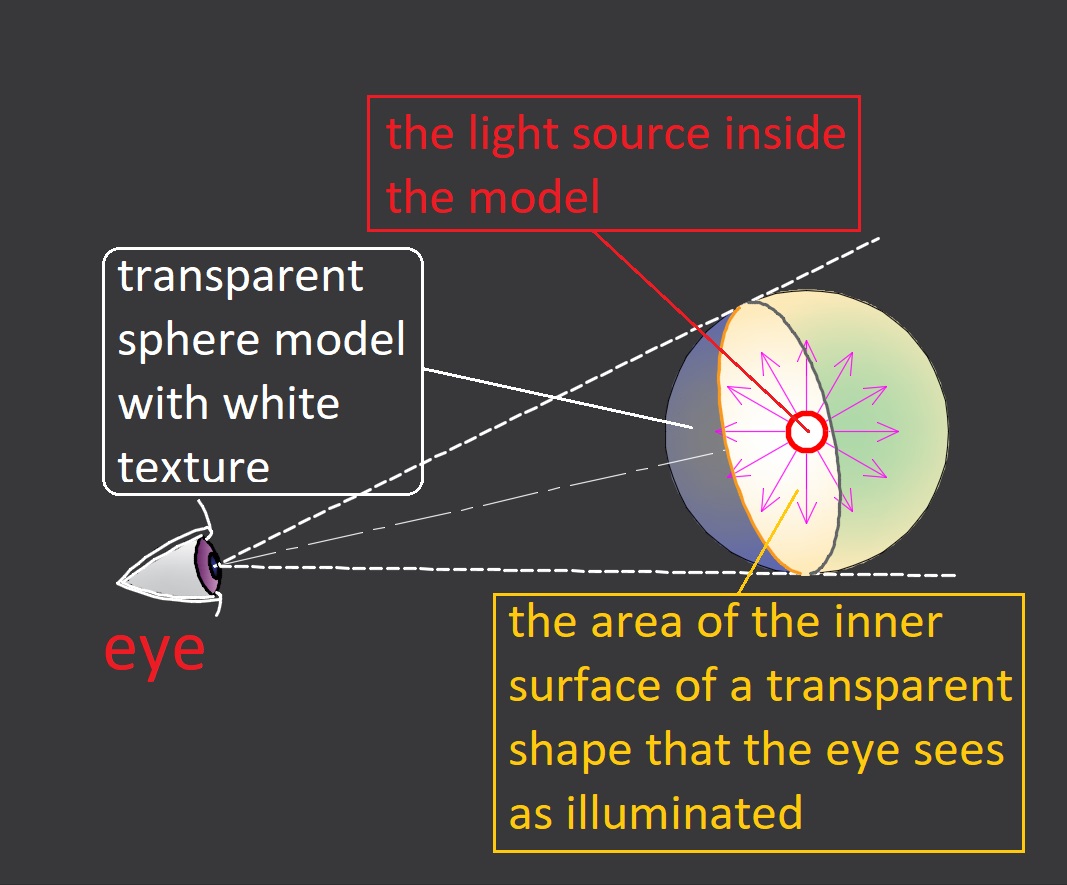
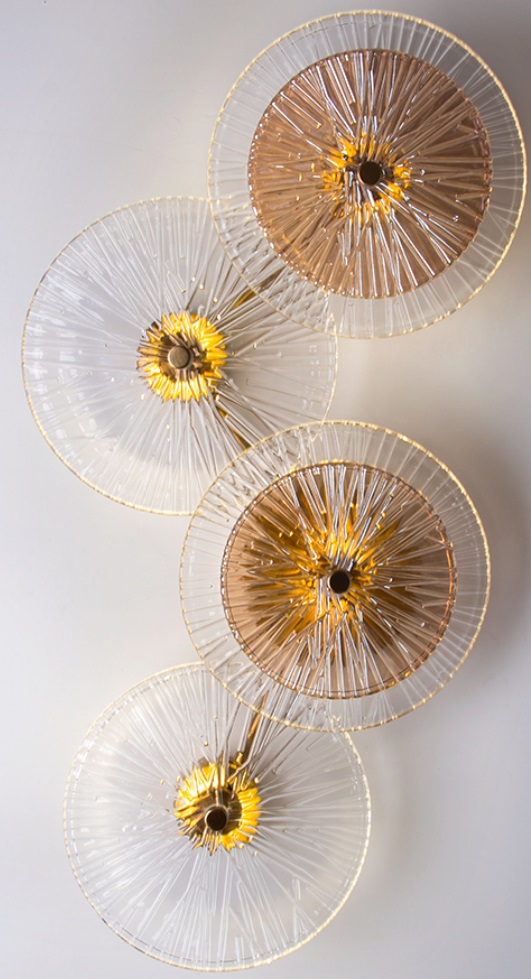
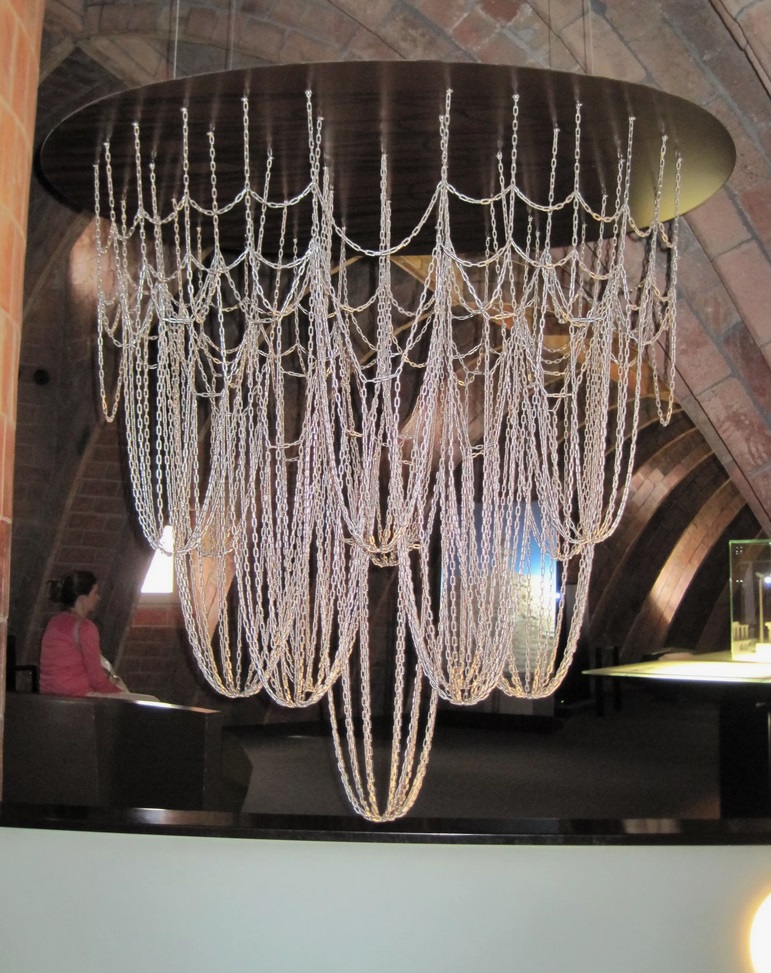
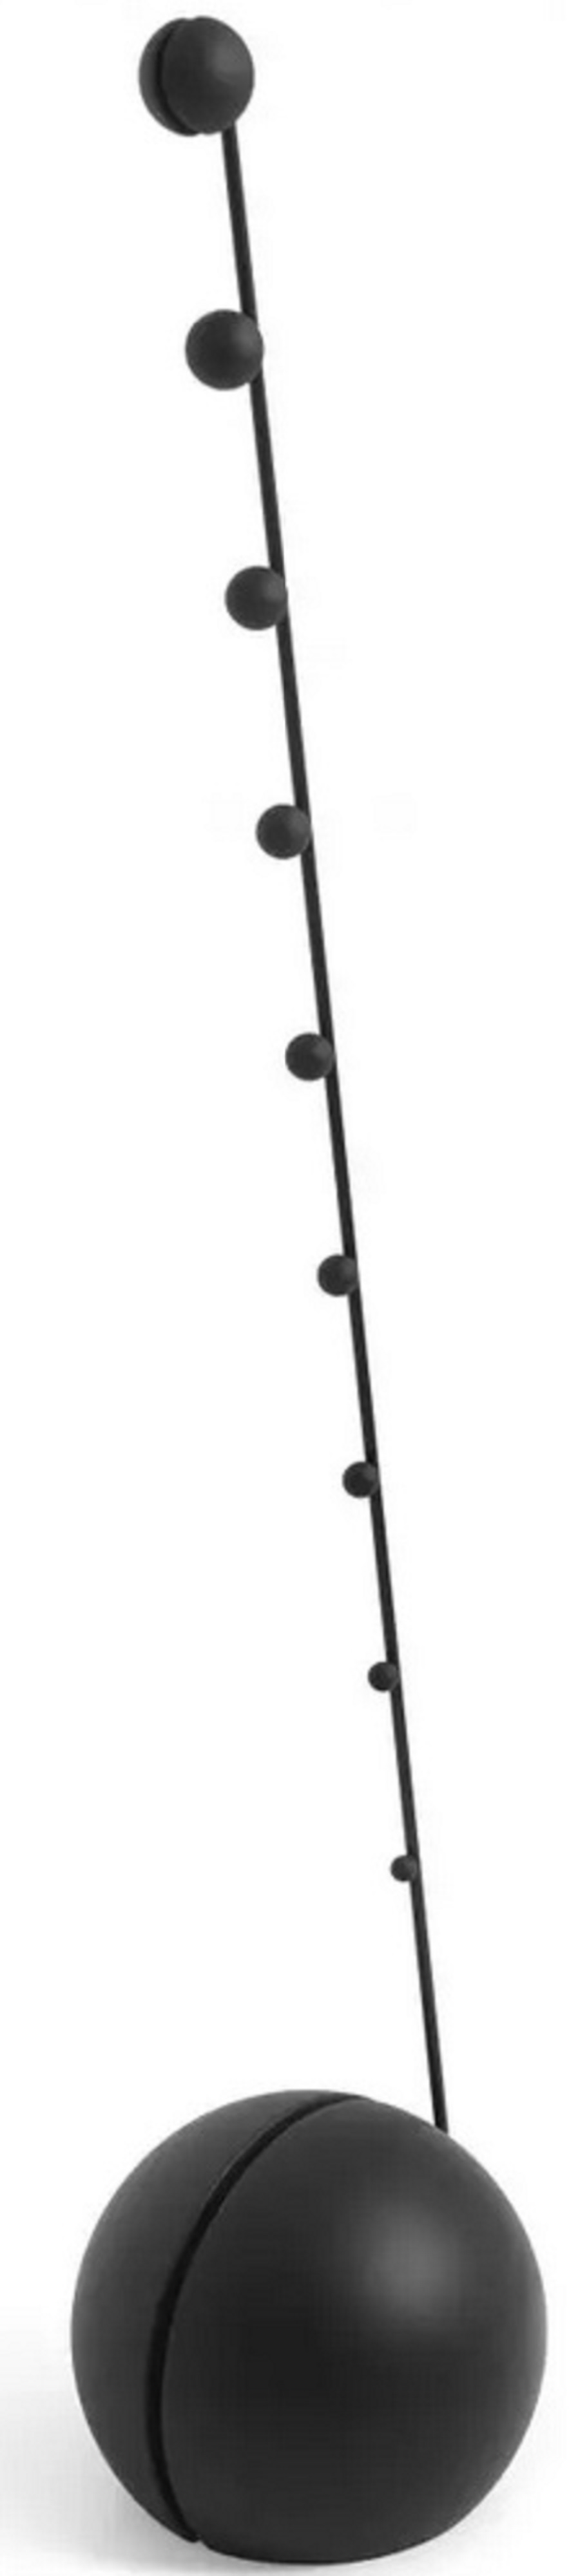
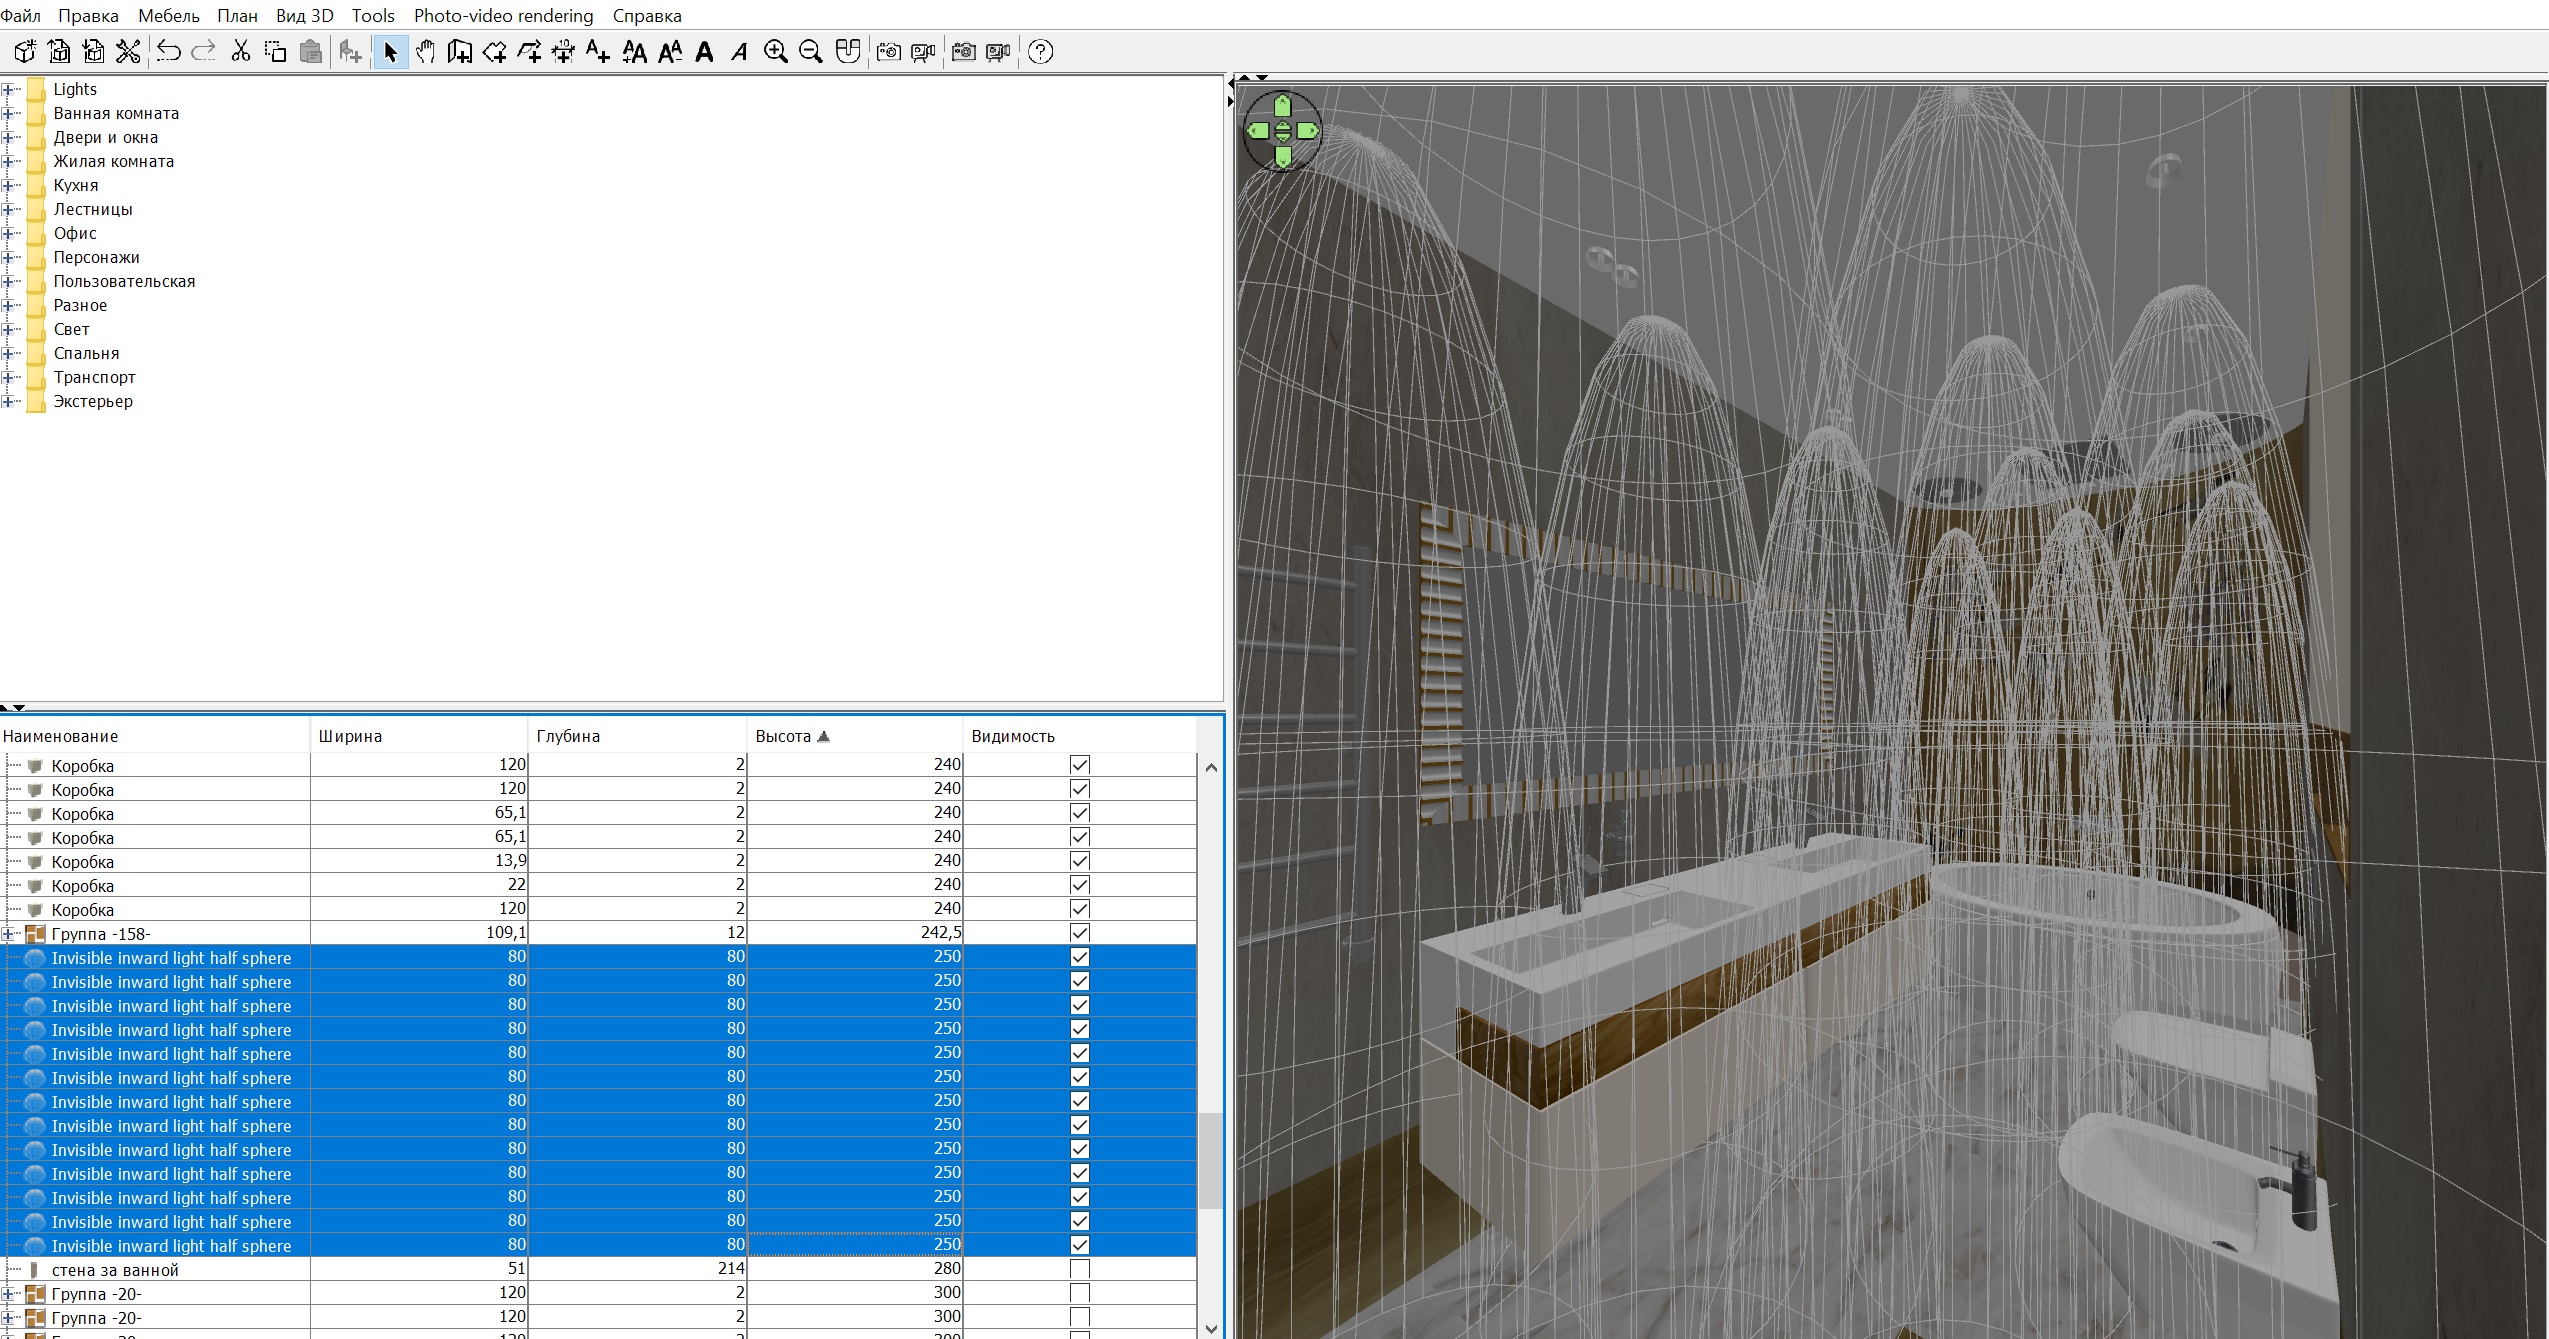
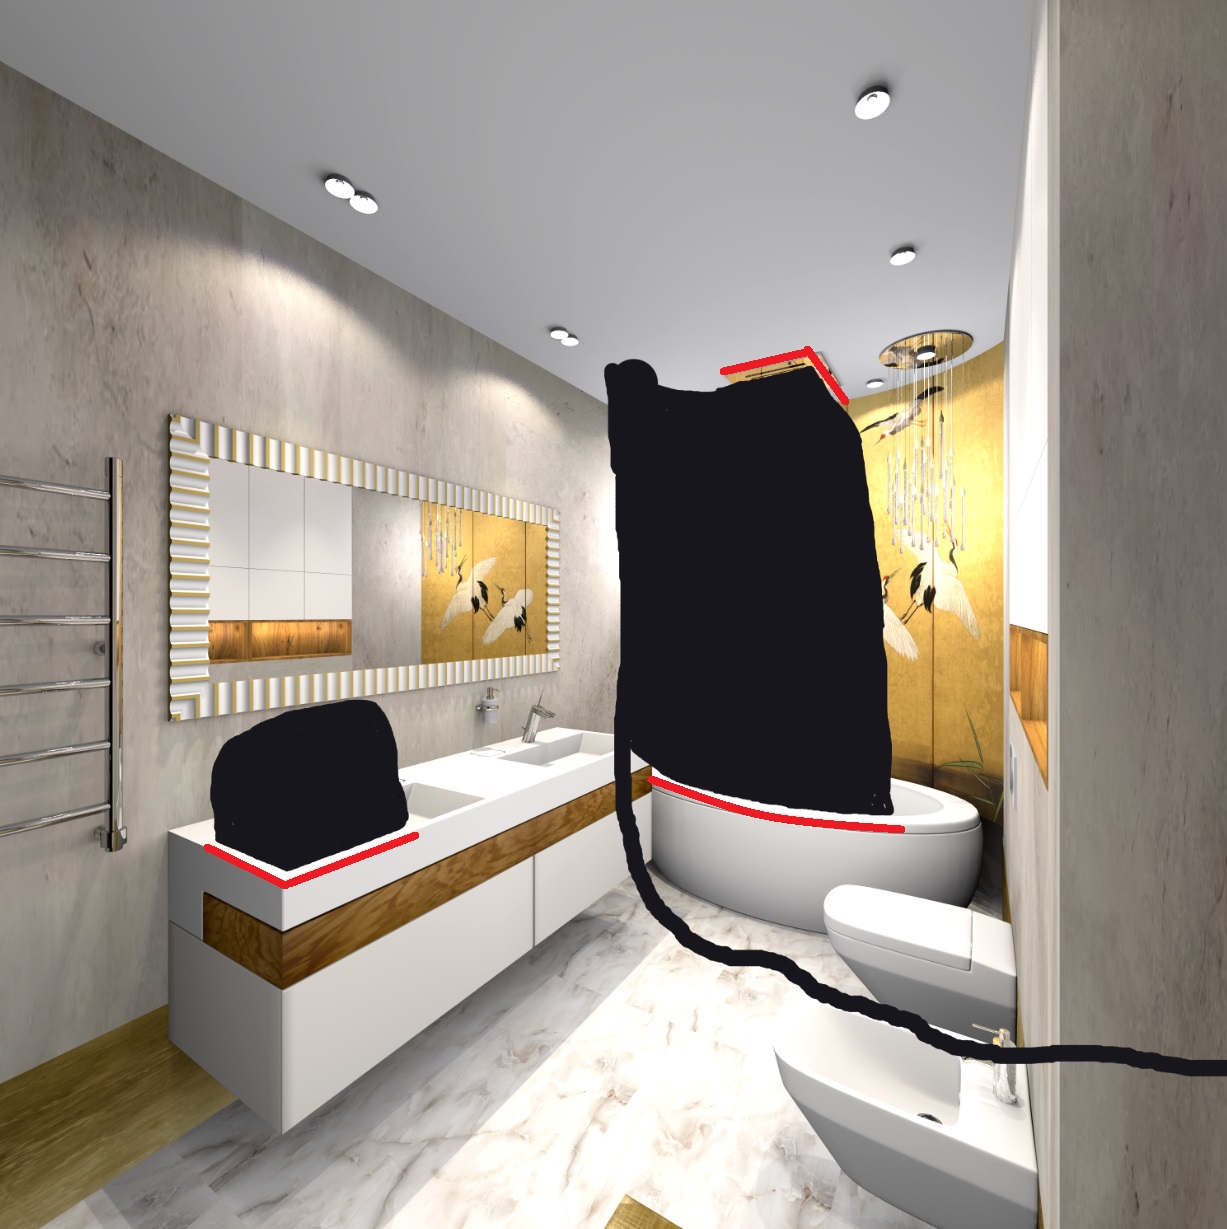
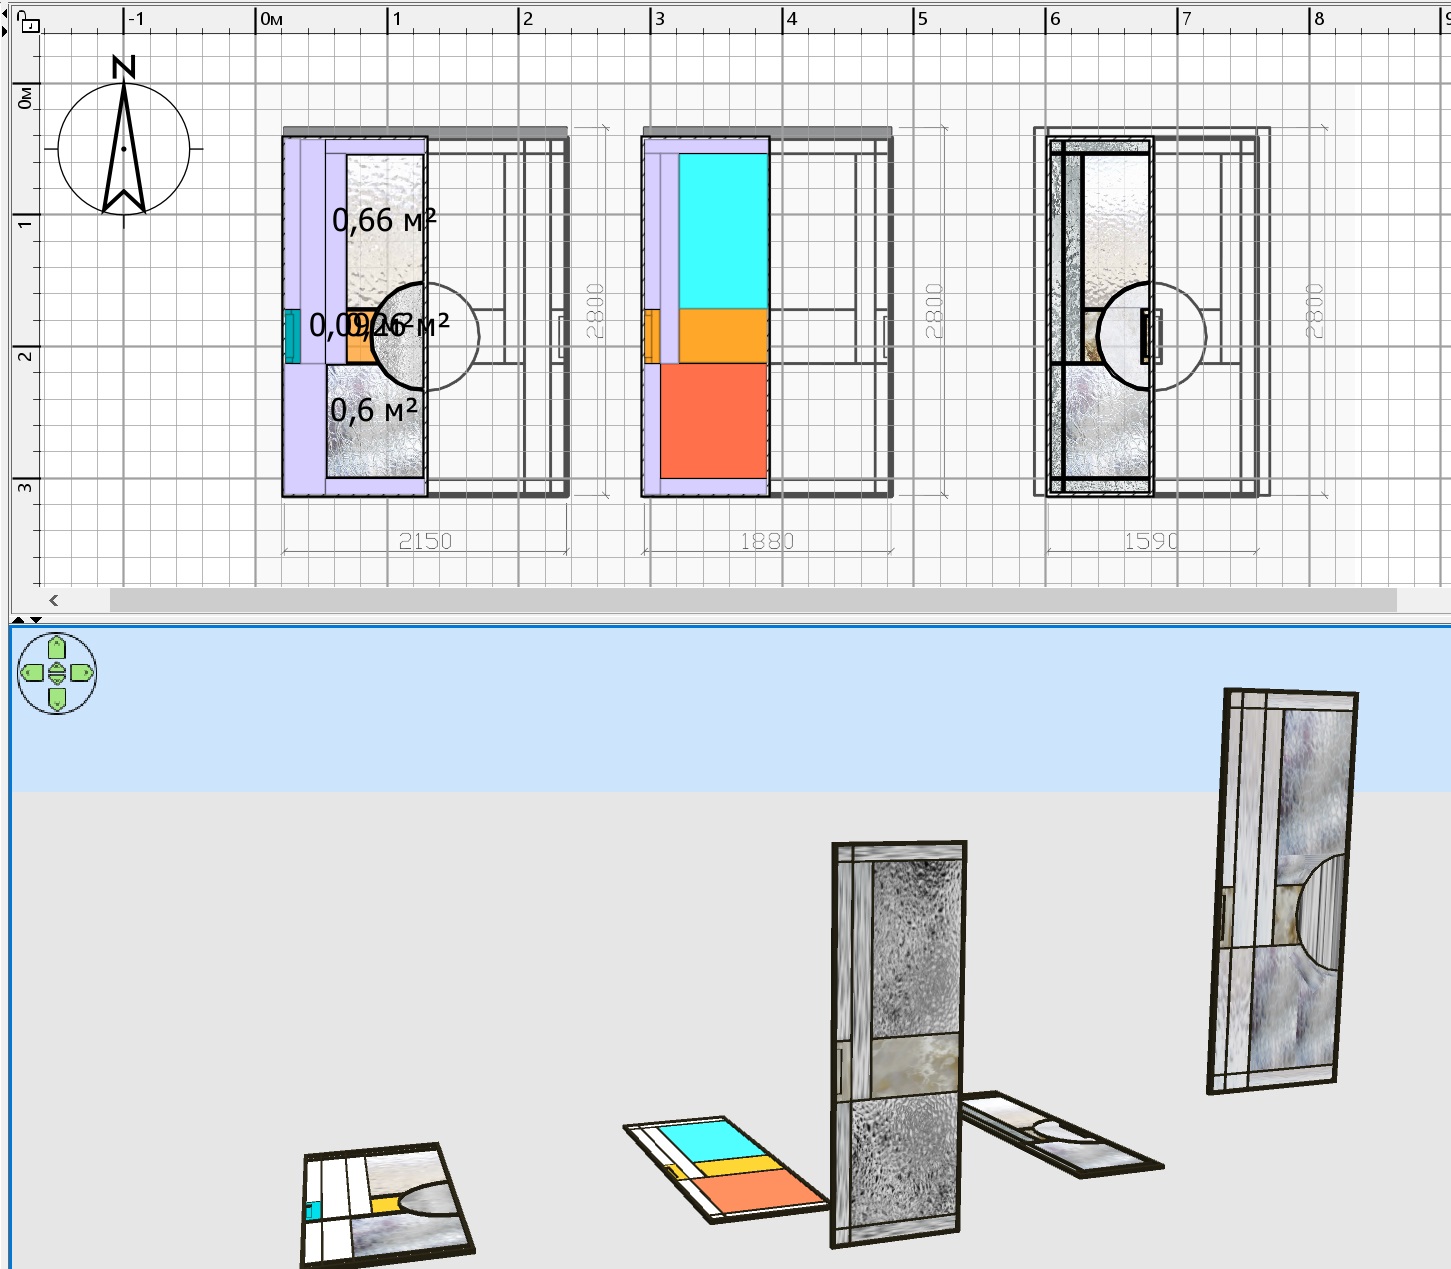
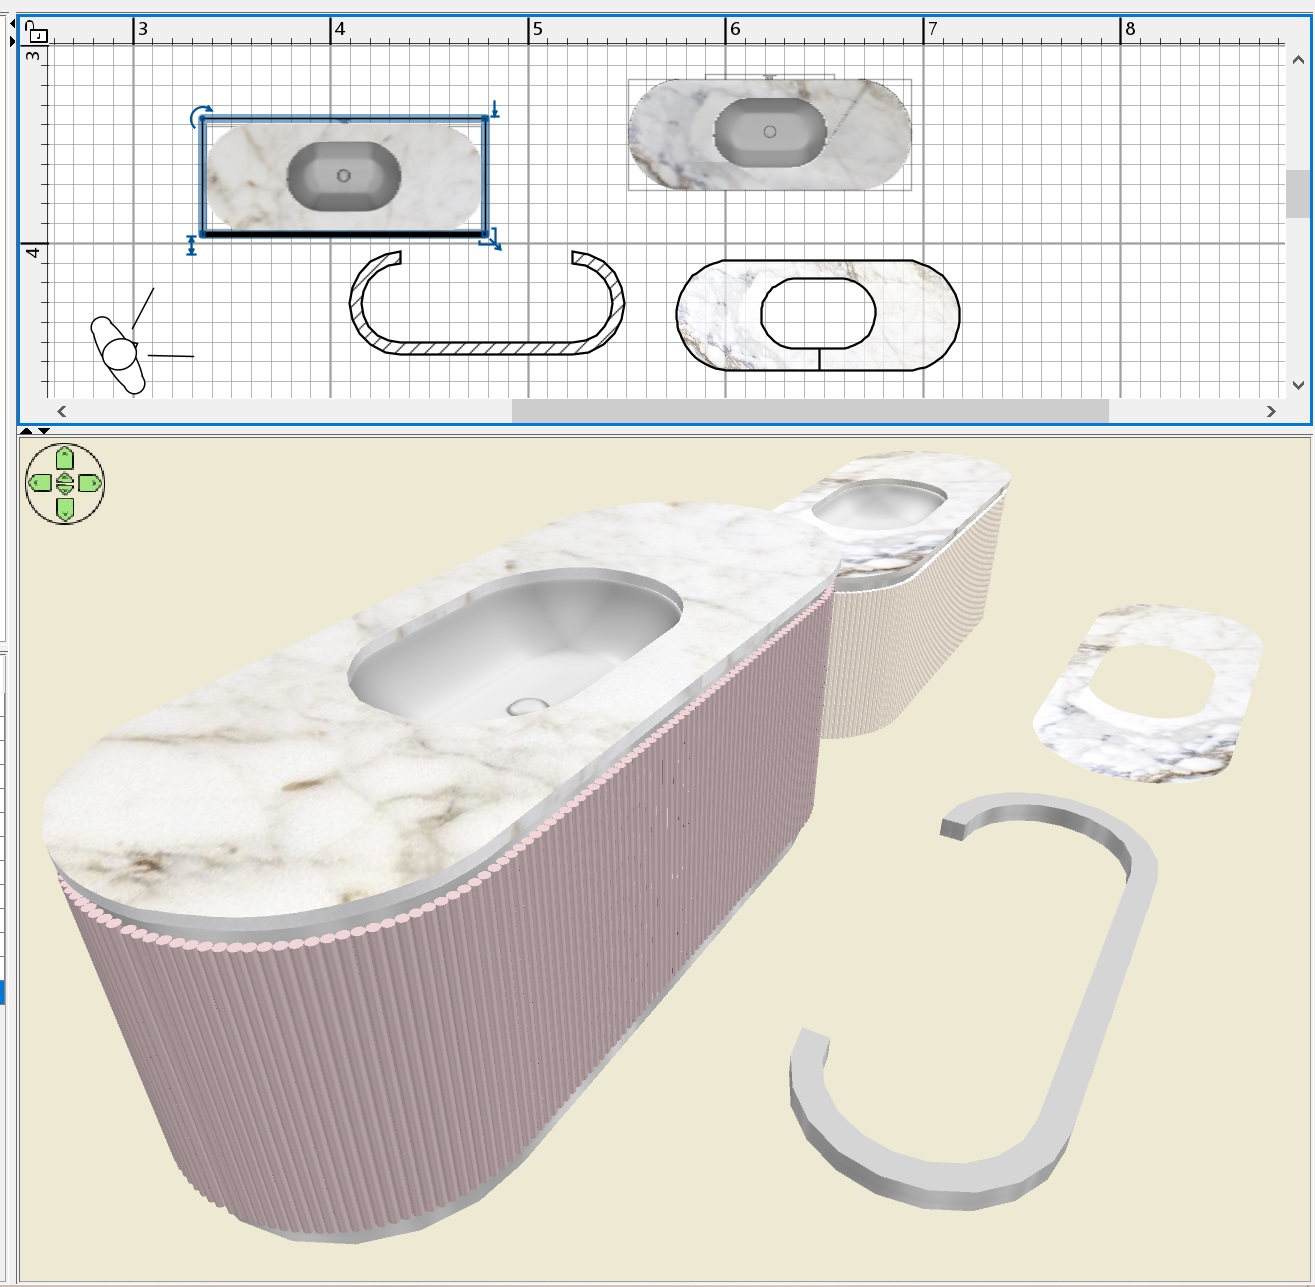
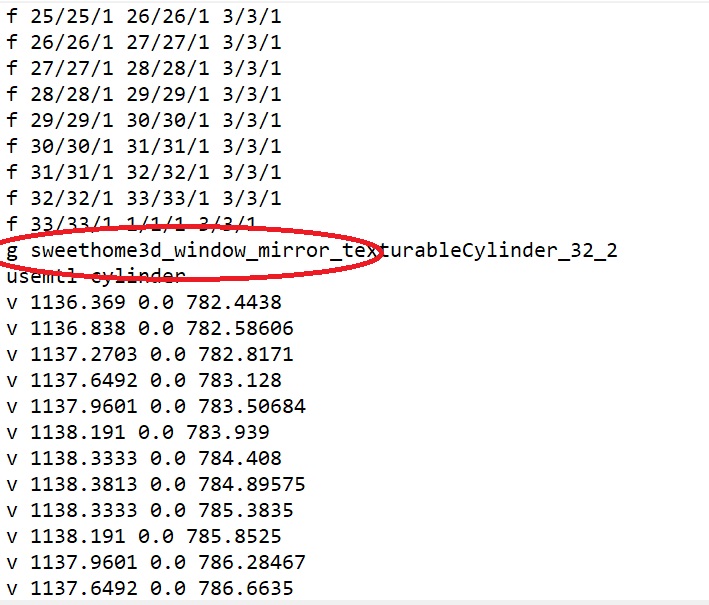
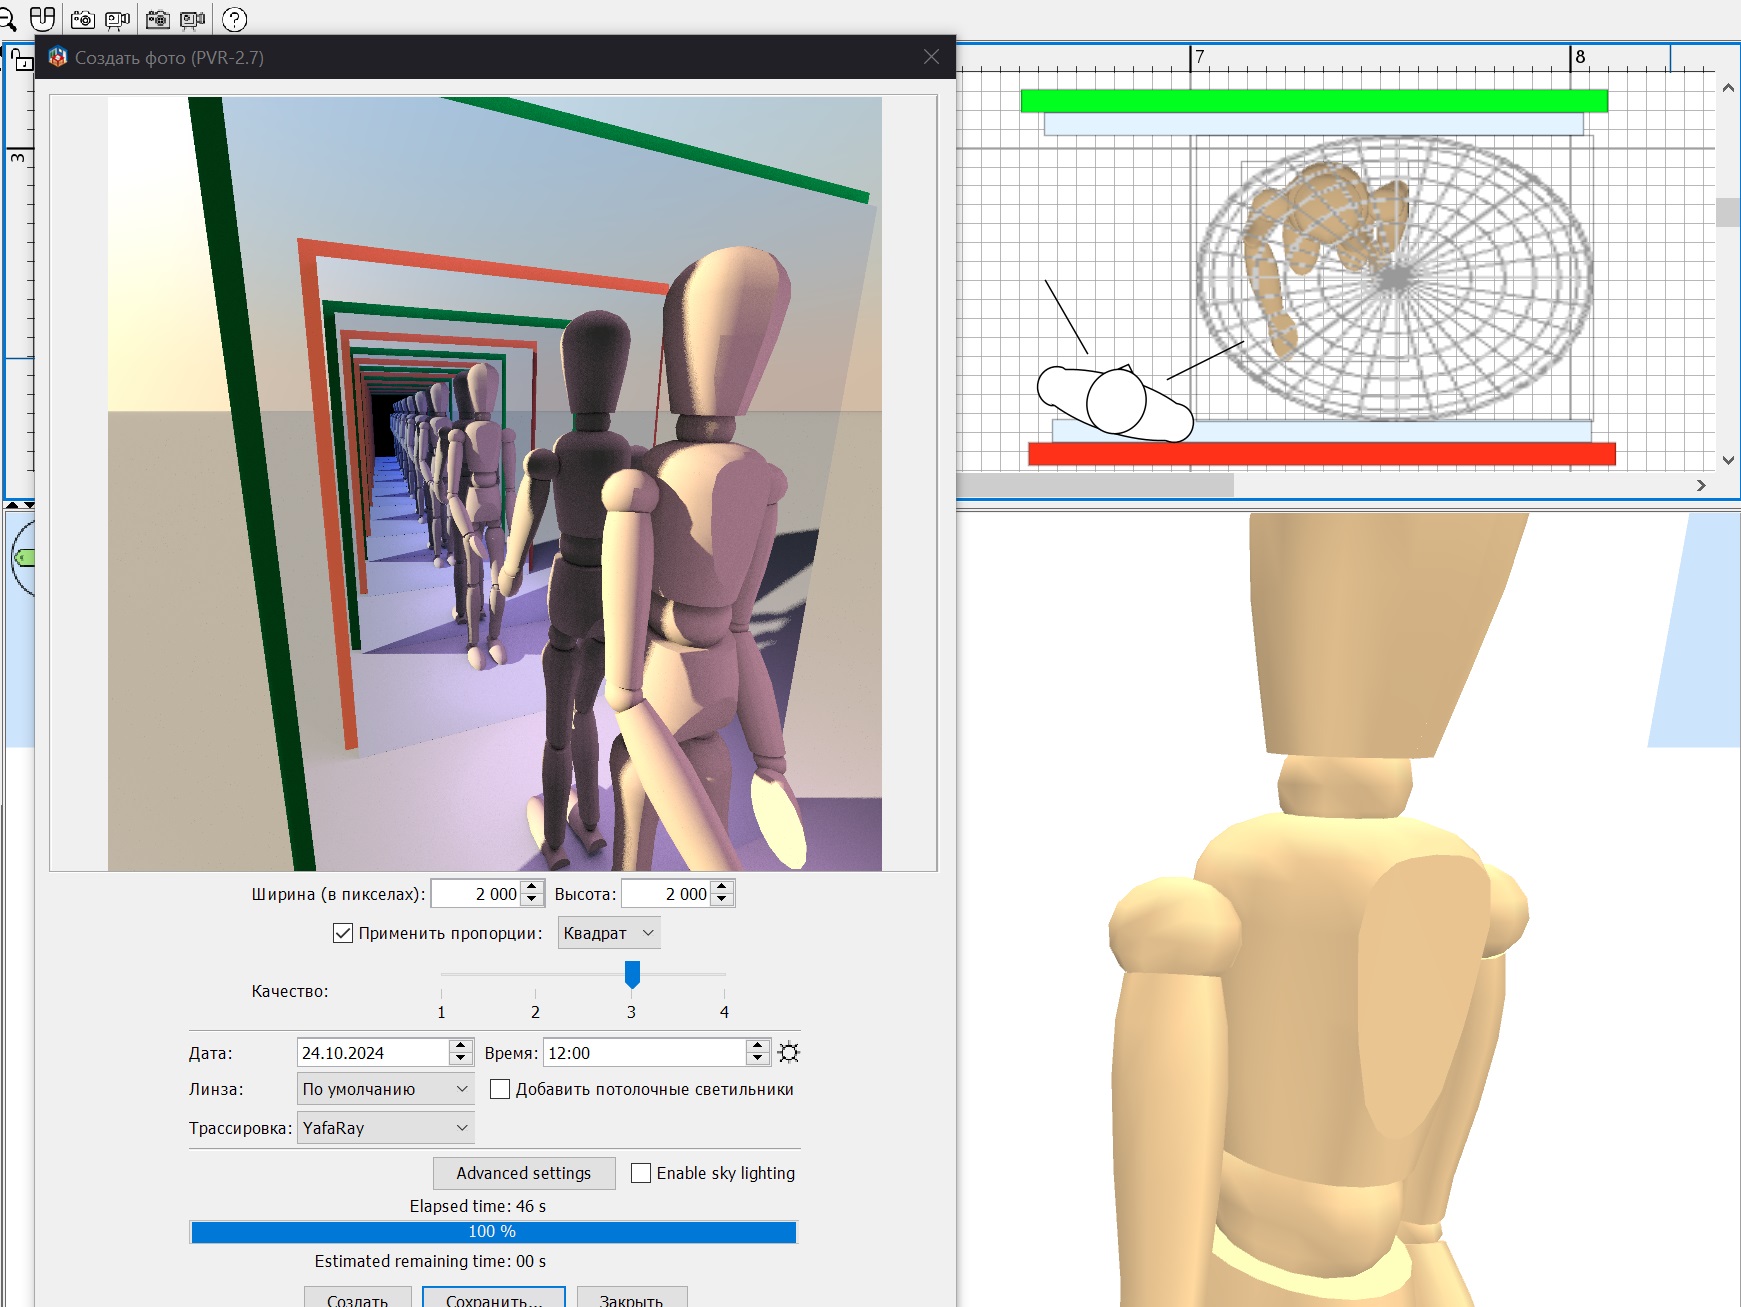
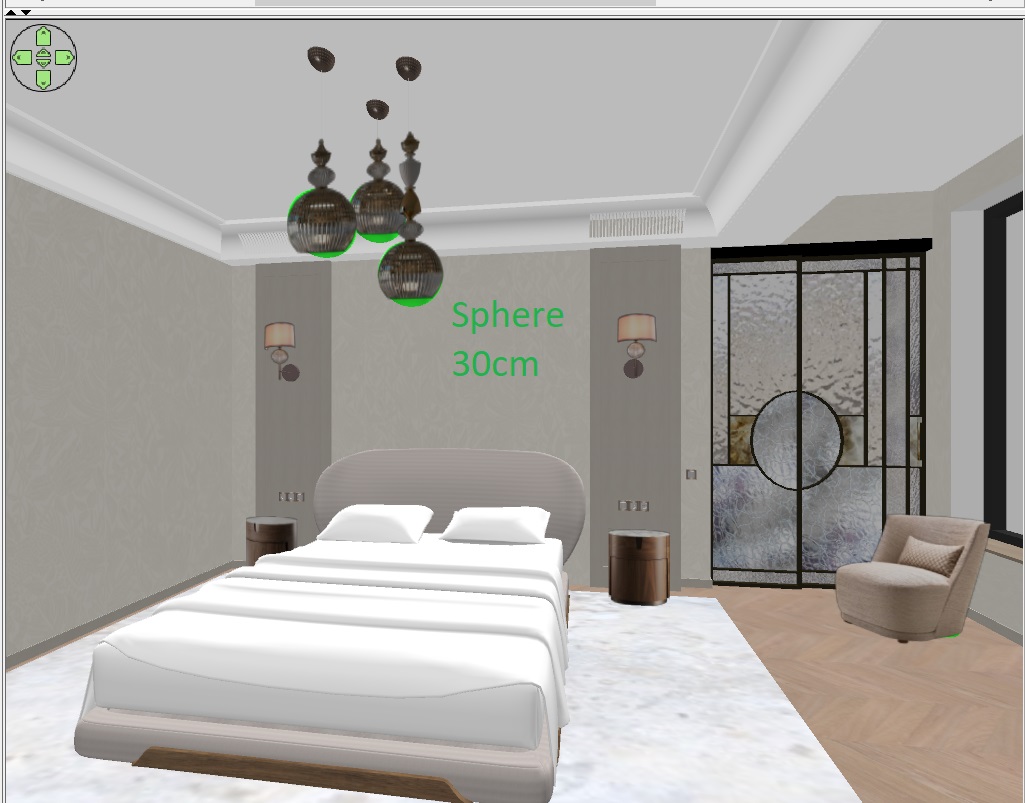
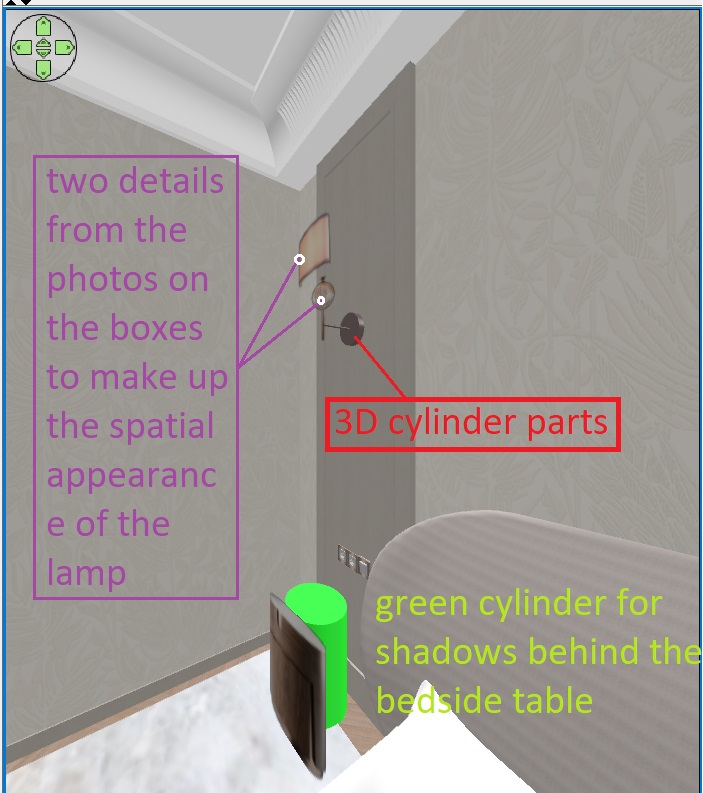
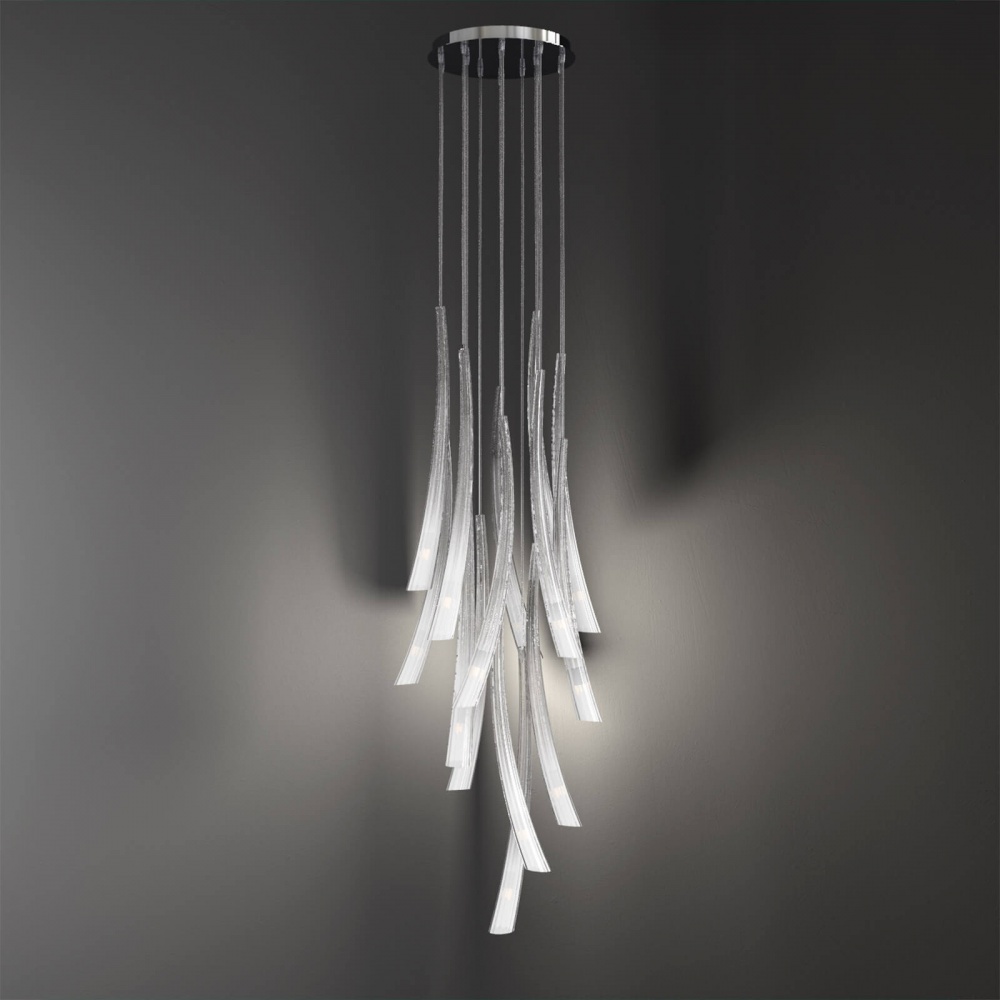
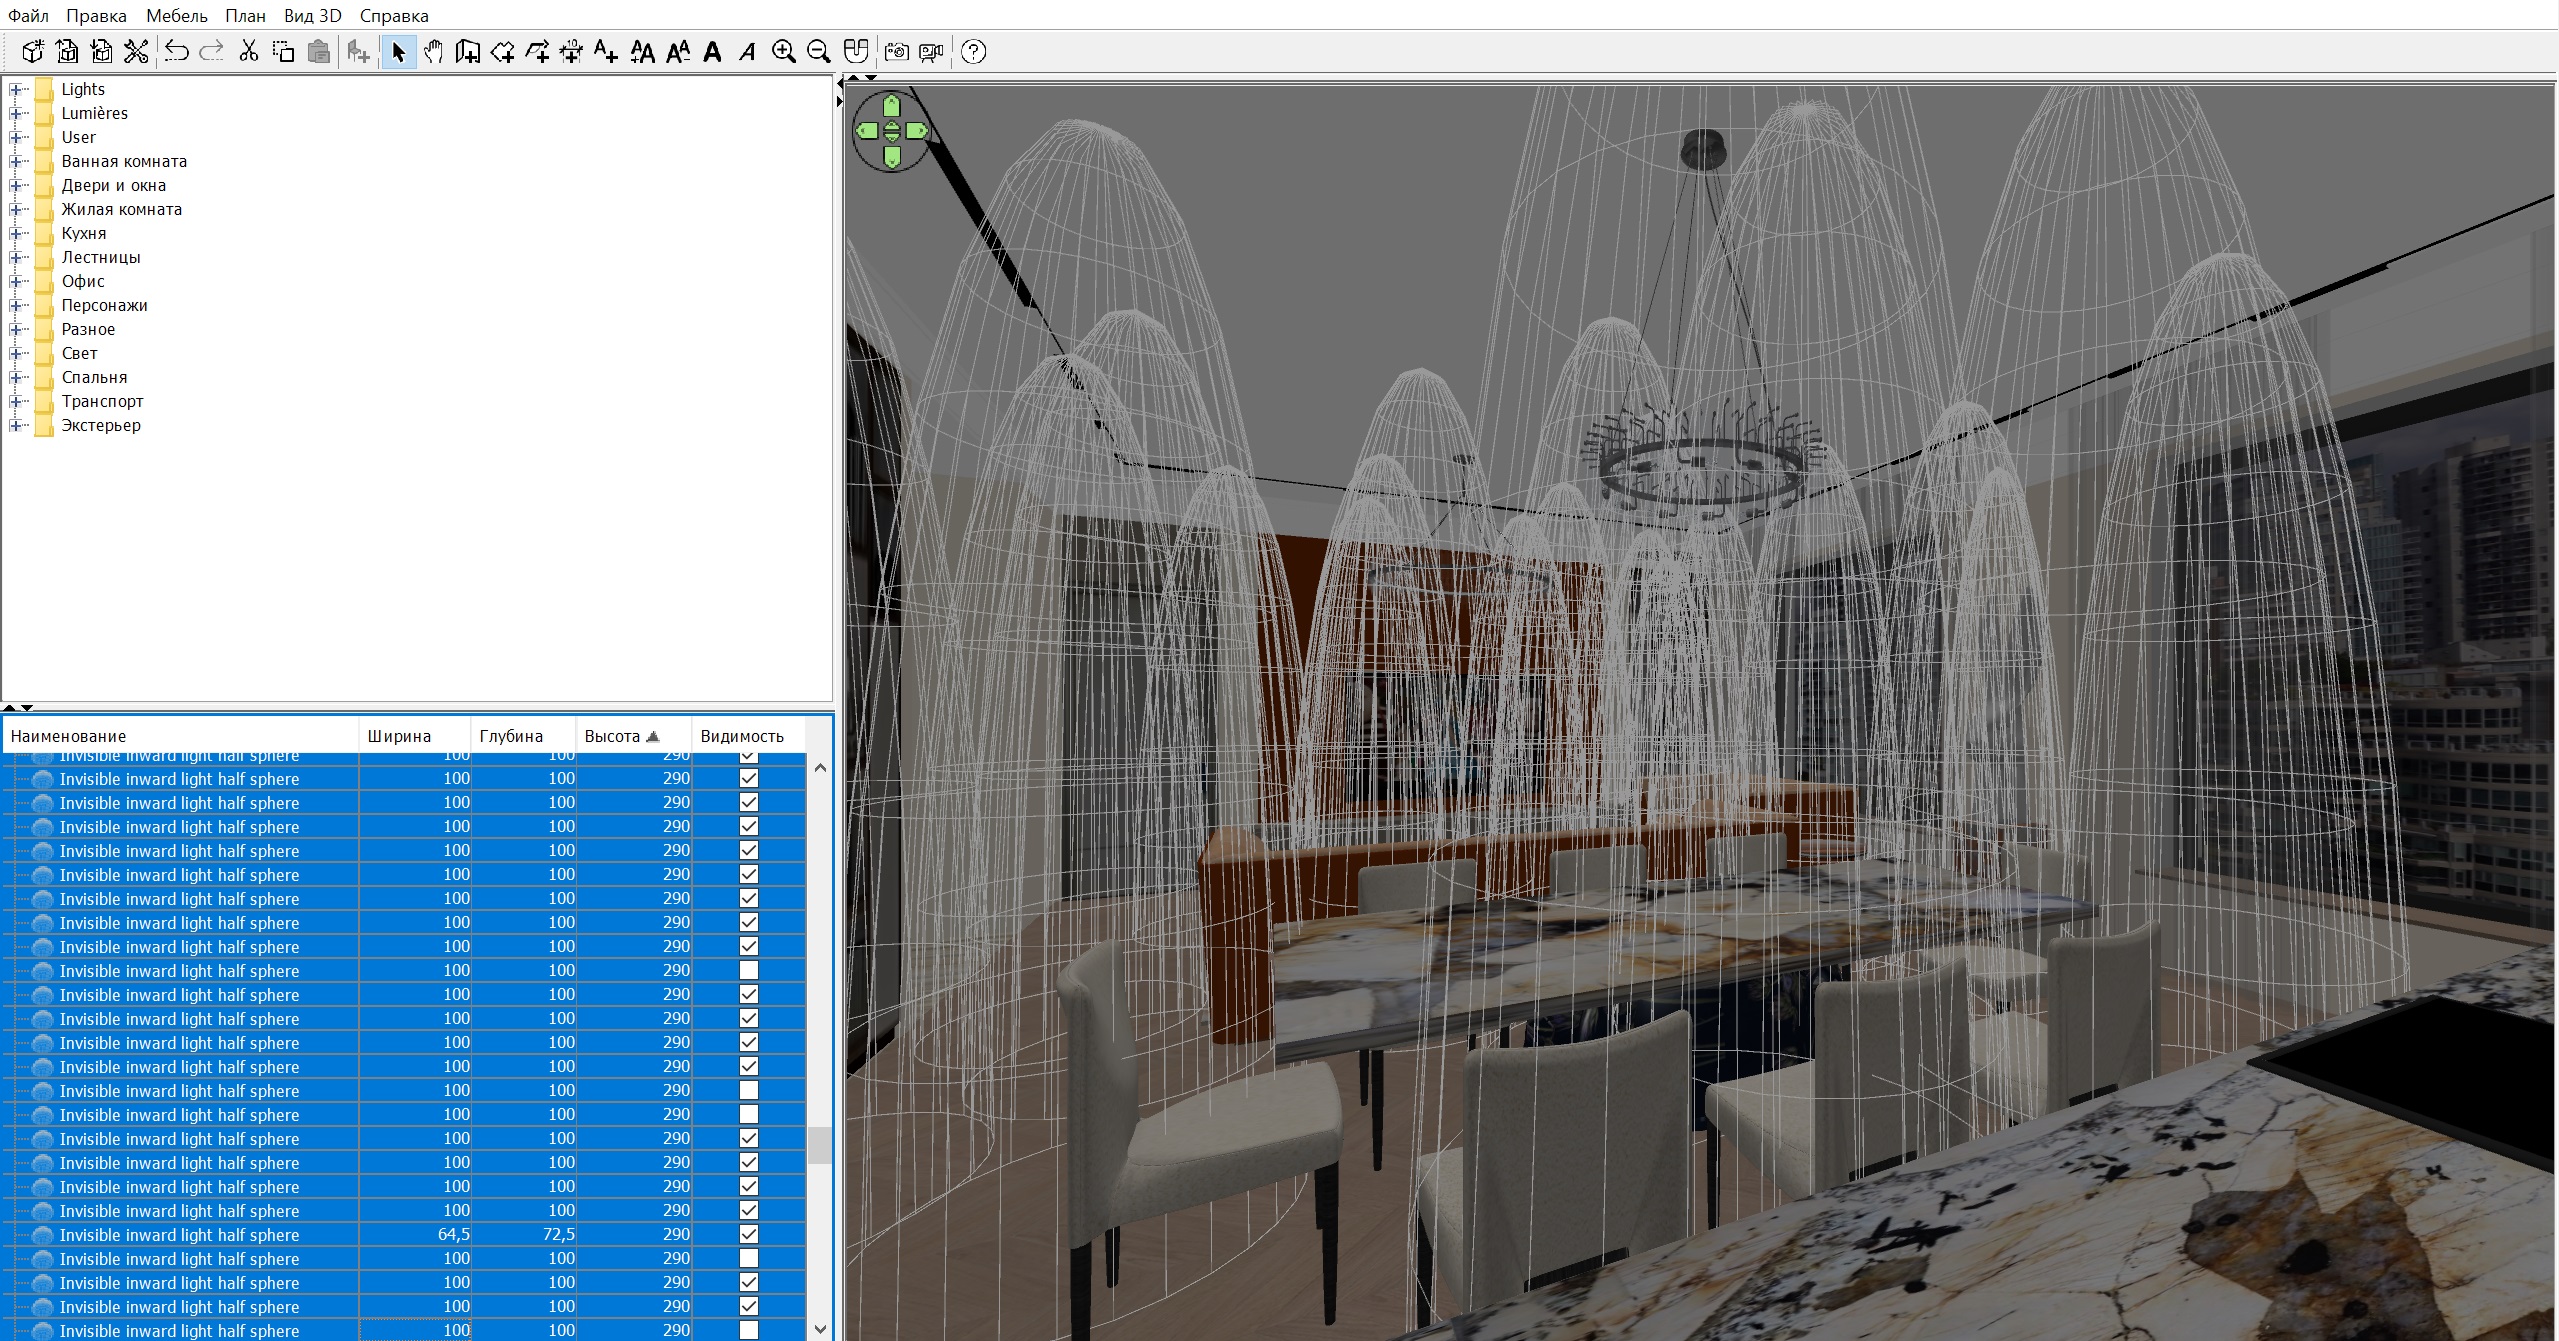
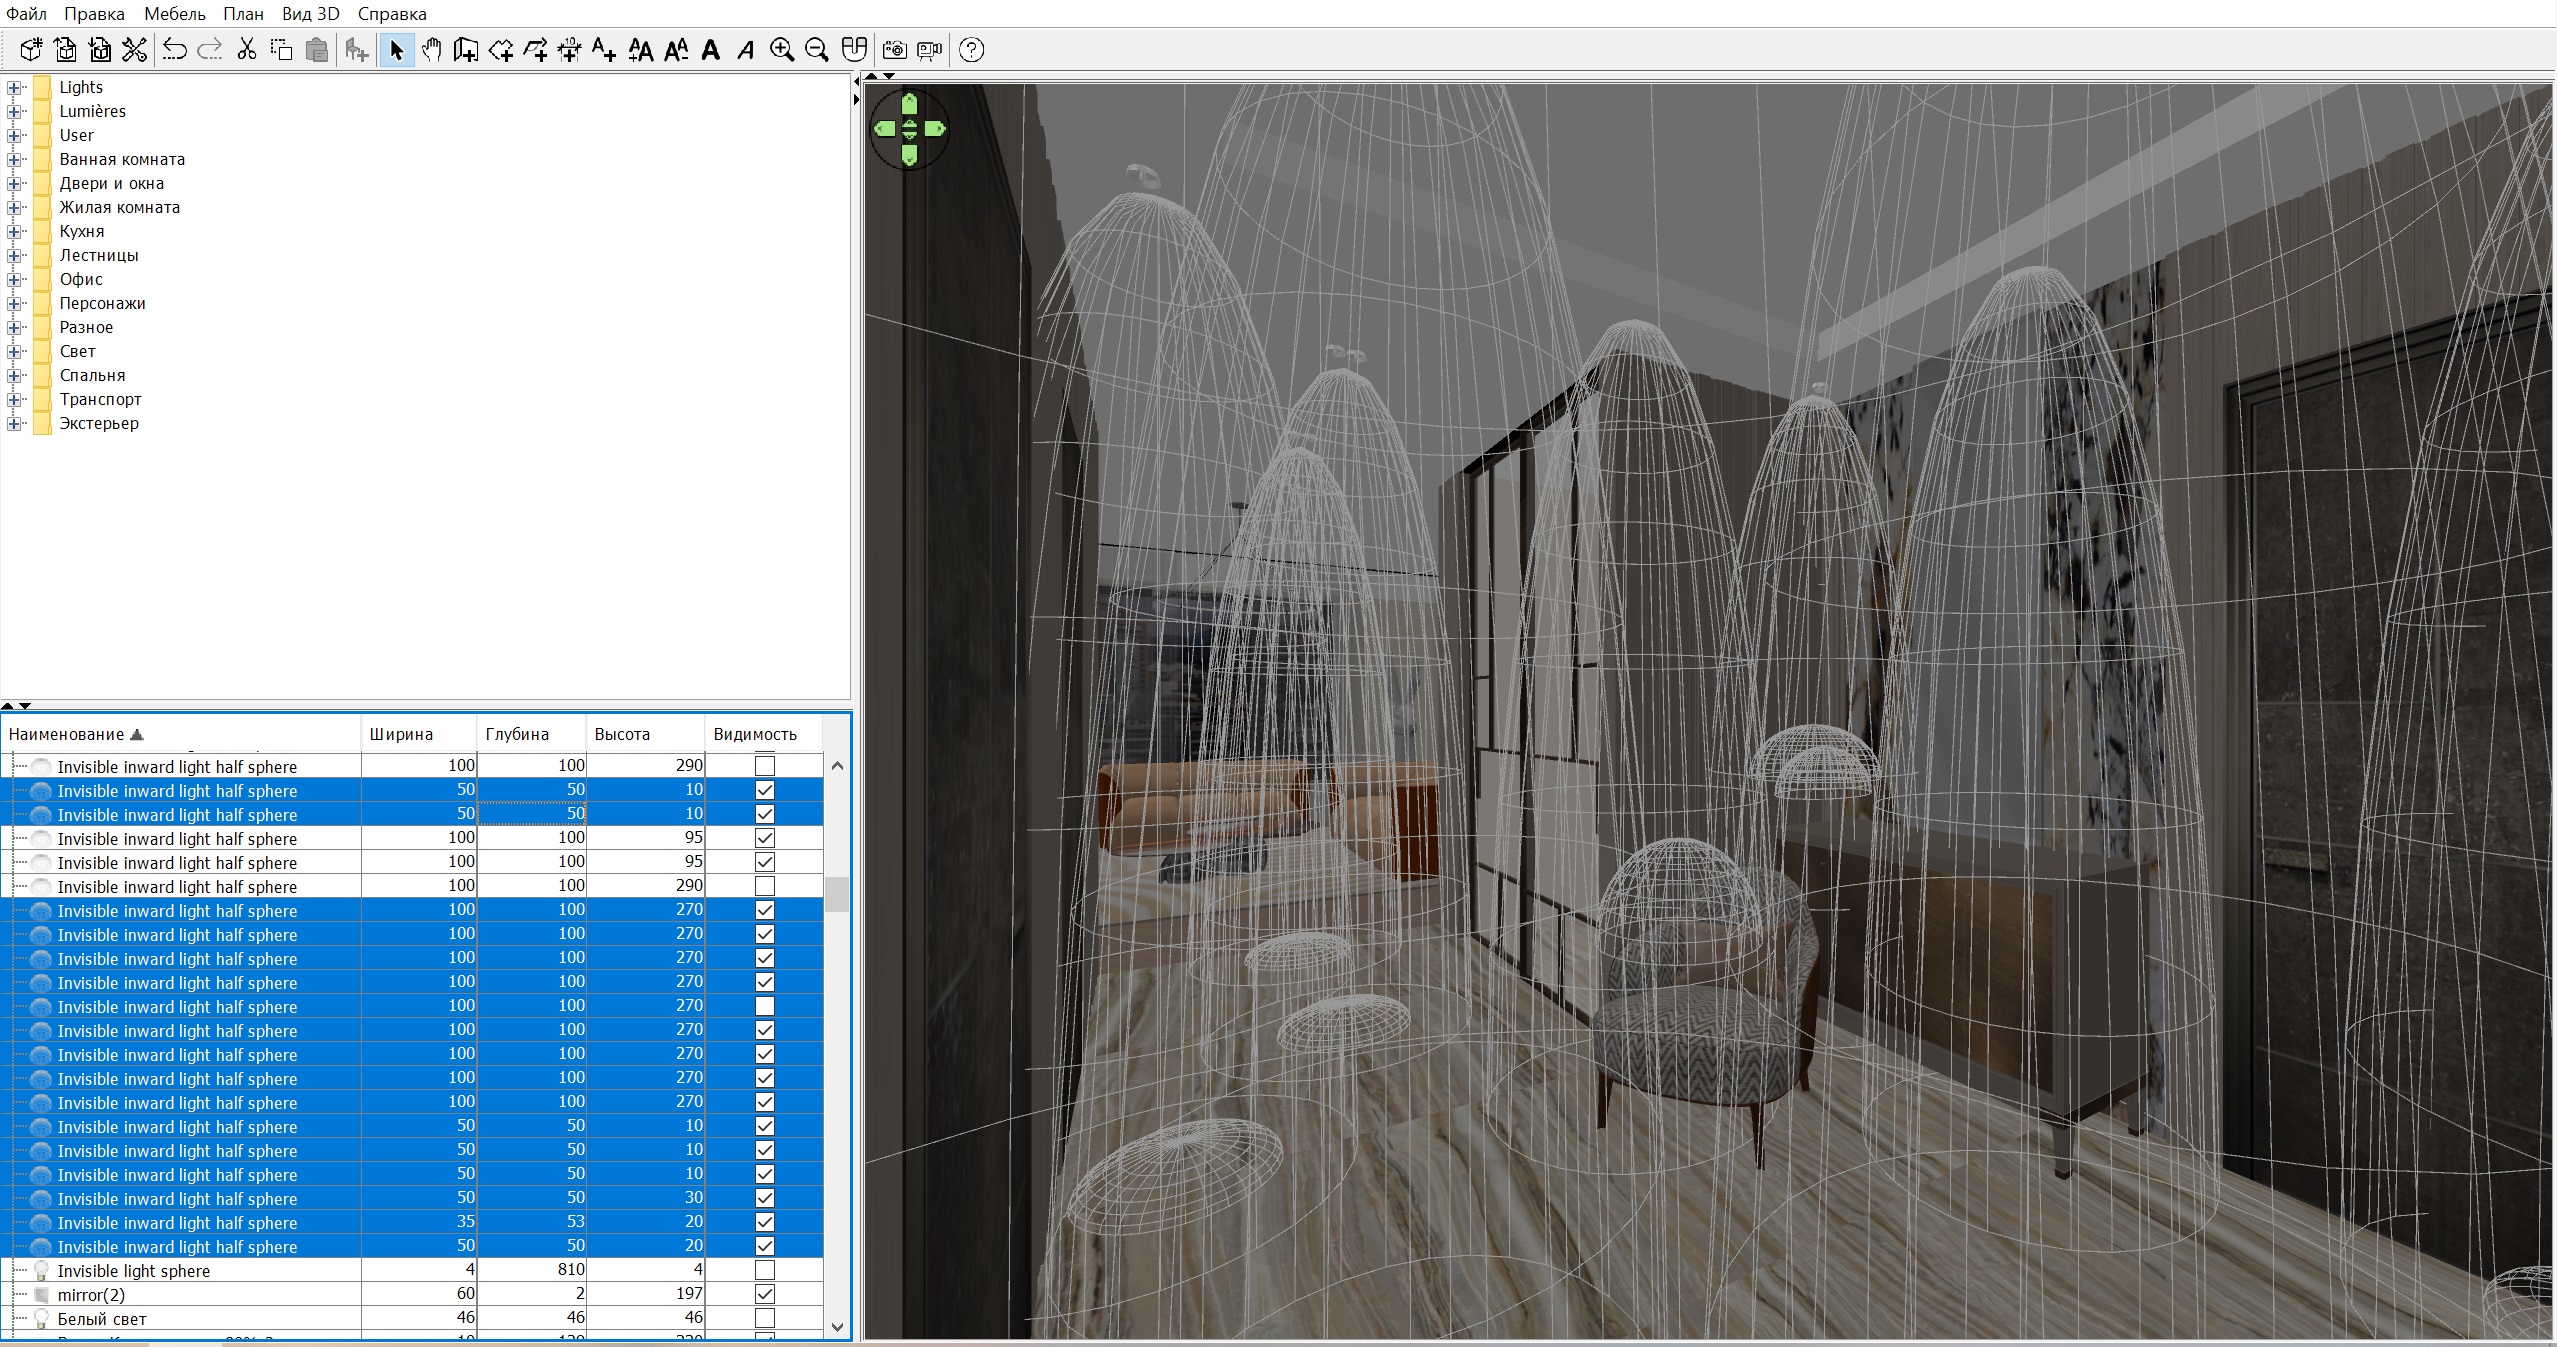
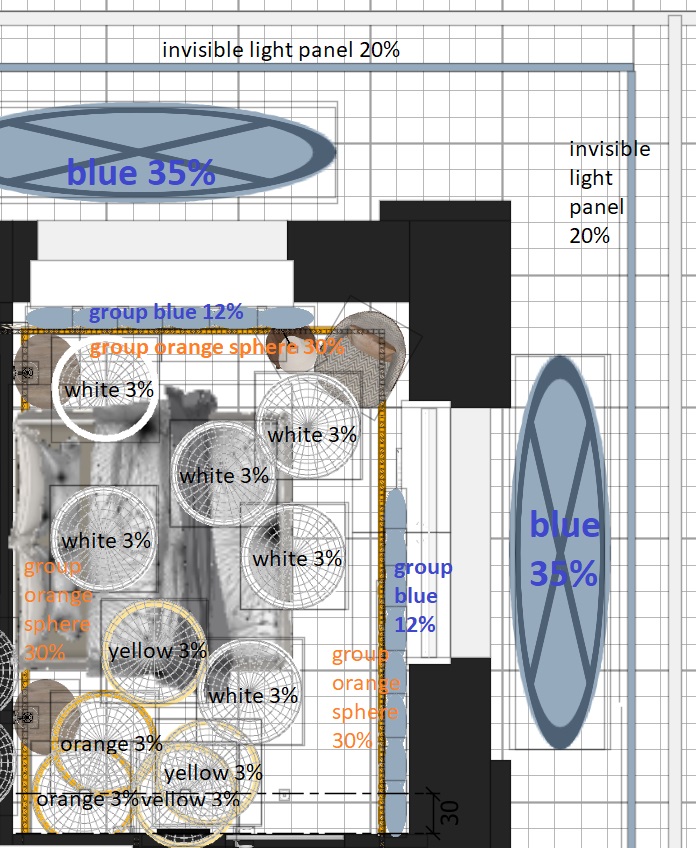
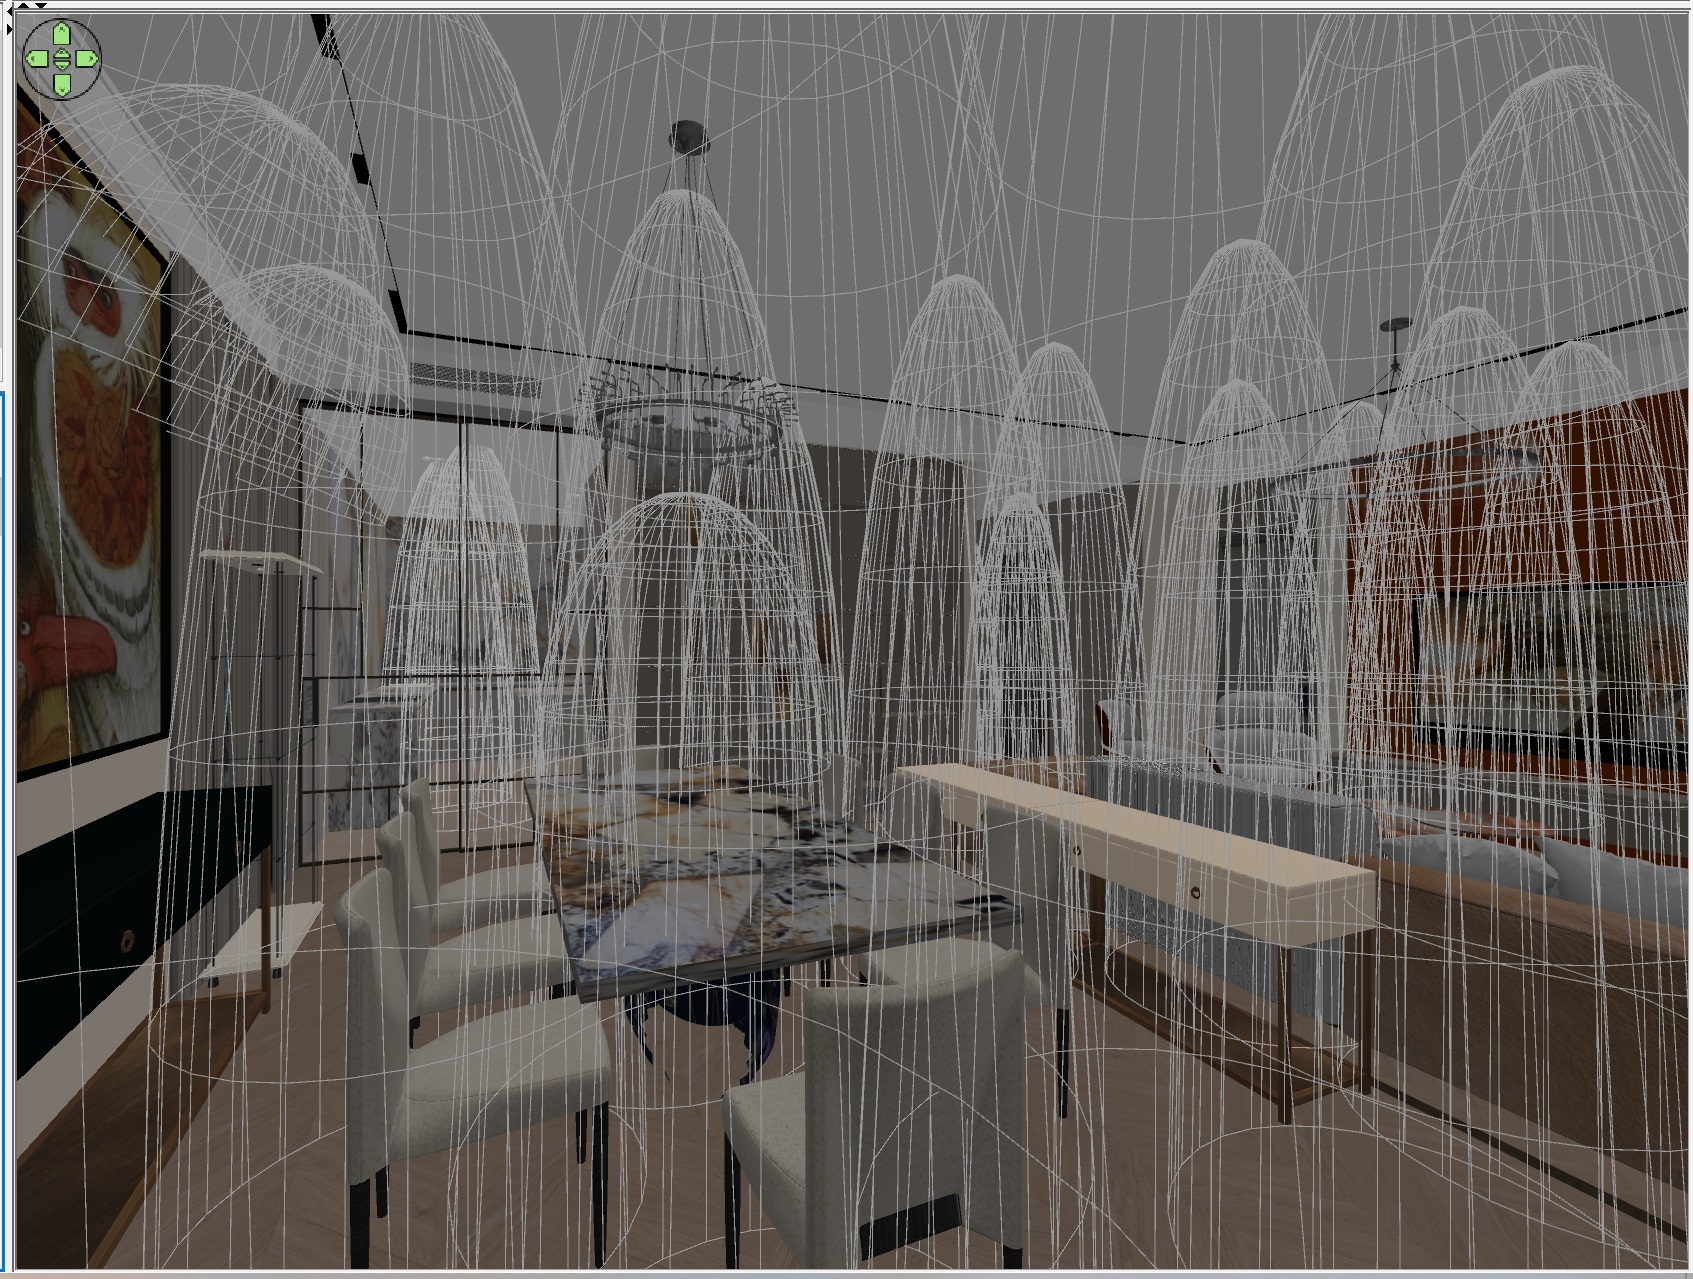
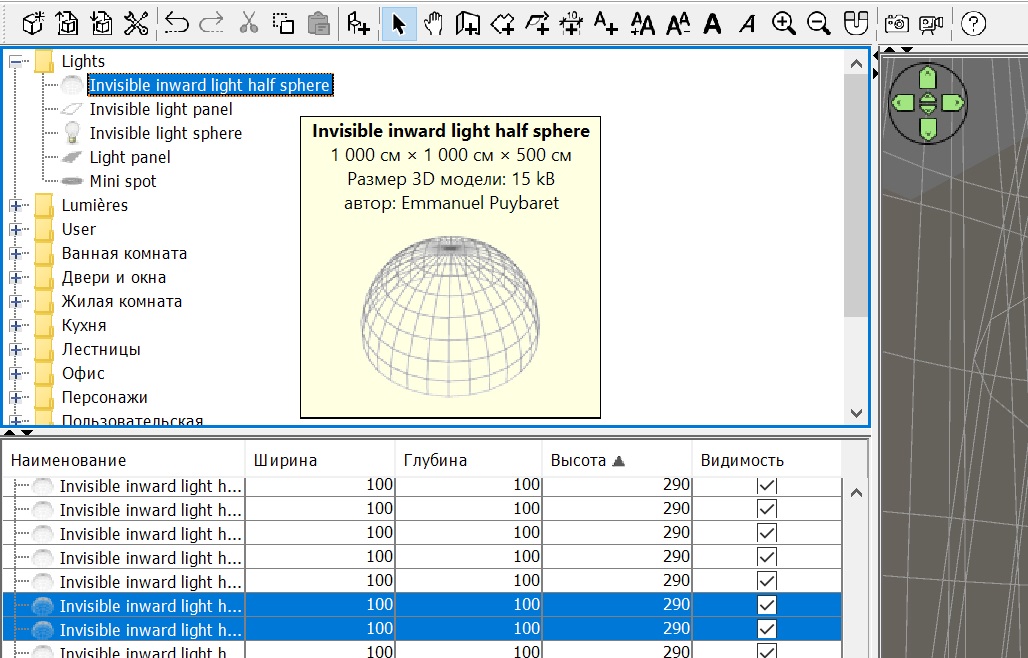
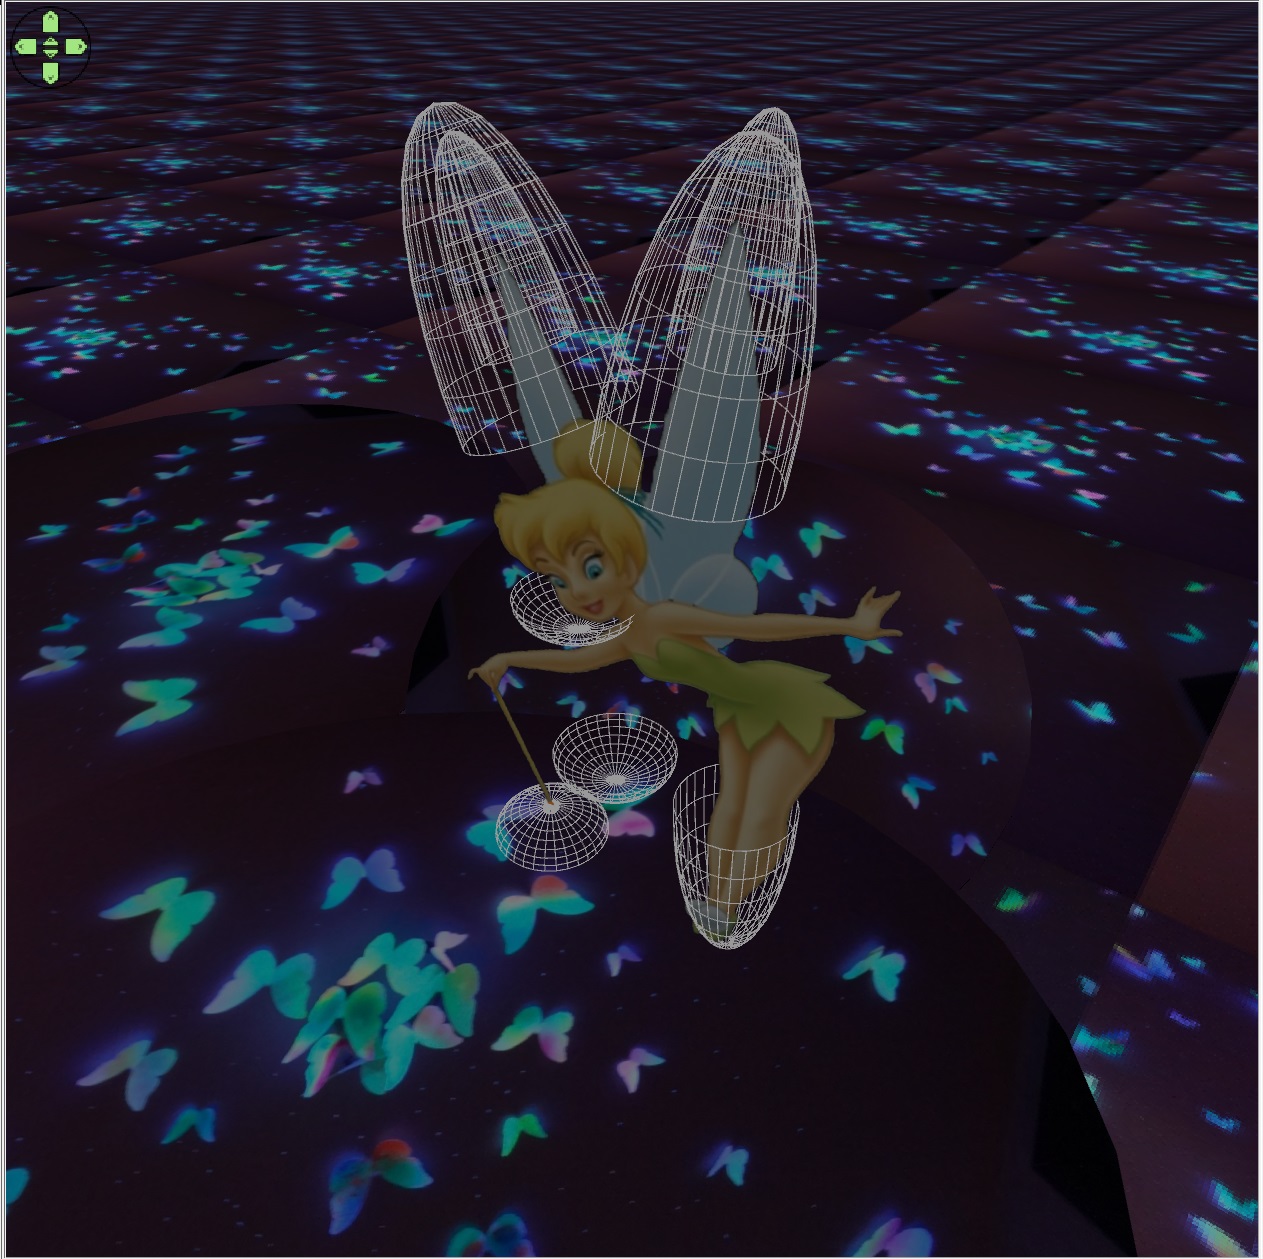
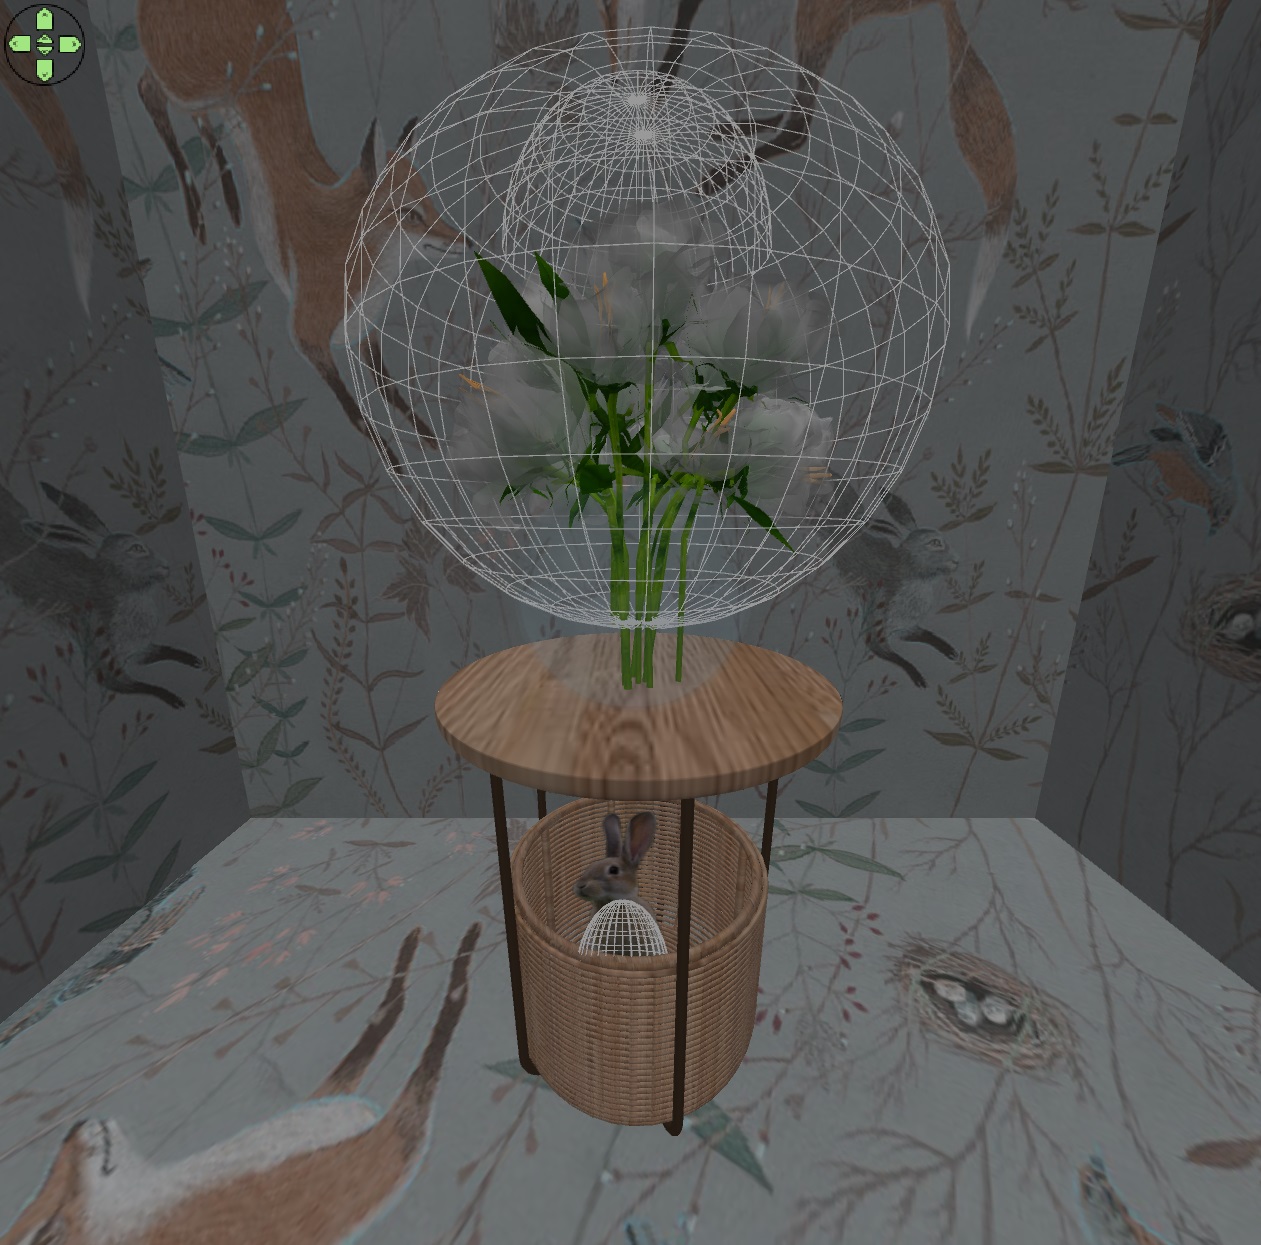
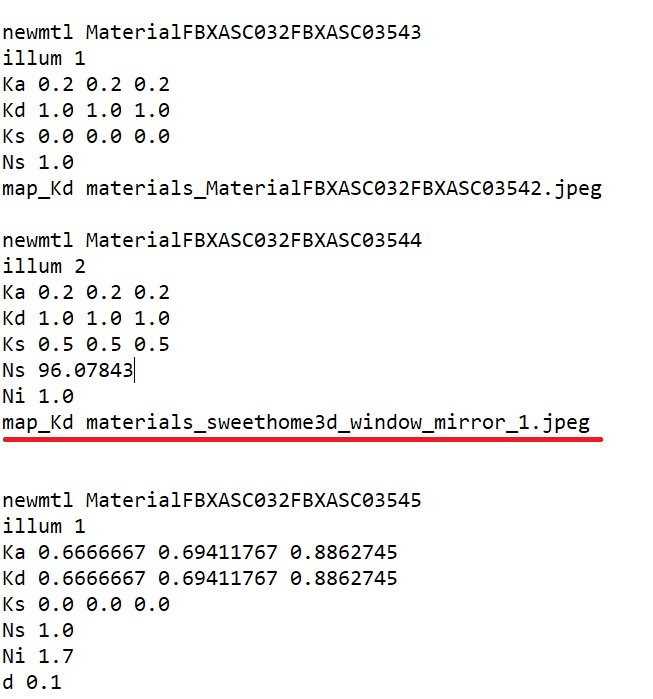
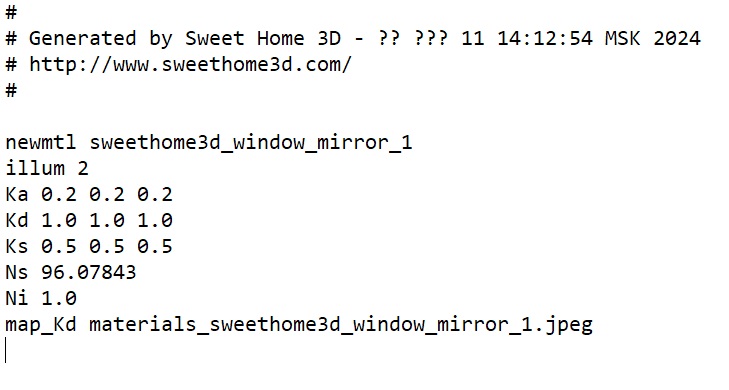
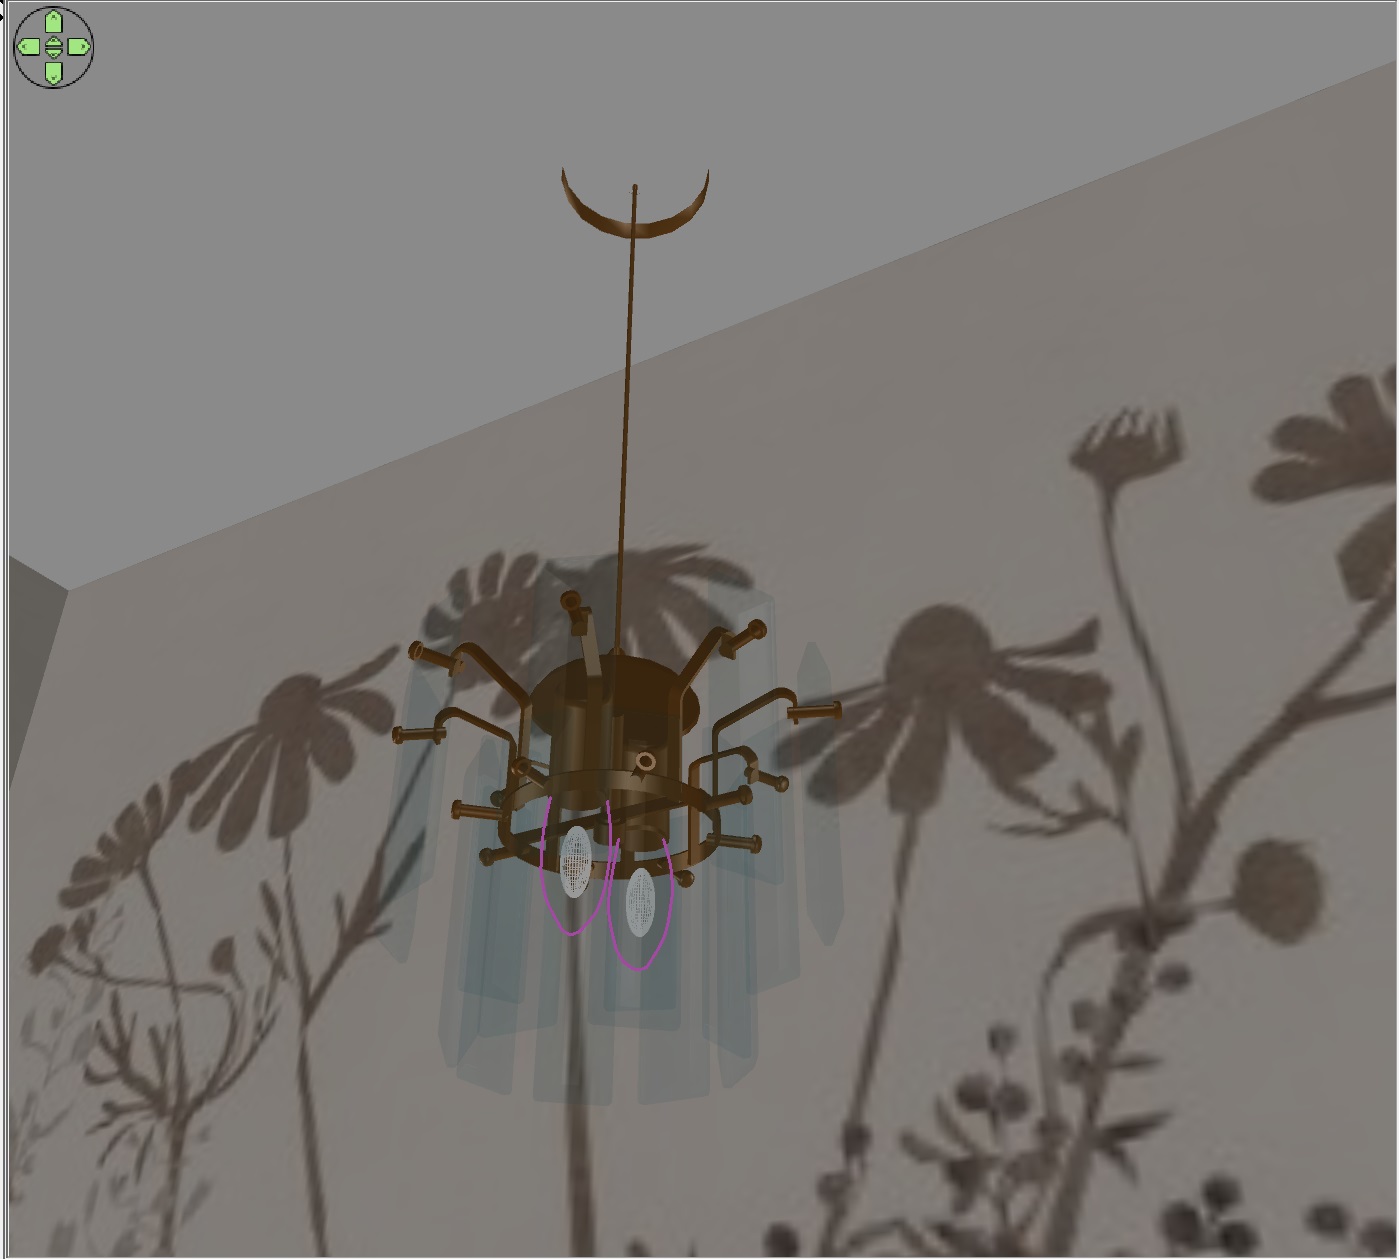
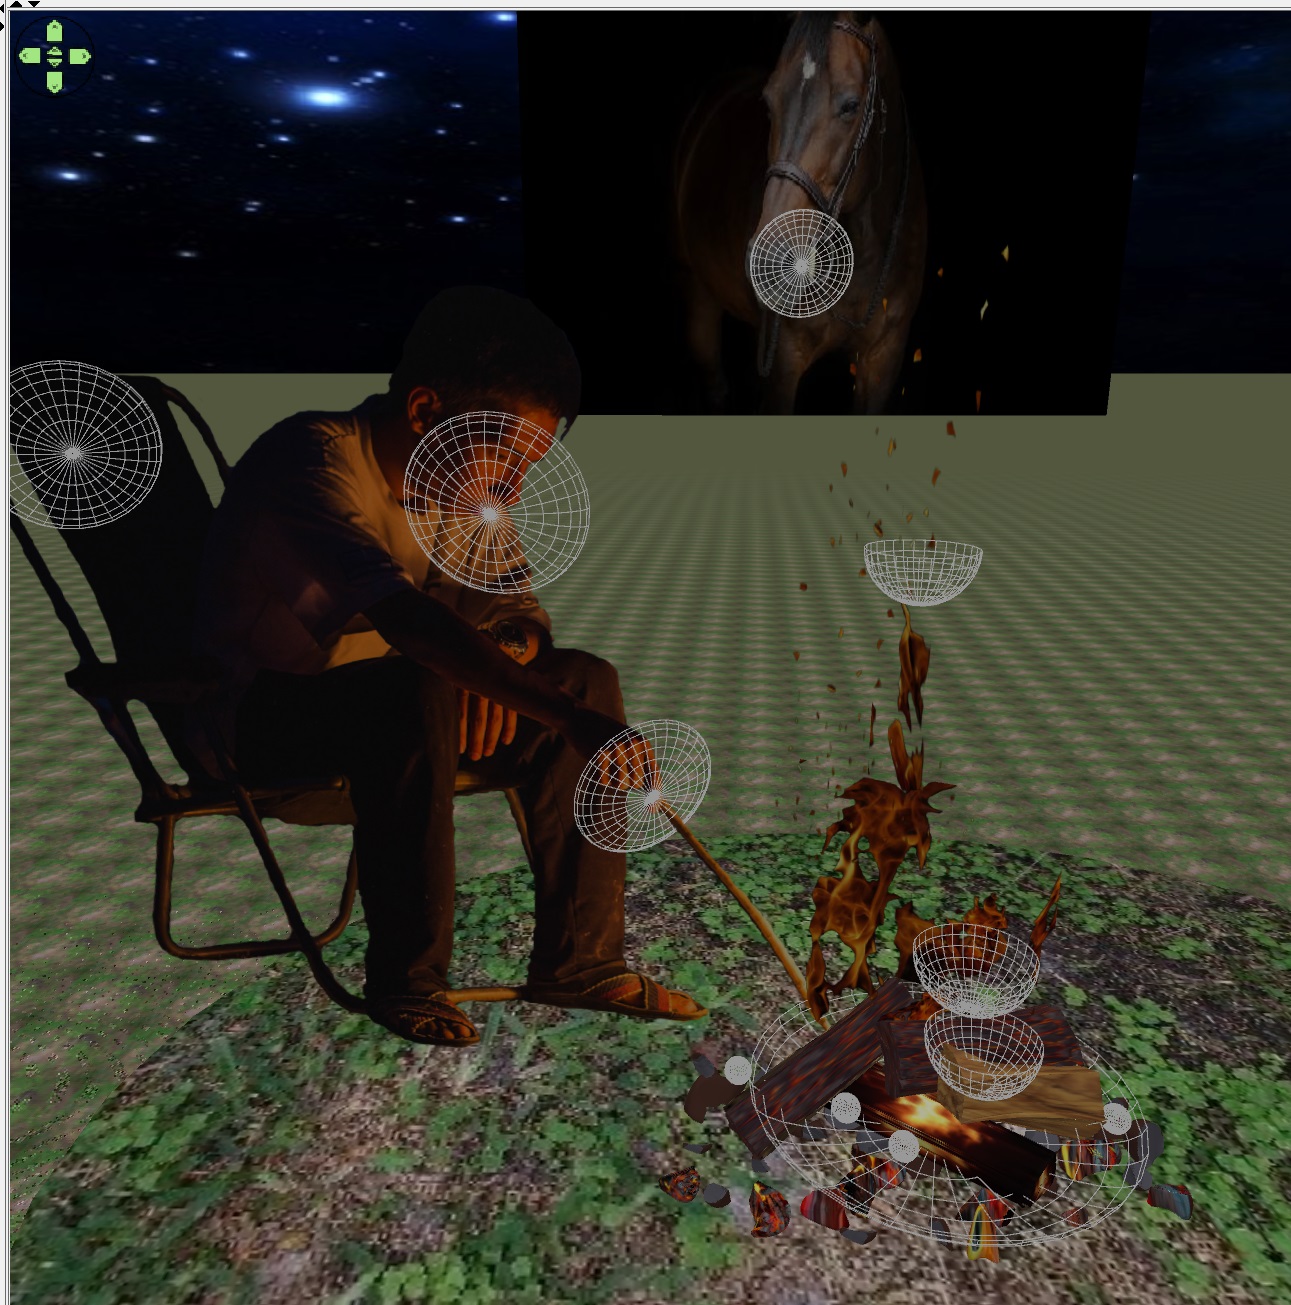
Well, stop whining. I decided to take a familiar tool - an invisible hemisphere from the library of light (it and other wonderful lamps can be downloaded from version 7.0). I imported it into OBJ and examined the MTL file. hmm, the transparency coefficient of this hemisphere is d 0.0. That is, it is completely transparent. I started changing the values of d and realized that the most beautiful thing is obtained on the most transparent version. I have assigned my new hemisphere d=0.01. Yes! Yes! I was not mistaken, one hundredth. Nowhere less. But it turned out to be better this way.
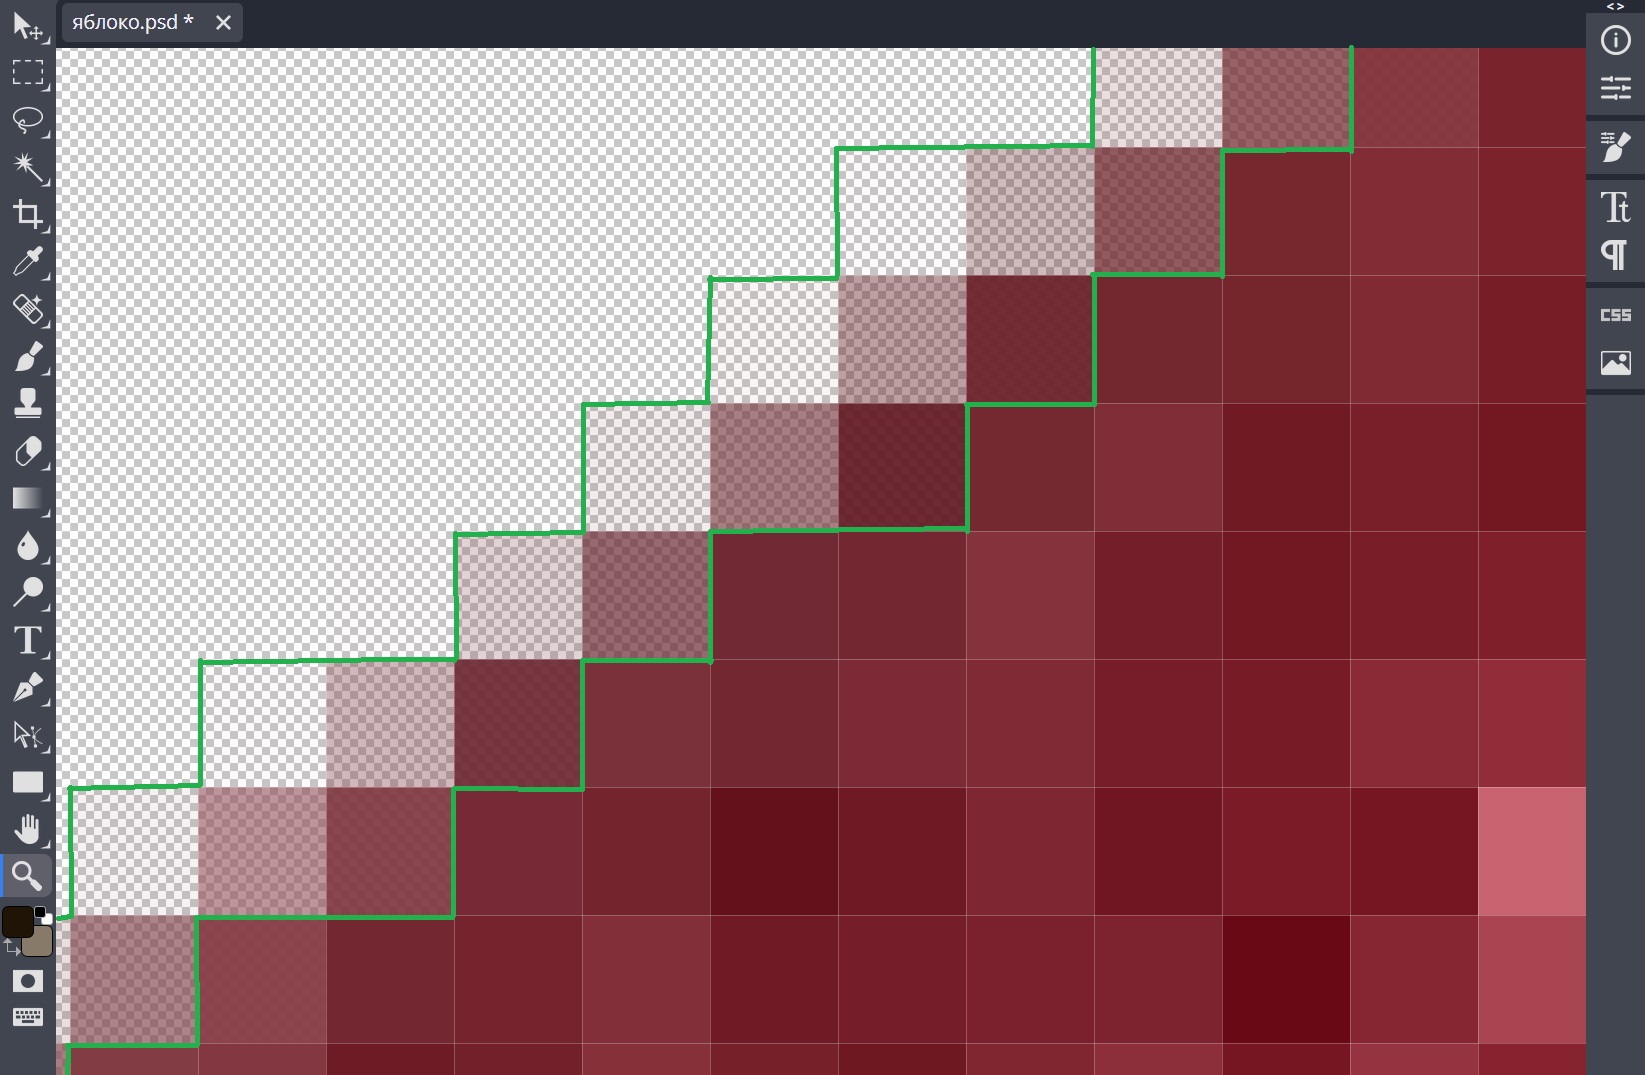
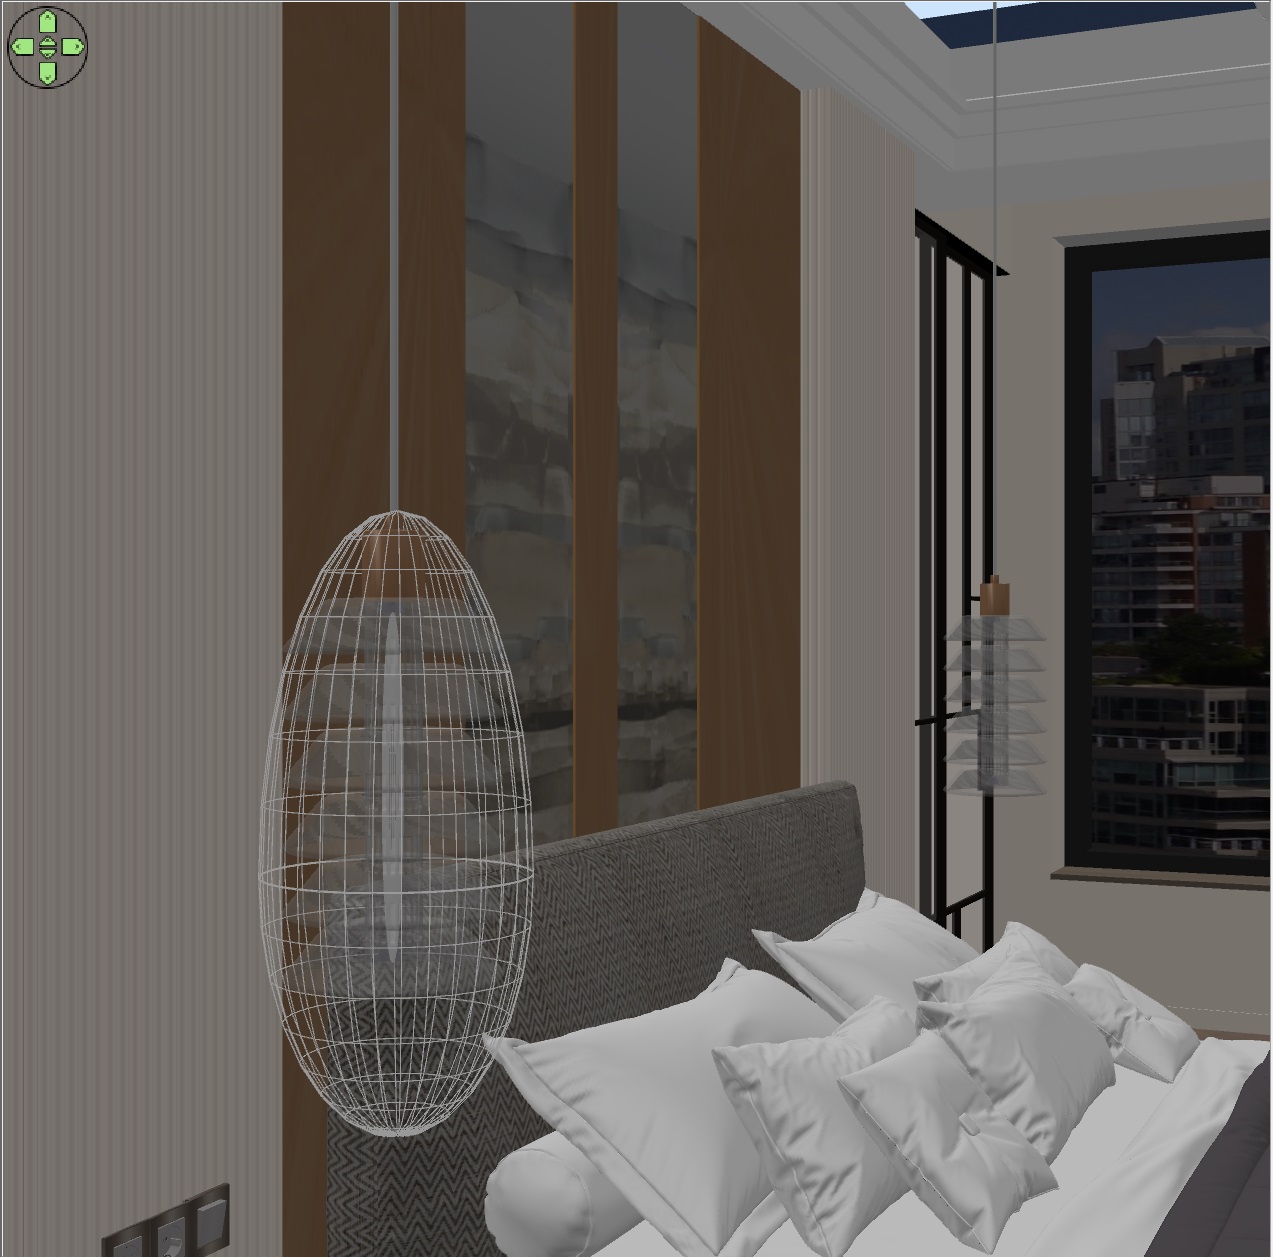
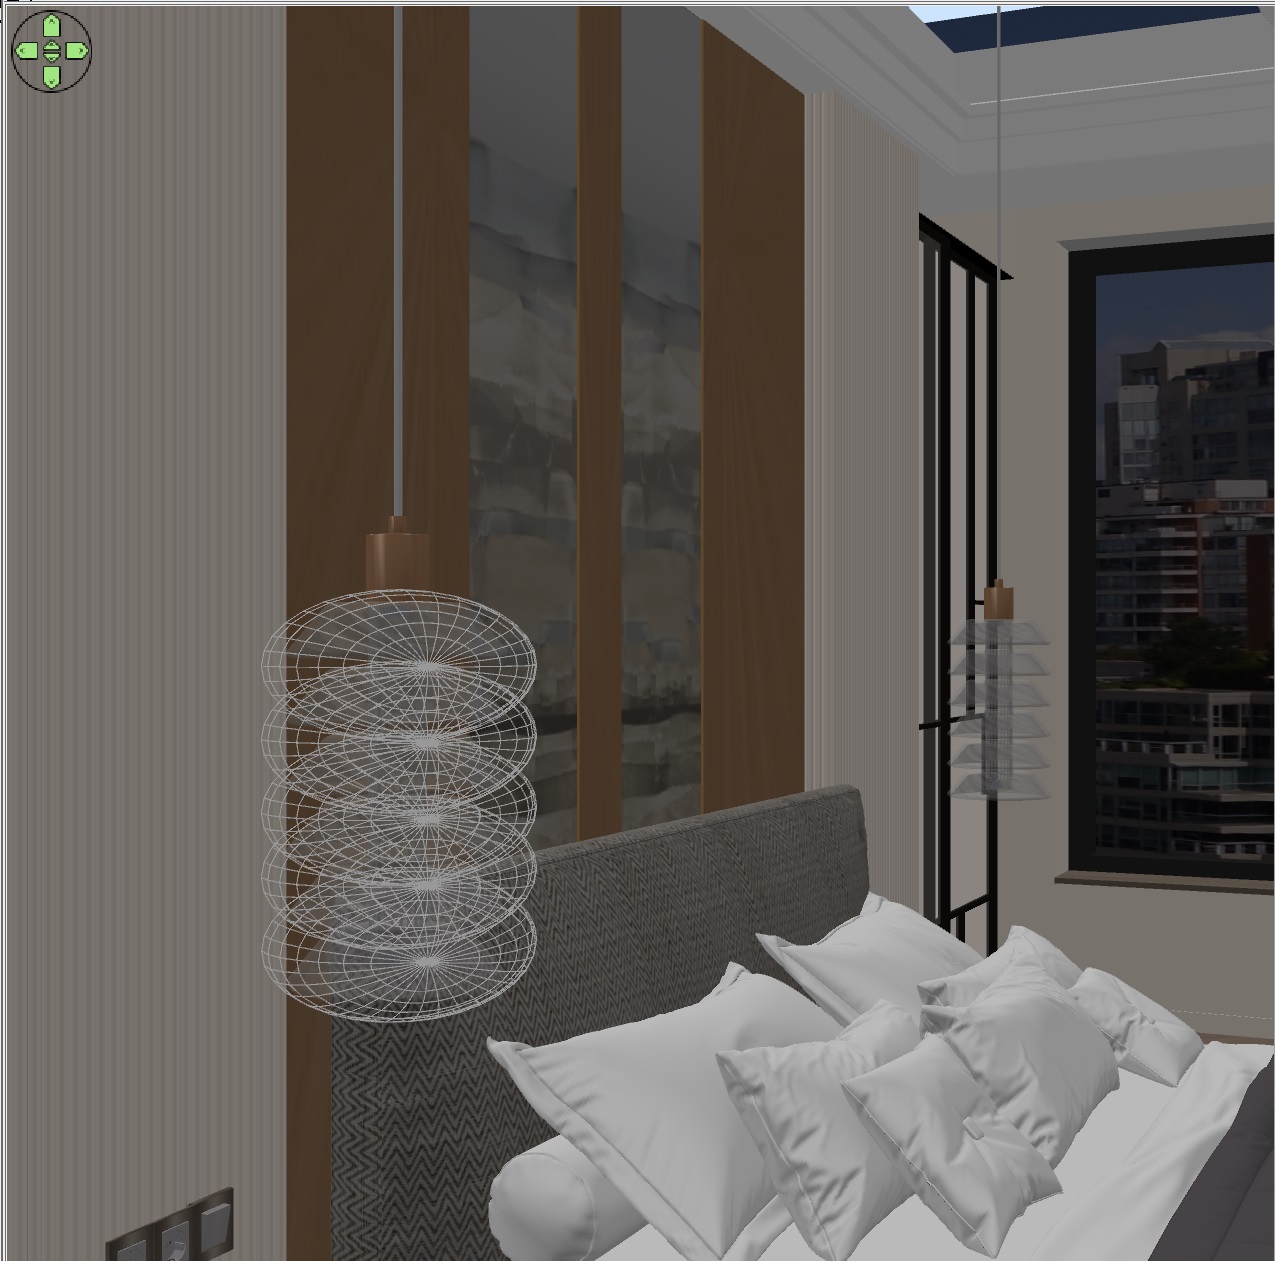
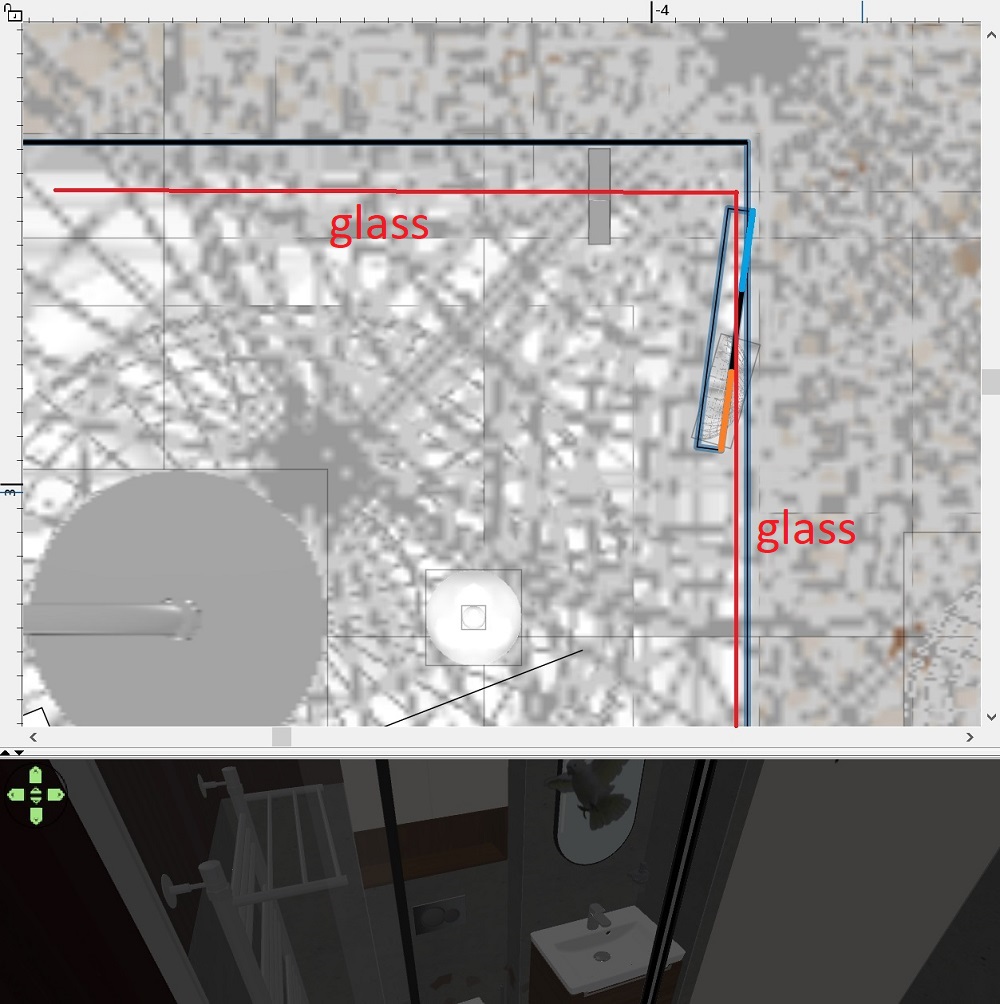
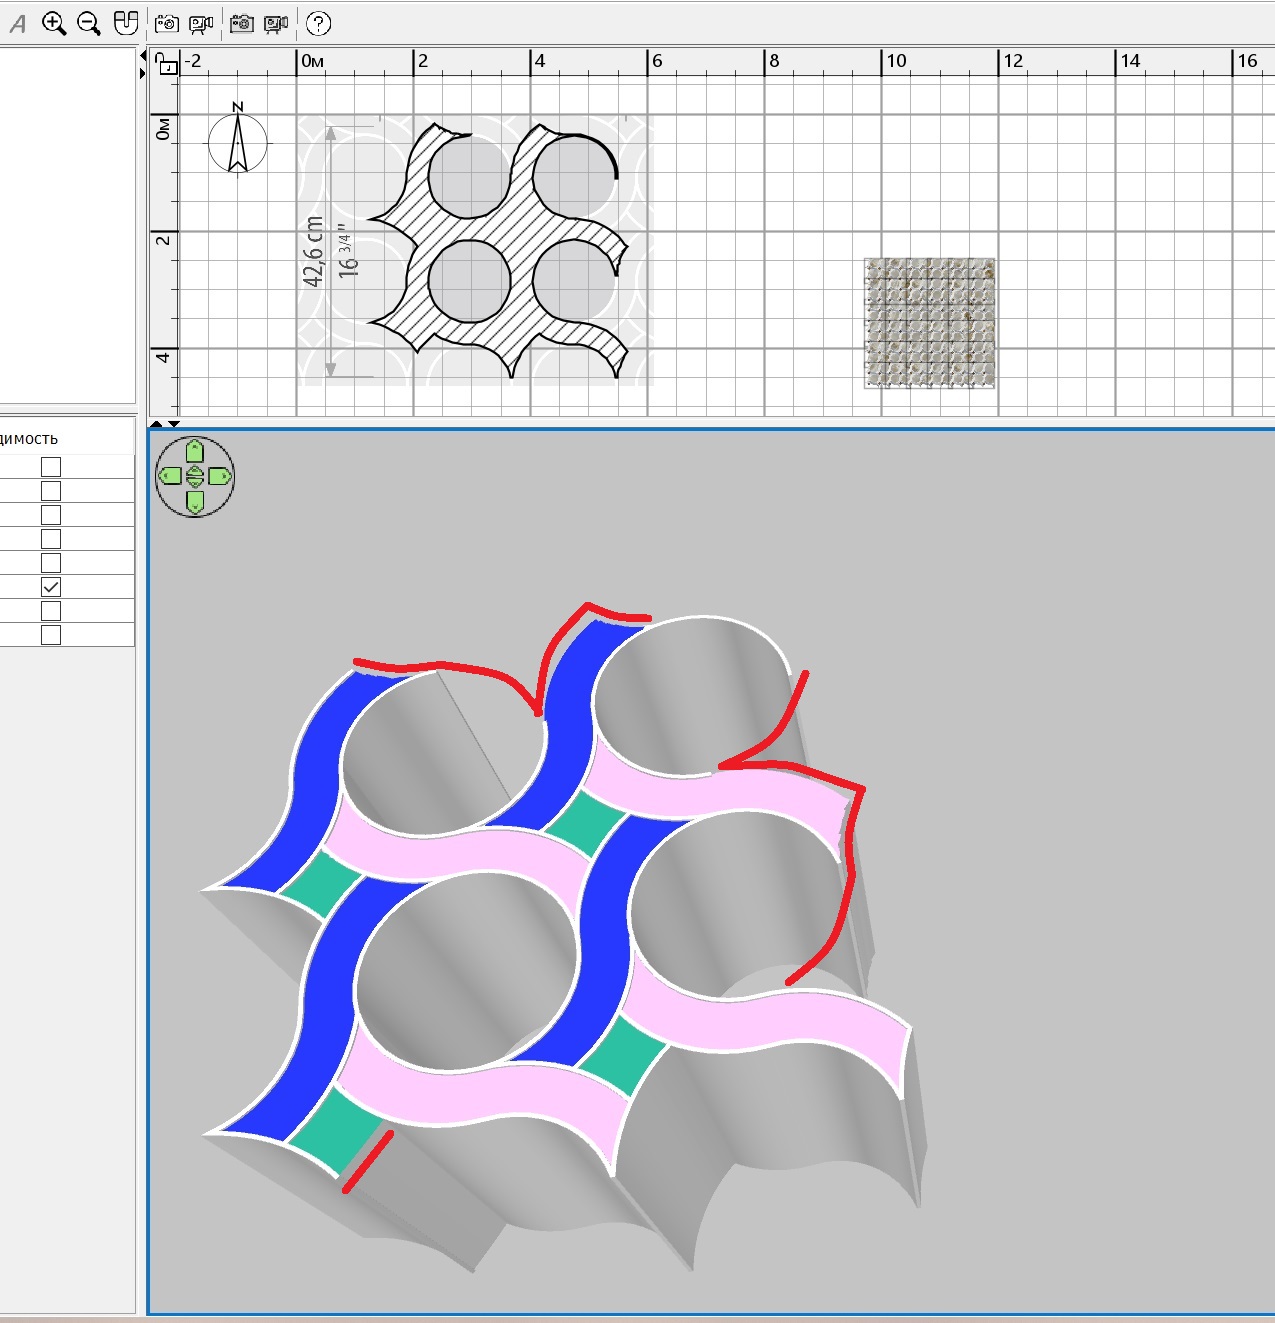
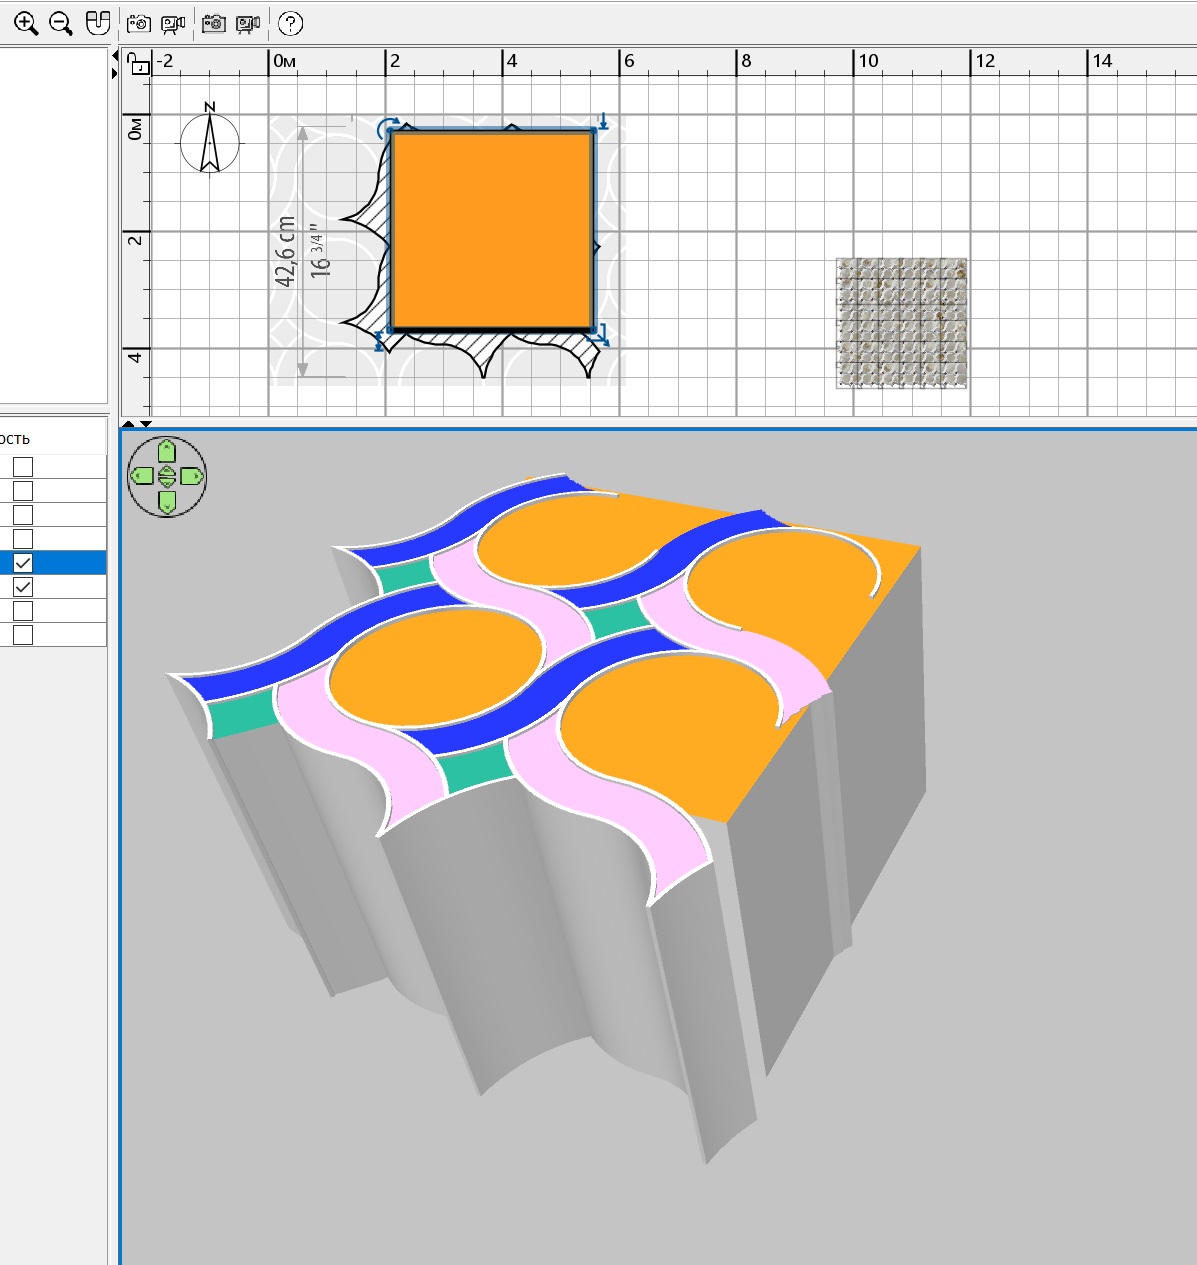
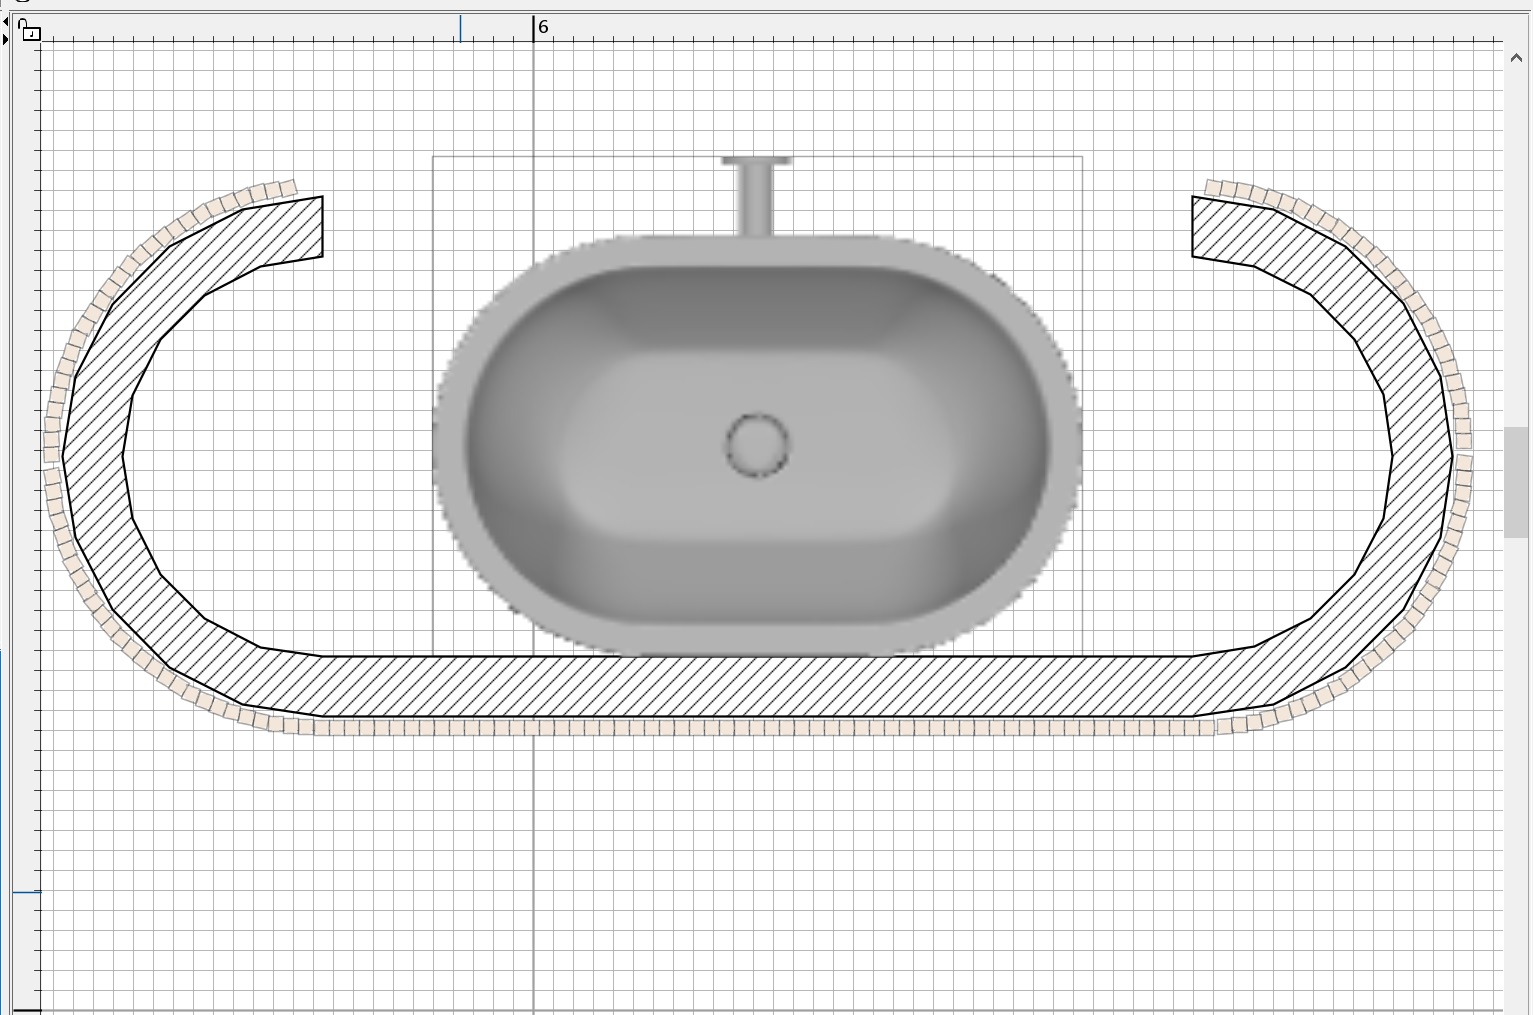
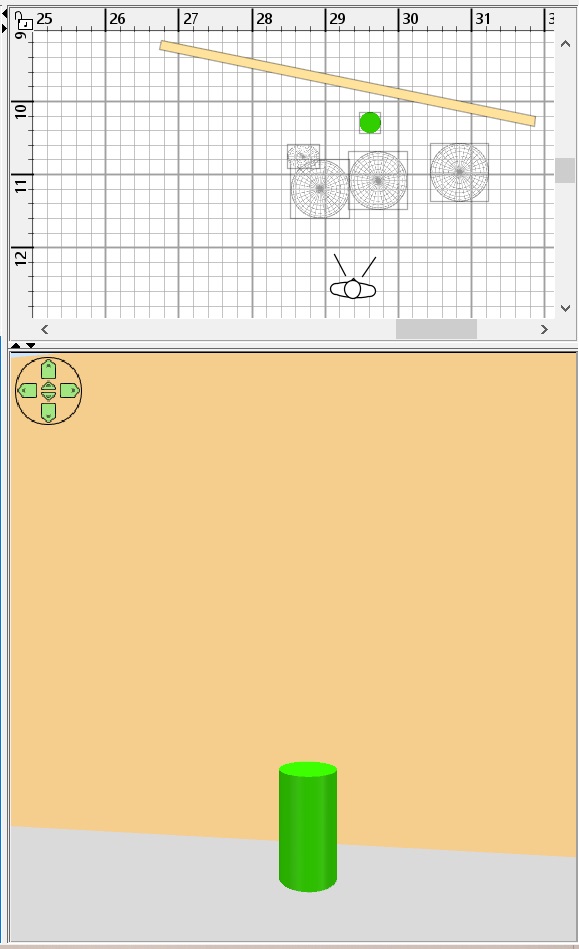
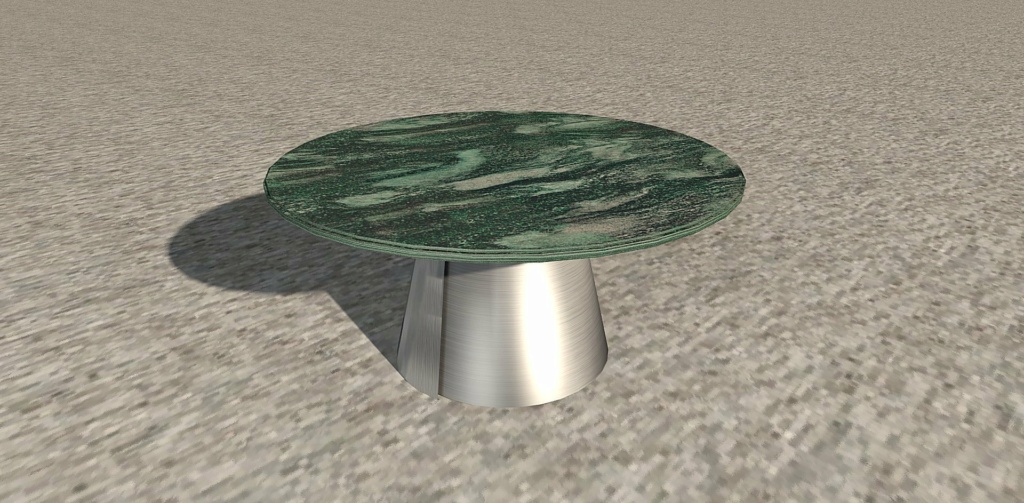
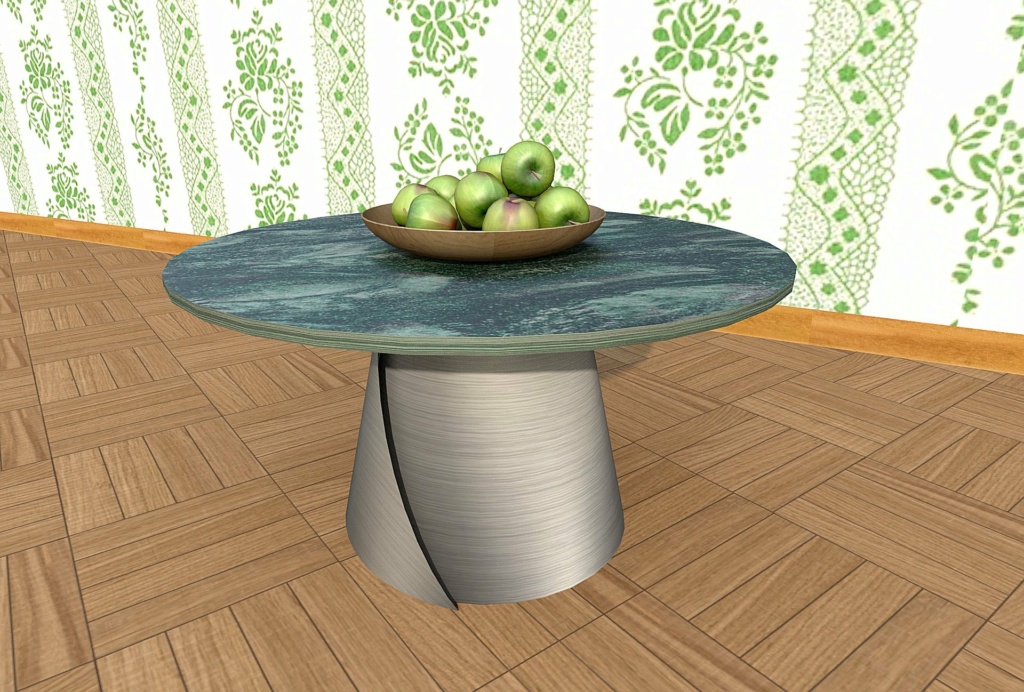
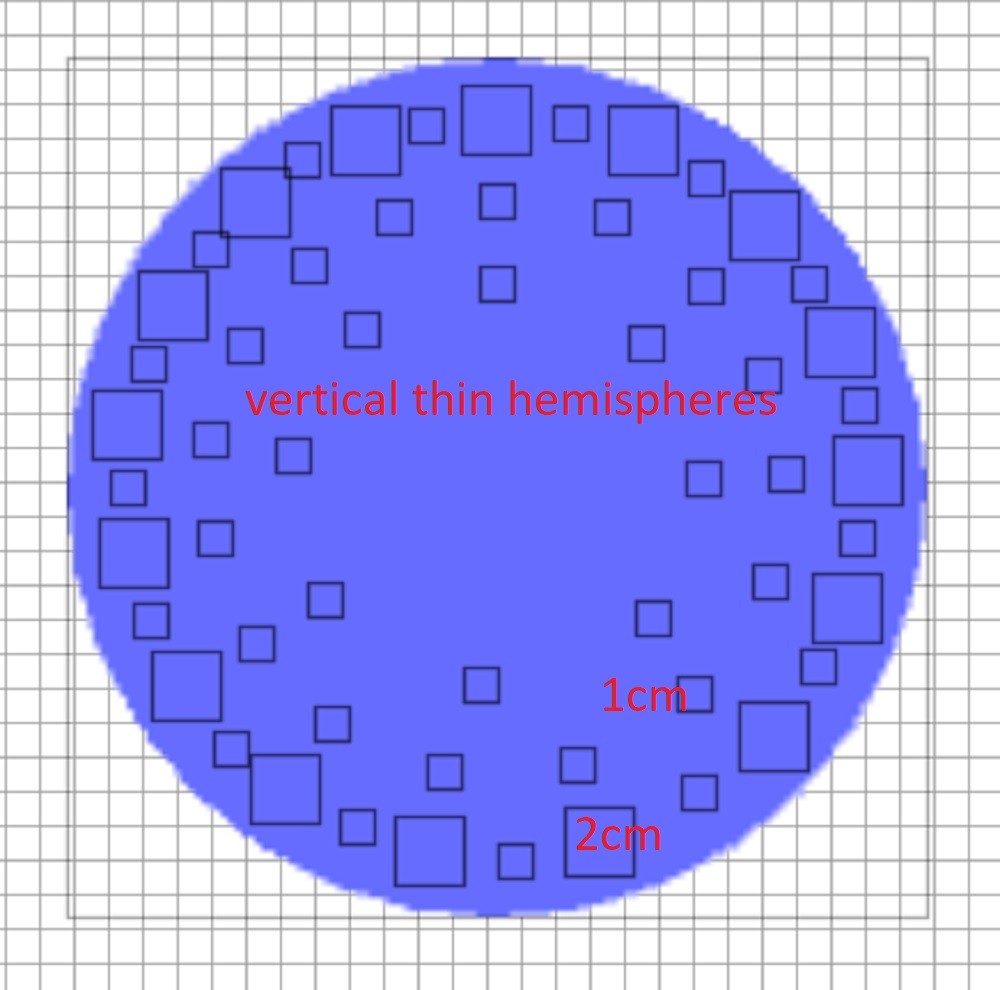
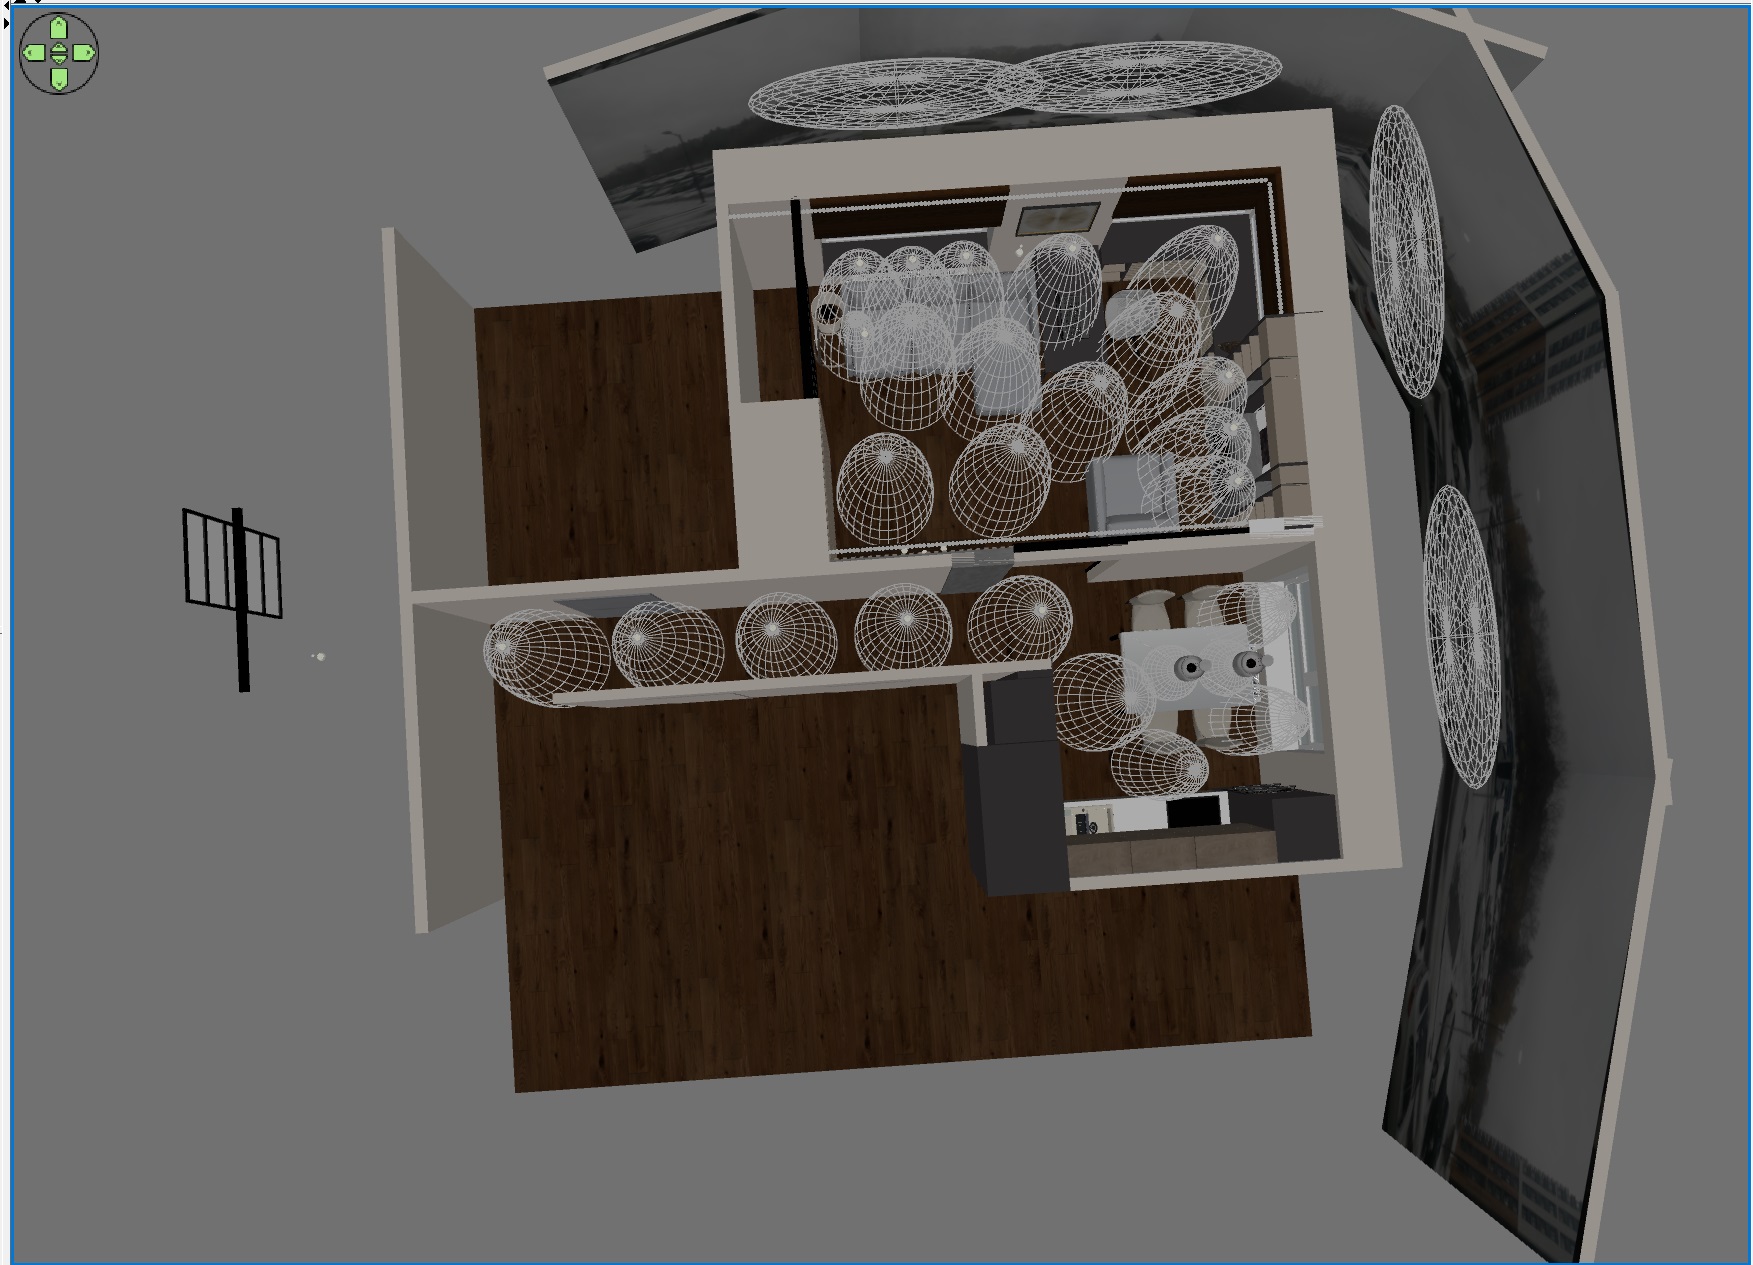
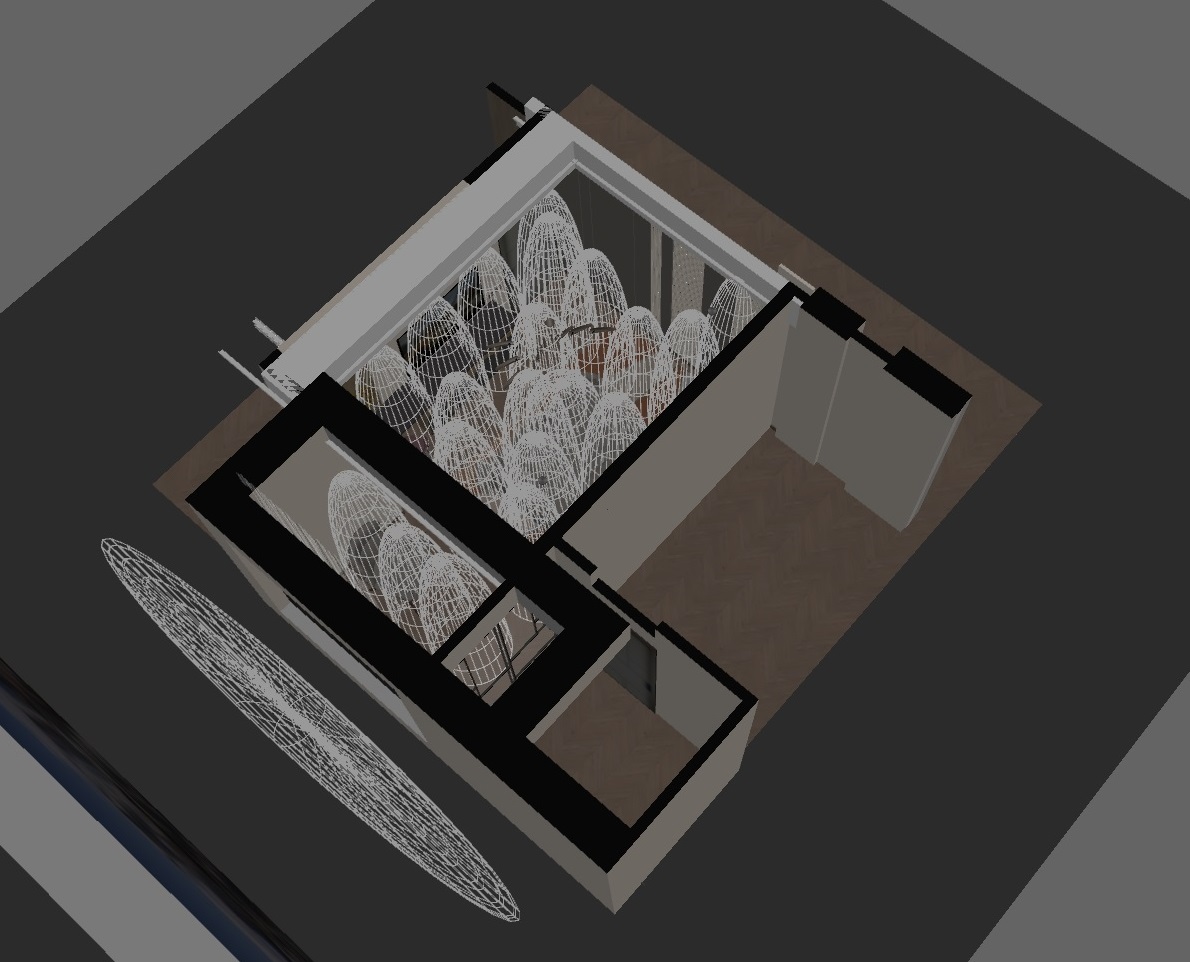
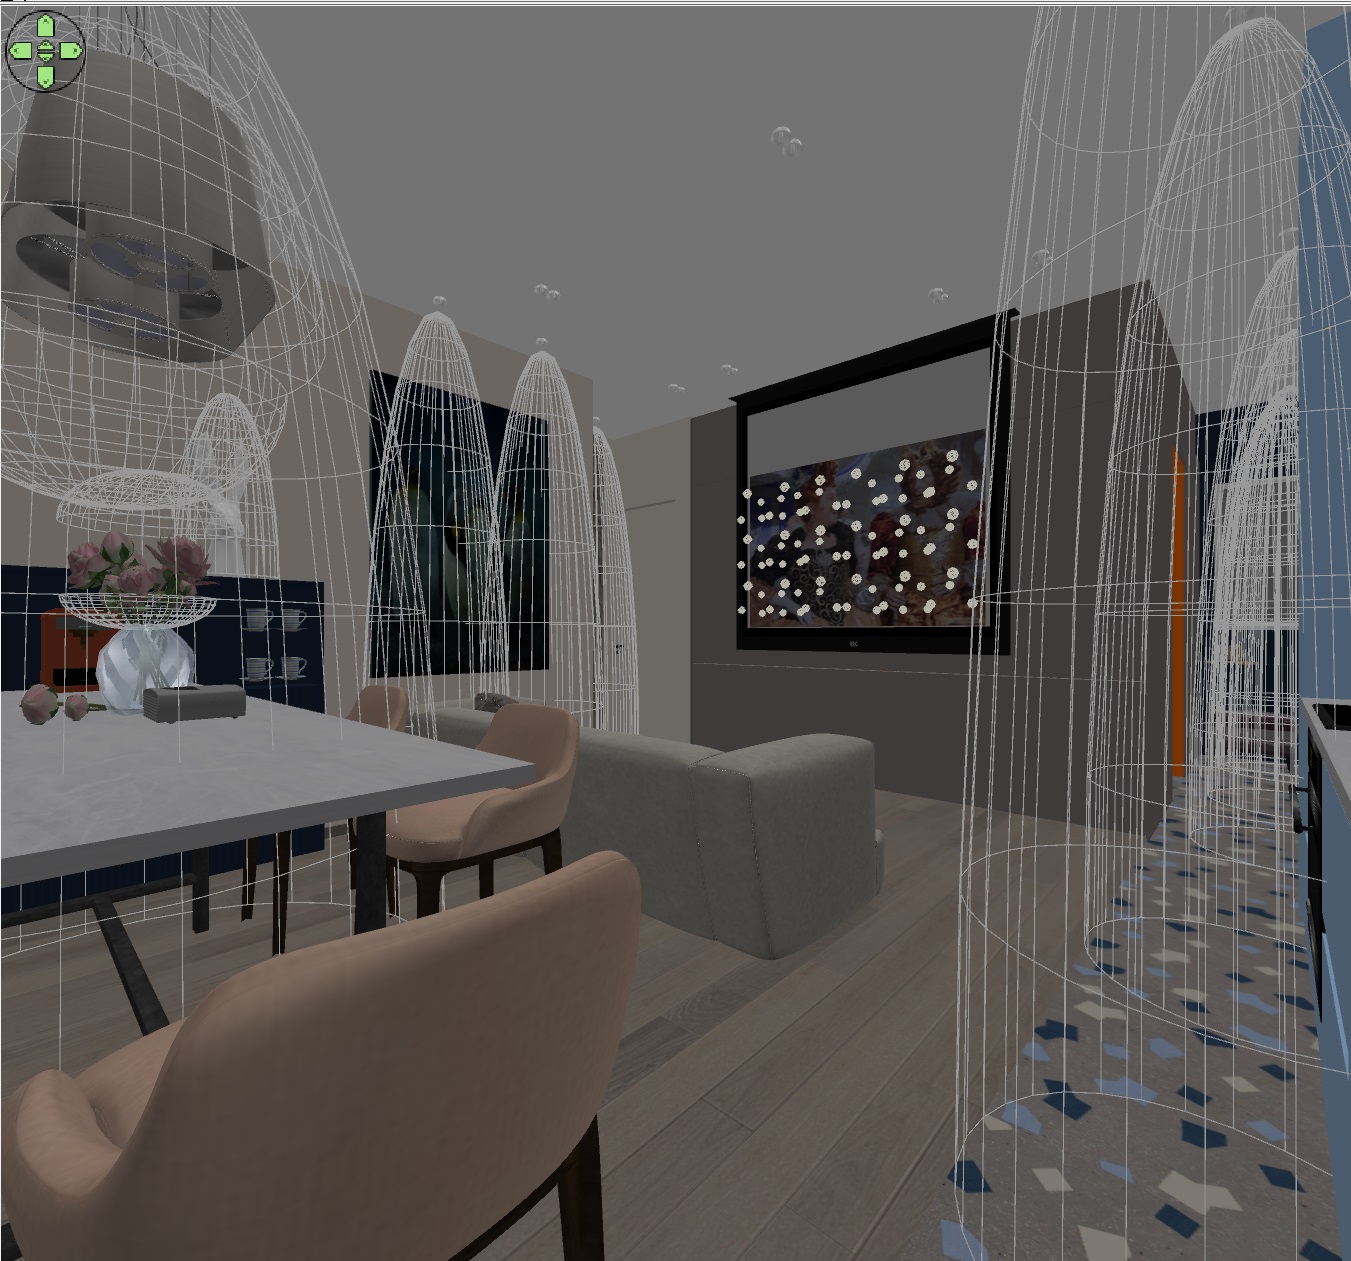
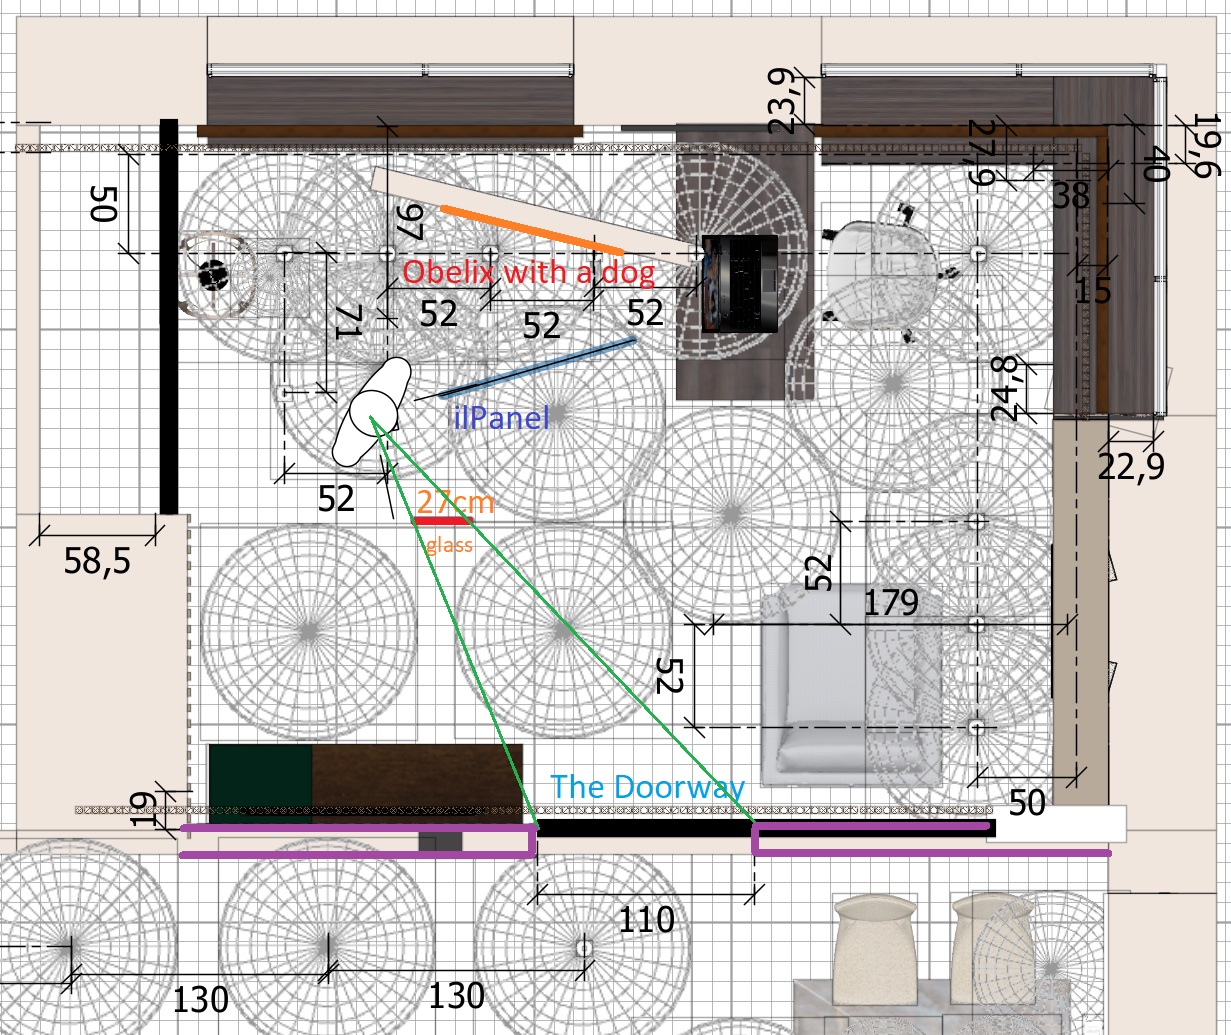
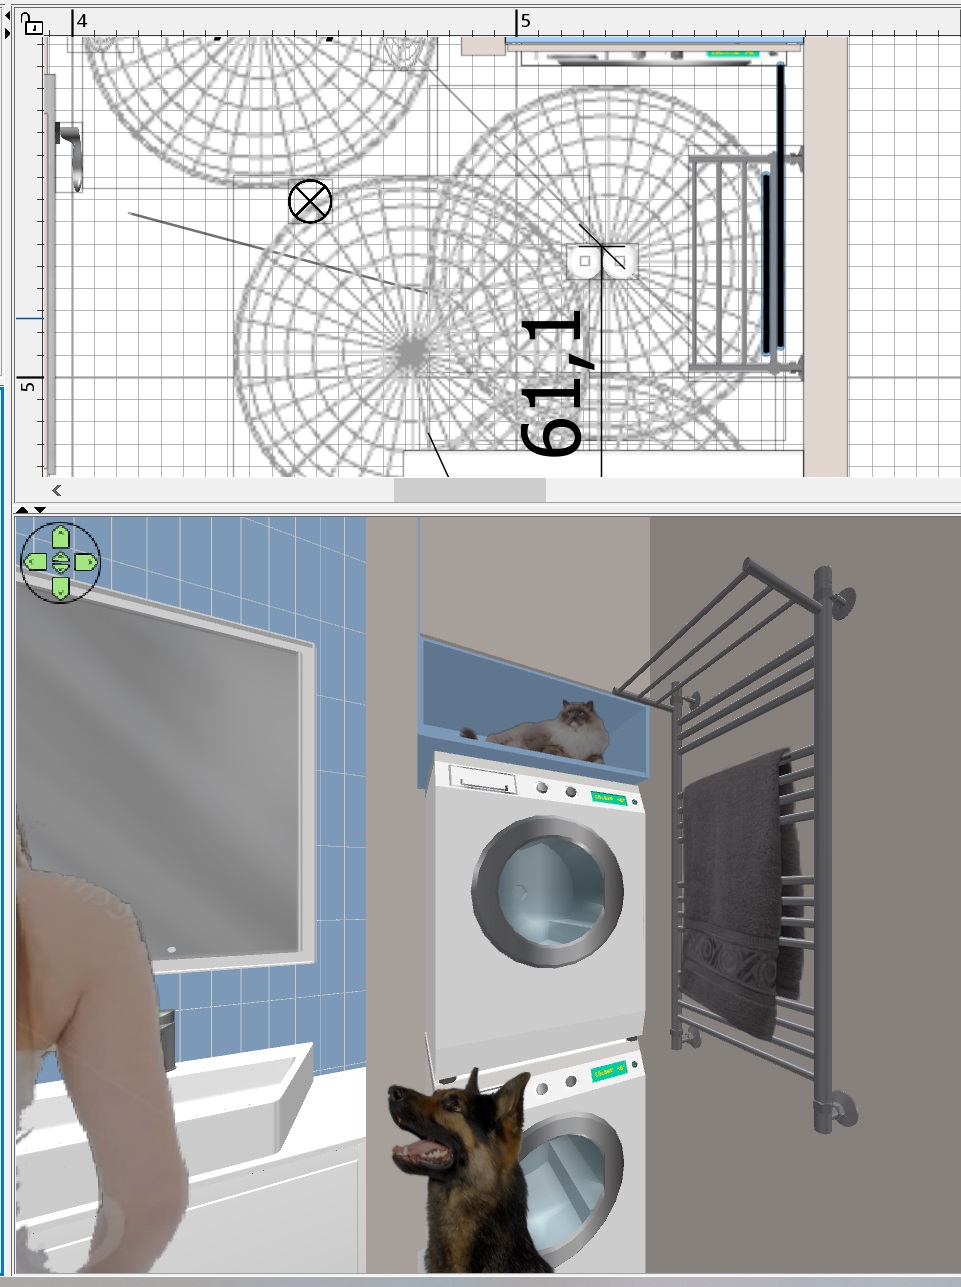
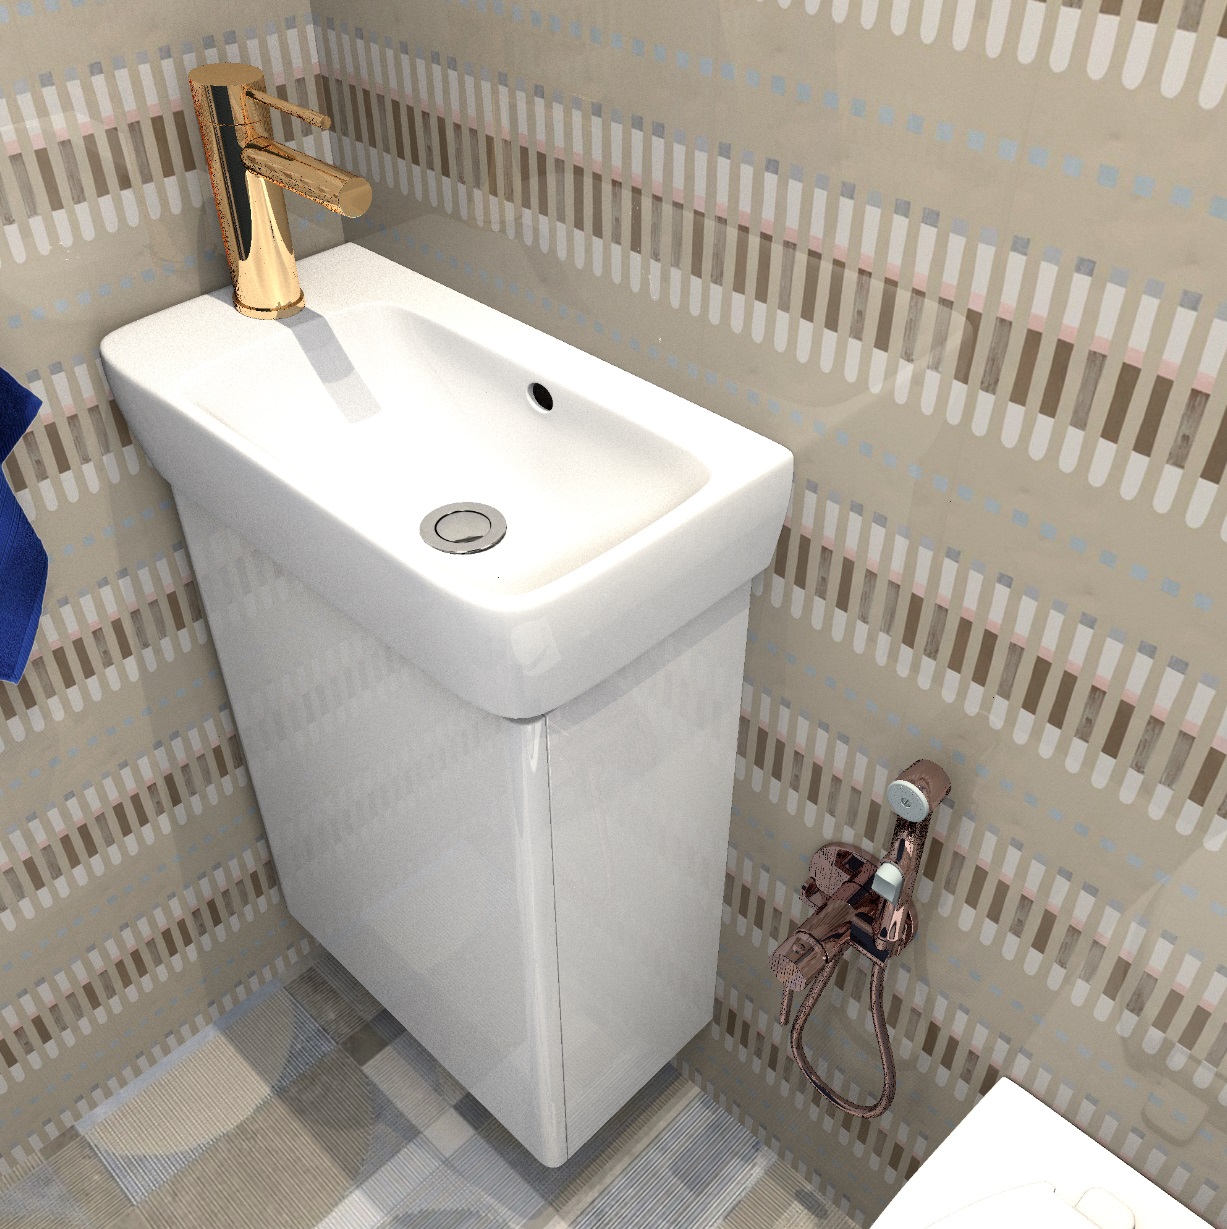
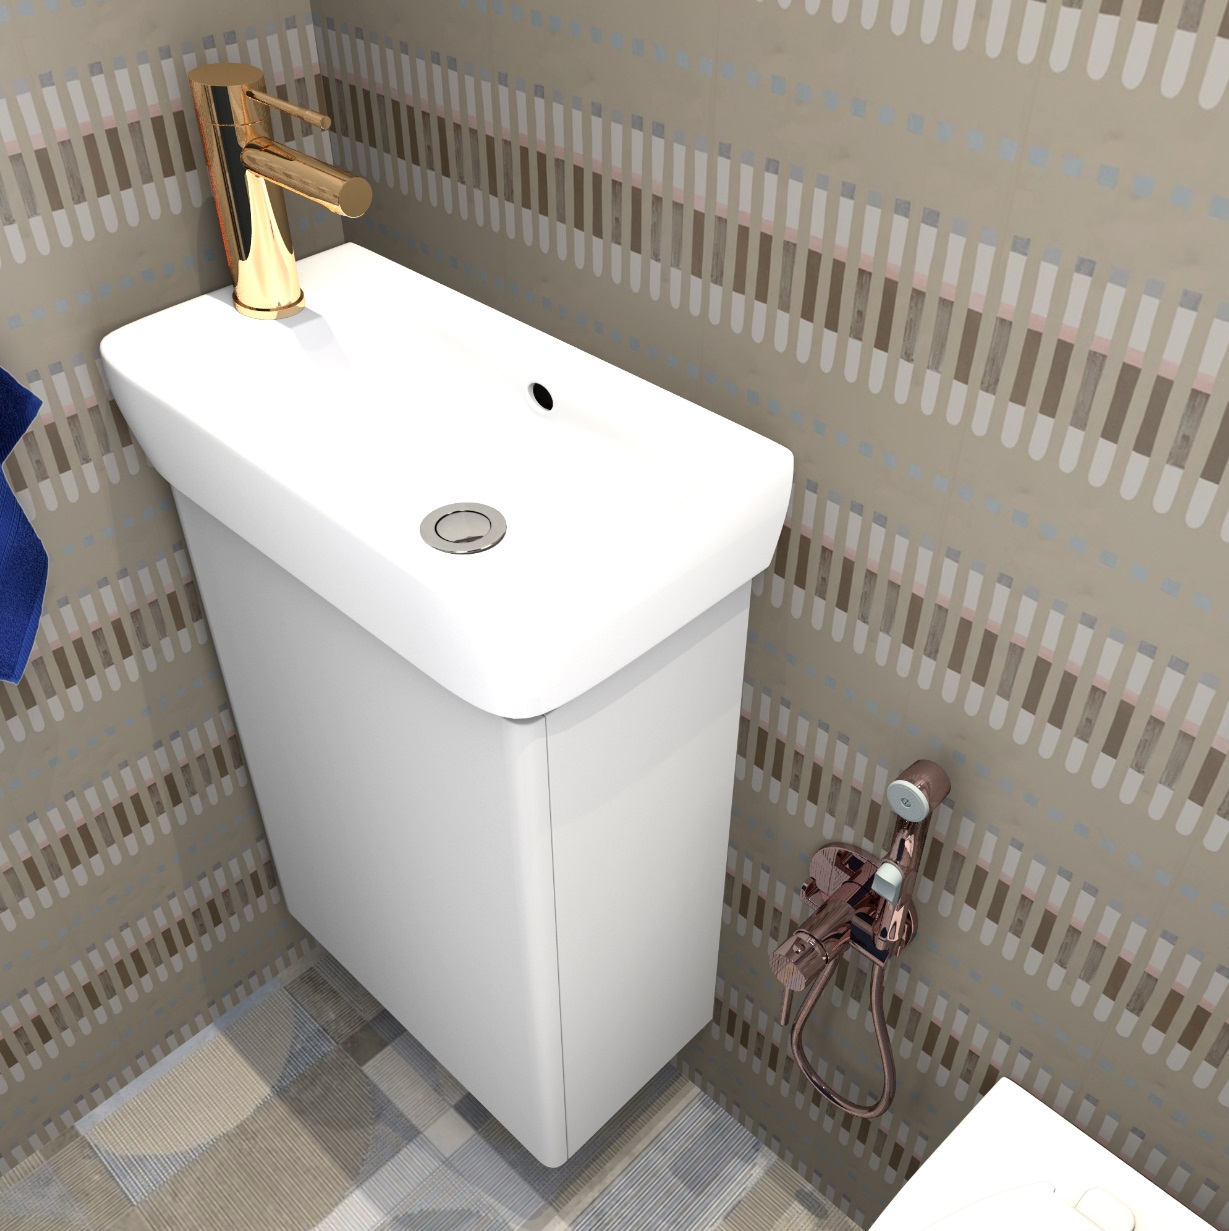
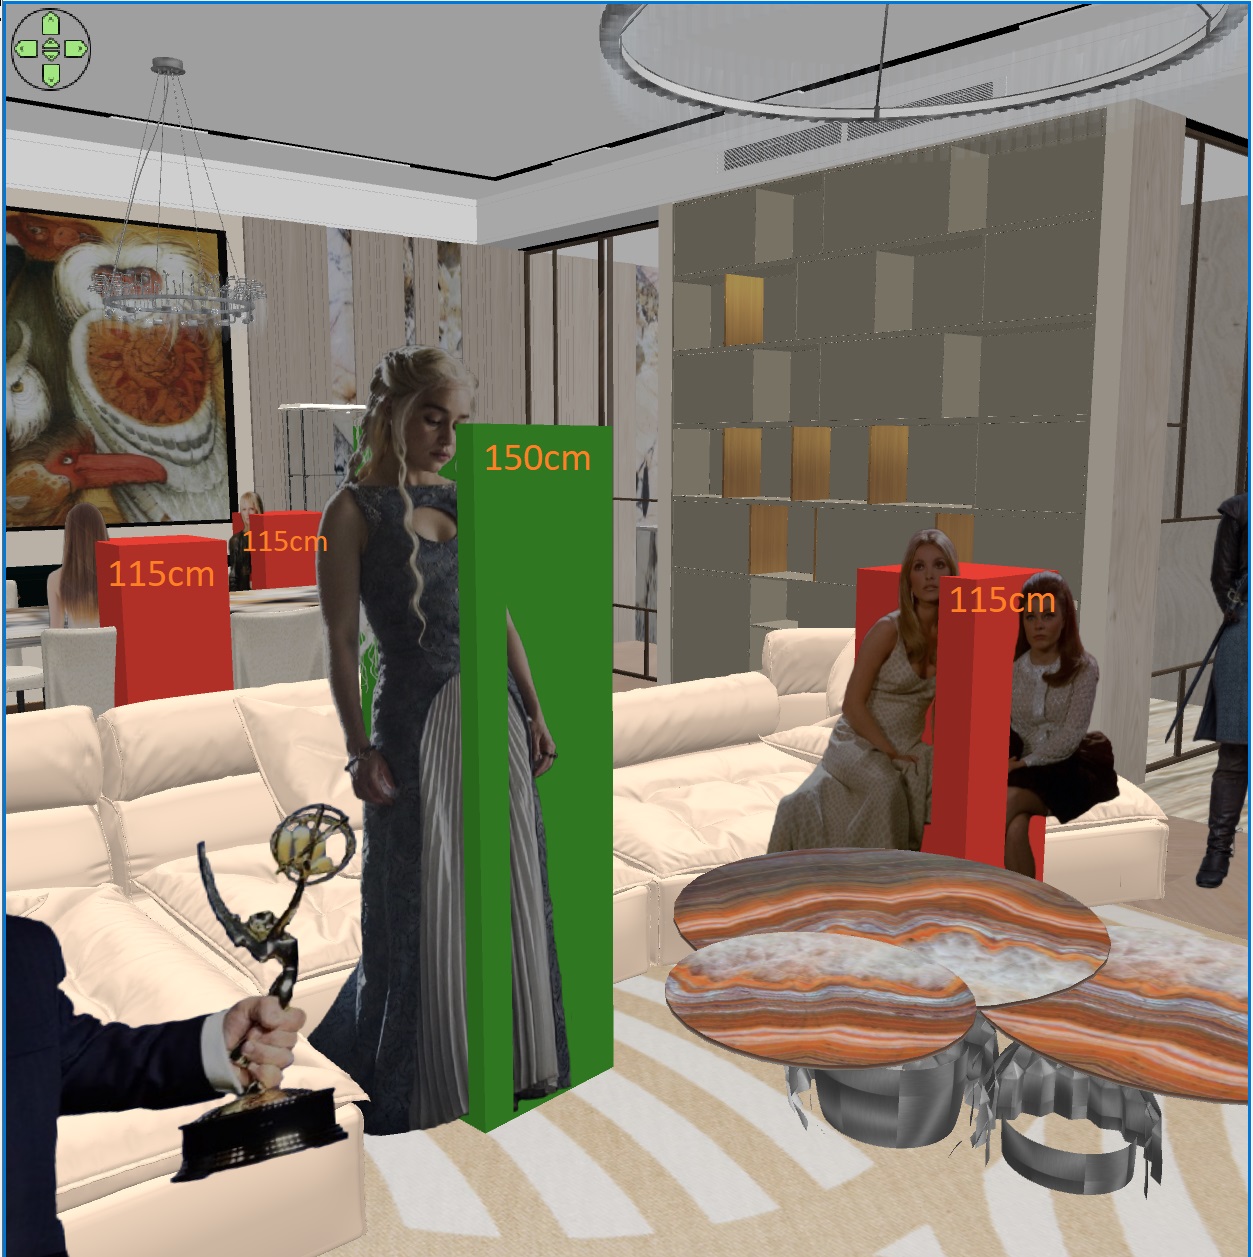
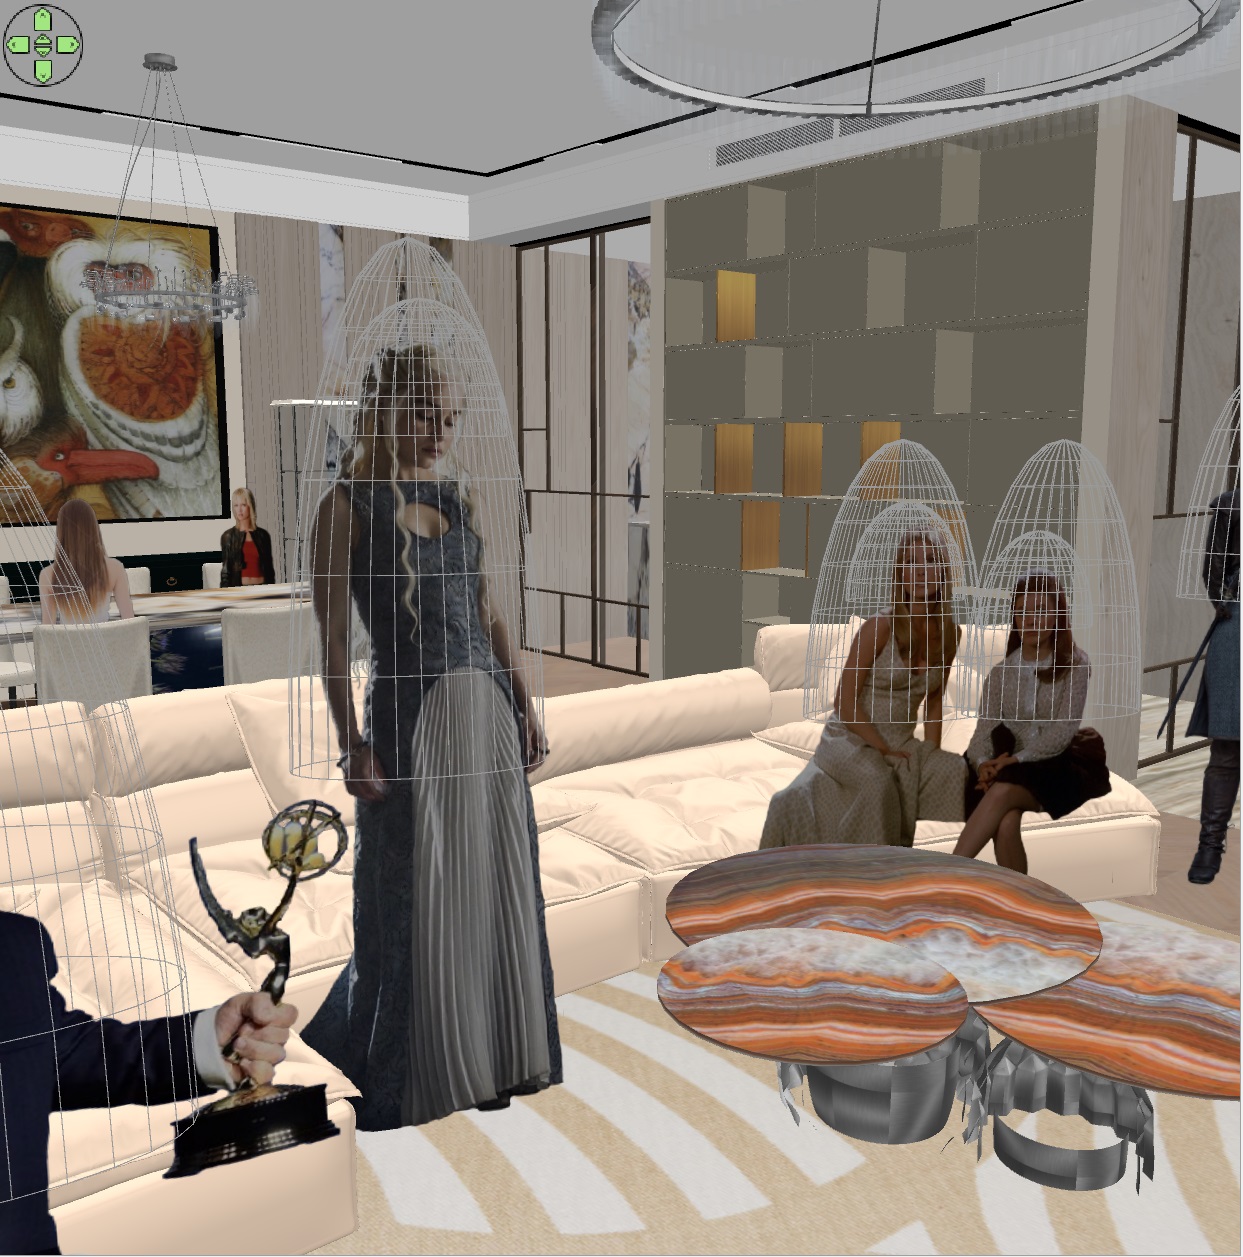
now the hemisphere will be a jet of water, a new cat's life. I have assigned dimensions at the base of 2cm, height 220 cm, just under the bottom edge of the rain shower watering can. I put a blue cylinder with a diameter of 25cm on the floor (this is the size of the watering can in the model). And I placed these needles evenly along the edge with the same gap. About of course. The result was a fence of vertical needles. I also made a second and third circle inside the fence of needles of a smaller size of 1 cm. The result is an array in the dimensions of the watering can diameter. I didn't see anything when I was working. After all, the transparency is d 0.01))). But there are squares there, everything is clear on the plan. Then I started working with opaque jets and then exporting to transparent ones, it's more convenient this way.
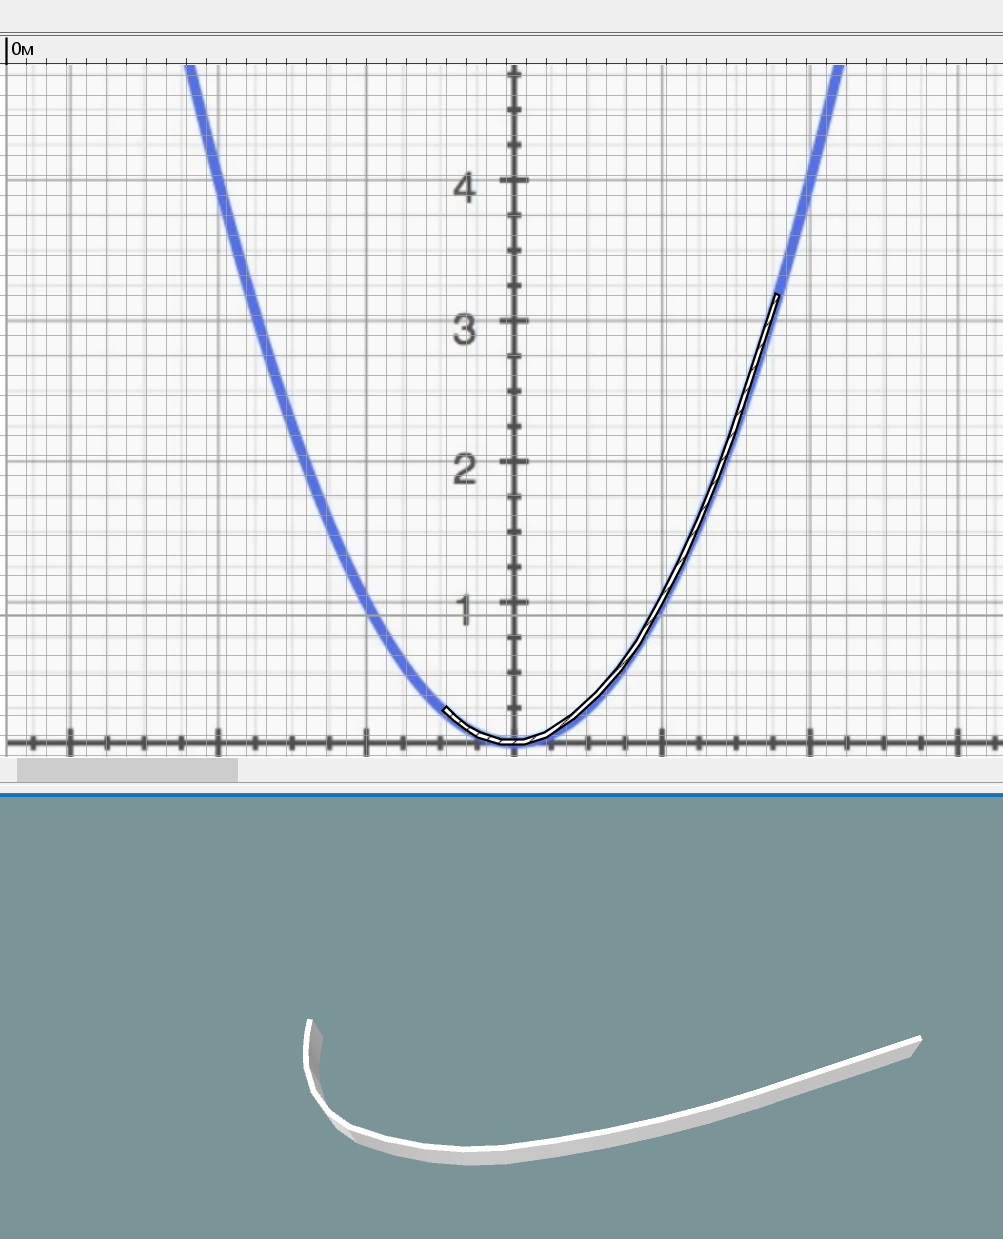
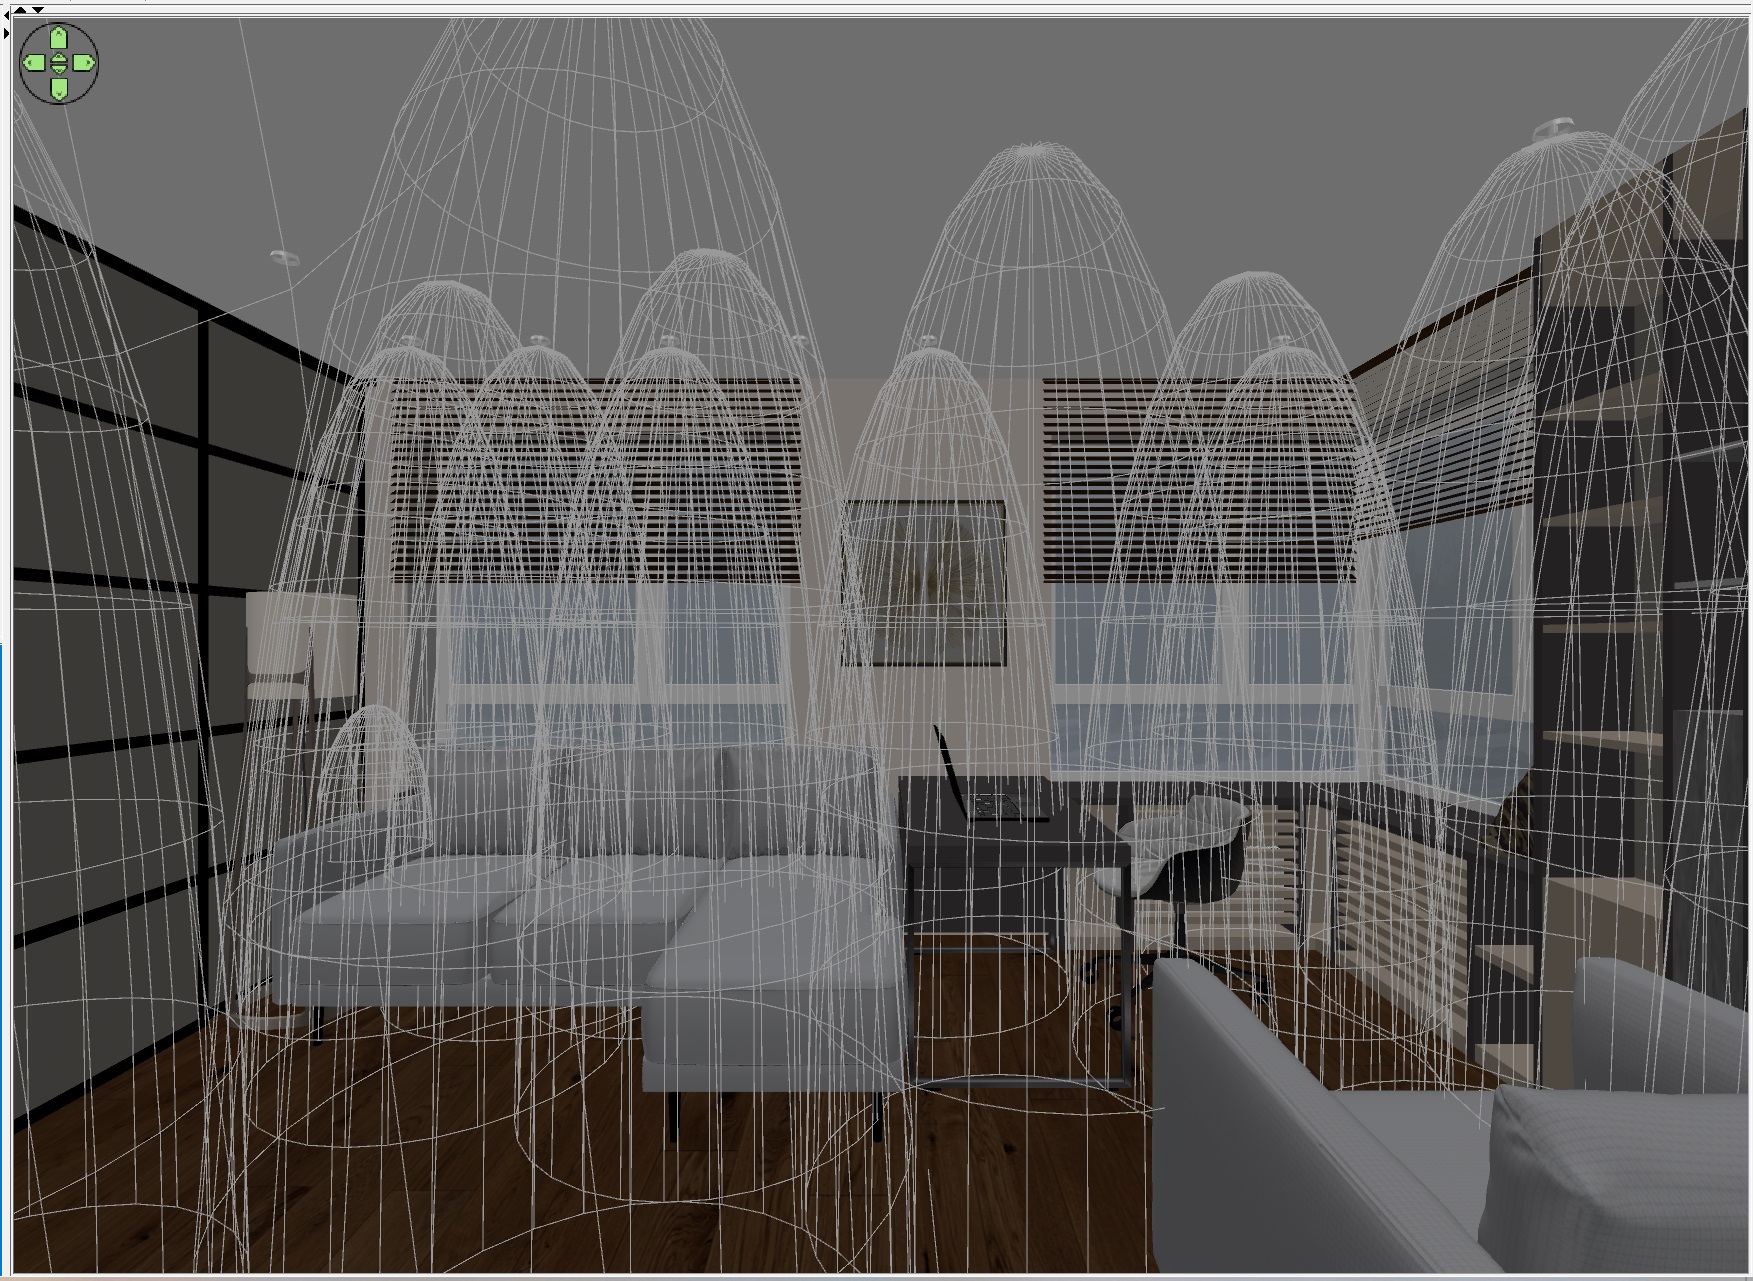
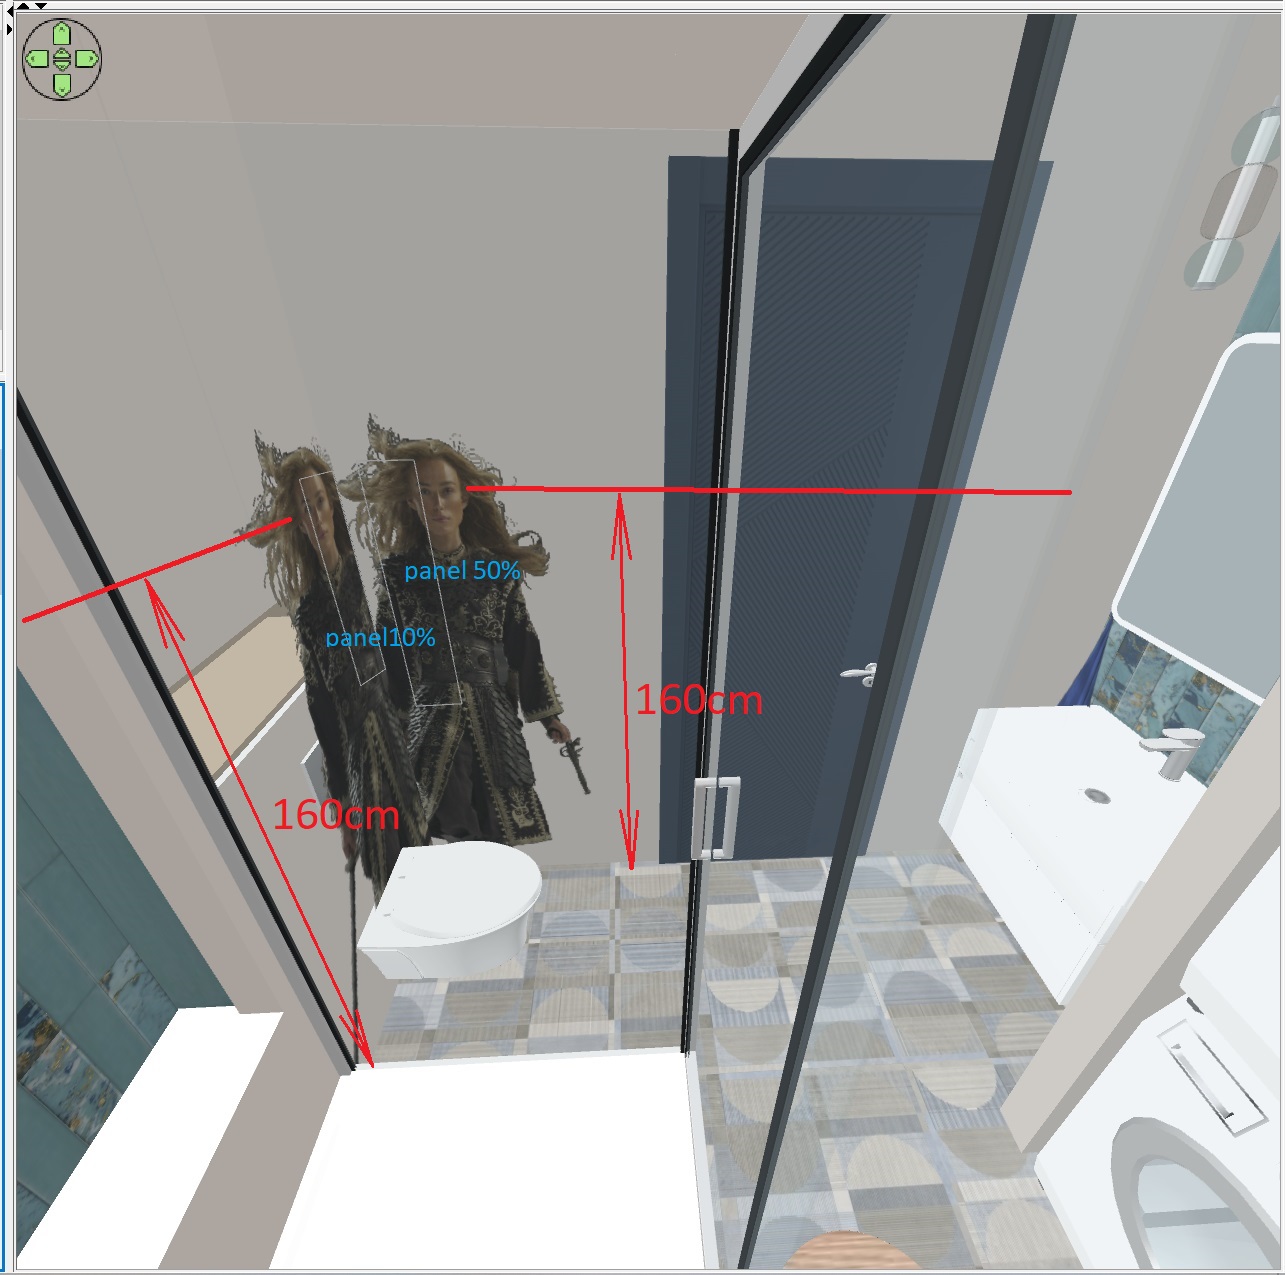
that's the composition I got. The blue circle is the dimensions of the watering can, the squares of different sizes are hemispheres. Very sharp peaks. Nothing sticks out anywhere, it's important for beauty.
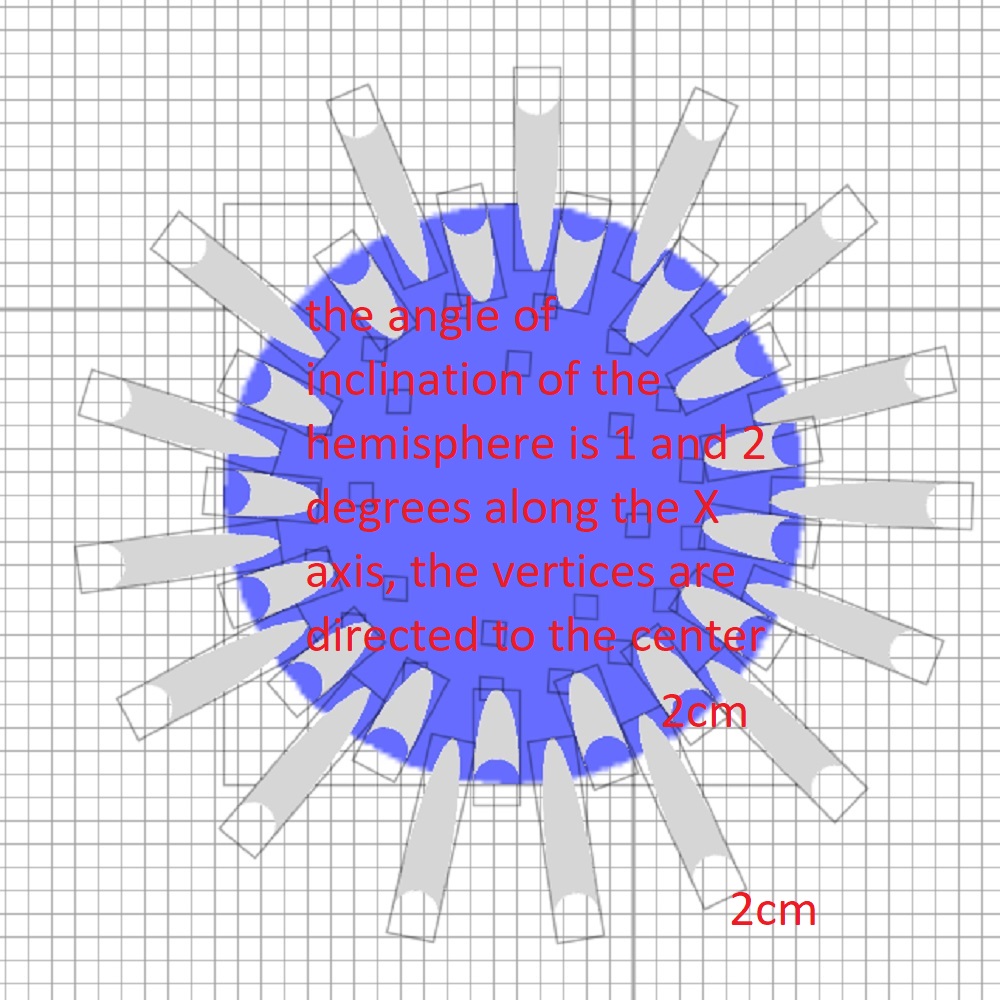
next, I grouped these toothpicks and made a copy, combined the Furniture with the help of a tool, it turns out very accurately and conveniently. I ungrouped one group and began to tilt one hemisphere at a time. The outer tier is 2 degrees. I needed the second group as a background image, I was guided by it. Yes, you need to turn off the magnet. Each hemisphere should not be moved from its place, but rotated, pointing the vertex exactly to the center of the circle. One at a time. It takes 2 minutes of time. Then I pulled the outer circle apart carefully so that the vertices, when viewed from above, coincided with the boundary vertical hemispheres. The peaks are the beginning of the stream, here you need not go beyond the boundaries of the watering can. It turned out to be such a beautiful star of tilted hemispheres. I left the central thin hemispheres vertical, they do not participate in the illusion, they are extras.
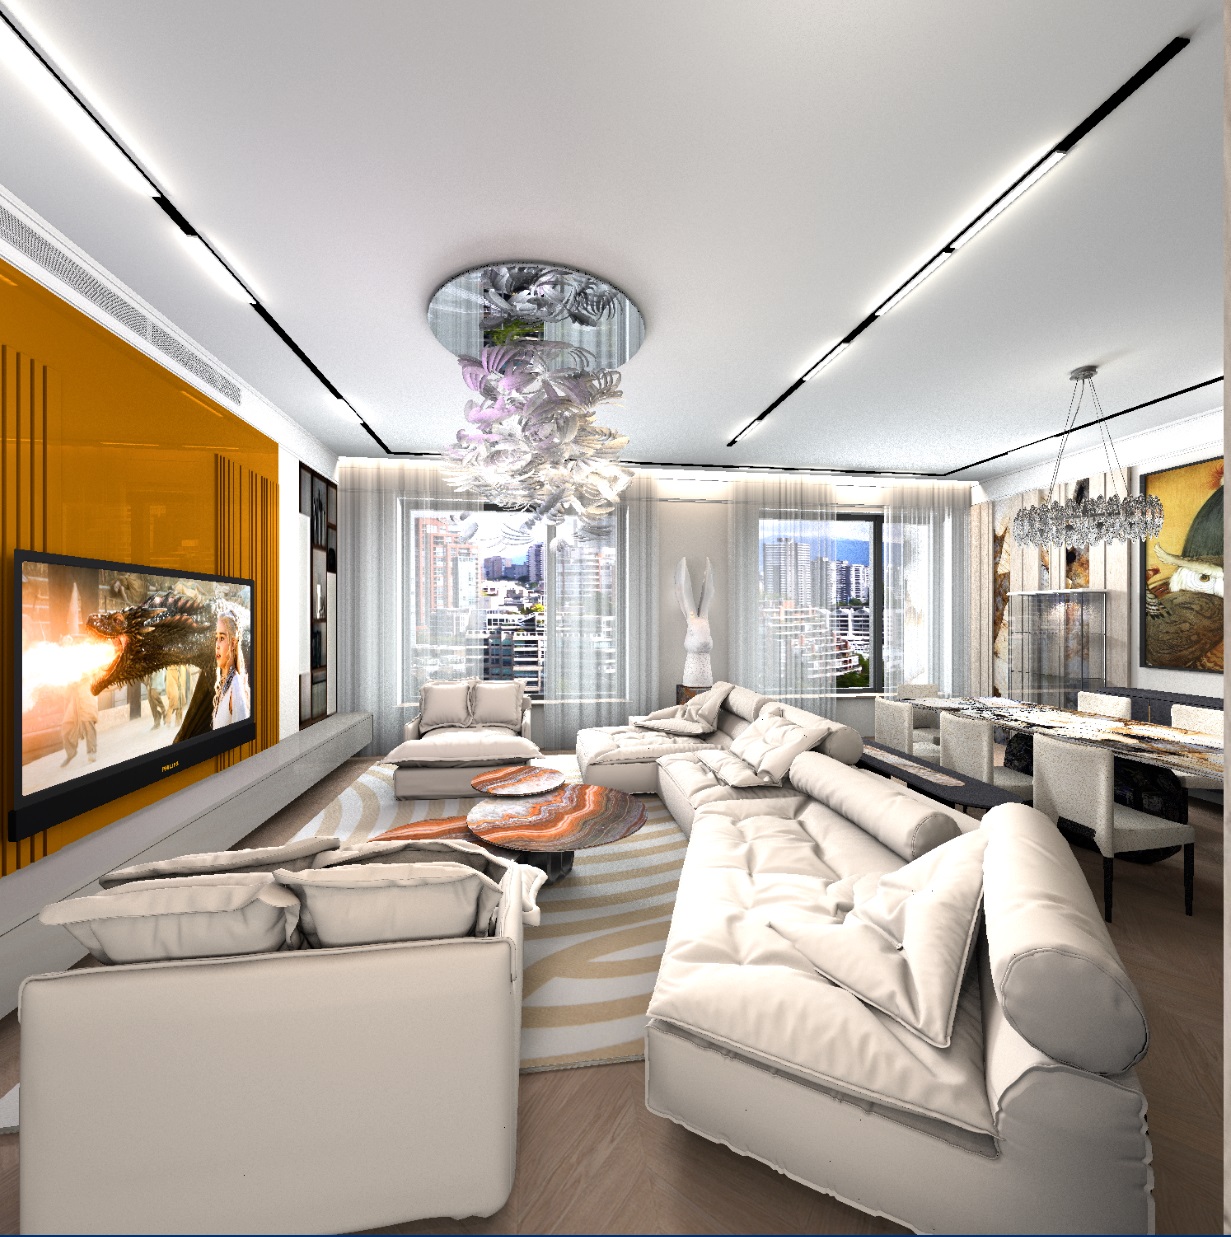
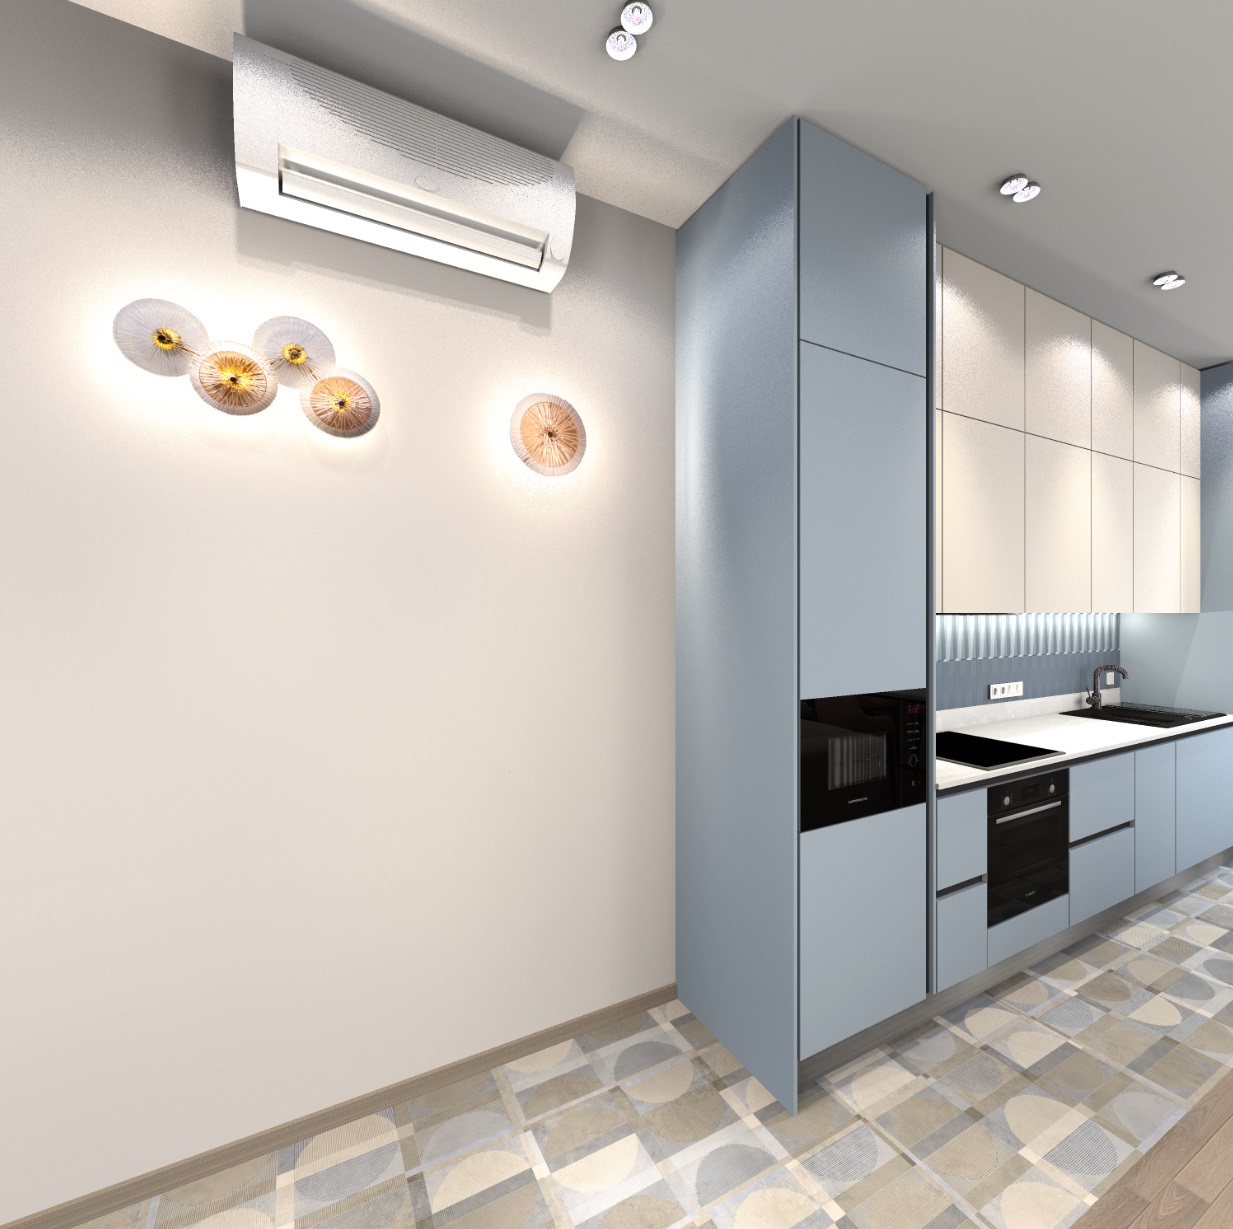
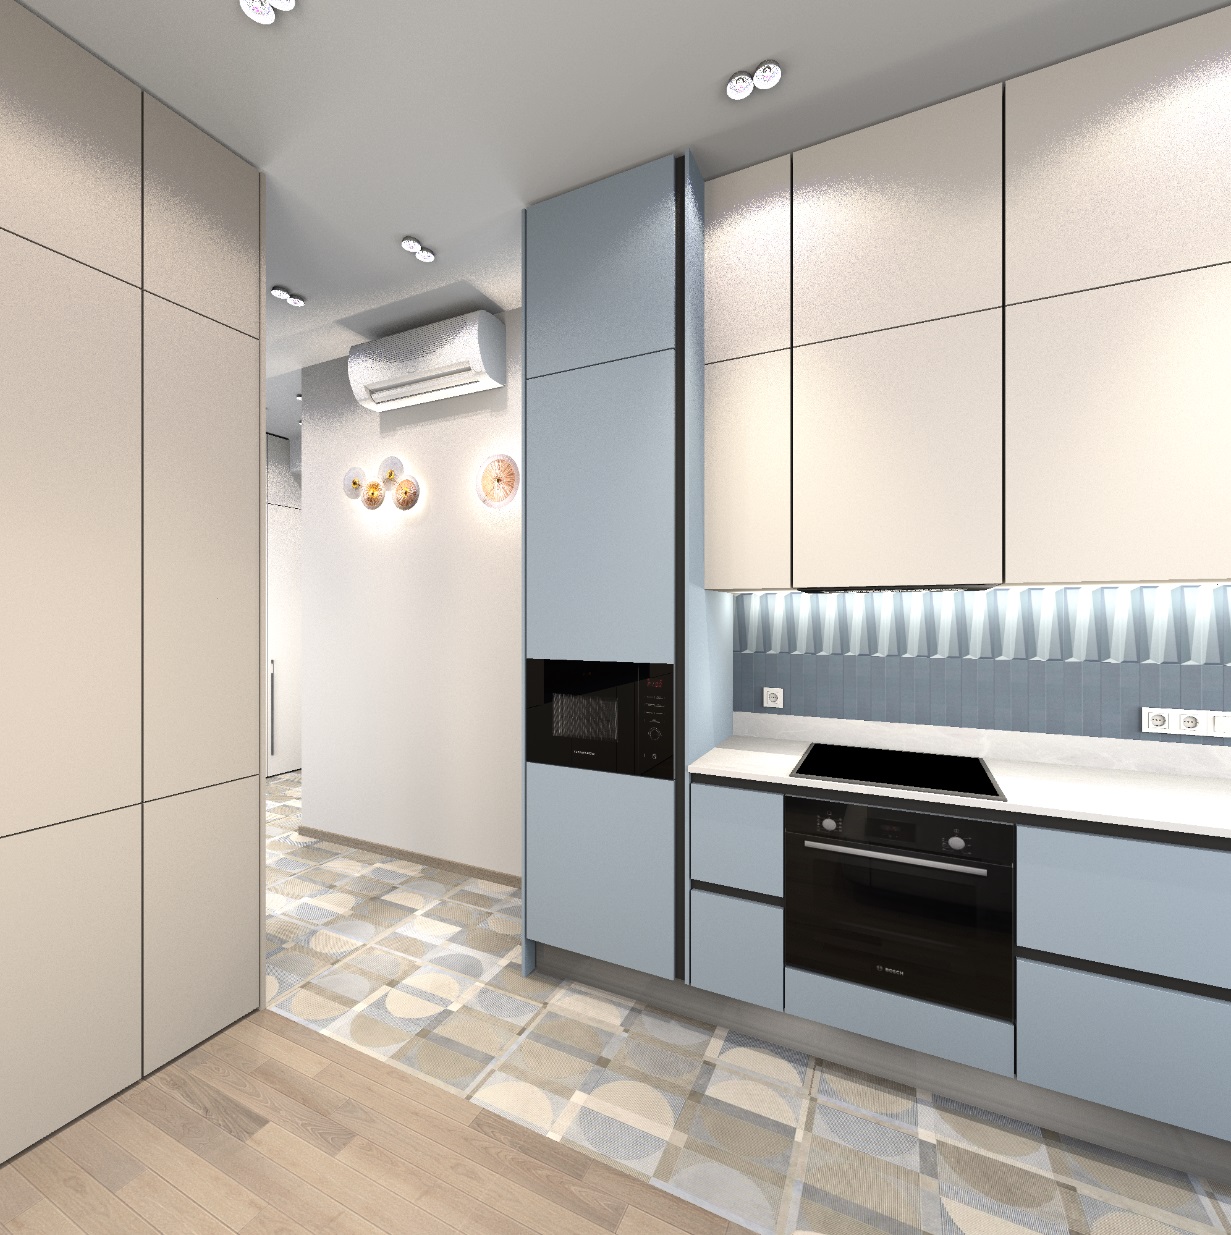
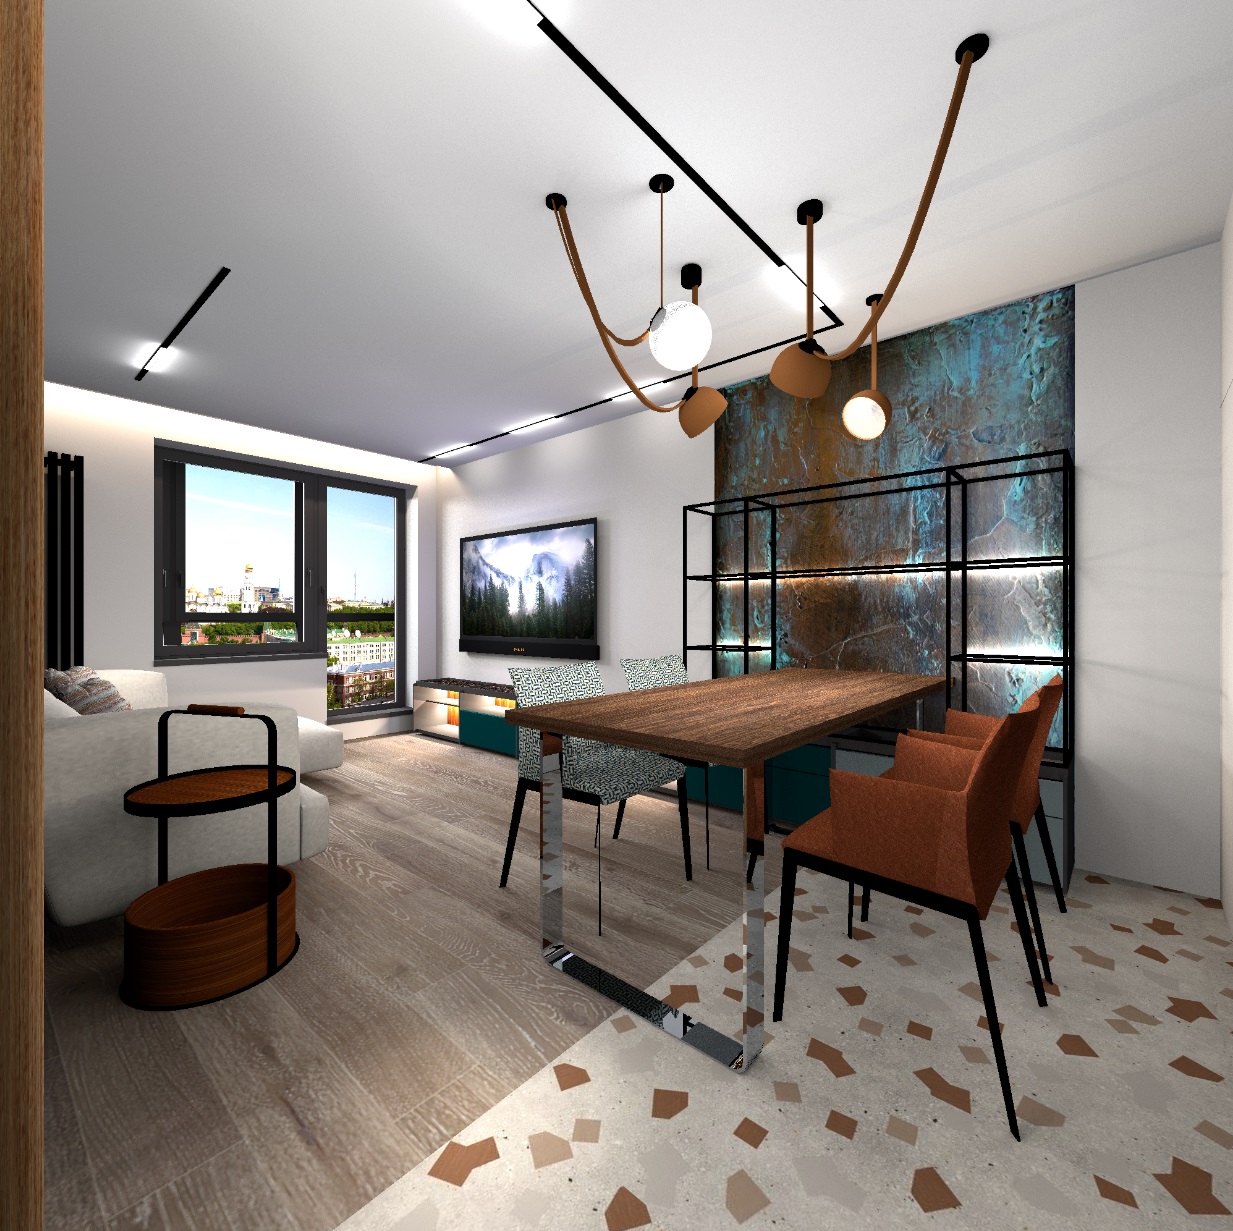
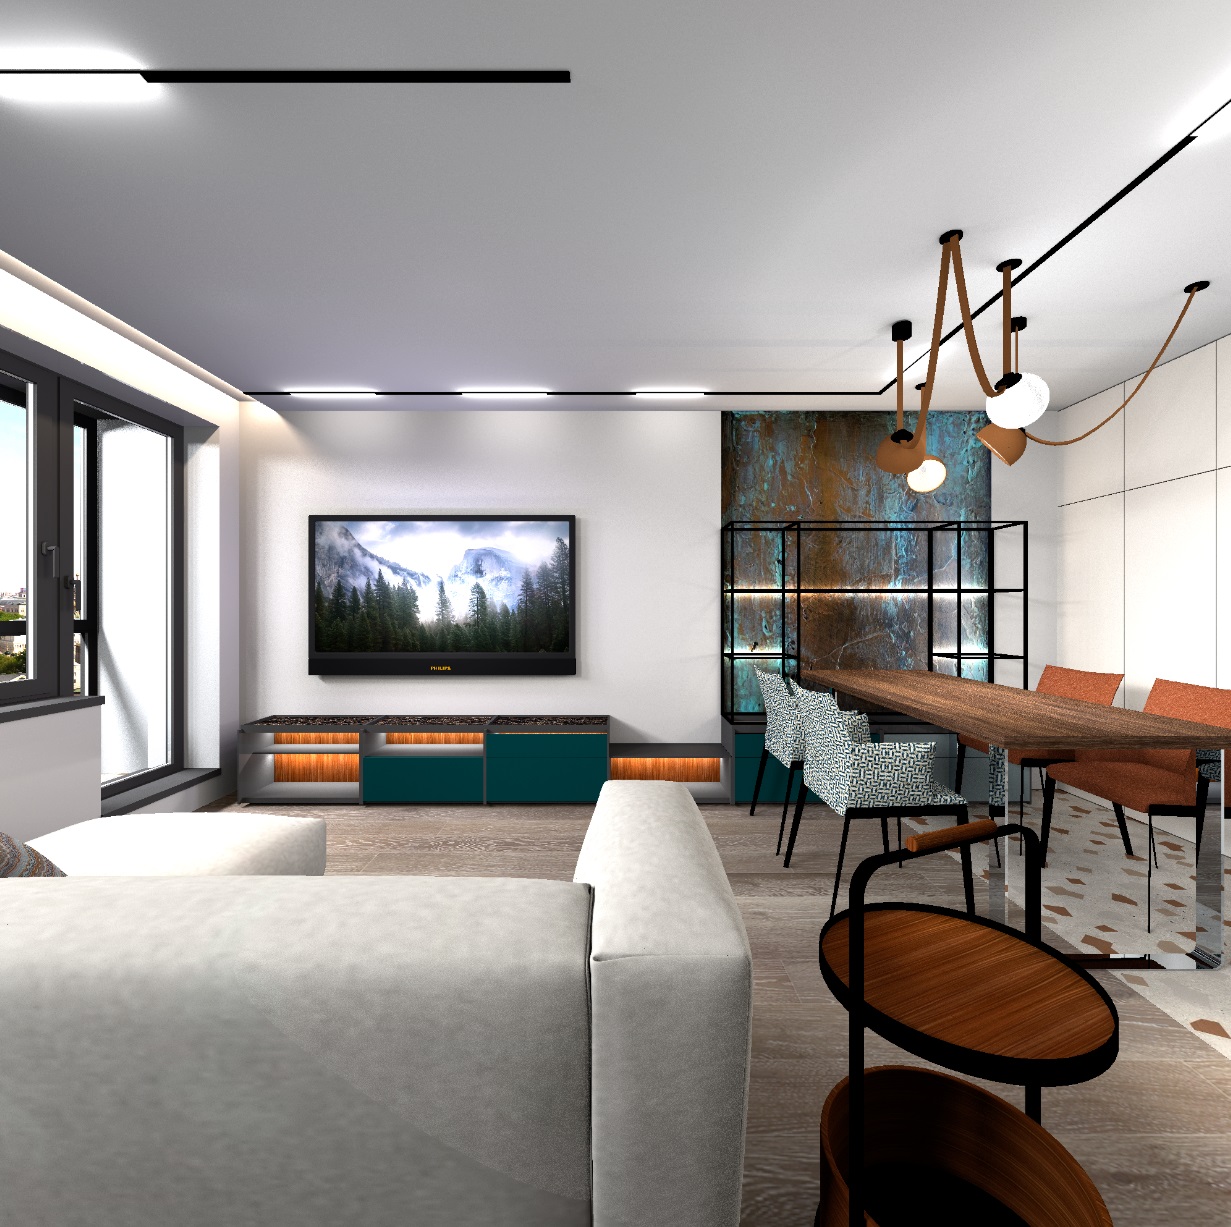
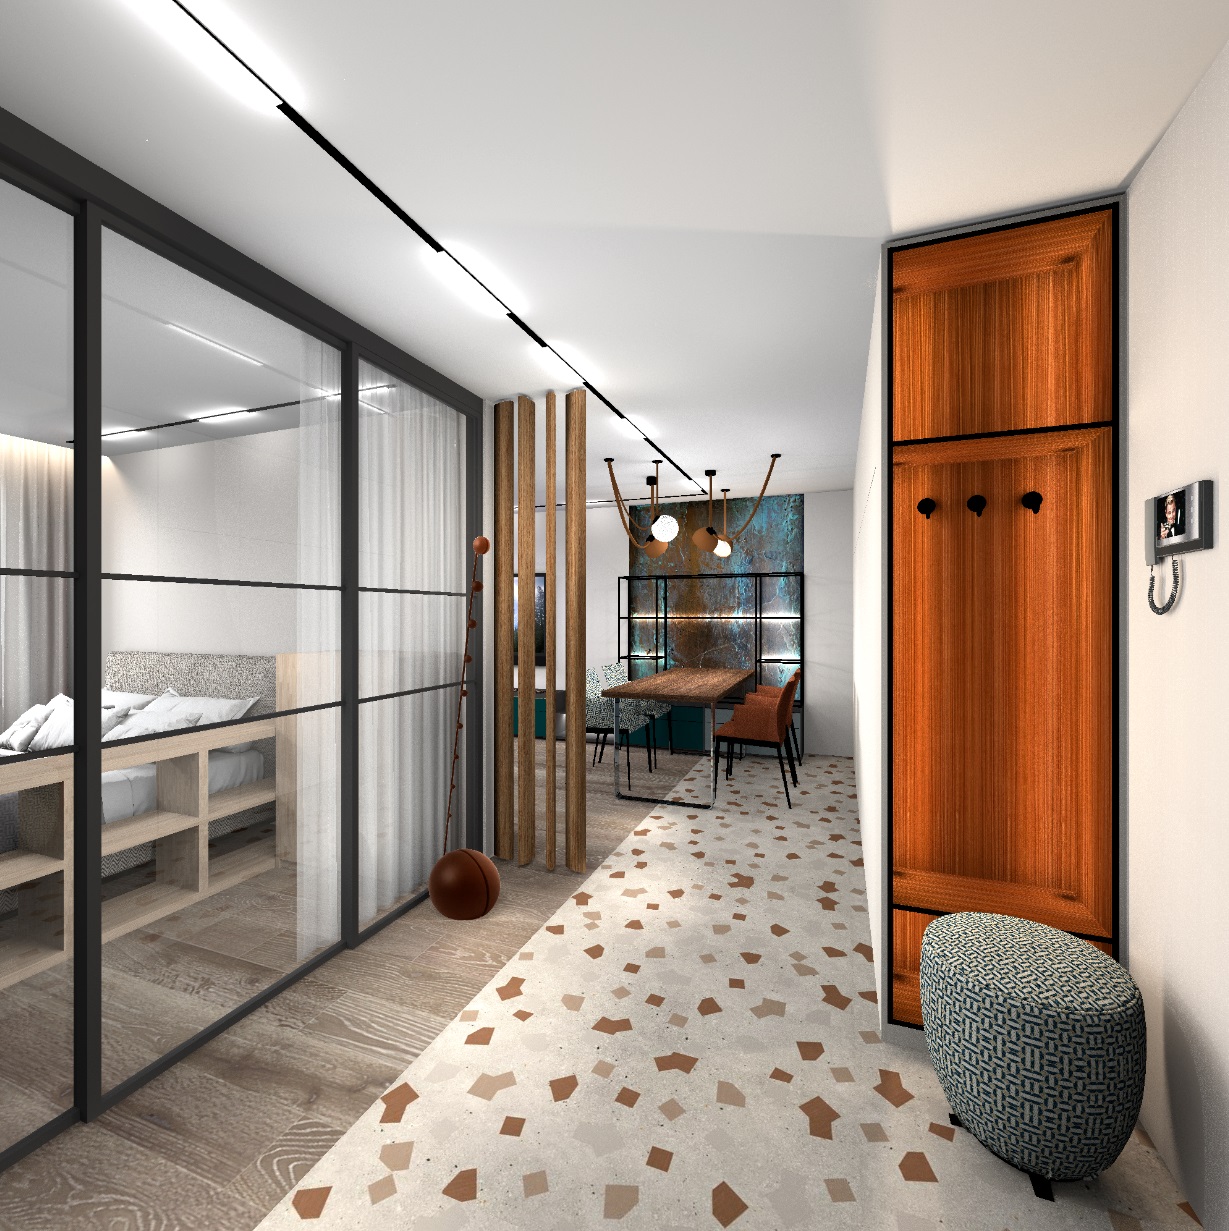
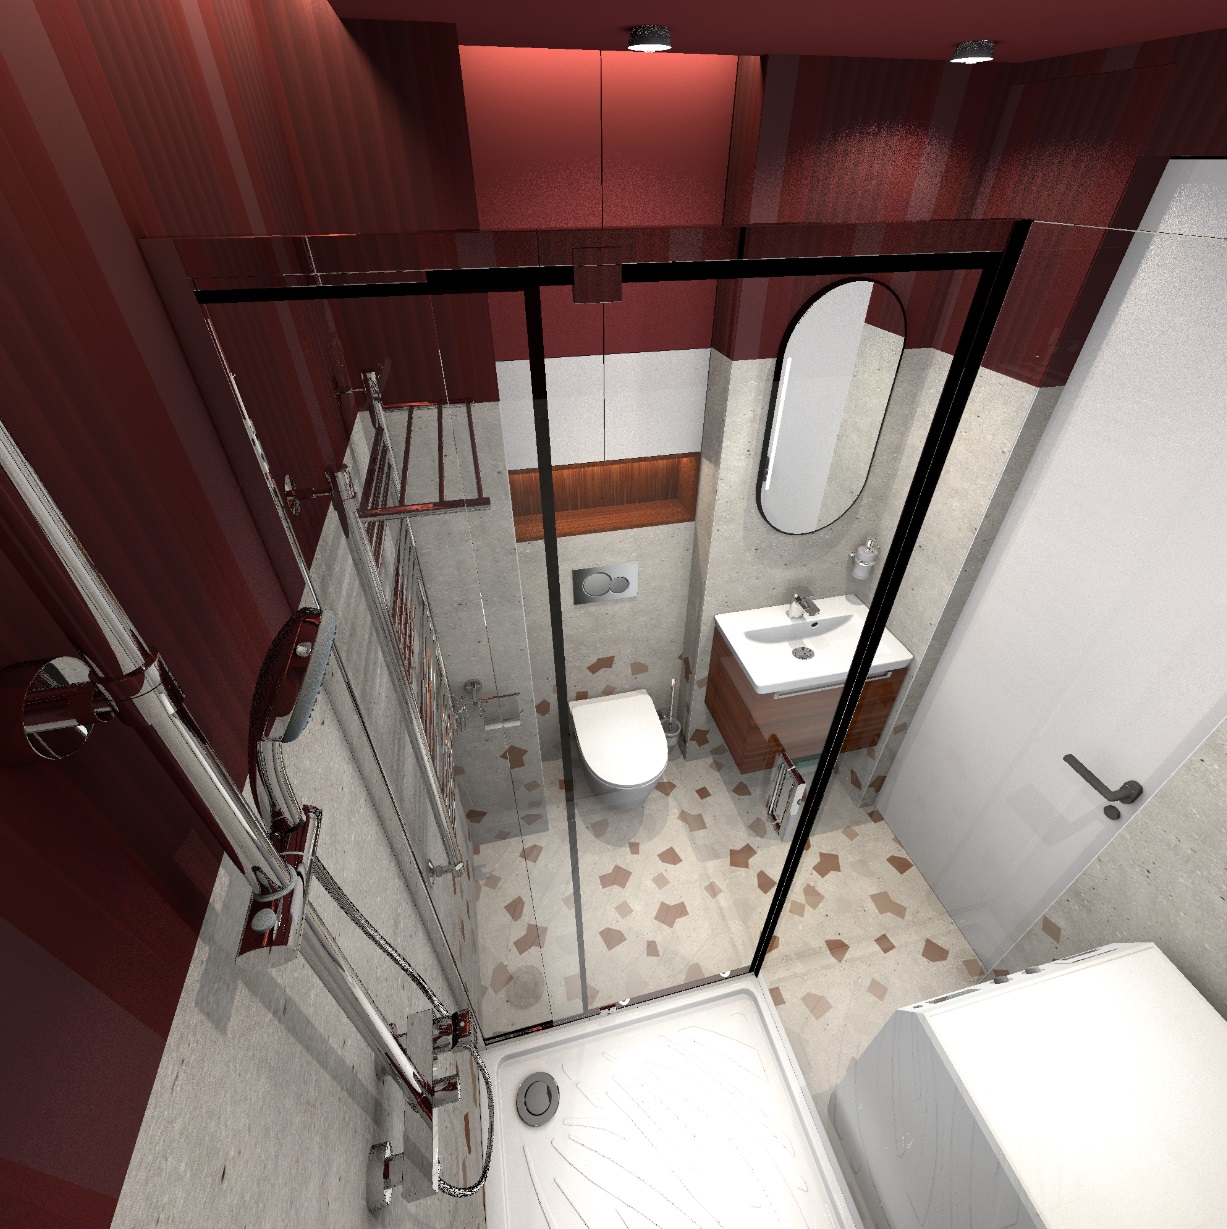
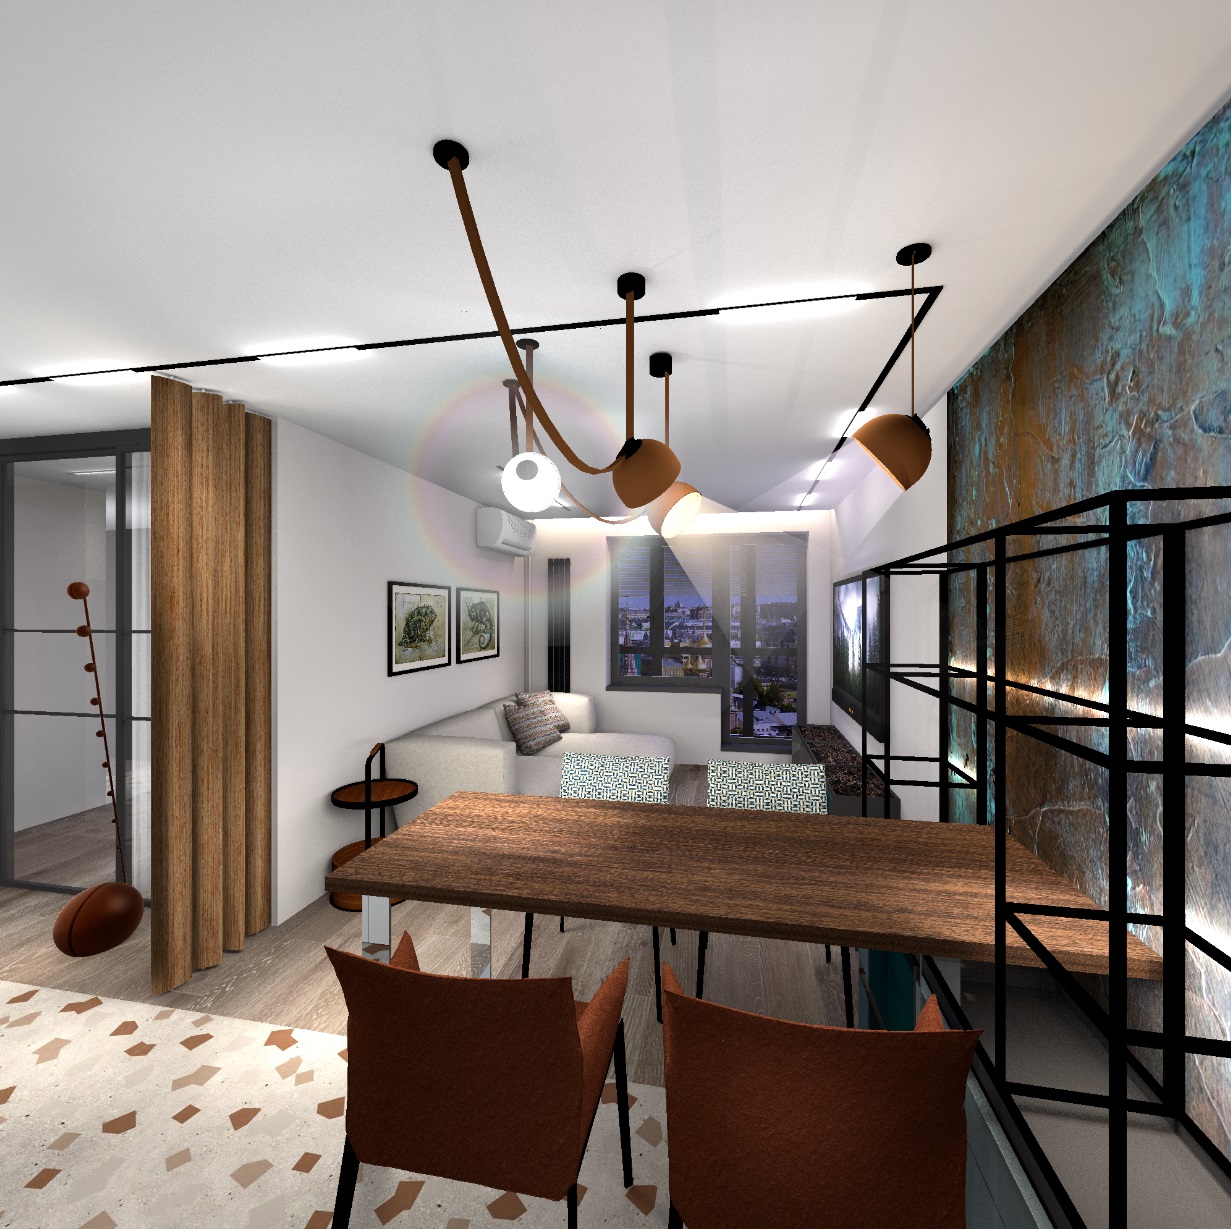
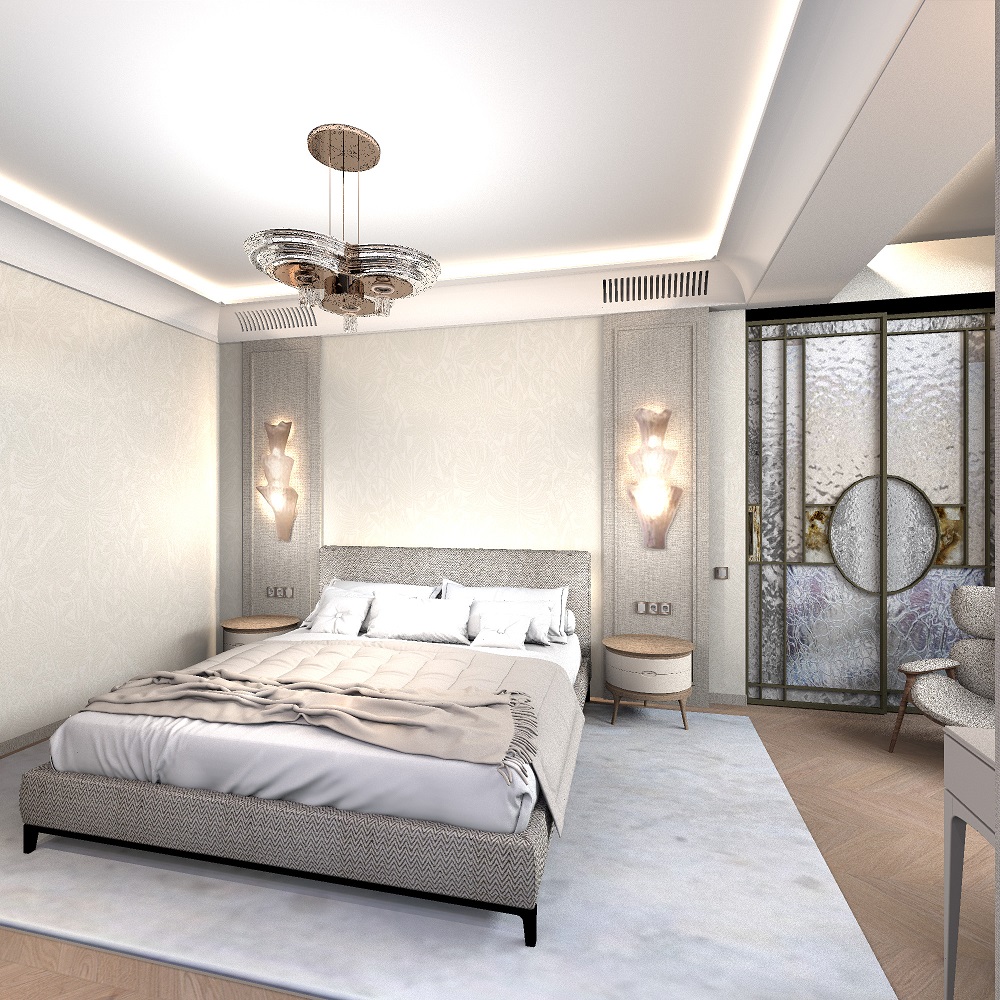
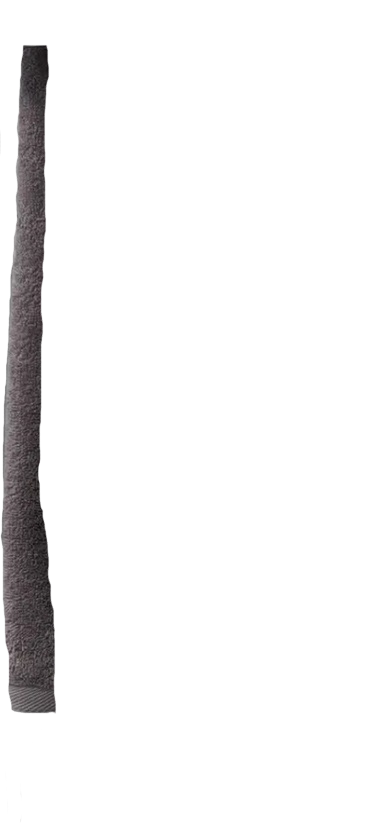
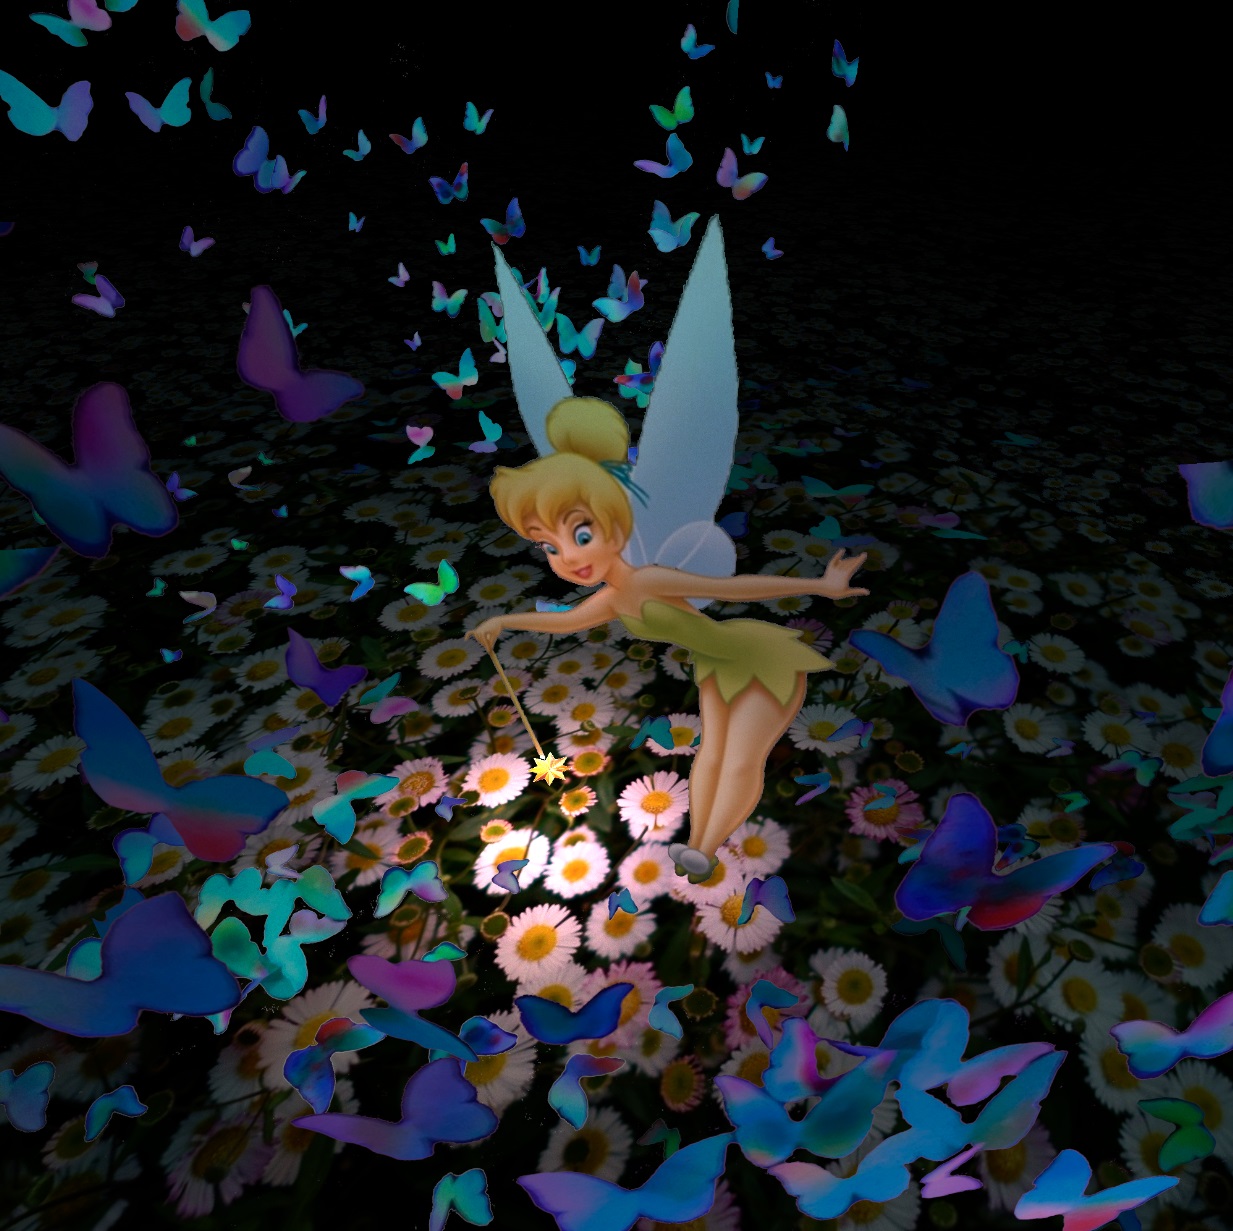
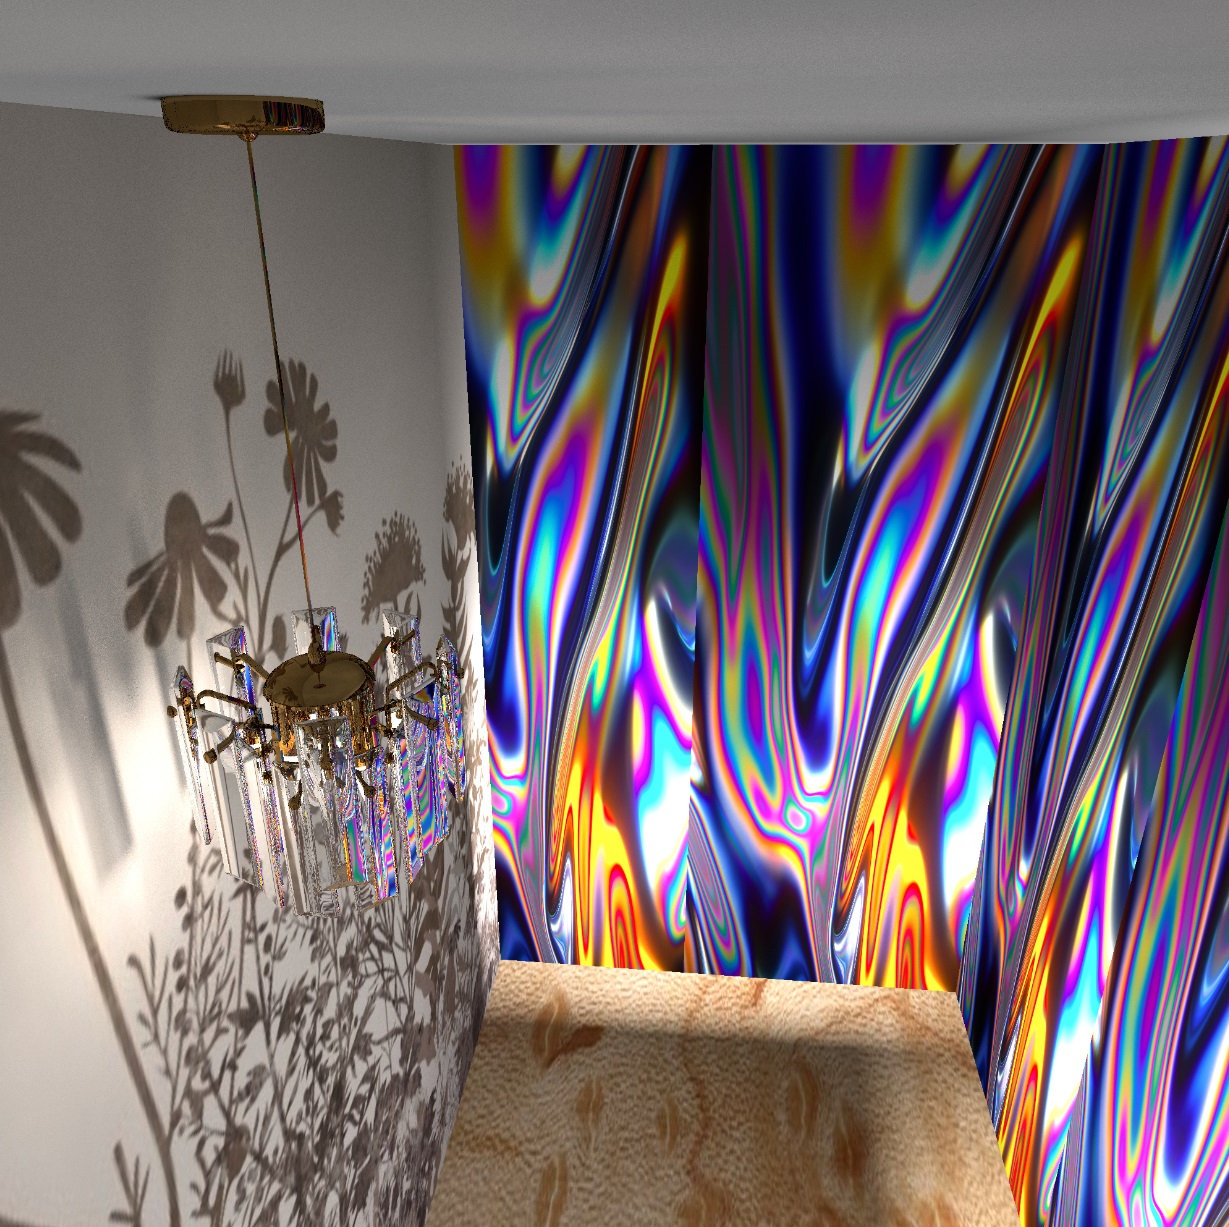
Then I remembered about the background group, observing the proportions of the group, increased its dimensions to the base of 60 cm (a small puddle!), ungrouped and assigned a height of 2 cm to all hemispheres. It turned out to be a pair of diverging circles of water, as if from a thrown stone. Well, almost certainly. I couldn't think of another option). As a result, I grouped everything and imported this group. I made two groups completely opaque and with a transparency of d 0.01. I imported the two groups again, gave them different names so as not to confuse them, and COMBINED them! I grouped them again. And now with this visible array of needles and puddles, I started placing it under a real chrome watering can. I combined everything exactly, removed the opaque clone. Now, as in the laboratory of a photographer with a red lamp, miracles began))) There is nothing on 3d, but an image appears on the render))). My conclusion is that it is best to use textures, not color. My conclusion is that it is best to use textures, not color. needles from hemispheres - glass does not work in any way, there are random black and gray strokes everywhere. So just the texture. It's working out. The array of hemispheres is transparent, behind it all the drawings on the wall and the chicken are visible. That's what you need. And the water from the watering can is pushed a little to the sides. Of course, there are large tropical watering cans where the water falls strictly vertically. This requires a different model, vertical hemispheres.
 
|


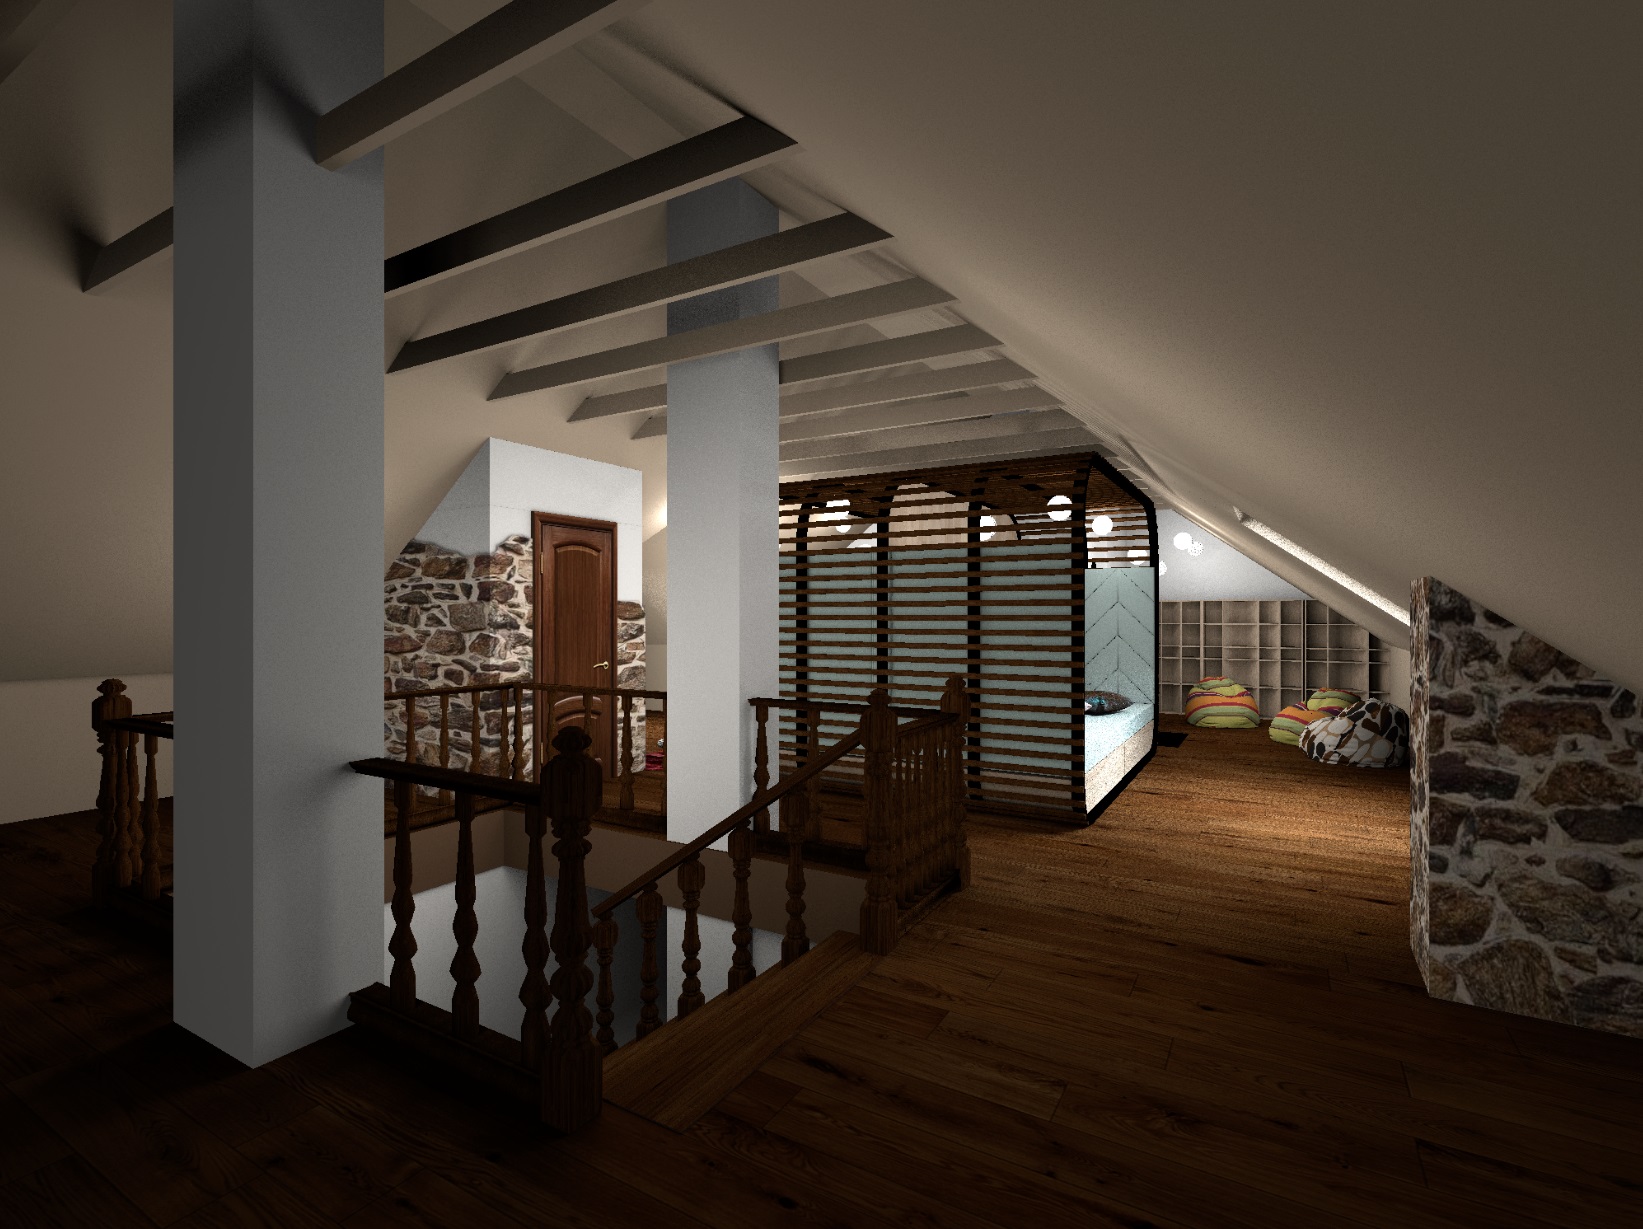
 Re: Apartment project with lighting by invisible hemispheres. I continue advertising

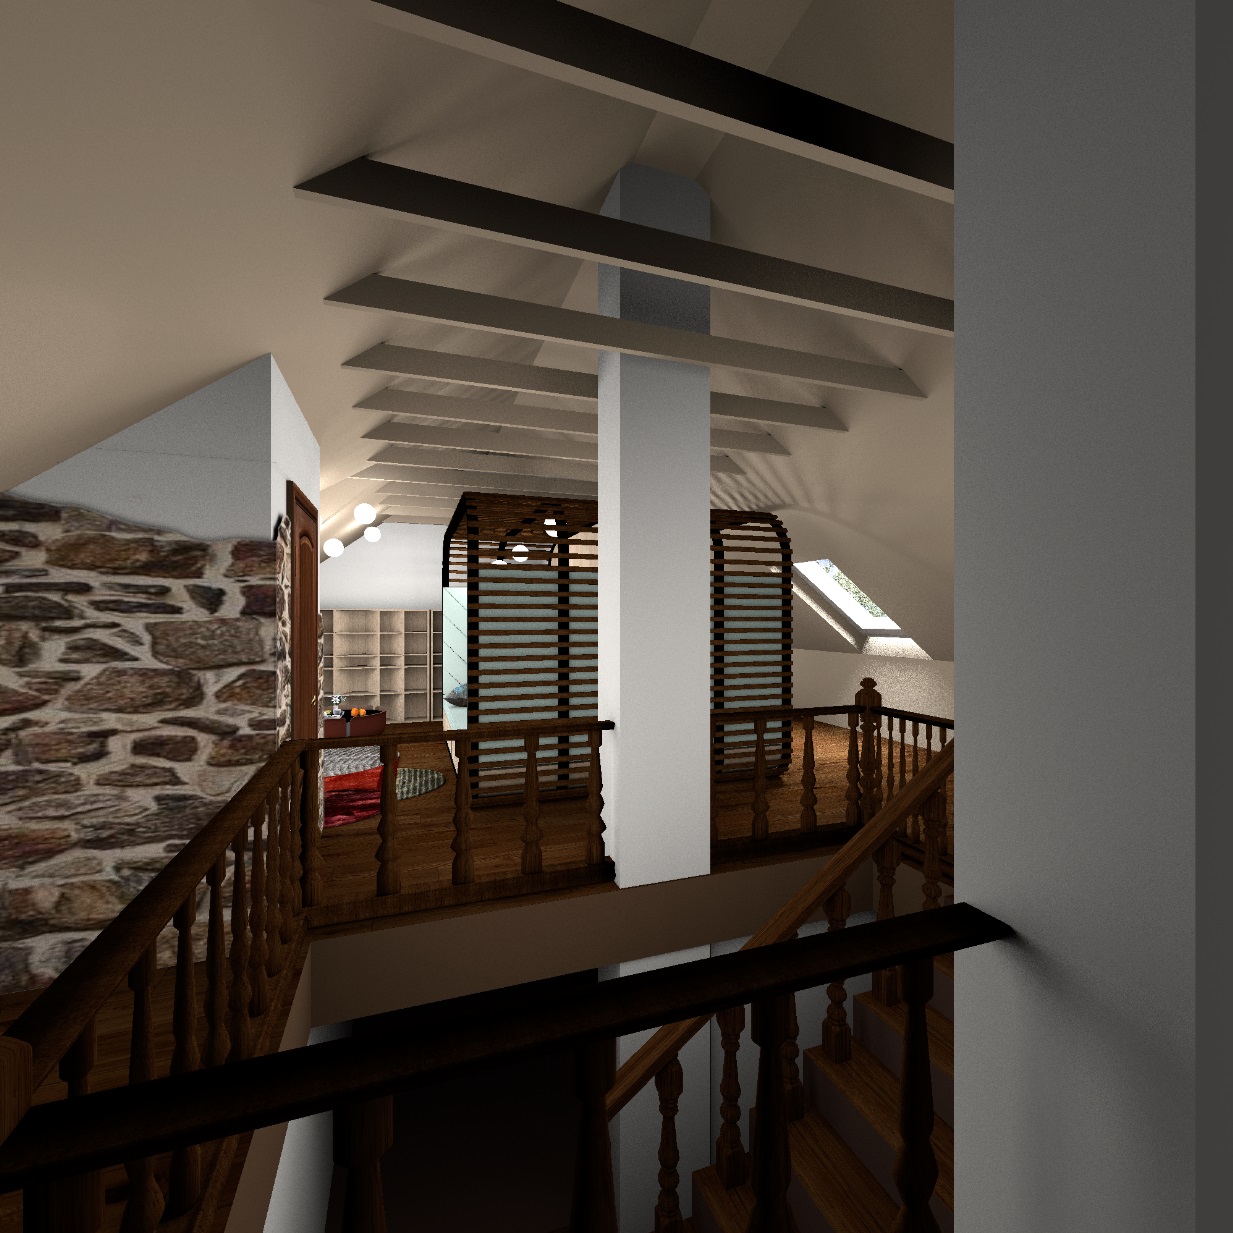
 Re: Apartment project with lighting by invisible hemispheres. I continue advertising
 Re: Apartment project with lighting by invisible hemispheres. I continue advertising
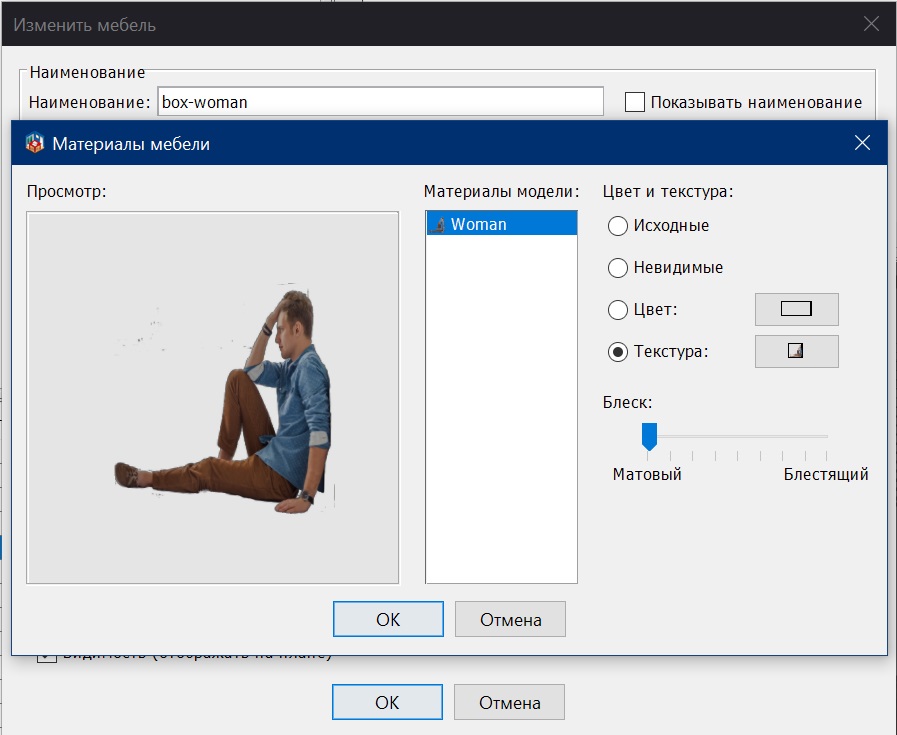


 Re: Apartment project with lighting by invisible hemispheres. I continue advertising
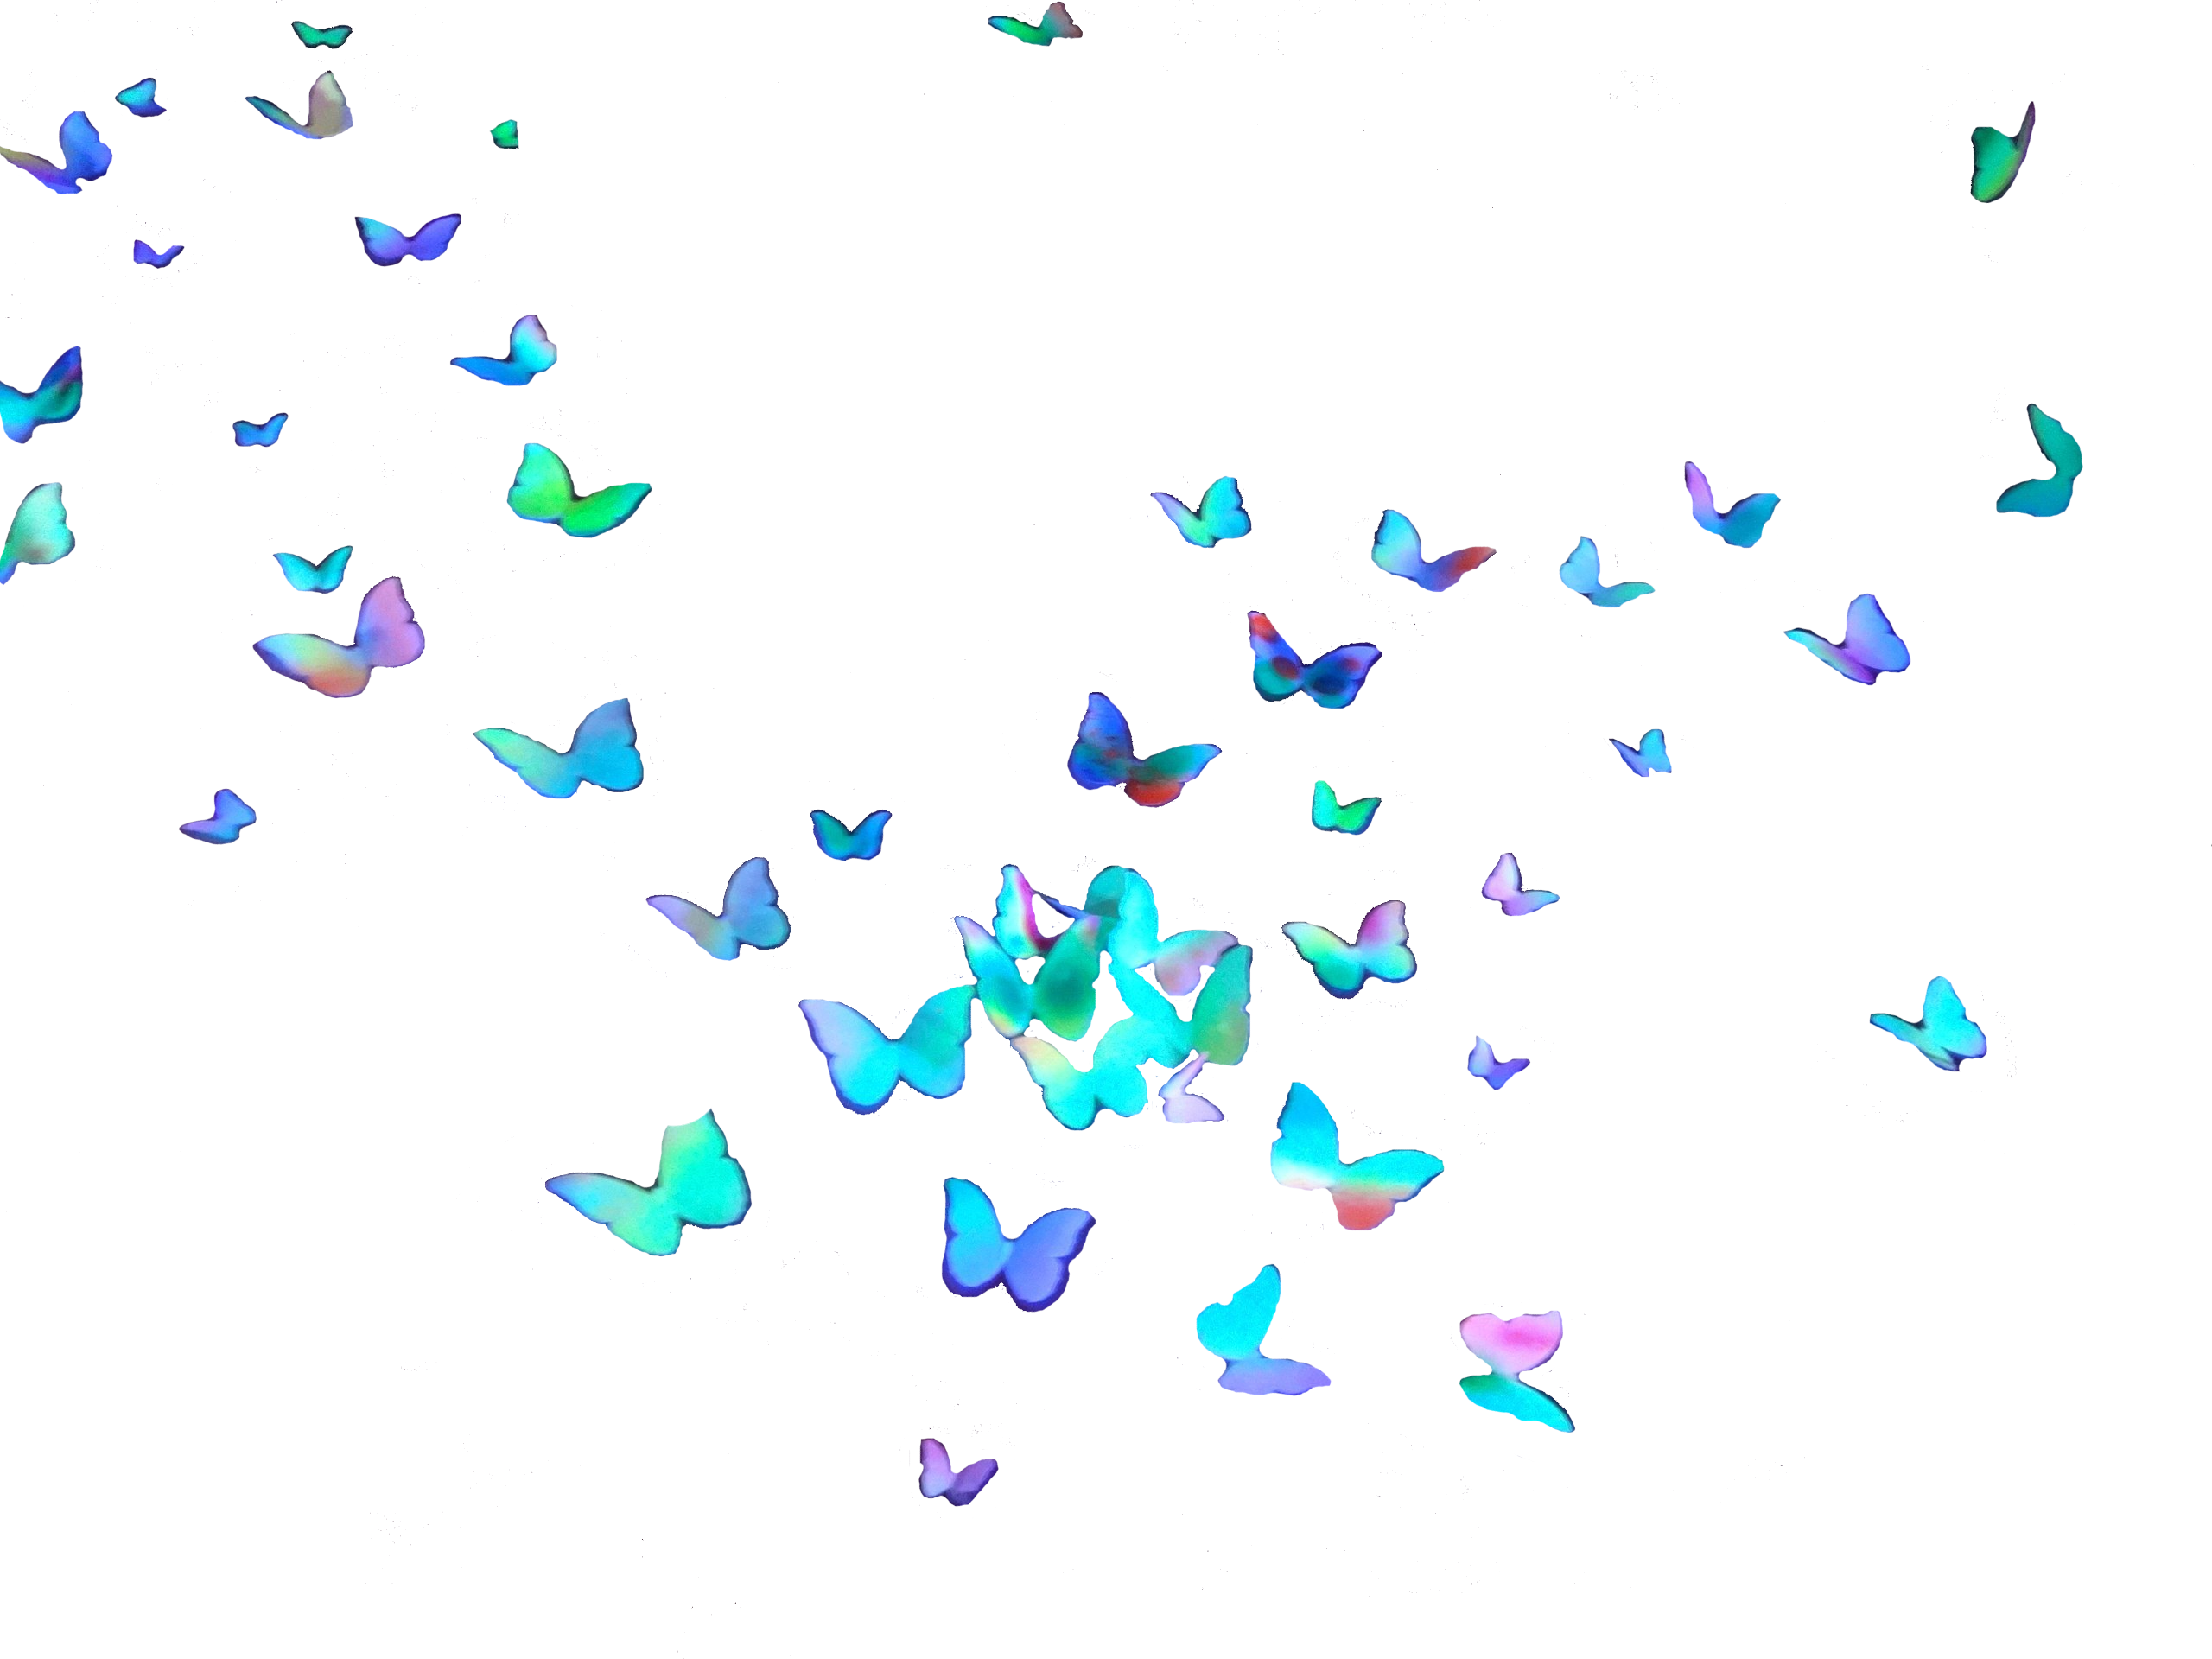


 Re: Apartment project with lighting by invisible hemispheres. I continue advertising