|
Posted by AeowynFraser
at Sep 15, 2019, 2:37:05 AM
|
Re: Tudor Castle version 2
I got the pictures rendered quicker than I thought, for the first version.
http://www.mediafire.com/file/mjjiqdcuko4rj2b/TCR-2.sh3d/file
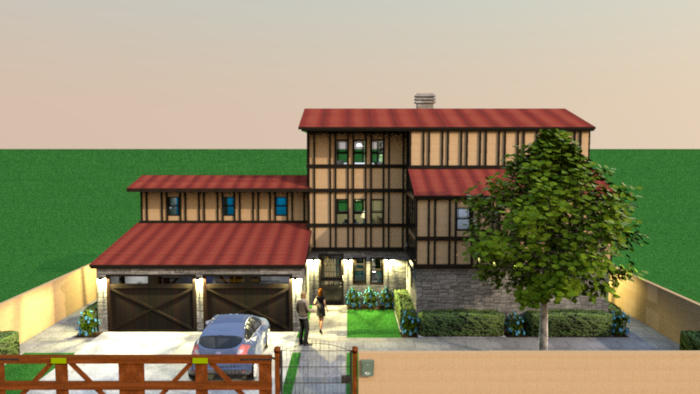
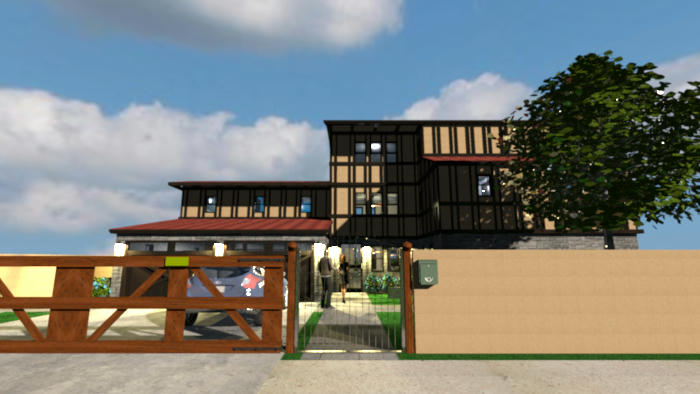
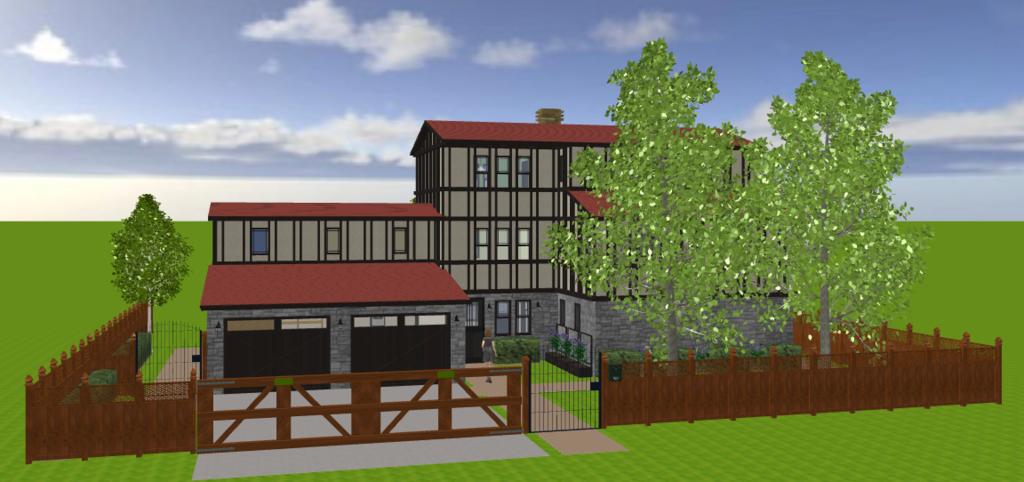
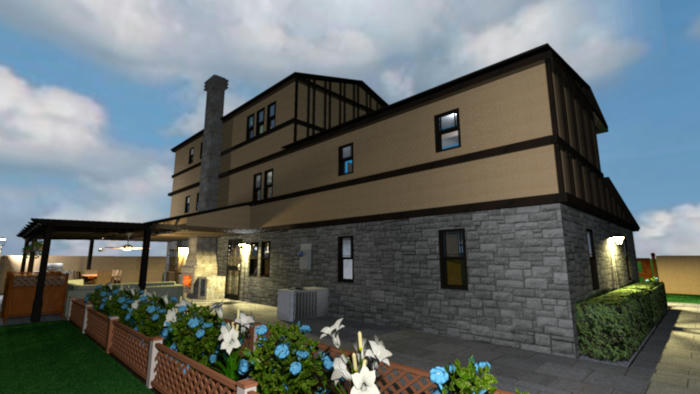
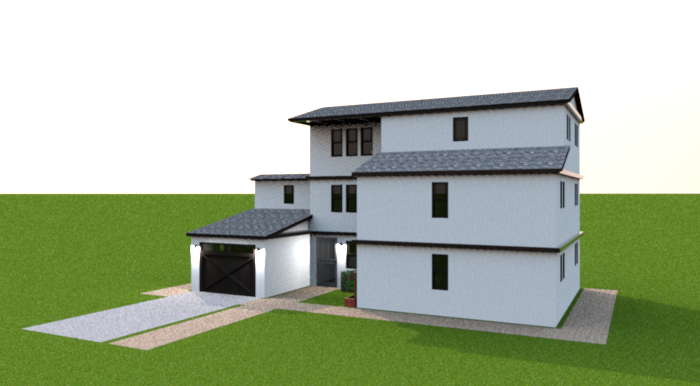
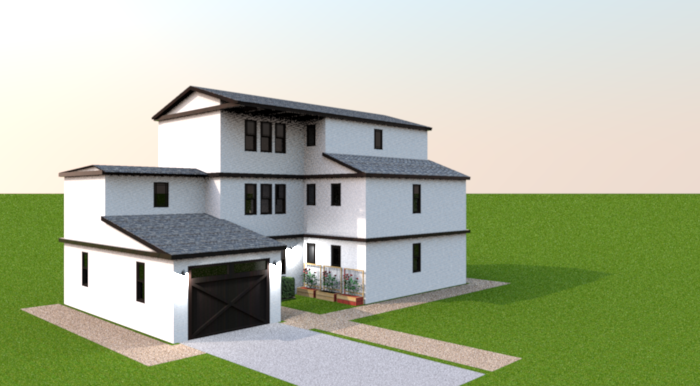
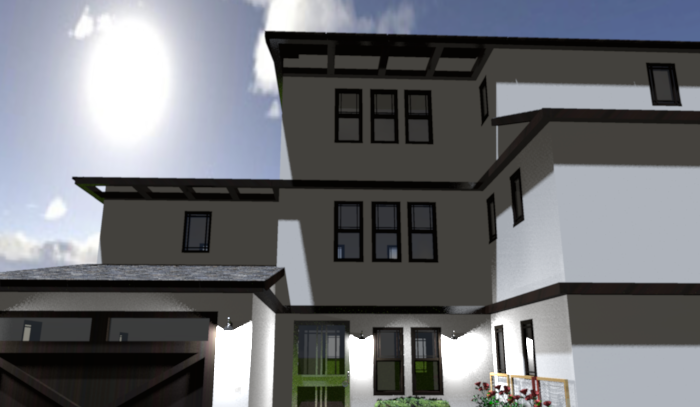
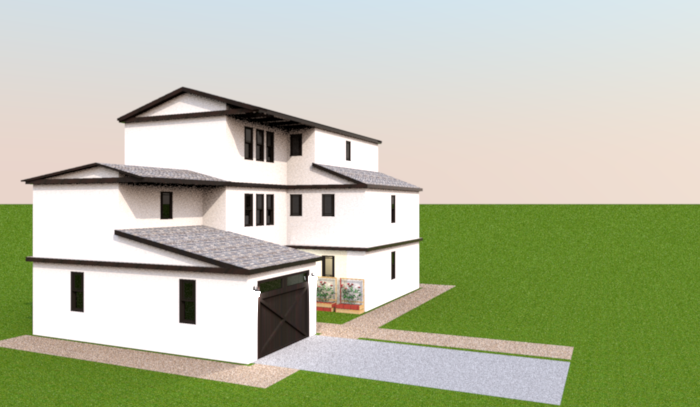
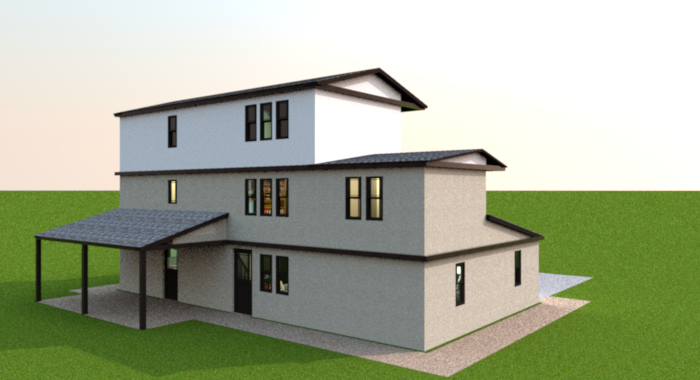
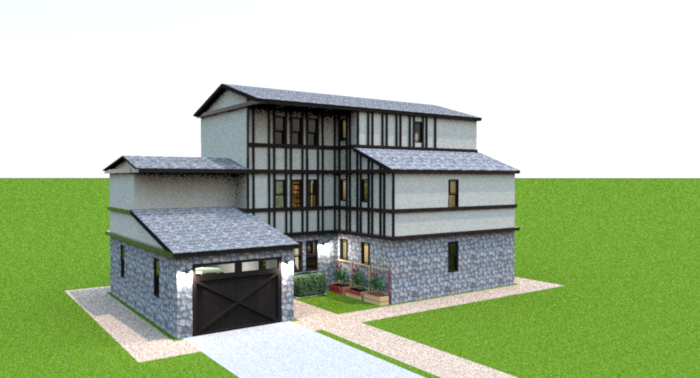
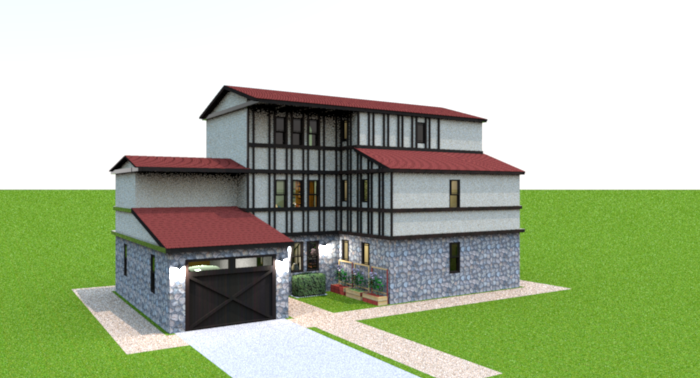
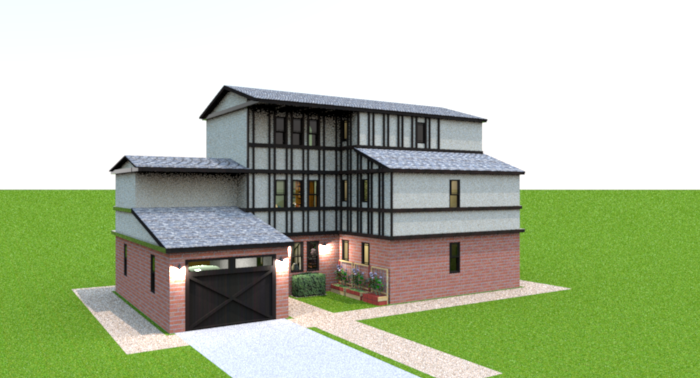
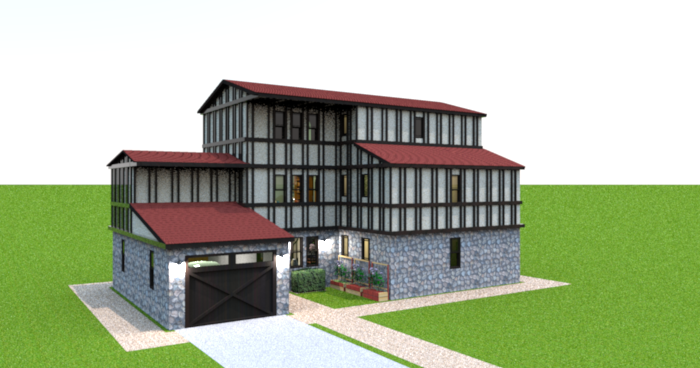
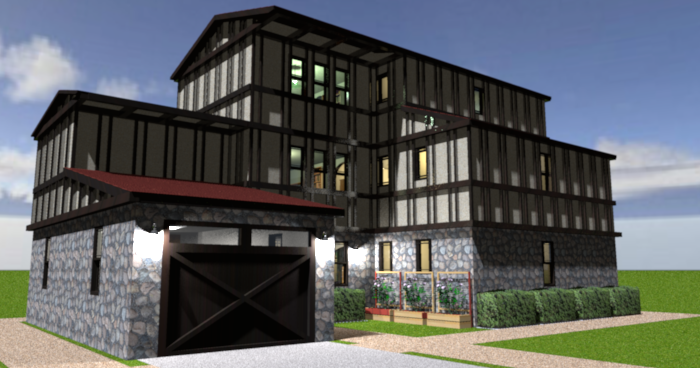
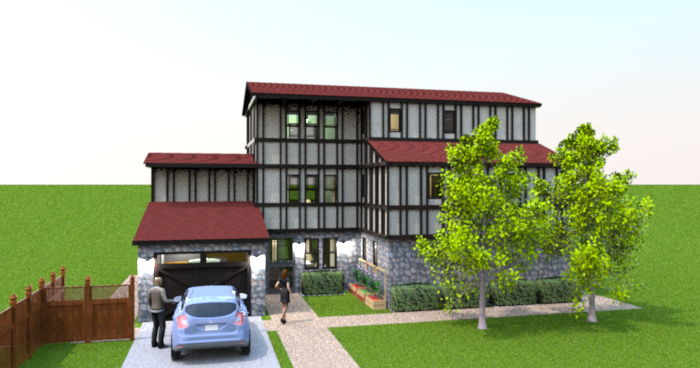
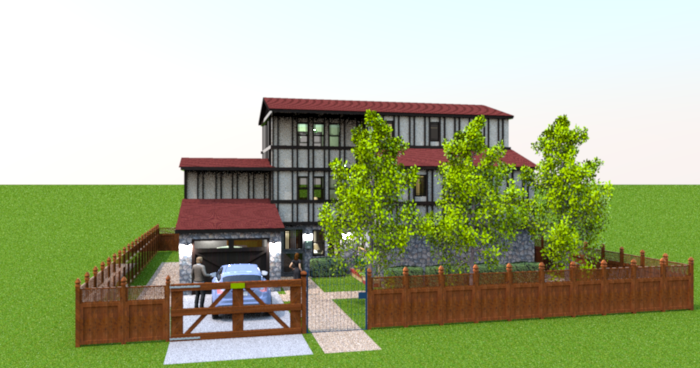
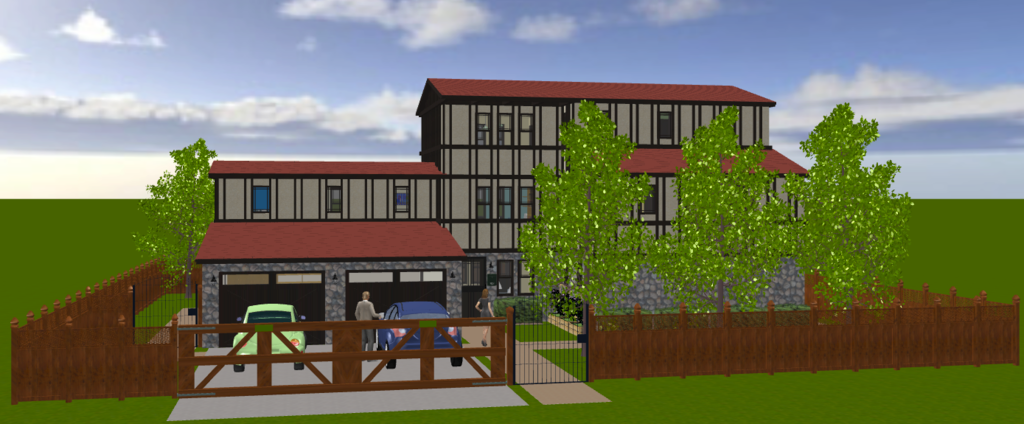
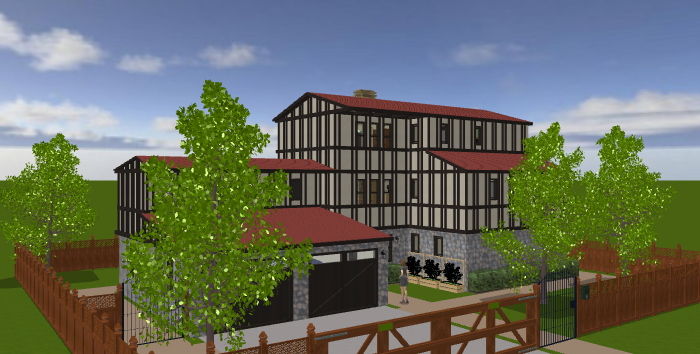
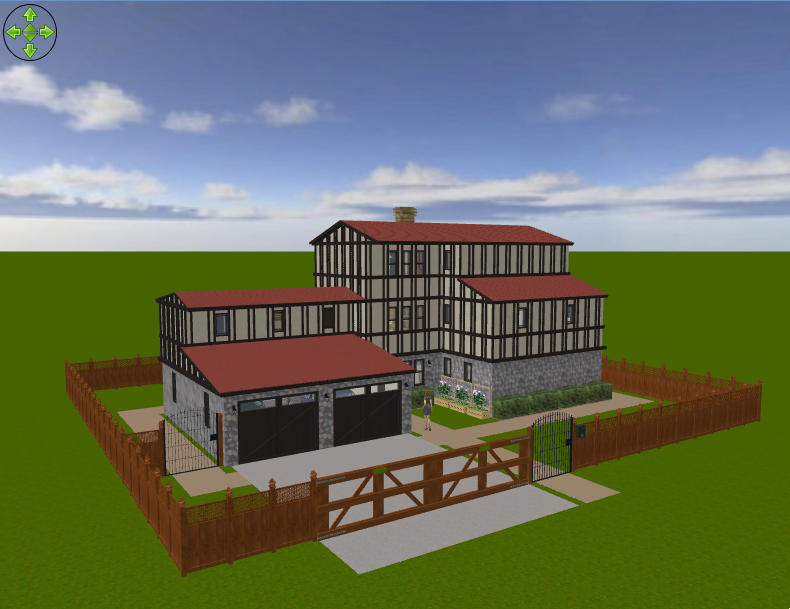
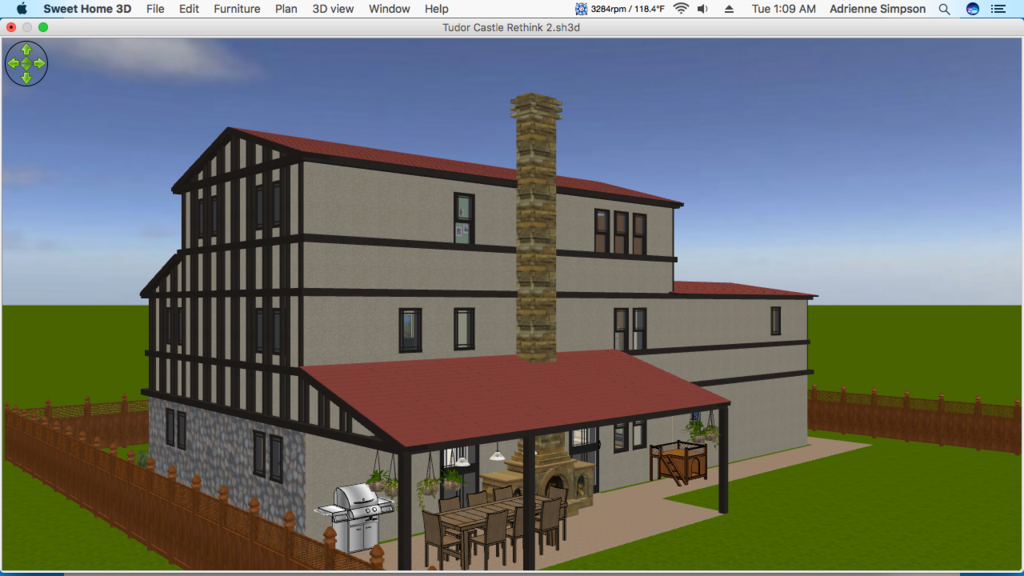
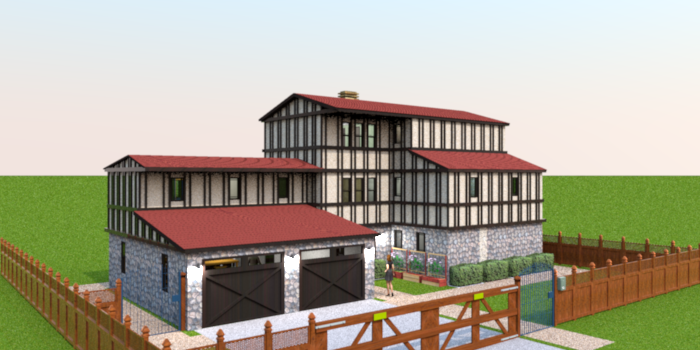
Front, both Aerial and Virtual Visitor views. I took out the large-bit-sized rose bushes and replaced them with small-bit-sized rose bushes (also in the backyard as shown below). Then I shortened the distance of the privacy wall near the garage so that it matches the other side of the house (removing most of the hedges along that wall) leaving one long hedge there and putting a matching hedge on the other side. I also widened both garage doors by a foot as they seemed like they might be a little too narrow for the SUV I put inside the garage. I changed out the large-bit-size Sassafras tree in the front yard for a small-bit-size Aspen tree which I enlarged to match the height and width of the removed Sassafras tree. Oh, and I also switched out the large-bit-size Porch Lights for small-bit-size Wall Lamps and reduced them to better fit in the spaces. I believe that's all the changes that I made here.
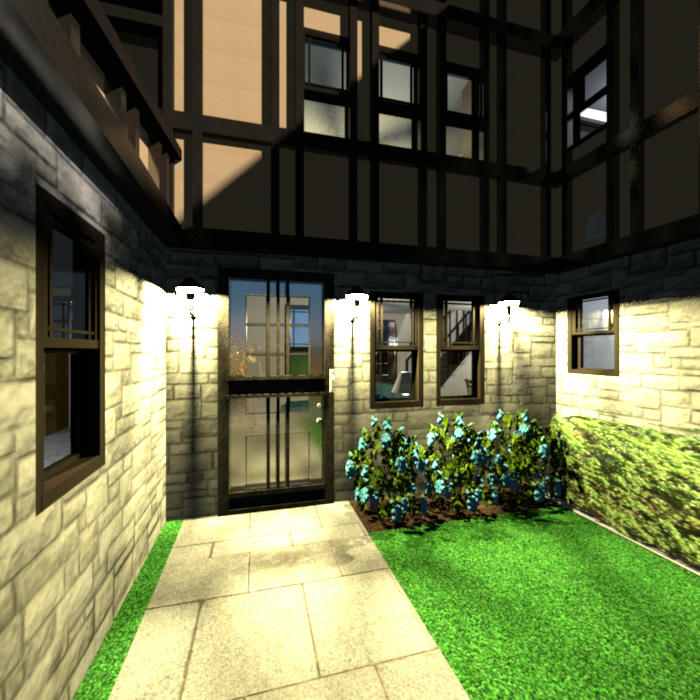
Front entrance. Here's a better look at the Wall Lamps. I also changed the textures used on the screen door so that they aren't so shiny.
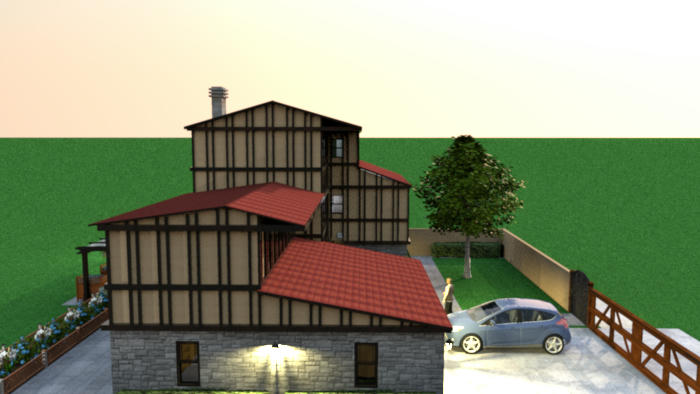
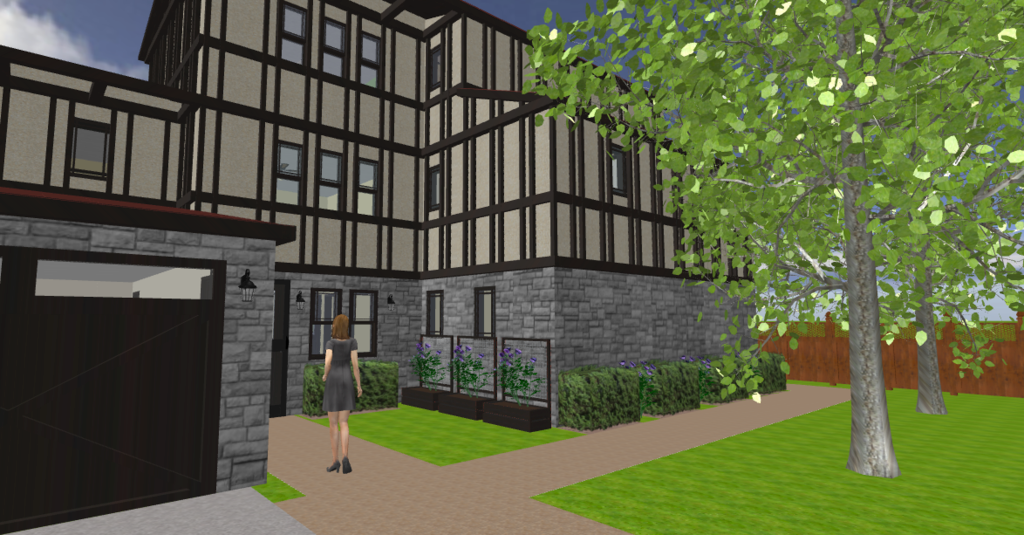
North side of the house. I added a Wall Lamp here to light the path.
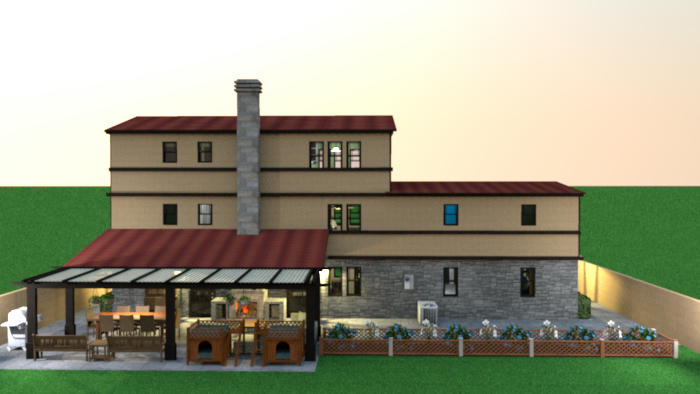
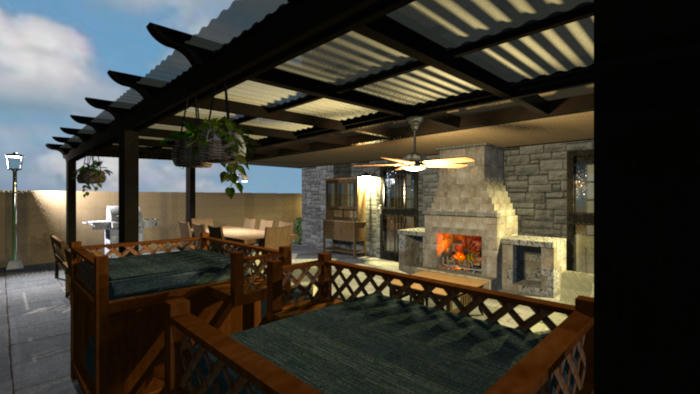
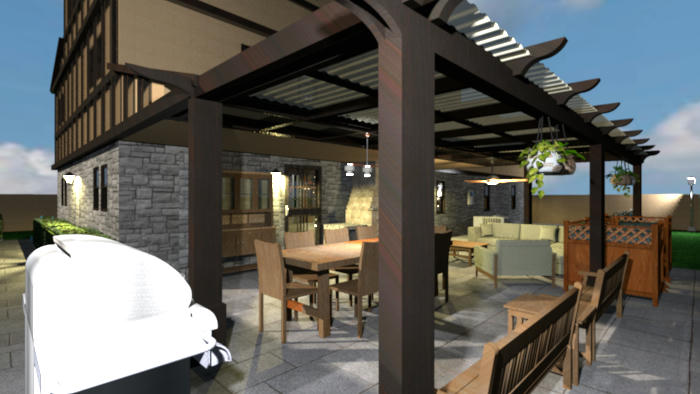
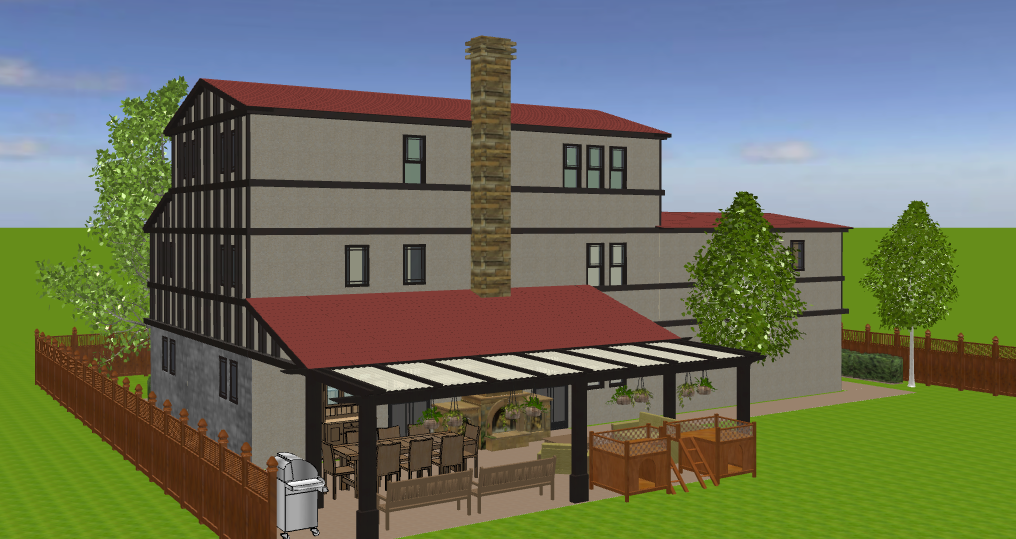
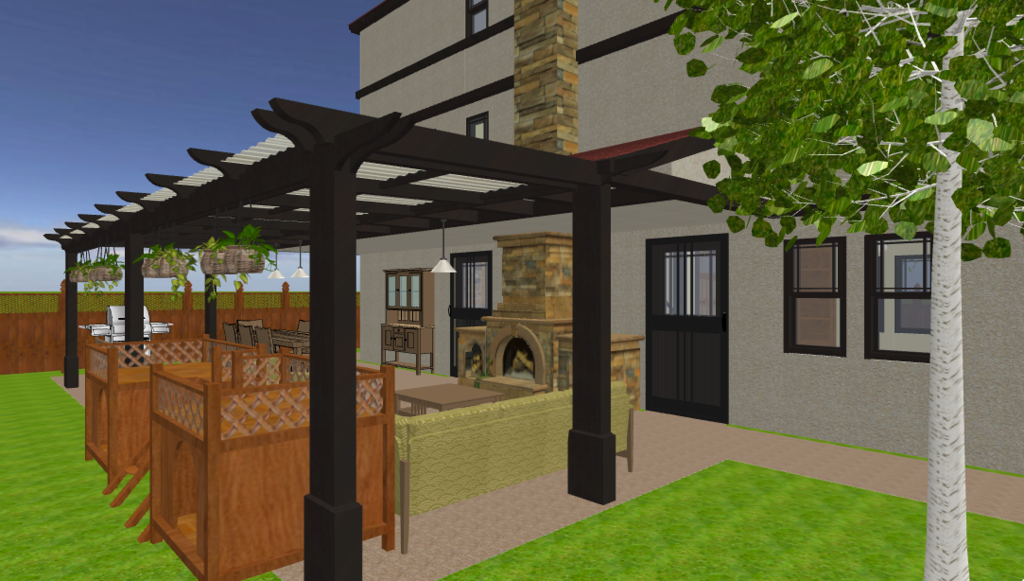
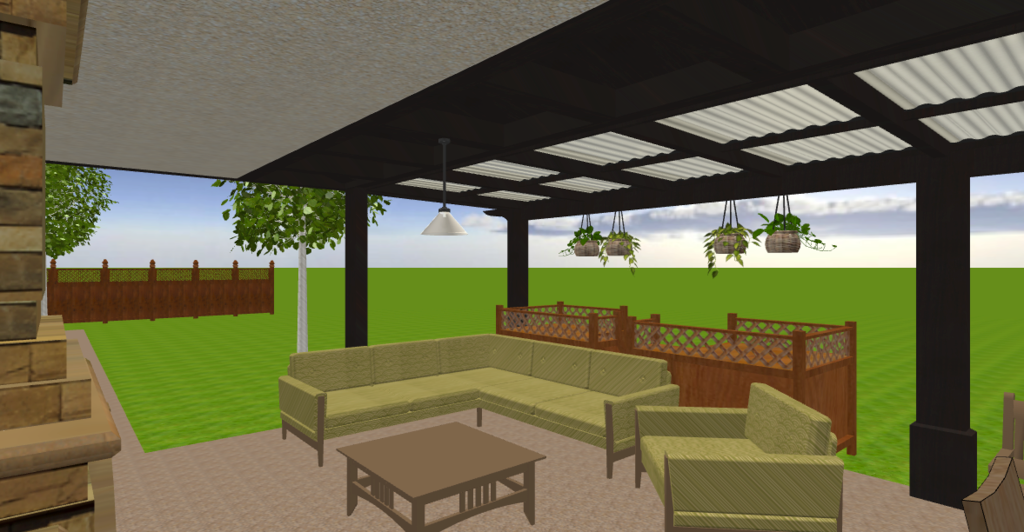
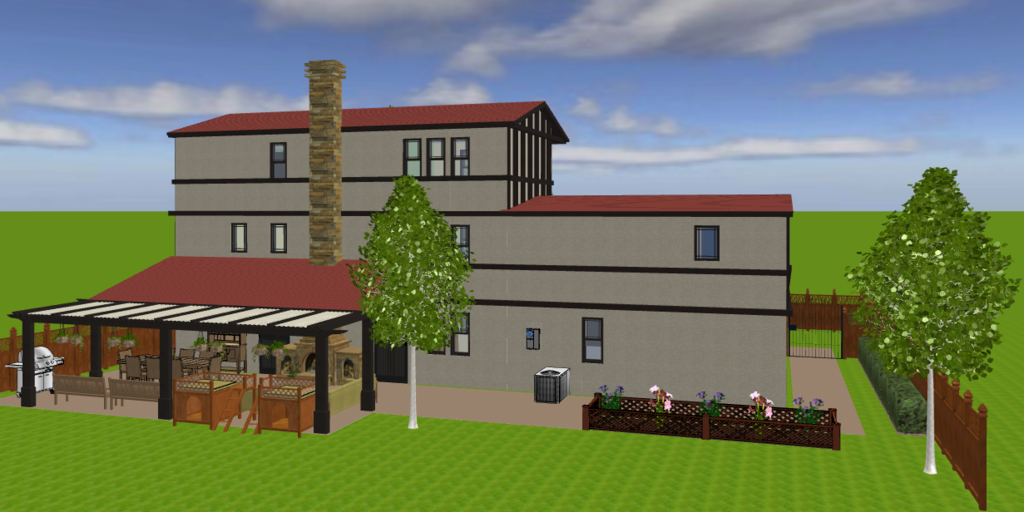
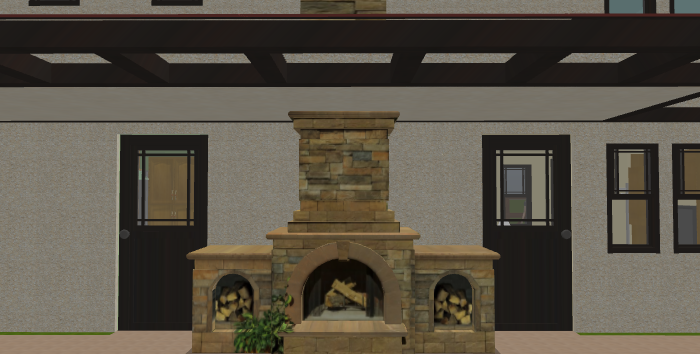
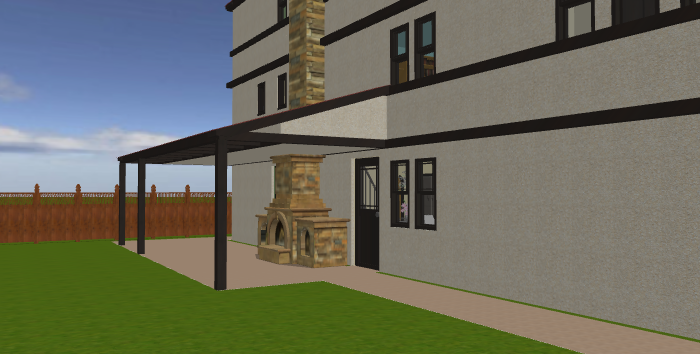
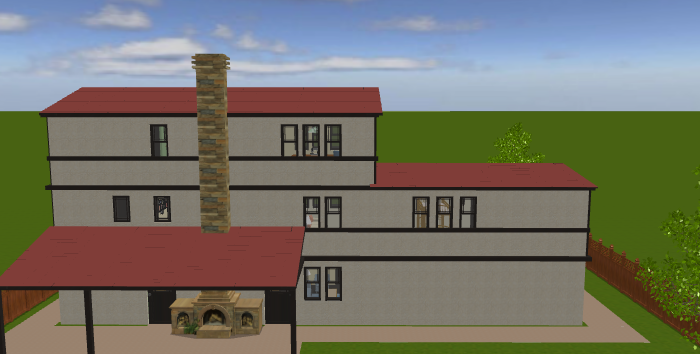
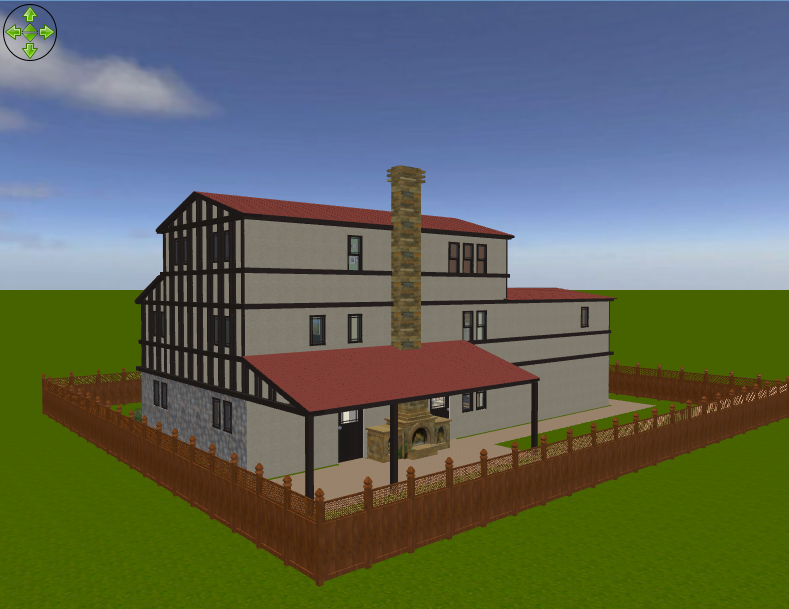
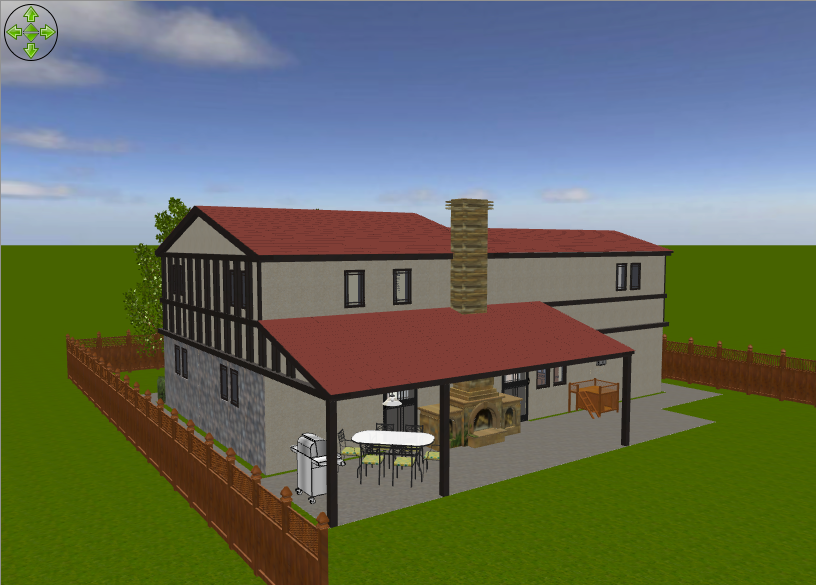
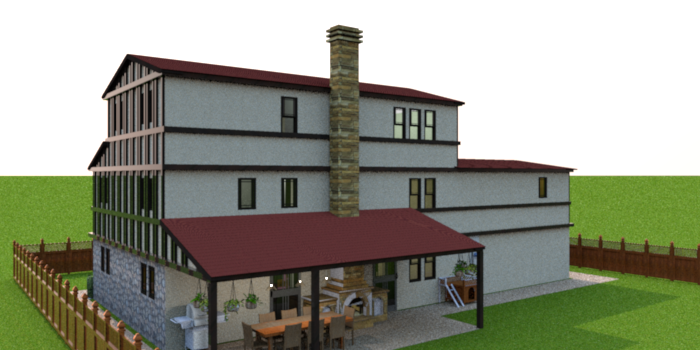
Backyard. Aerial view, Virtual Visitor view, and two different angles of the back porch. I lengthened the flower bed as well as added more flowers in it, added Wall Lamps to both back doors as well as two Classic Lampposts to both back corners, put in a fire in the fireplace, switched out the large-bit-size corner couch for a small-bit-size corner couch, switched out the hanging lamp for the ceiling fan, changed the textures on both screen doors, added some cushions to both dog houses, and moved the two benches apart and put an end table in between them. I believe that's all the changes I made here.
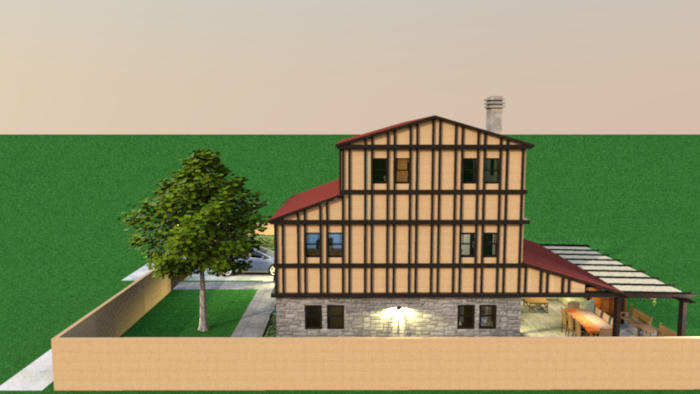
South side of the house. I added a Wall Lamp here to light the path.
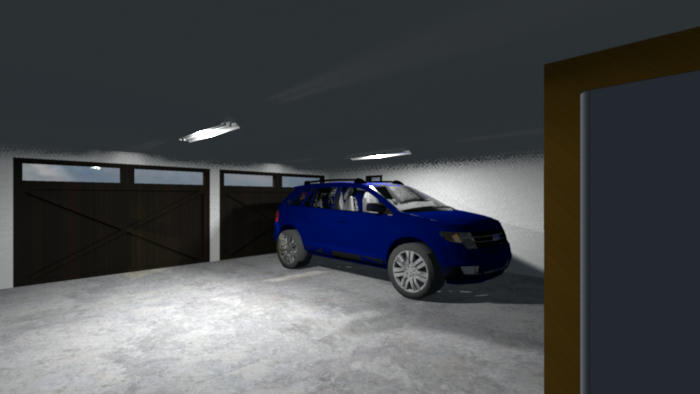
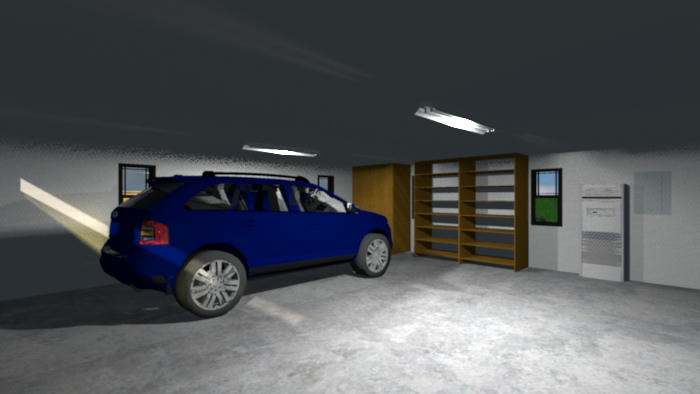
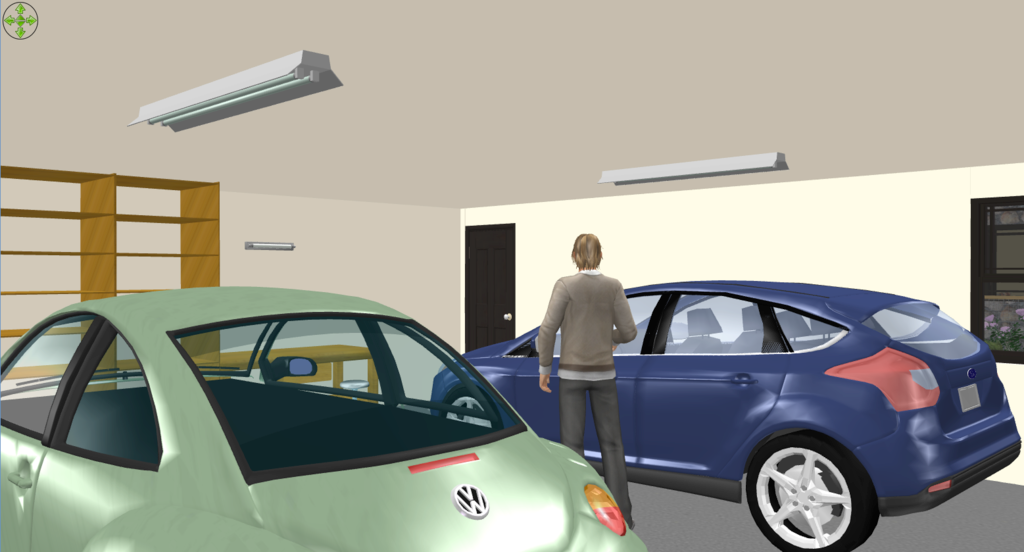
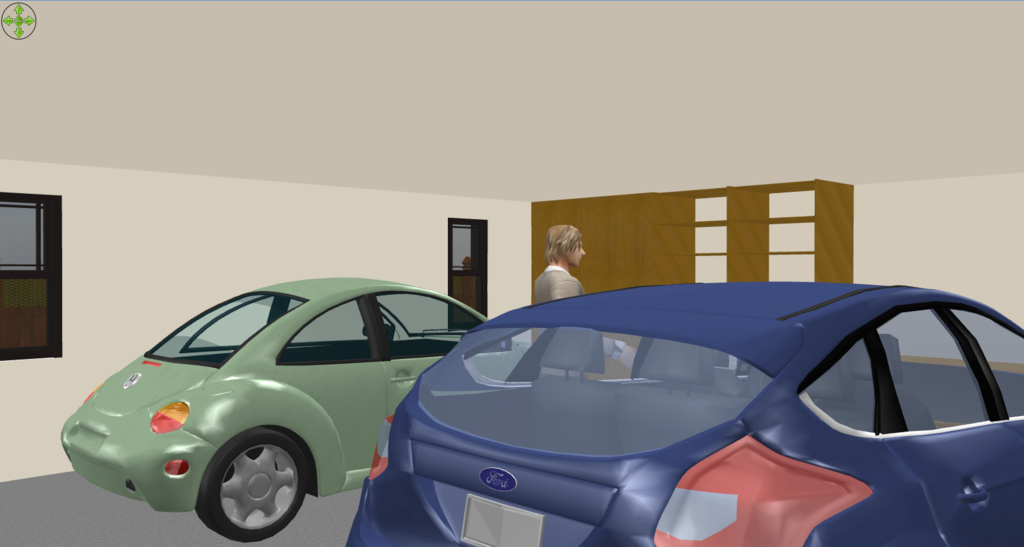
Garage. I added Ford Edge. I believe that's all the changes I made here.
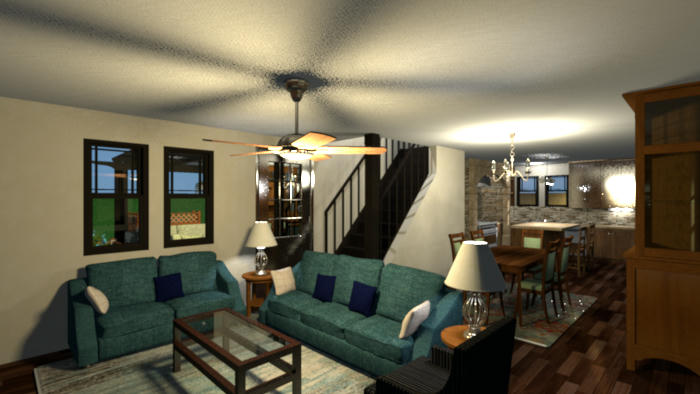
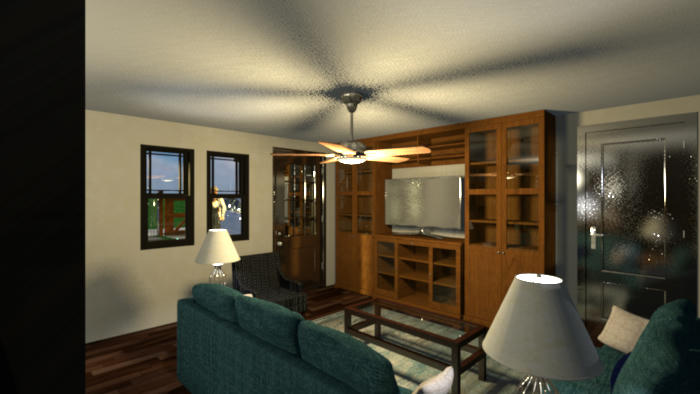
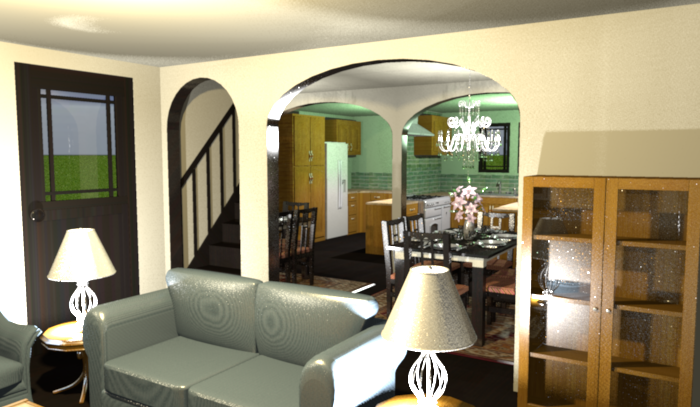
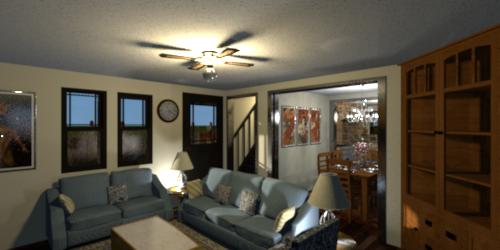
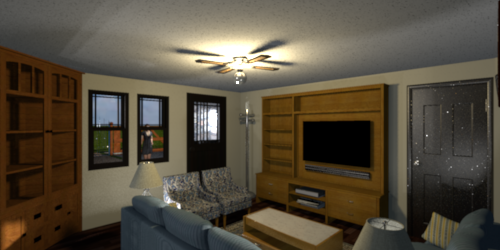
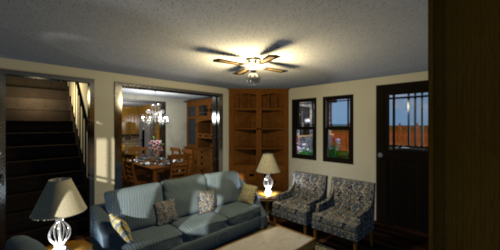
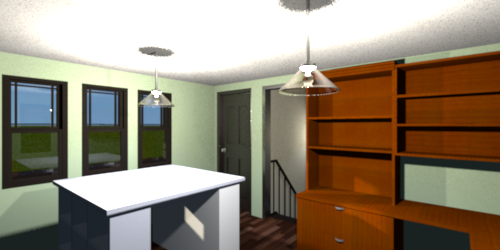
Front room, two different angles. As you can see, not only did I open up the stairwell I also opened up the Dining Room! In so do doing, I had no need for the corner curio cabinet and took it out. The sightline through to the kitchen is much more open. I believe that's all the changes I made here.
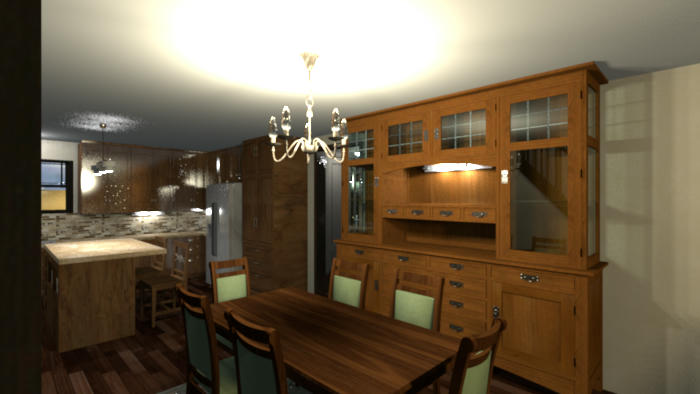
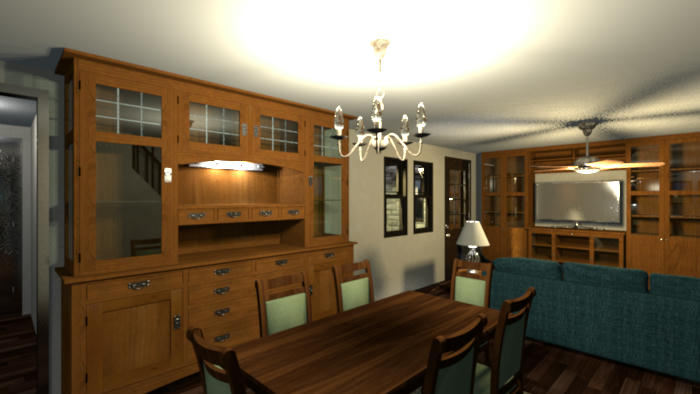
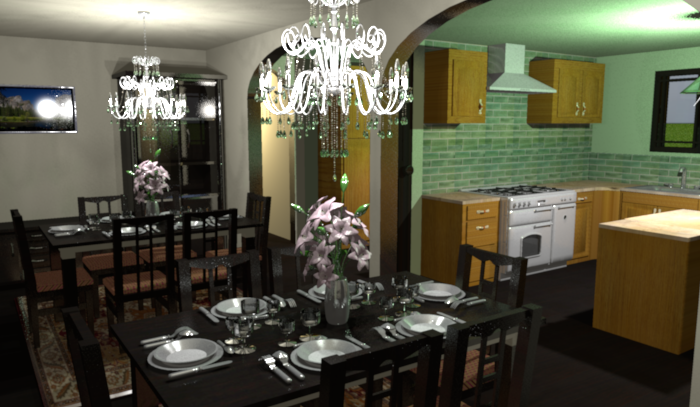
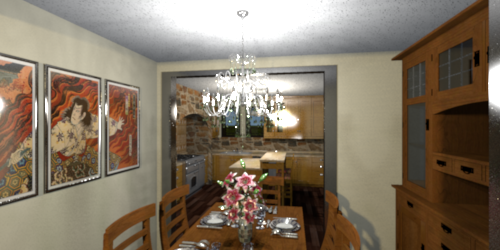
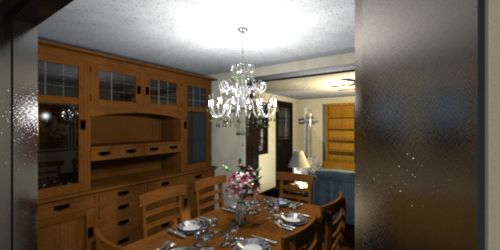
Dining room, two different angles. I widened the China cabinet some, changed the hanging lamp for the lamp with 5 lights on it, and since the stairwell is now open I took the picture frame off of that wall. I believe that's all the changes I made here.
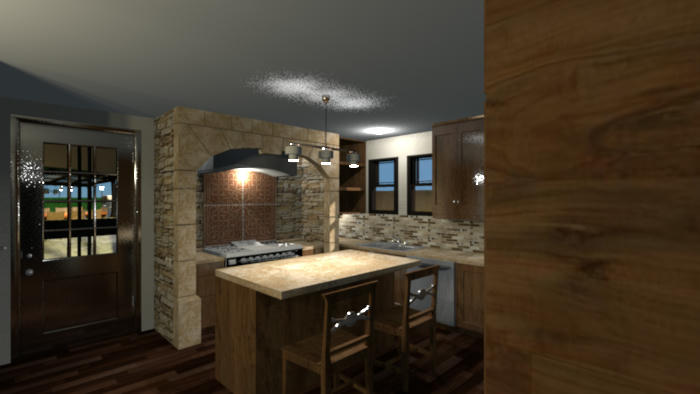
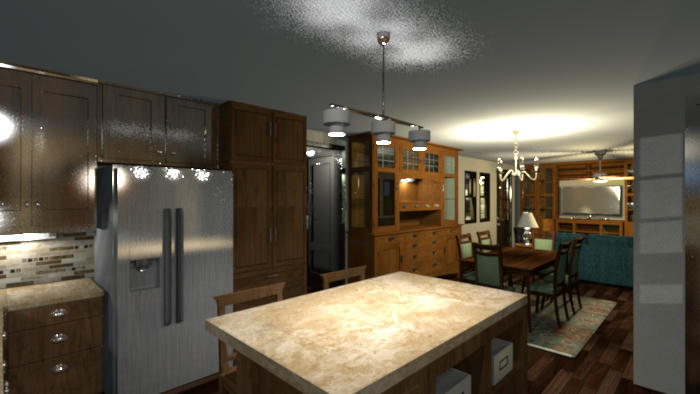
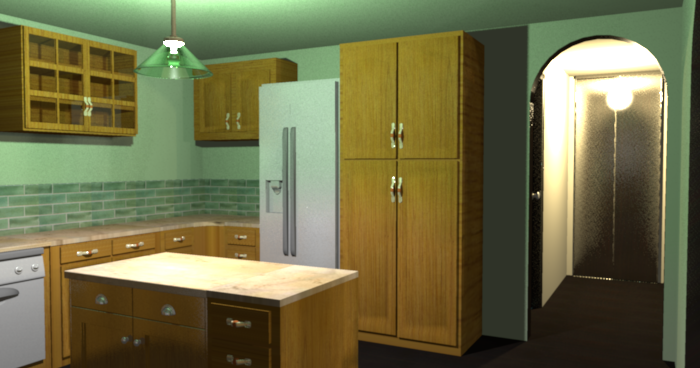
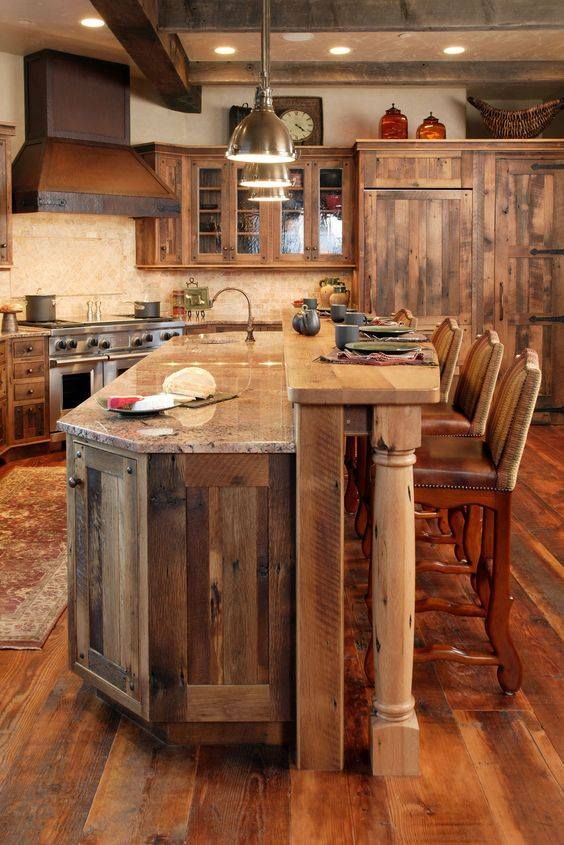
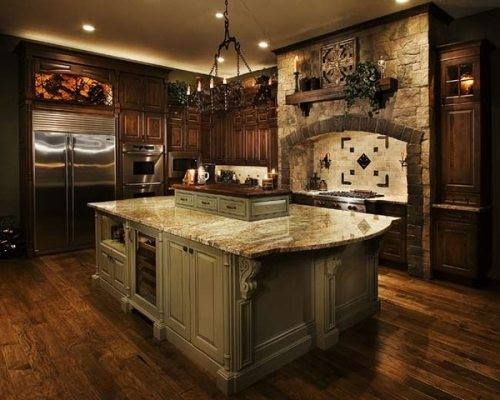
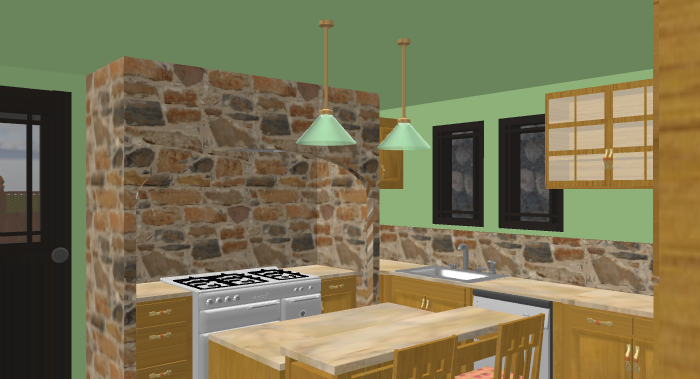
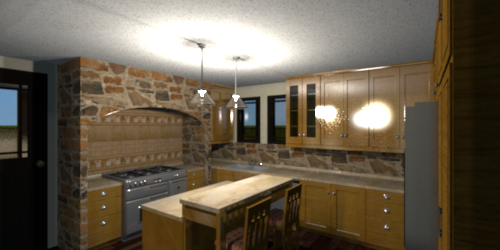
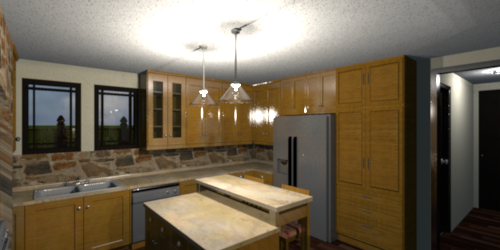
Kitchen, two different angles. I took out the two hanging lamps for the one with three lights, took out the large-bit-size stove for a small-bit-size stove, and since the wall to the dining room is gone I took out the wall clock. I believe that's all the changes I made here.
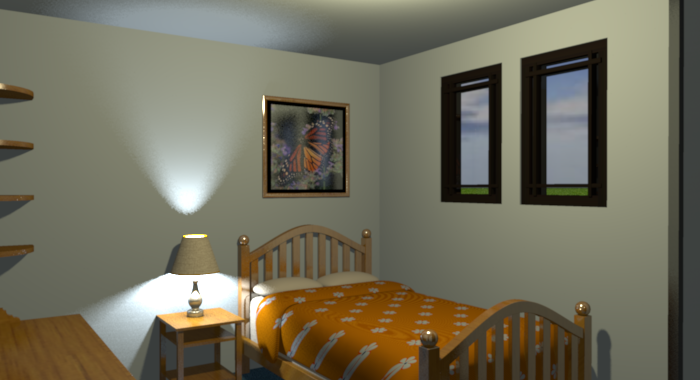
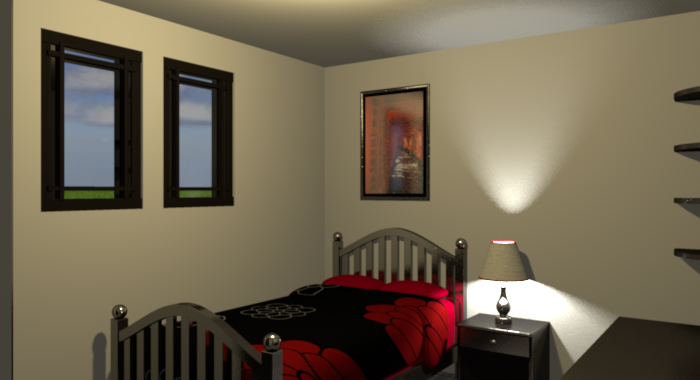
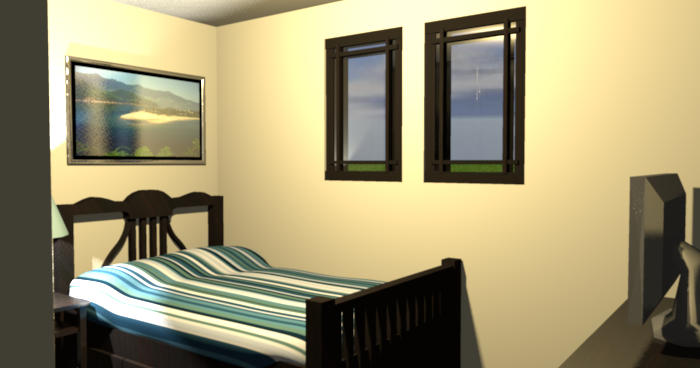
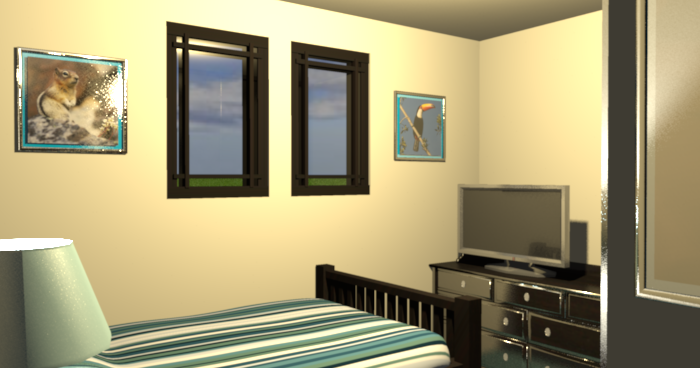
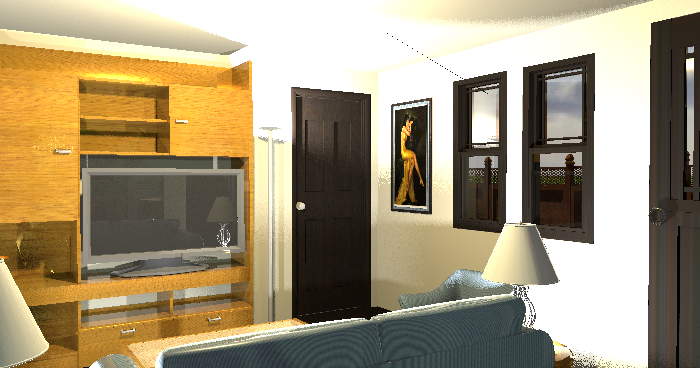
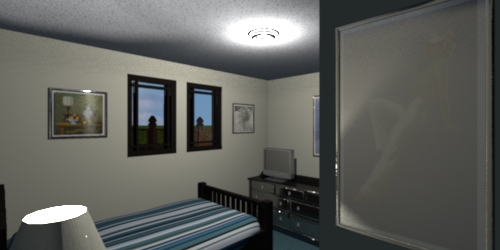
Guest bedroom. I took out the queen size bed for the twin size bed, basically for the bit size, added a lamp on the nightstand, and moved the TV (mainly so that I could take this picture). I believe that's all the changes I made here.
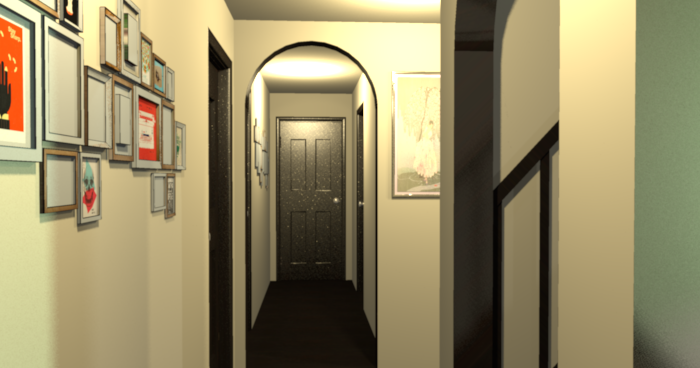
Also, I changed all the doors throughout the house, basically for their bit size.
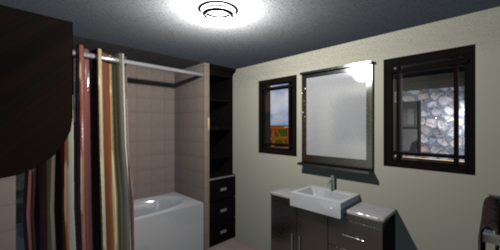
Guest Bathroom. I added the picture lamp above the vanity and changed the toilet paper dispenser. I believe that's all the changes I made here.
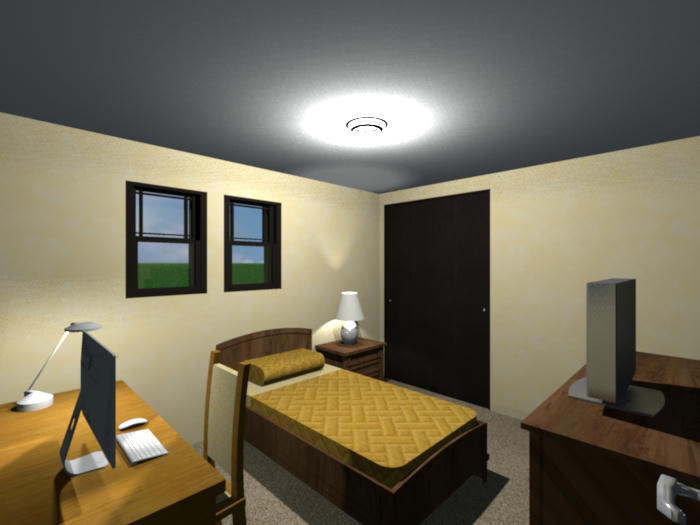
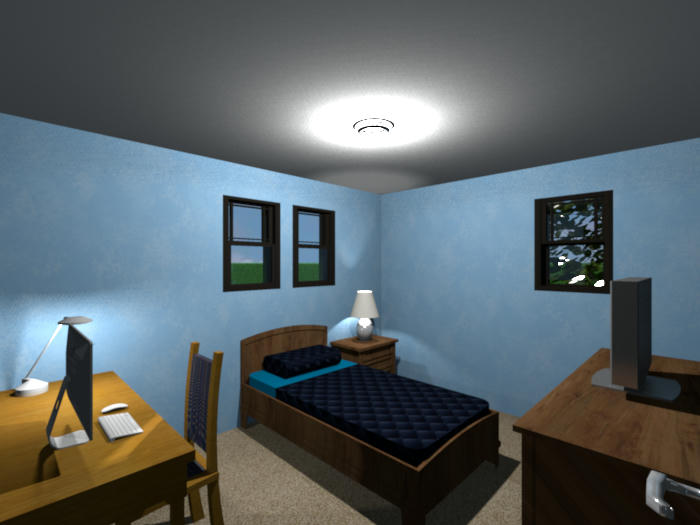
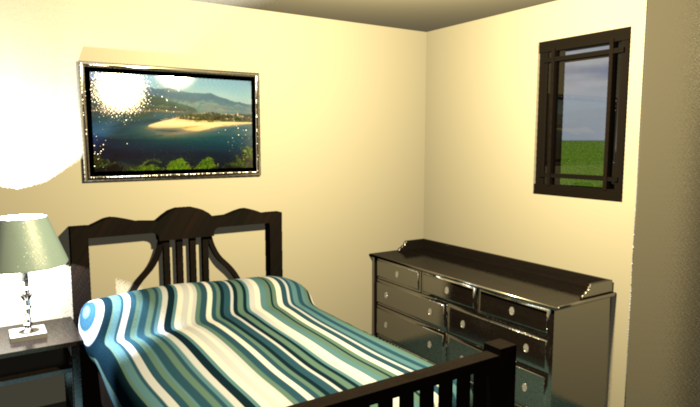
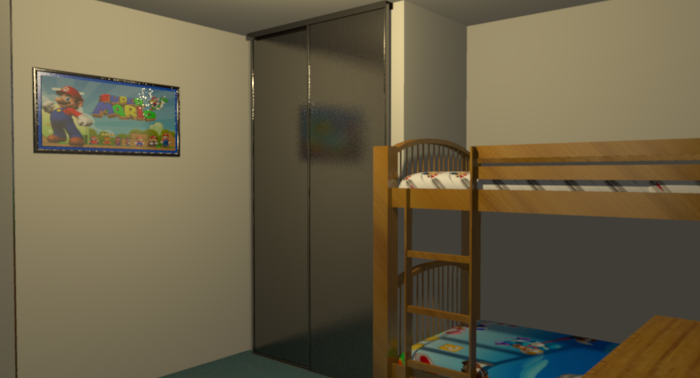
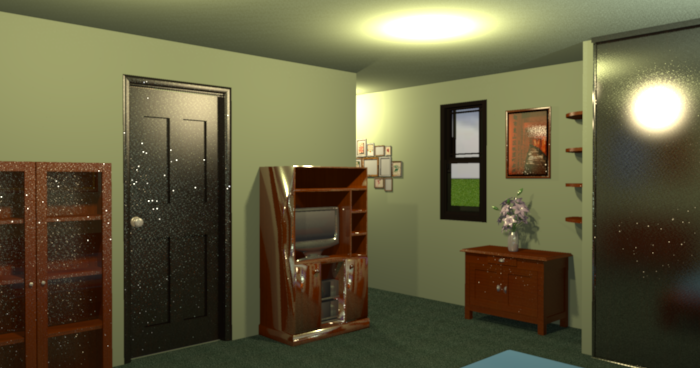
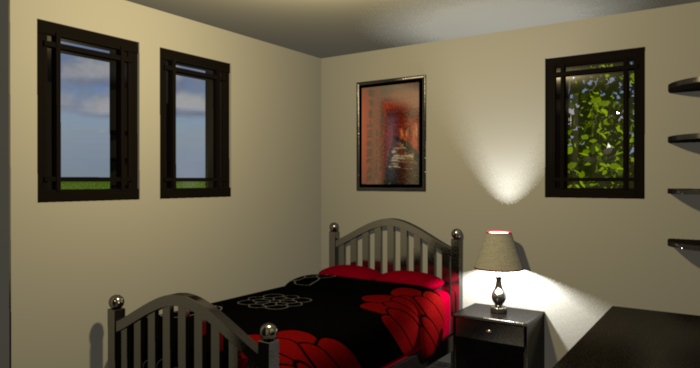
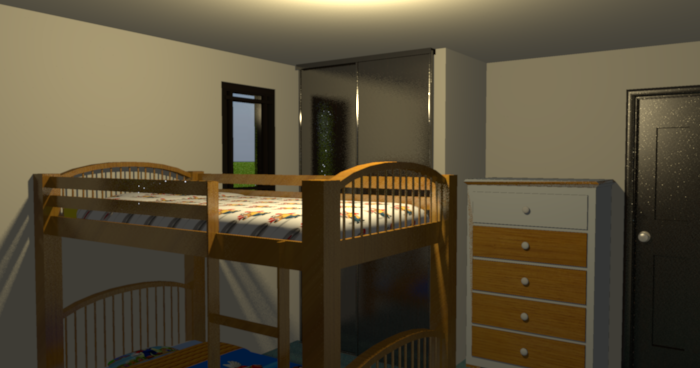
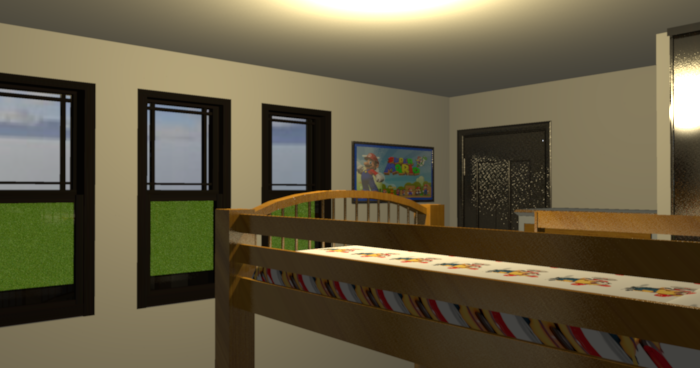
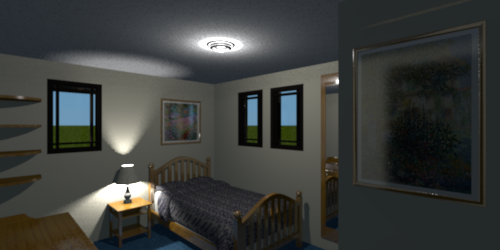
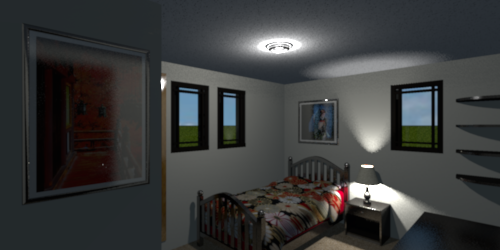
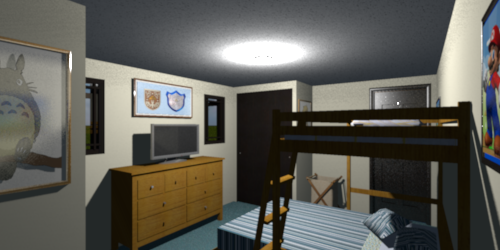
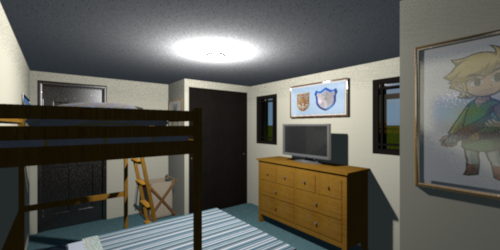
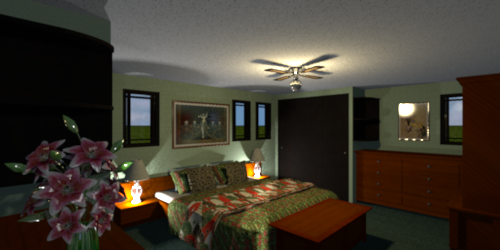
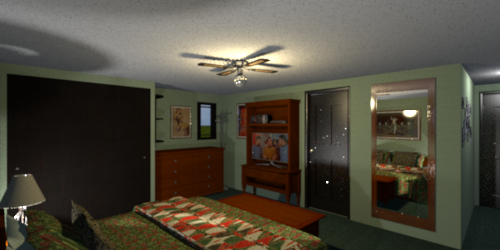
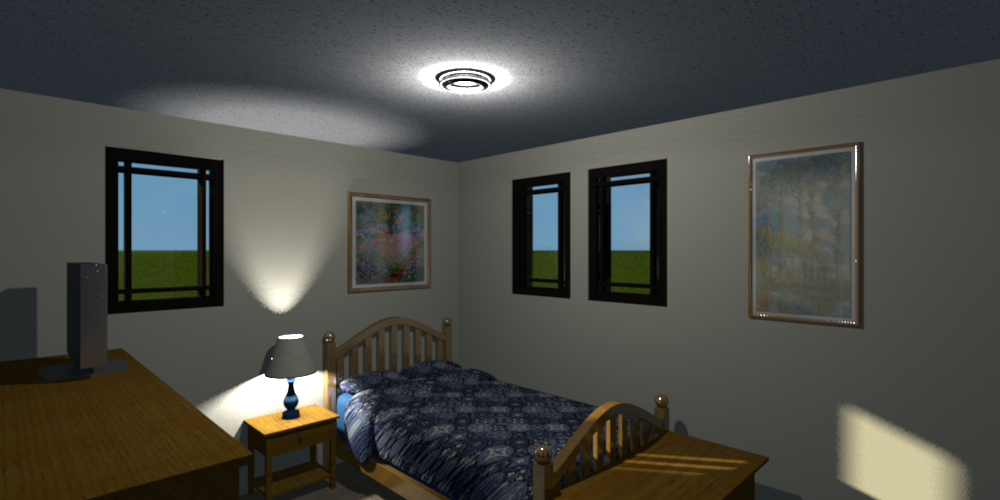
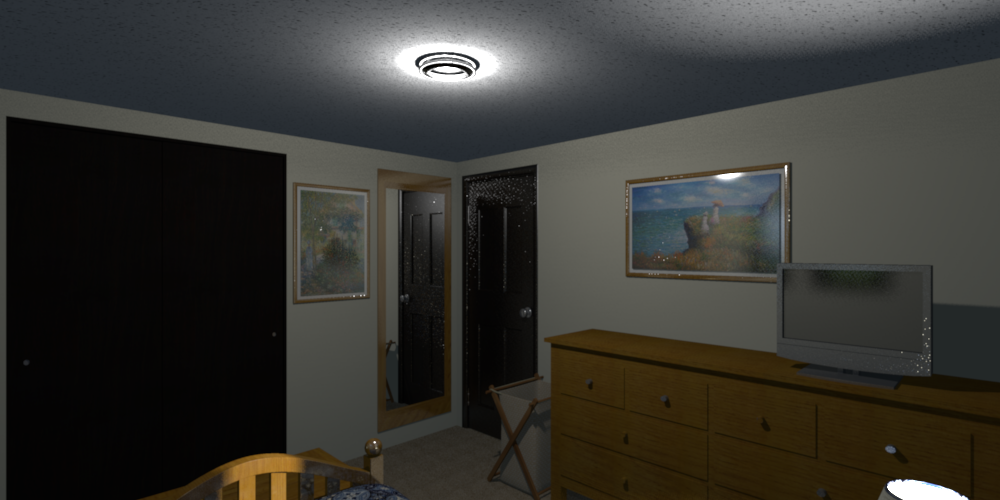
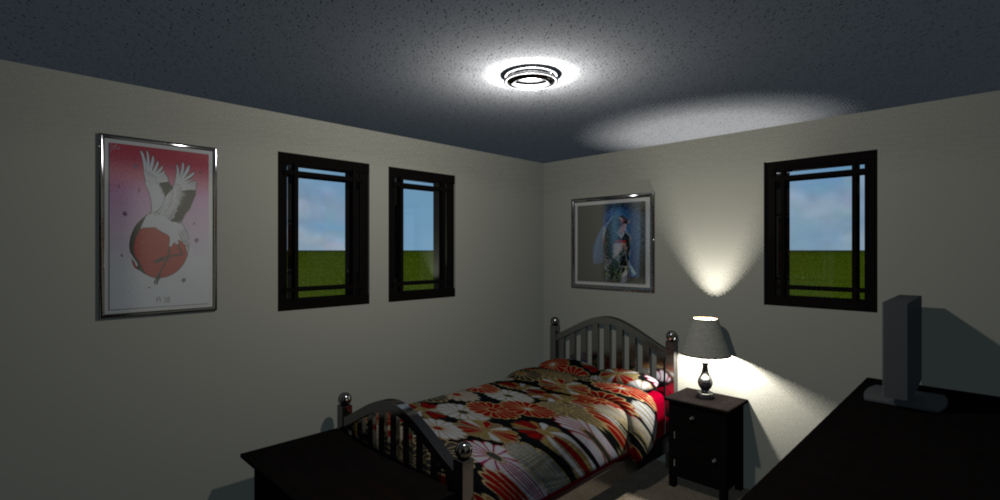
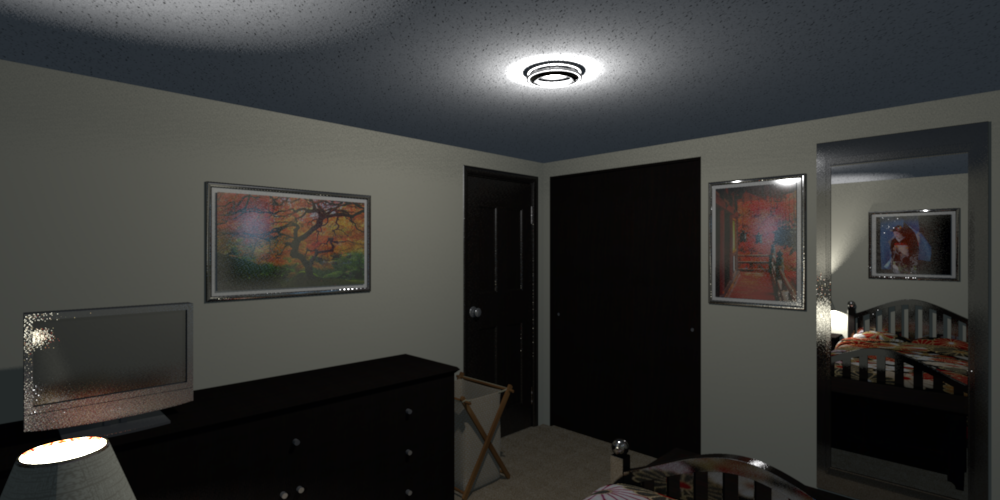
Bedrooms 1 and 2. The changes I made to both rooms were the same; changed some textures (ie. on the beds and chairs), and added both the computers on the desks and the lamps on the nightstands. I believe that's all the changes I made here.
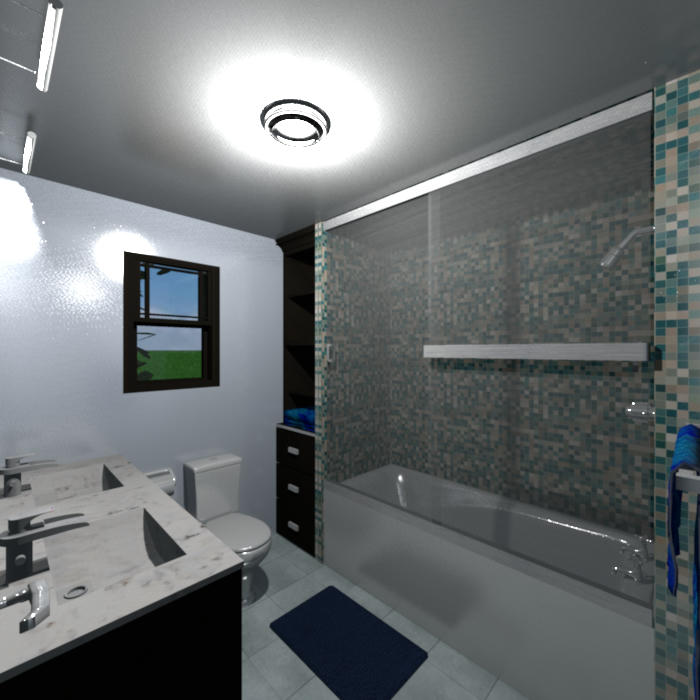
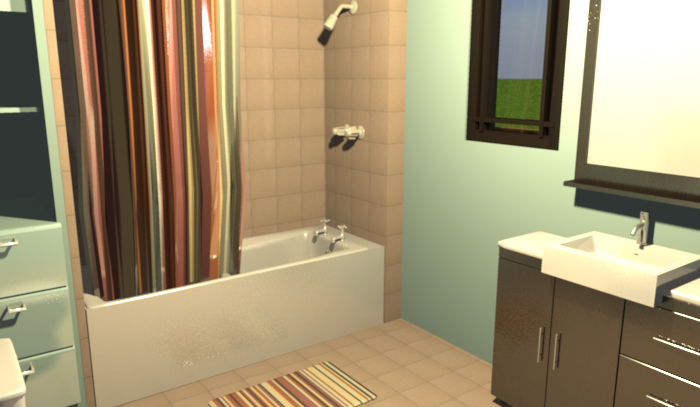
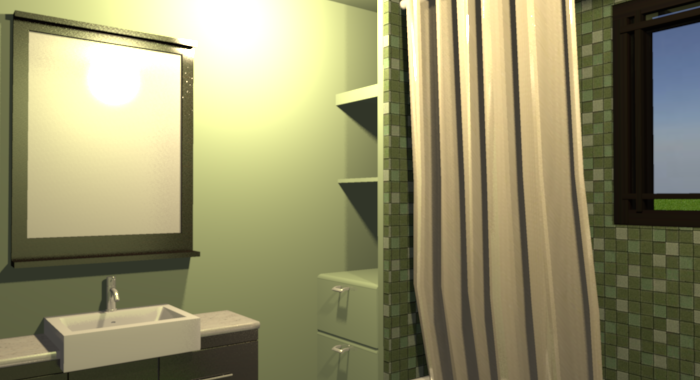
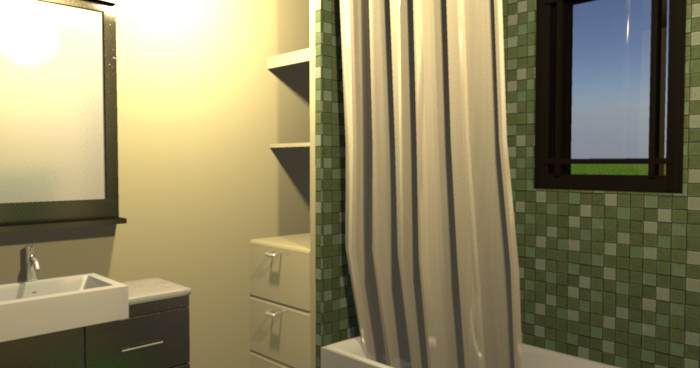
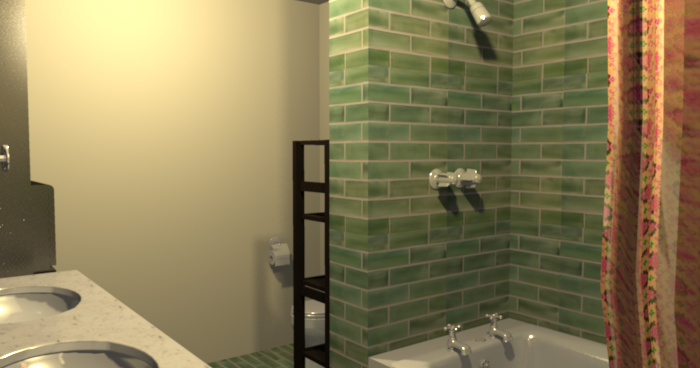
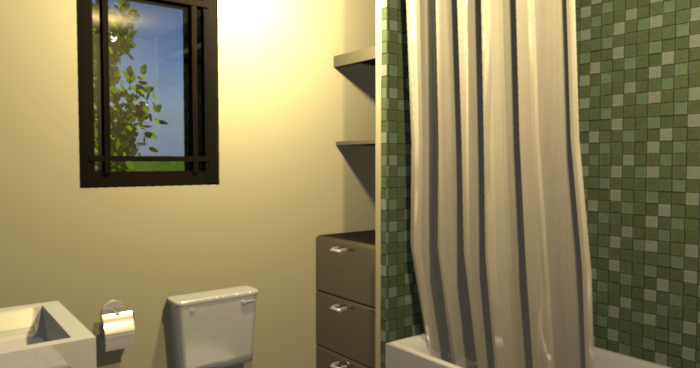
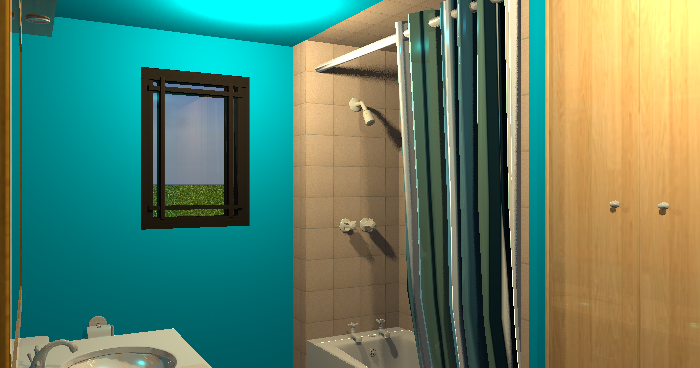
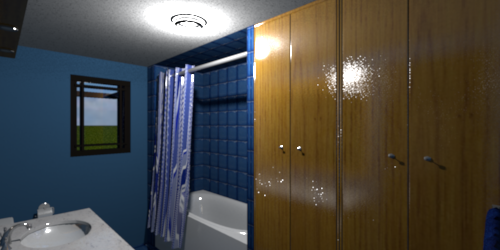
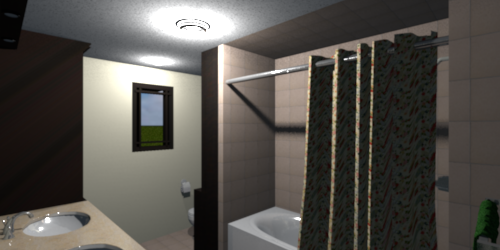
Main bathroom. I changed the textures (green is my favorite color; if I were to build this house for myself and my roommates this would be the bathroom both their sons would share and neither of them is partial to green) as well as the toilet paper dispenser, and added the picture lamps over both vanity mirrors. I believe that's all the changes I made here.
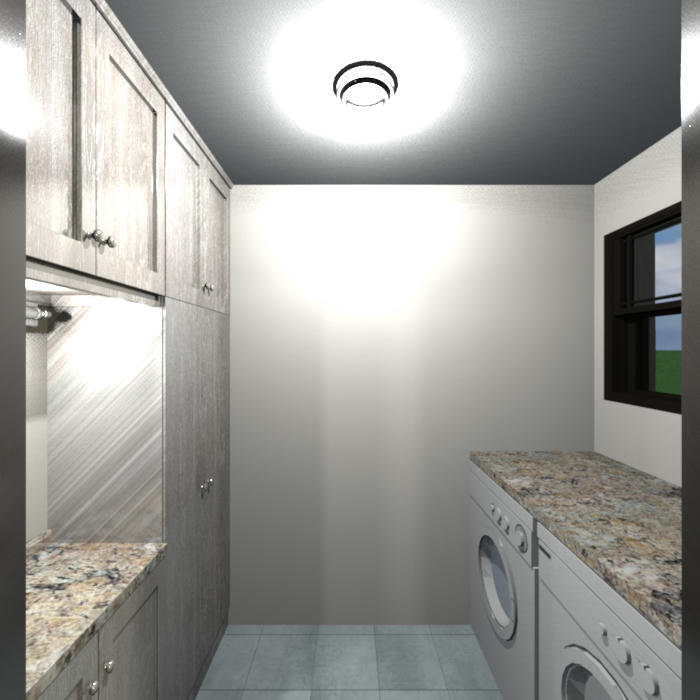
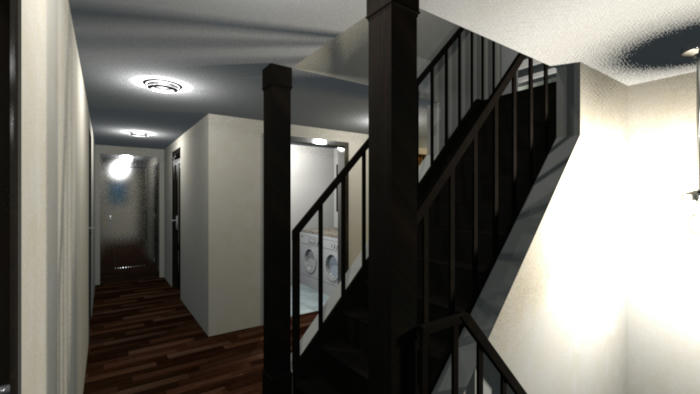
Laundry room. Switched the cabinets so that the countertop is closer to the doorframe and is visible, added a floor drain (although it isn't visible in the picture), and changed the floor tiles. I believe that's all the changes I made here.
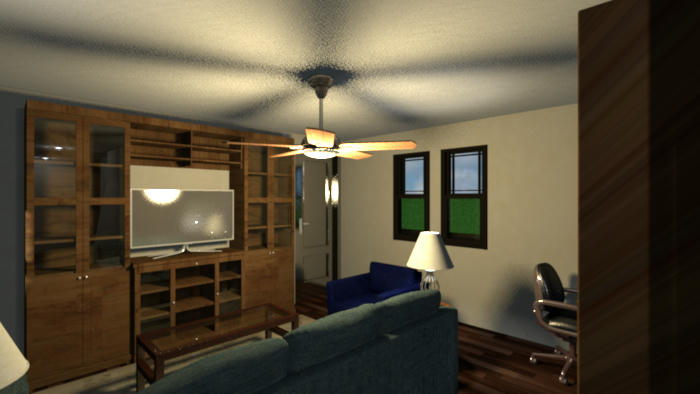
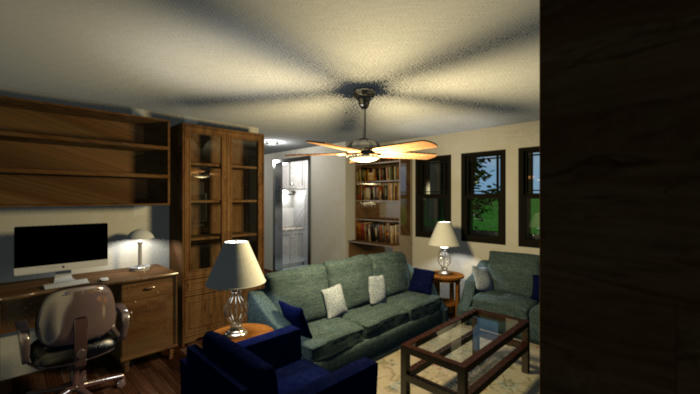
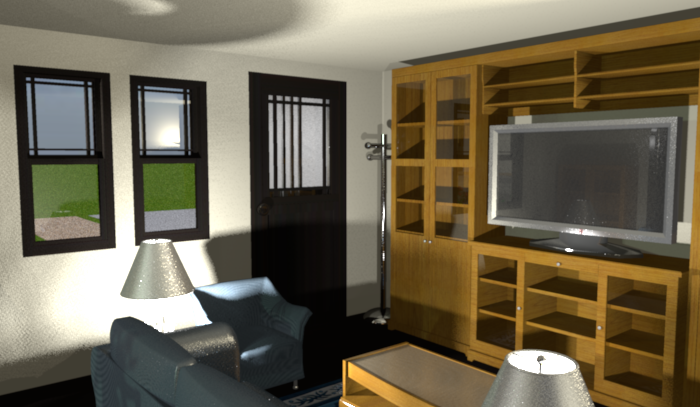
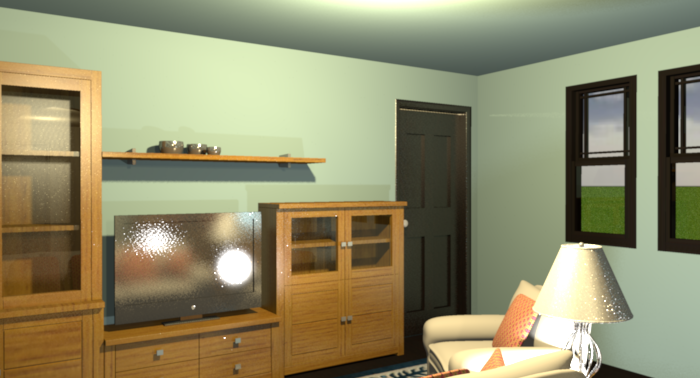
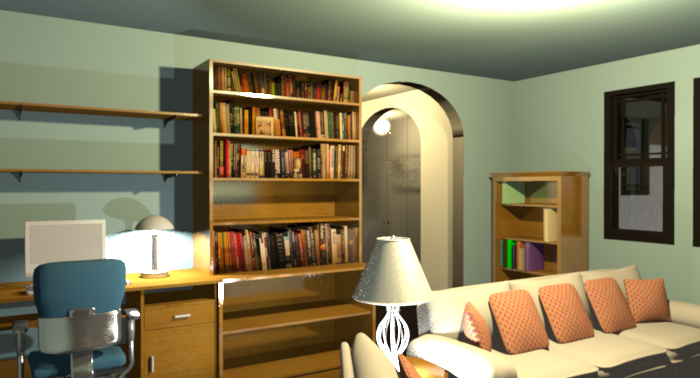
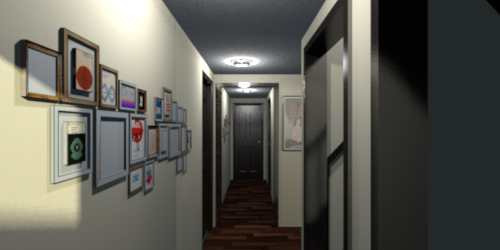
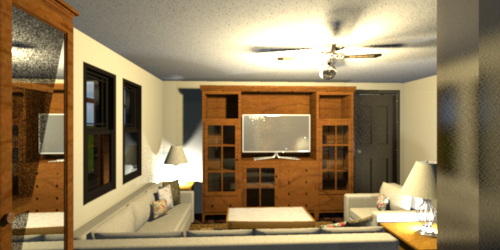
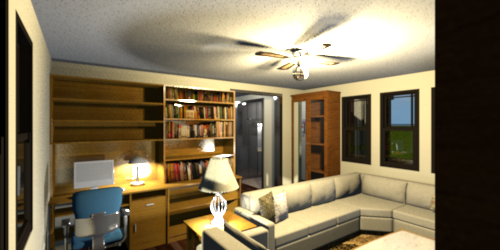
Family room, two different angles. I changed out the large-bit-size corner couch/armchair combination for the same furnishings below in the Front room (different textures used though), opened up the entryway from the landing/hallway area (I also opened up the hallway between Bedroom 2 and the Main bathroom to the landing/hallway area but none of the pictures I took show it), switched the placement Full bookcase and the enclosed bookcase so that there would be more room to walk behind the couch. I believe that's all the changes I made here.
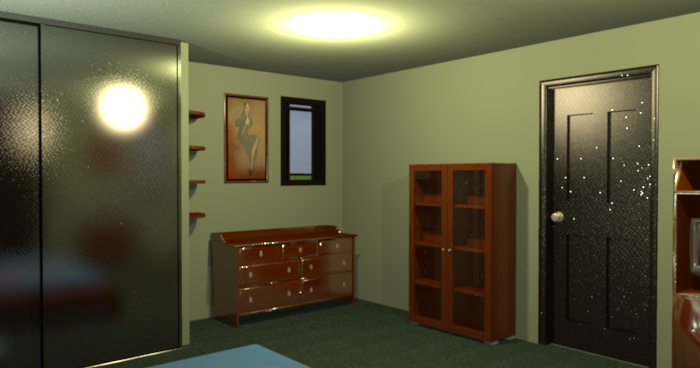
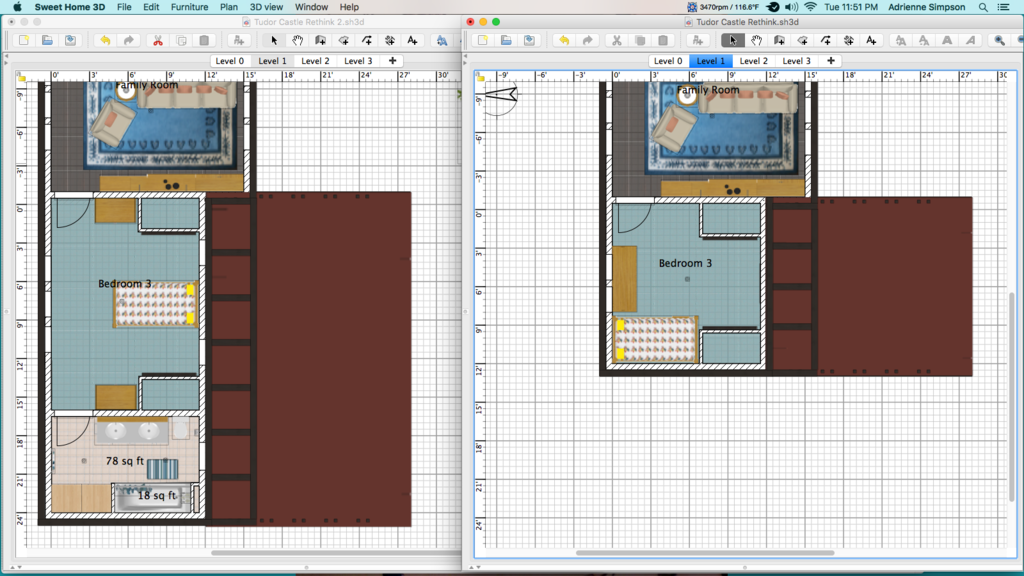
Bedroom 3 (the bedroom that would be for my roommates if this house were built for us). Changed the wall color and added the lamps on the nightstands. I believe that's all the changes I made here.
Bathroom 2 (en suite to Bedroom 3). I believe the only changes I made here was the wall color and the toilet paper dispenser.
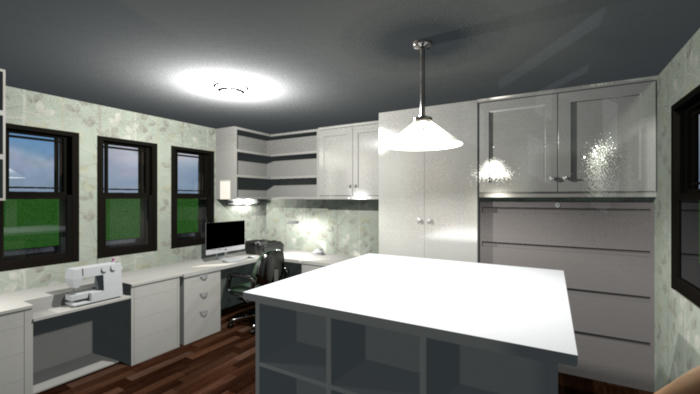
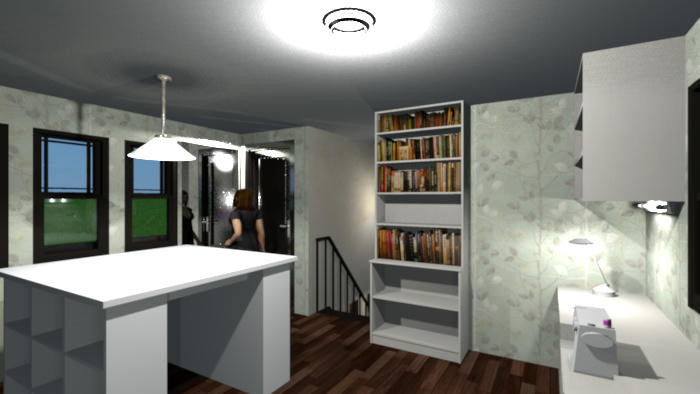
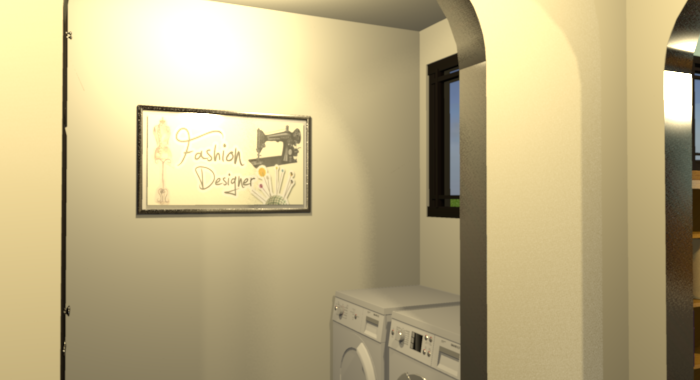
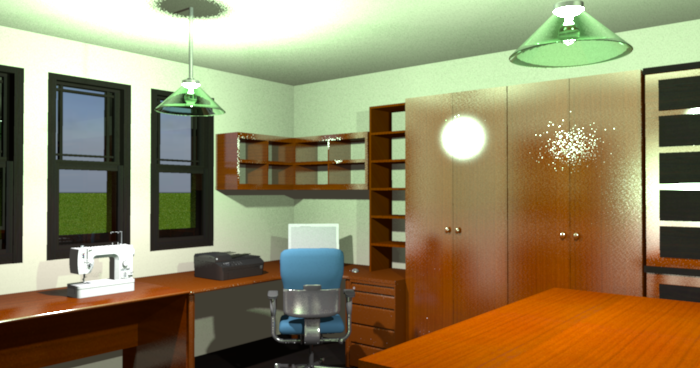
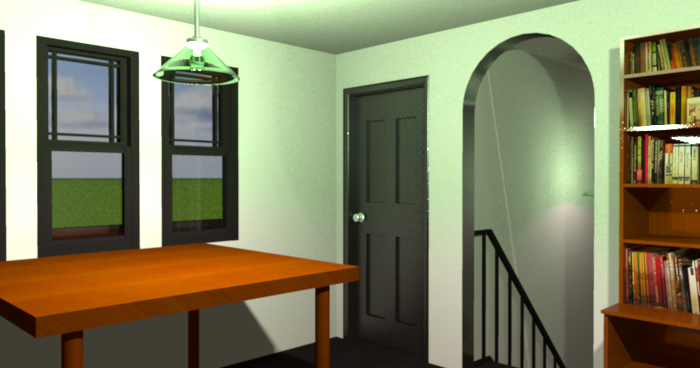
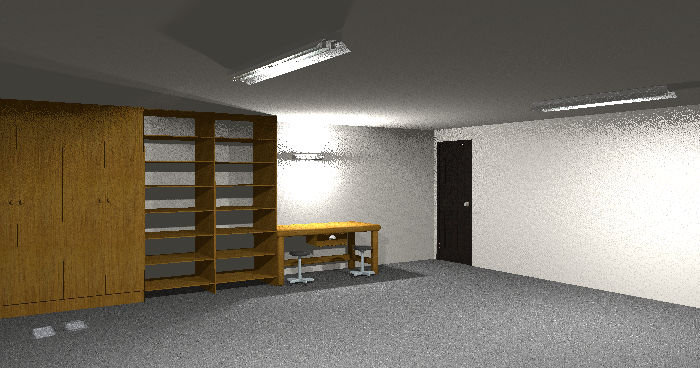
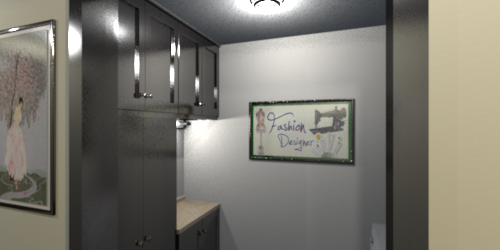
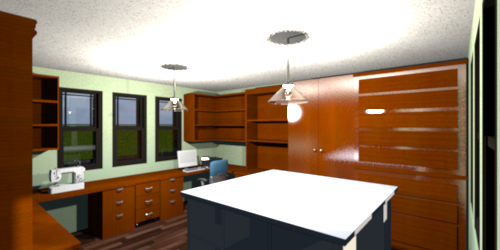
Sewing Loft. I opened up the entryway from the stairwell, took out one corner desk, corner shelves and hutch, and replaced it with the sewing desk, shelves and full bookcase, switched the large-bit-size sewing machine for the small-bit-size sewing machine, took out the high boy and replaced it with the filing cabinet and upper cabinet, took out the last hutch and replaced it with another upper cabinet, and switched the light over the mirror for the picture lamp. I believe that's all the changes I made here.
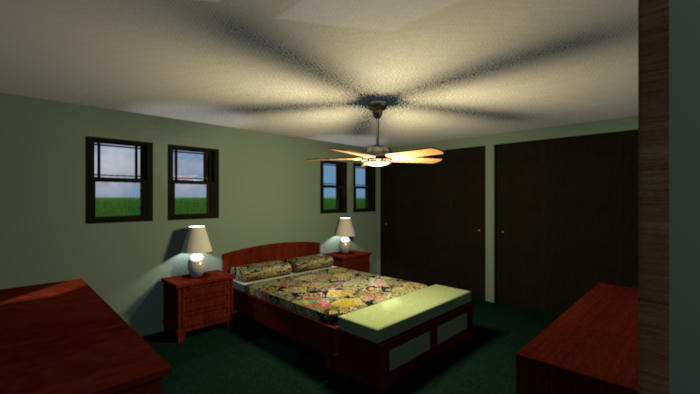
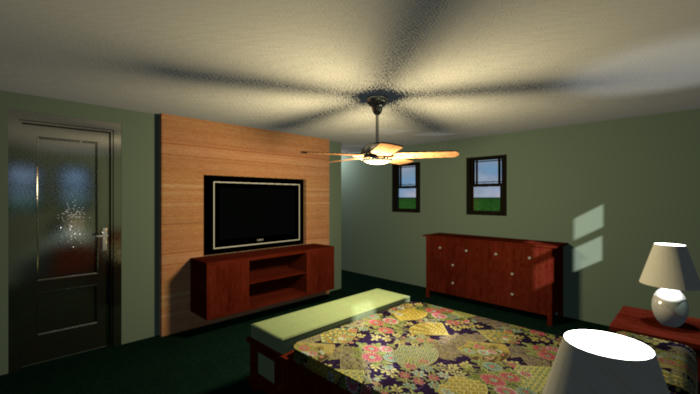
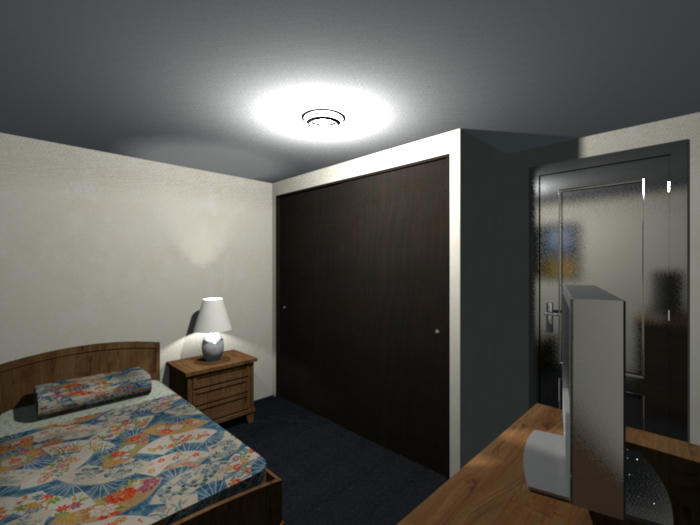
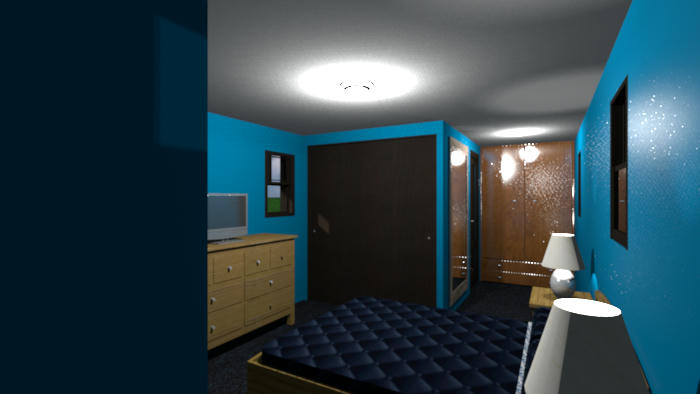
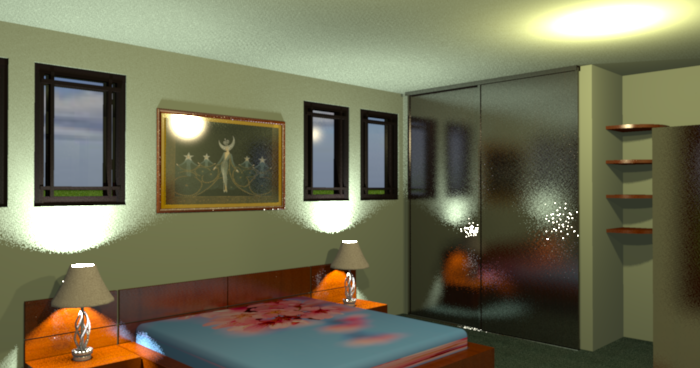
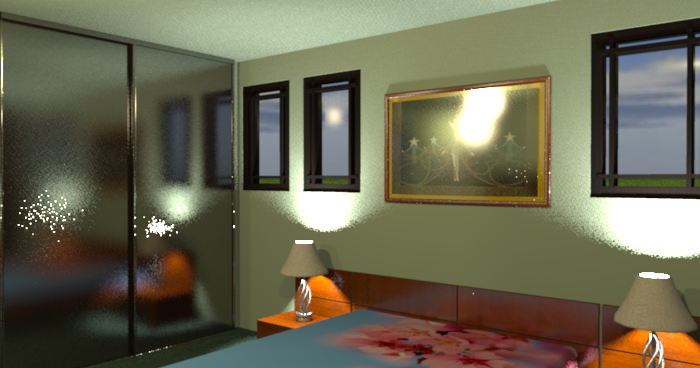
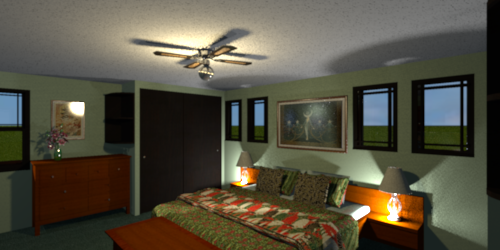
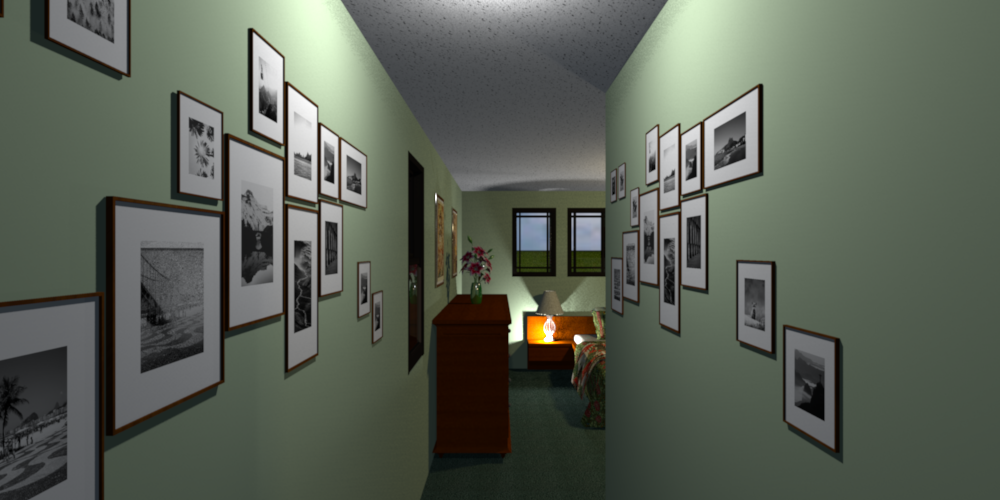
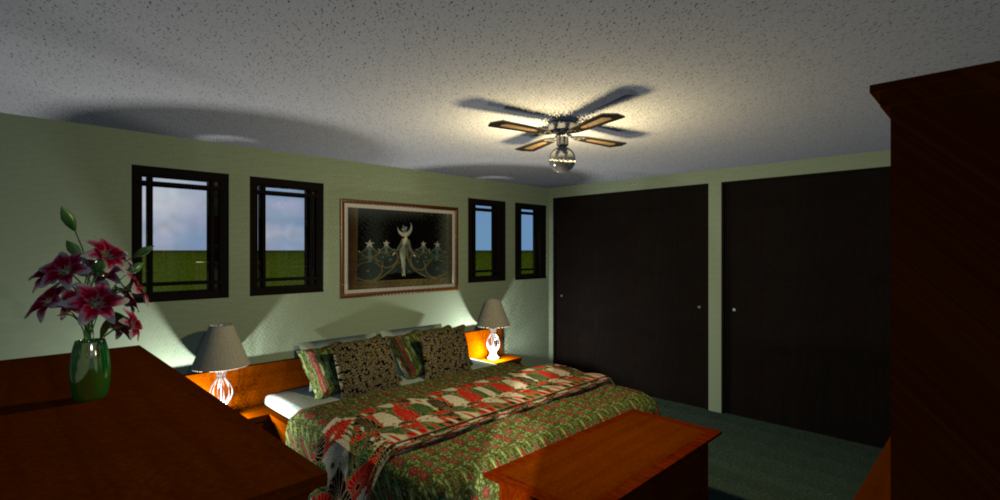
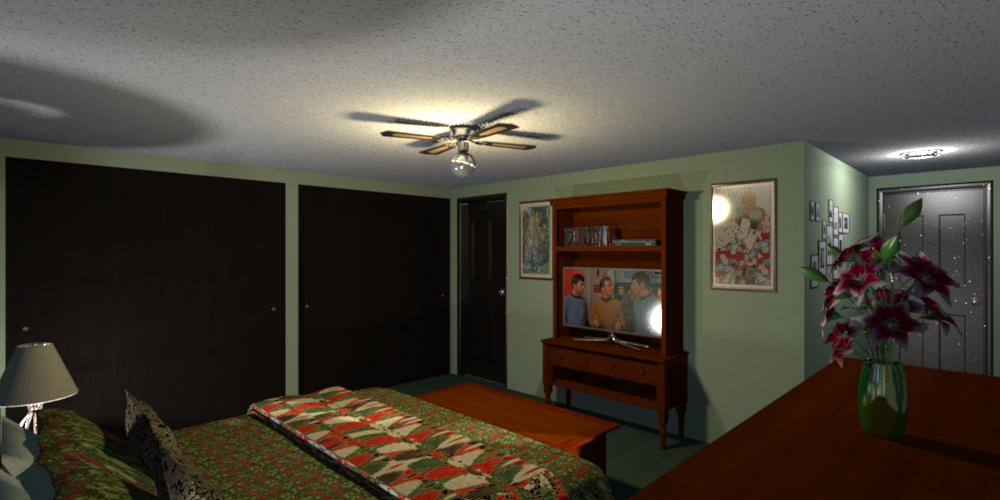
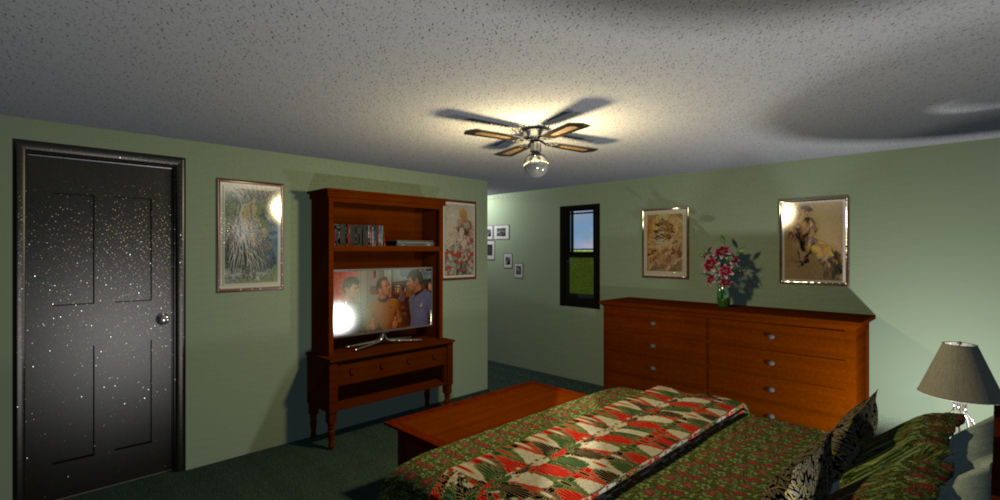
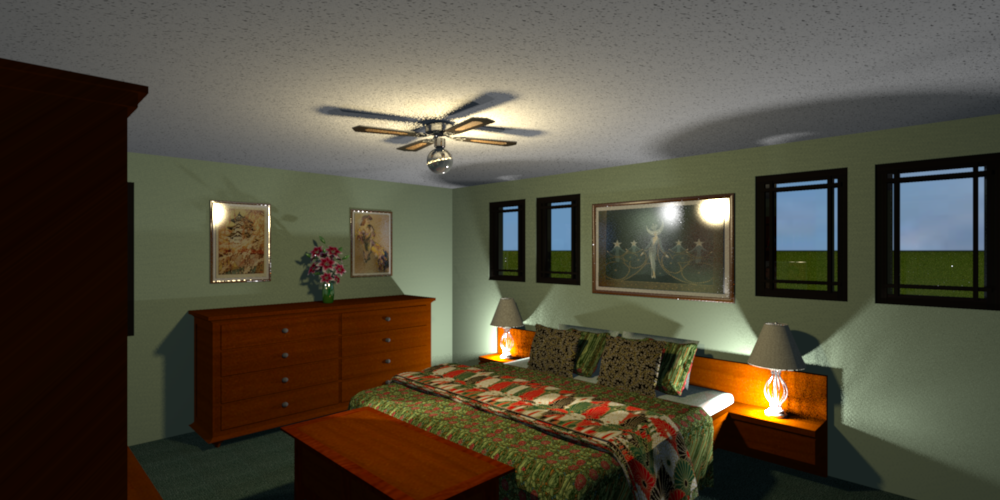
Master Bedroom (basically my bedroom, although it's larger than single me would need). Changed the wall color, carpeting and the textures on the bed, and added the lamps to the nightstands. I believe that's all the changes I made here.
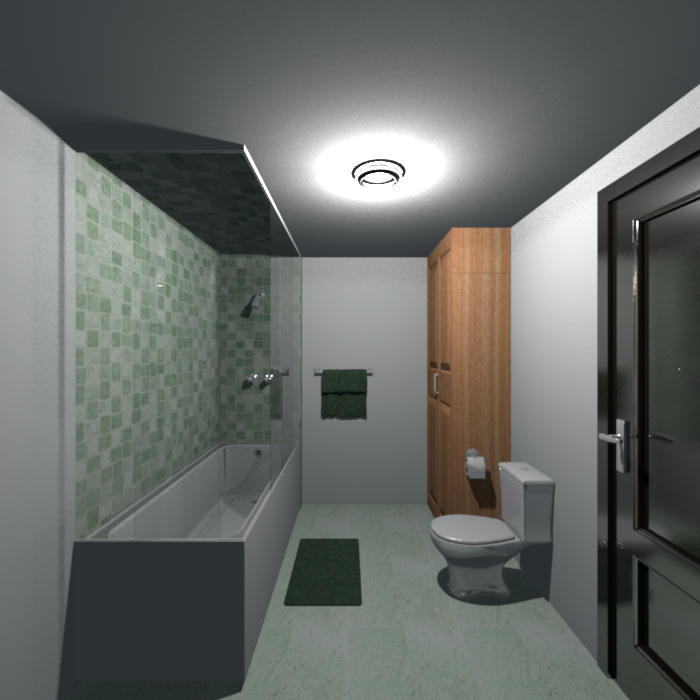
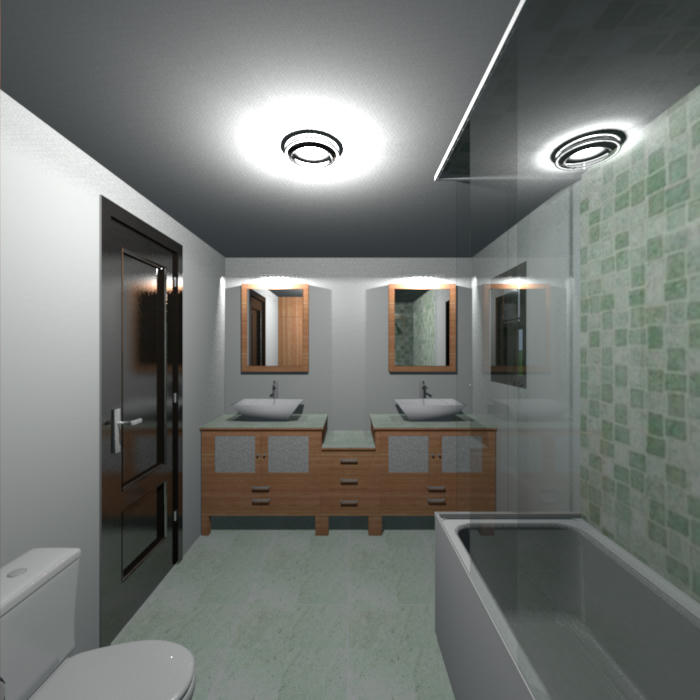
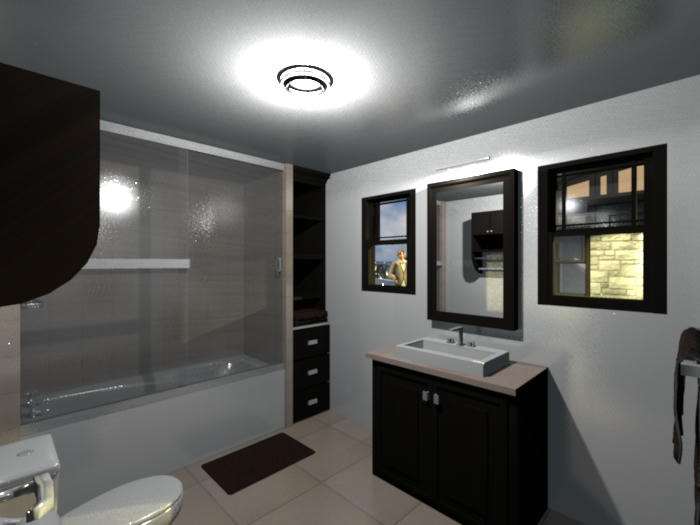
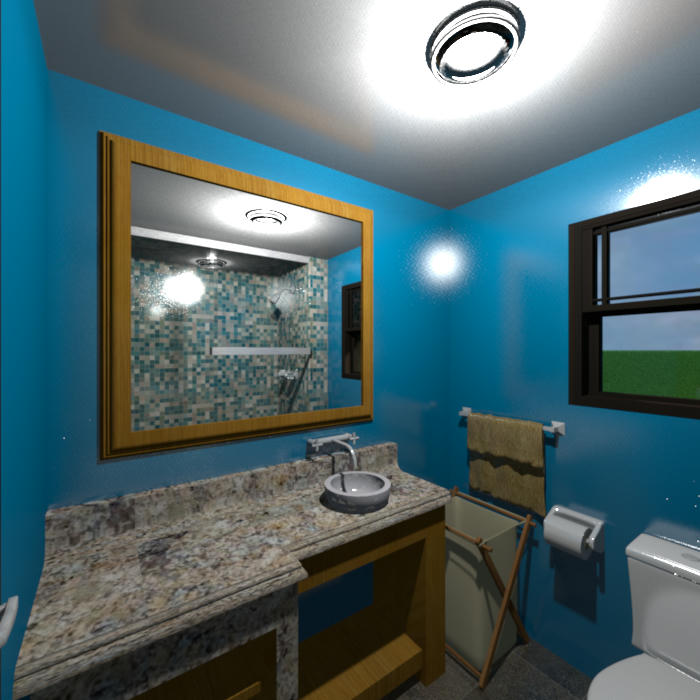
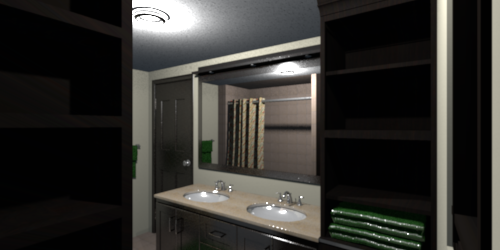
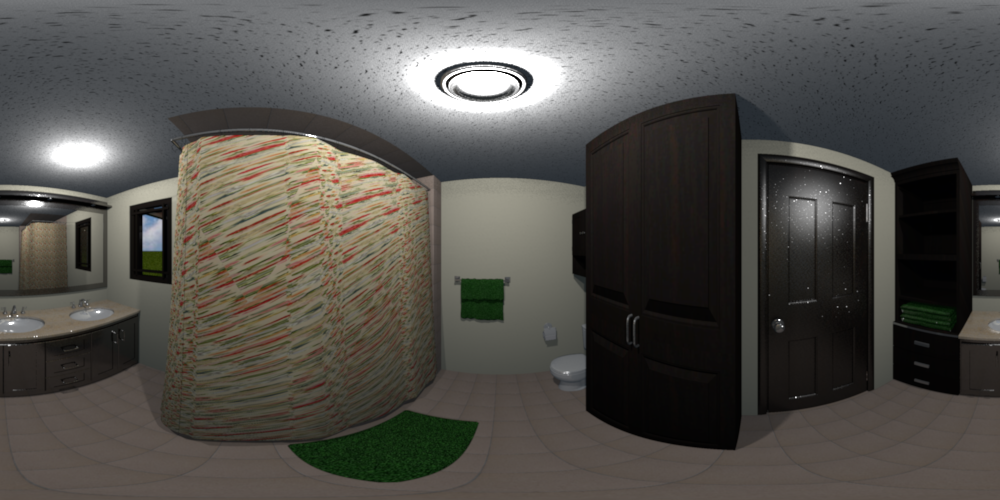
Master Bathroom. Enlarged the tiles around the bathtub, changes the wall color and floor tiles, and replaced the ceiling lights for the picture lamps above the vanity mirrors. I believe that's all the changes I made here.
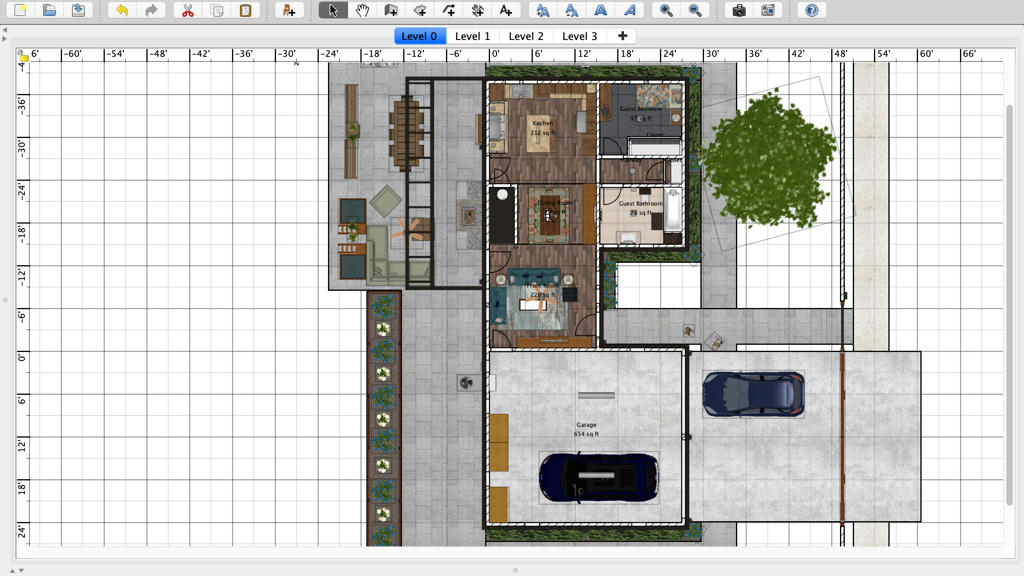
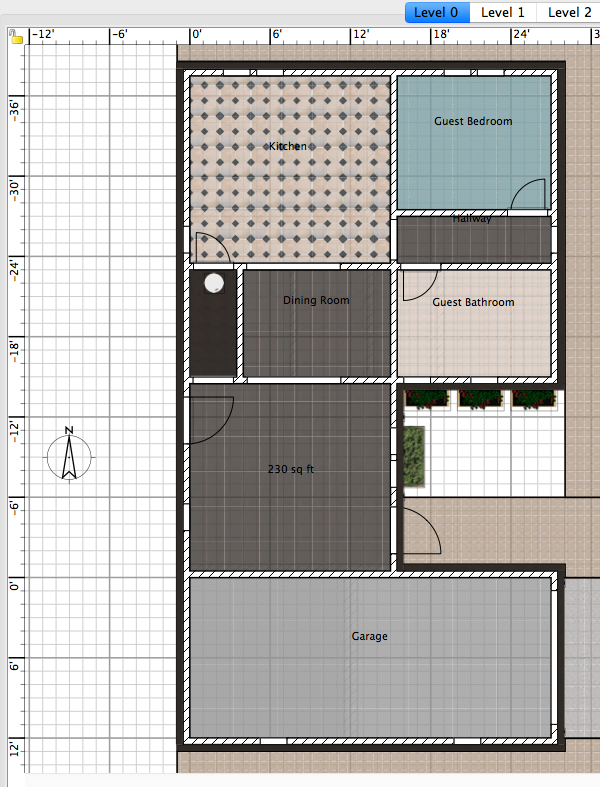
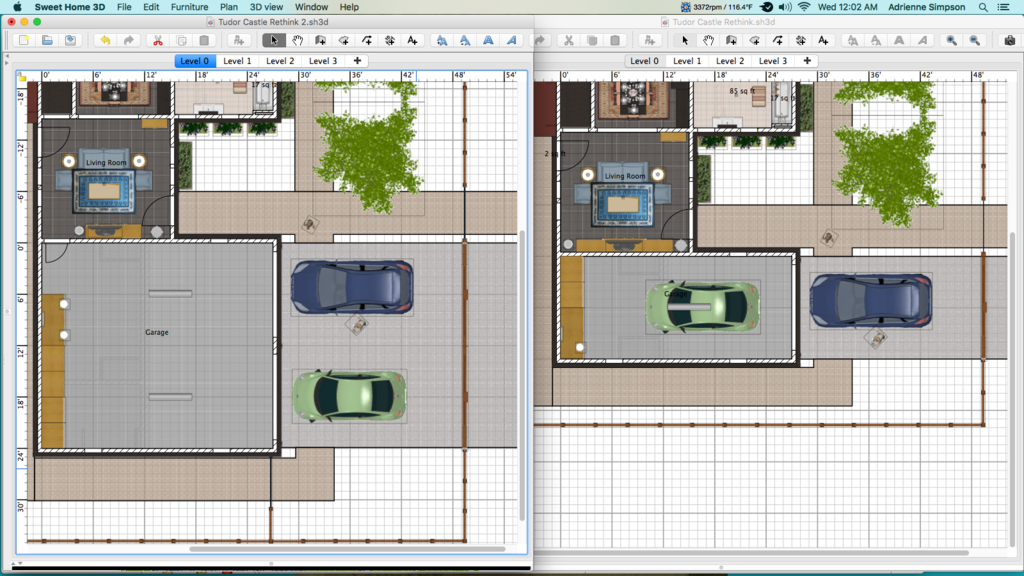
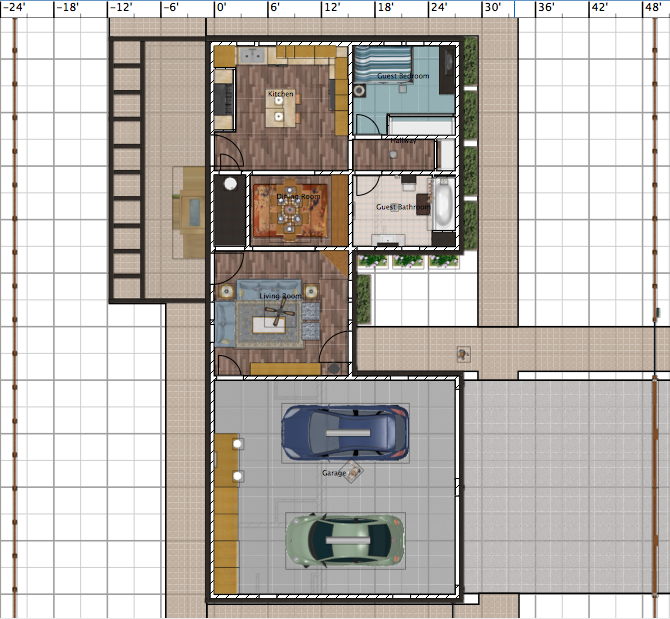
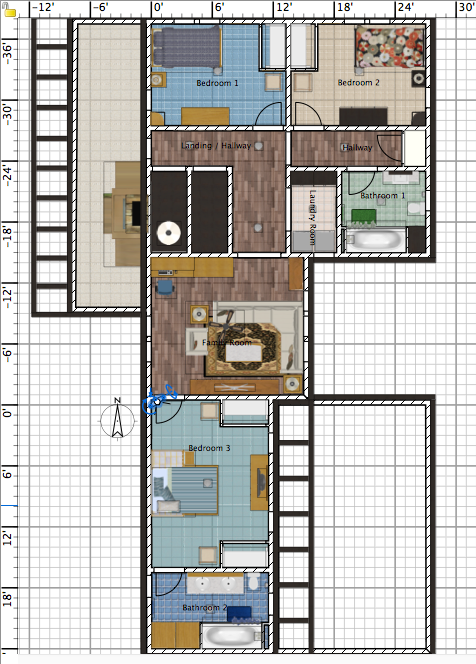
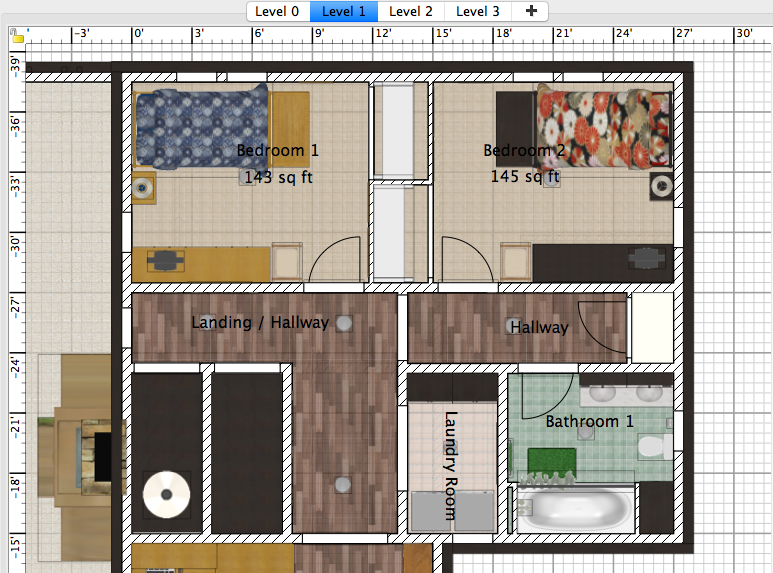
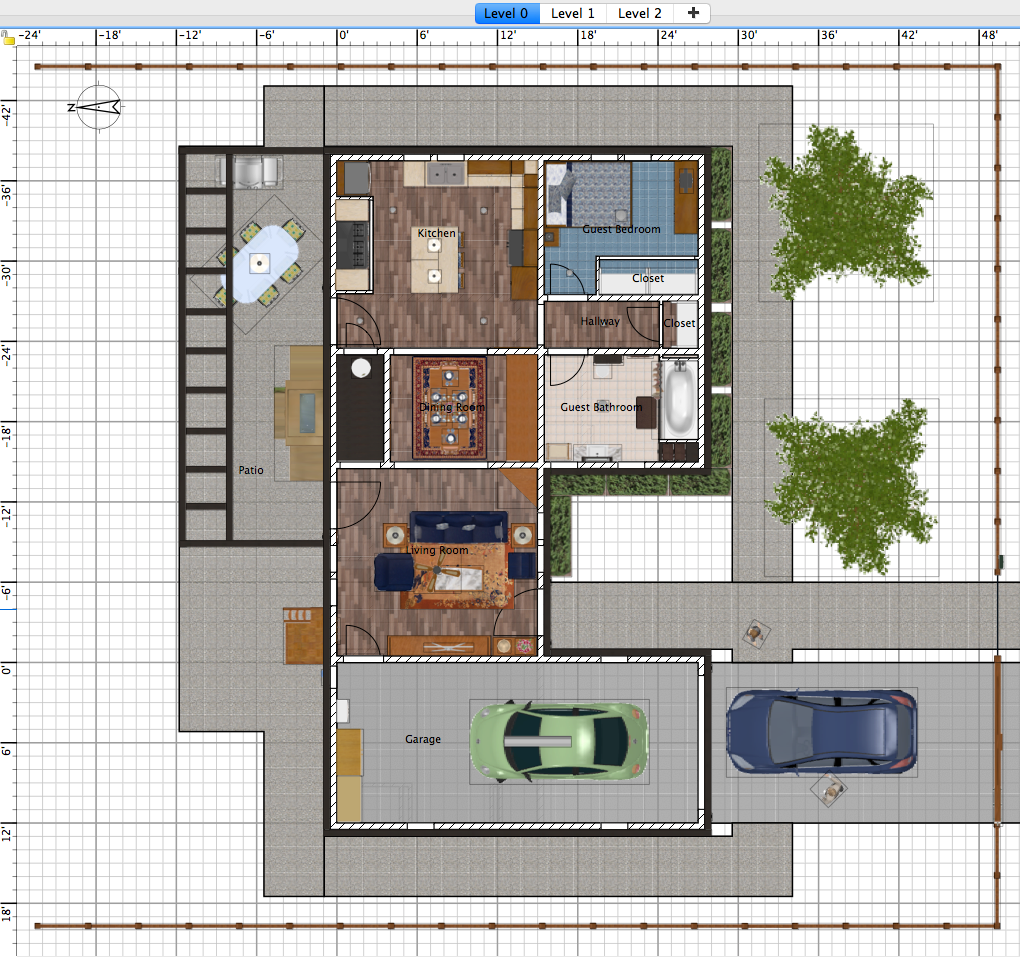
Main floor floor plan.
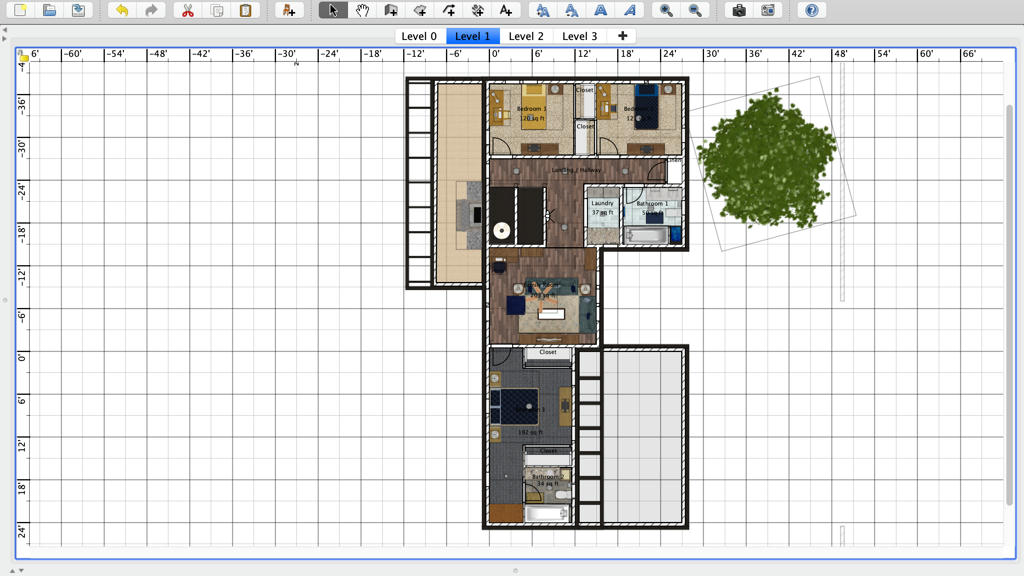
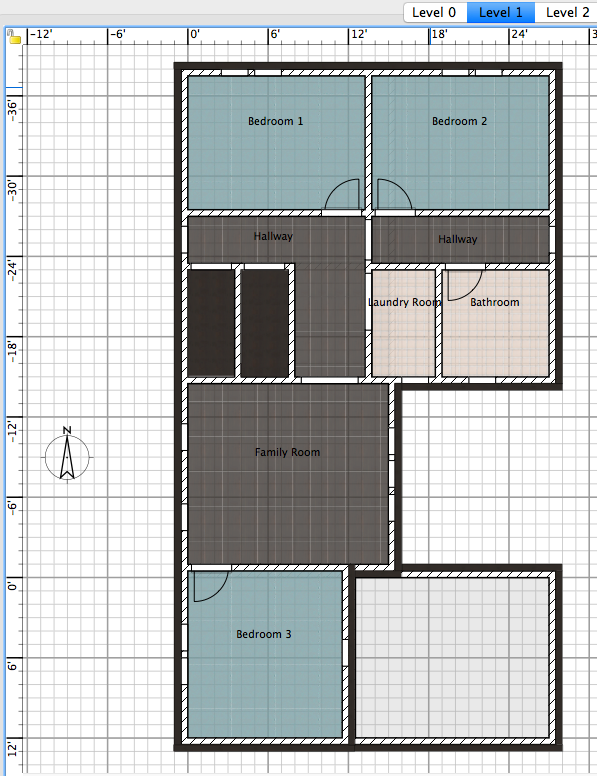
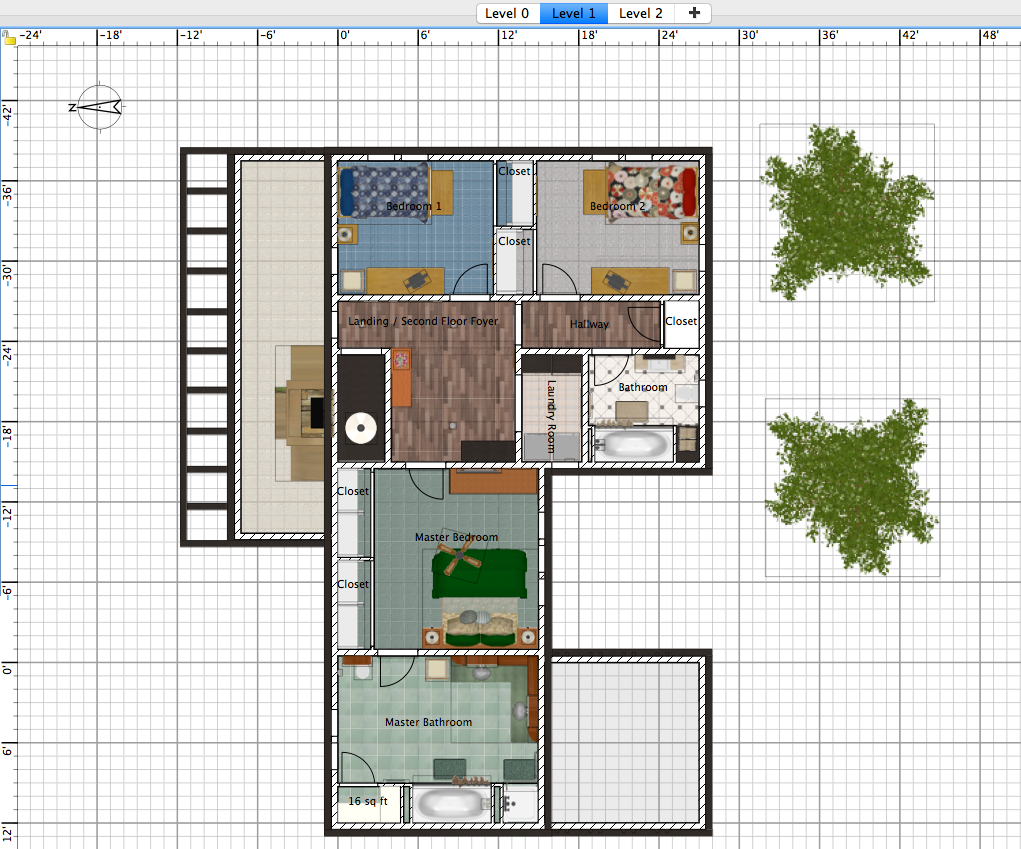
Middle floor floor plan.
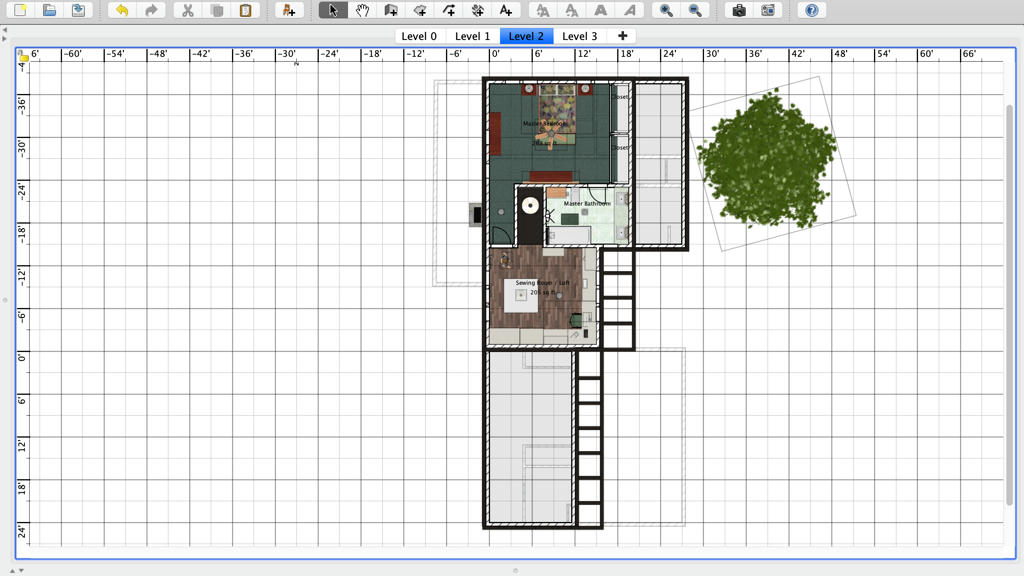
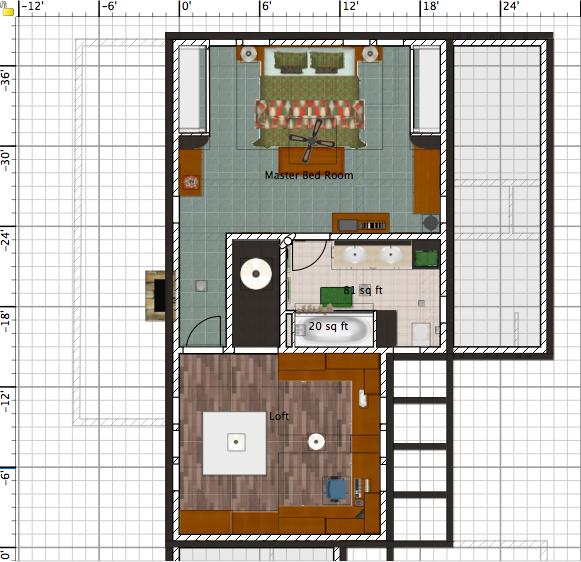
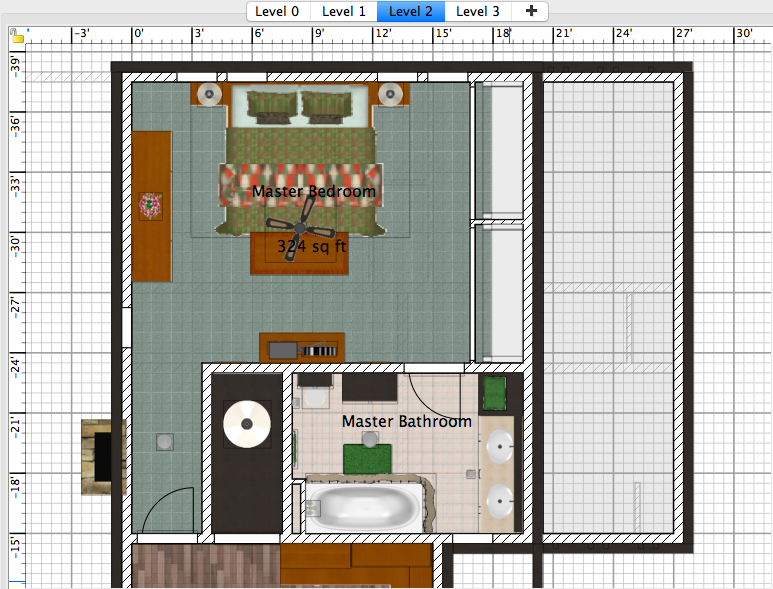
Top floor floor plan.
----------------------------------------
|


 ). I was working on different projects as well as being out of town for a while.