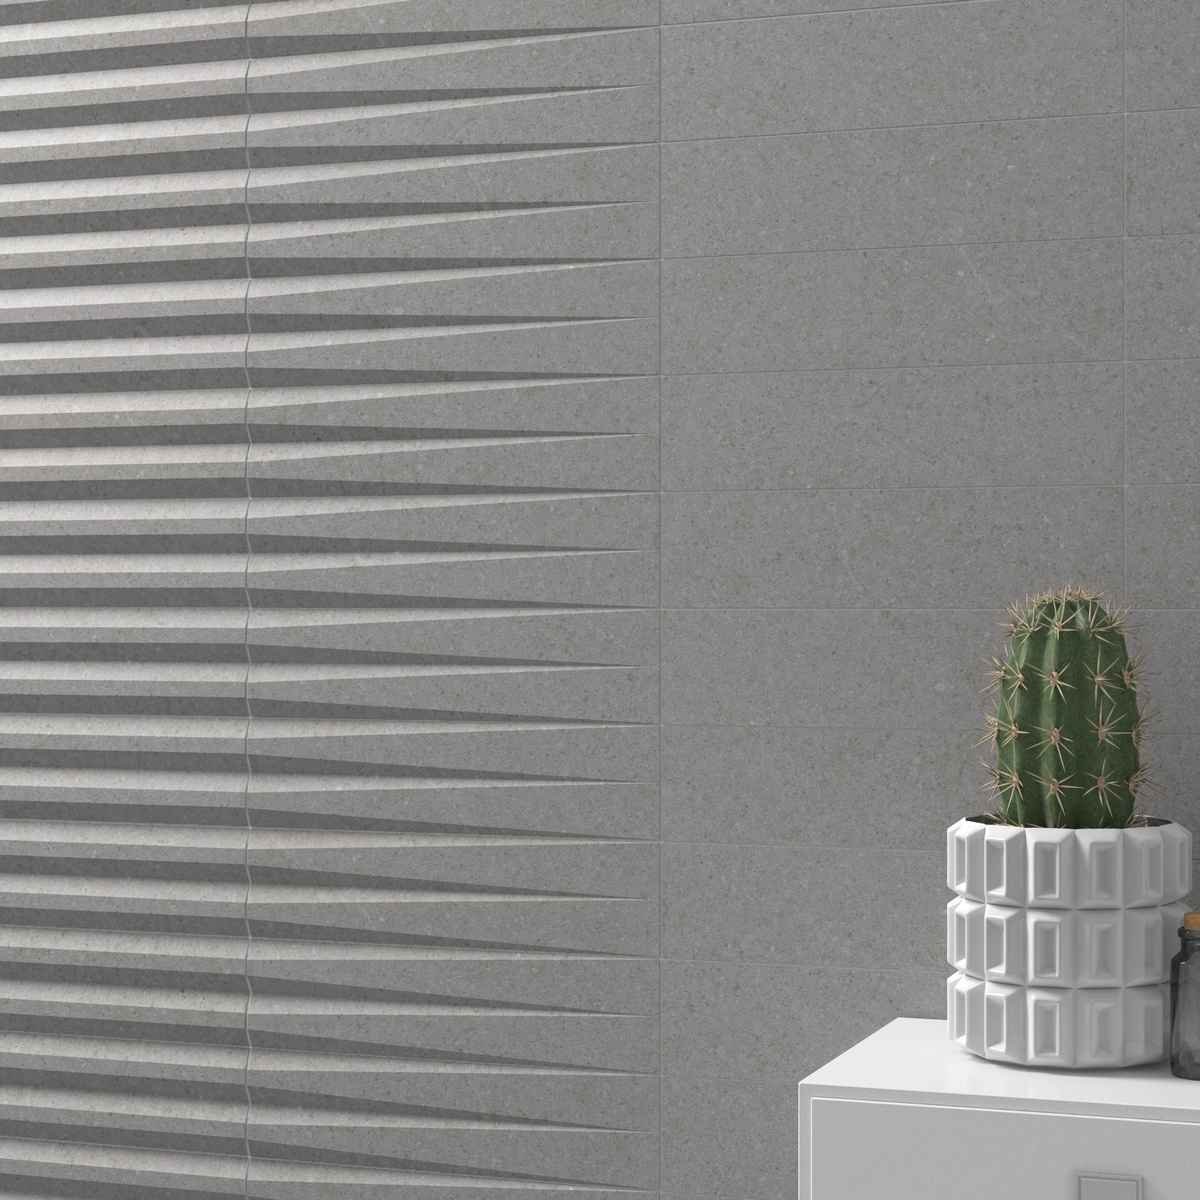
I’ll start with the tile above the kitchen countertop. I took the Stripes collection from the WOW factory.
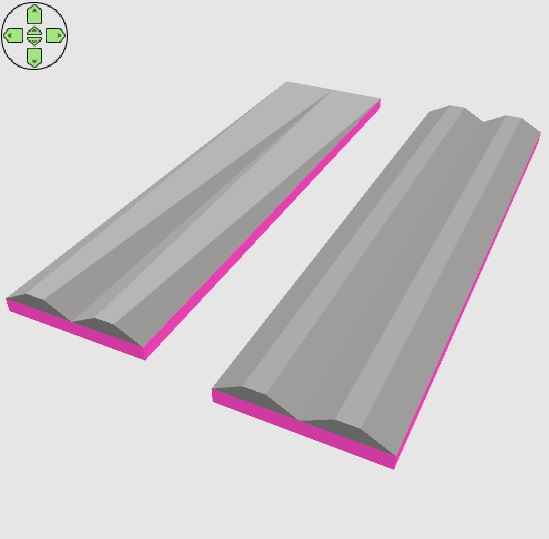
There are three tile shapes. I cut each shape into two parts along the tile and modeled the individual parts using the Generate 3D Shape tool. Export to OBJ — import back. I got tiles of the required shape and size, which can now be rotated 90 degrees along the Y‑axis. Each tile is 7.5 cm x 30 cm. Now I need to put them together into the required composition. These tiles have no gaps. But after the entire composition is assembled, a very important trick needs to be performed. Each tile (to do this, select all identical shapes) needs to be reduced in two dimensional dimensions by exactly 0.2 cm (2 mm). This automatically creates gaps of 0.2 cm everywhere. This is a fundamental trick that simulates a tile seam. For working with artificial intelligence, this gap is sufficient, but you can overlay a thin box of a different color on the entire group, and then the SH3D render will already show colored seams between the tiles. But I’ll repeat — this is not necessary for AI; it already understands that this is grout in the joints, even if there are only gaps of 0.2 cm.
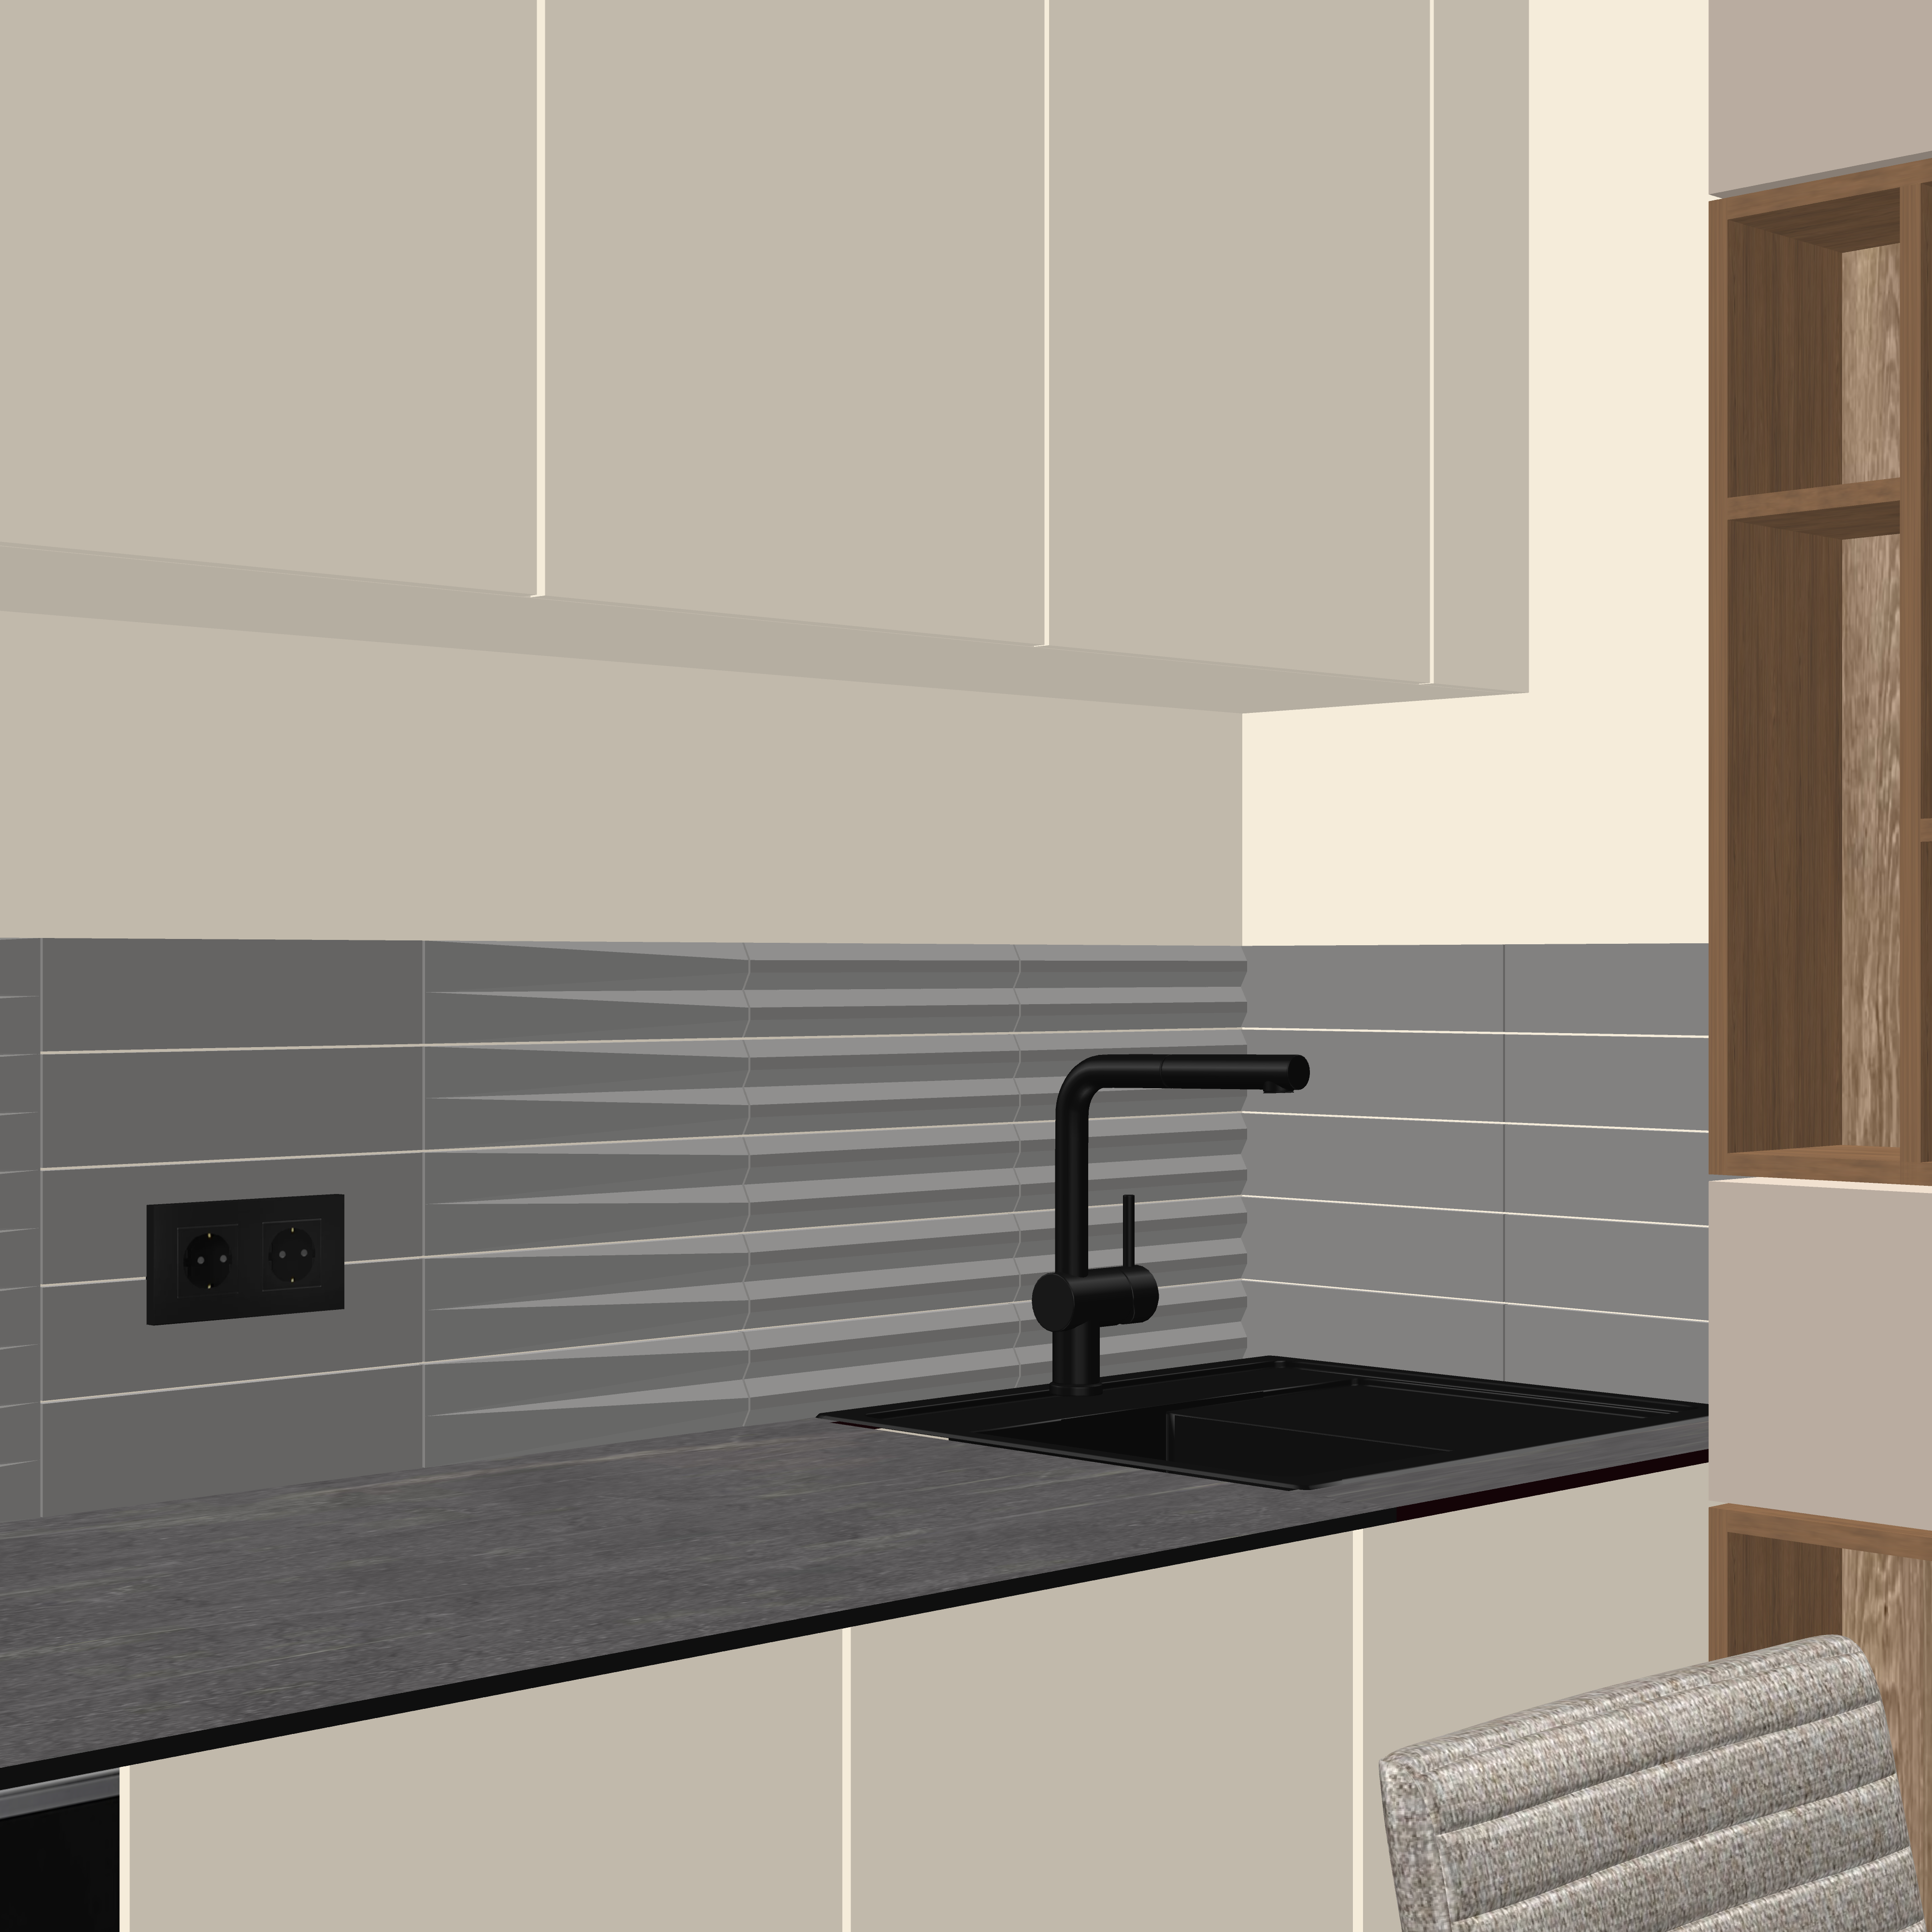
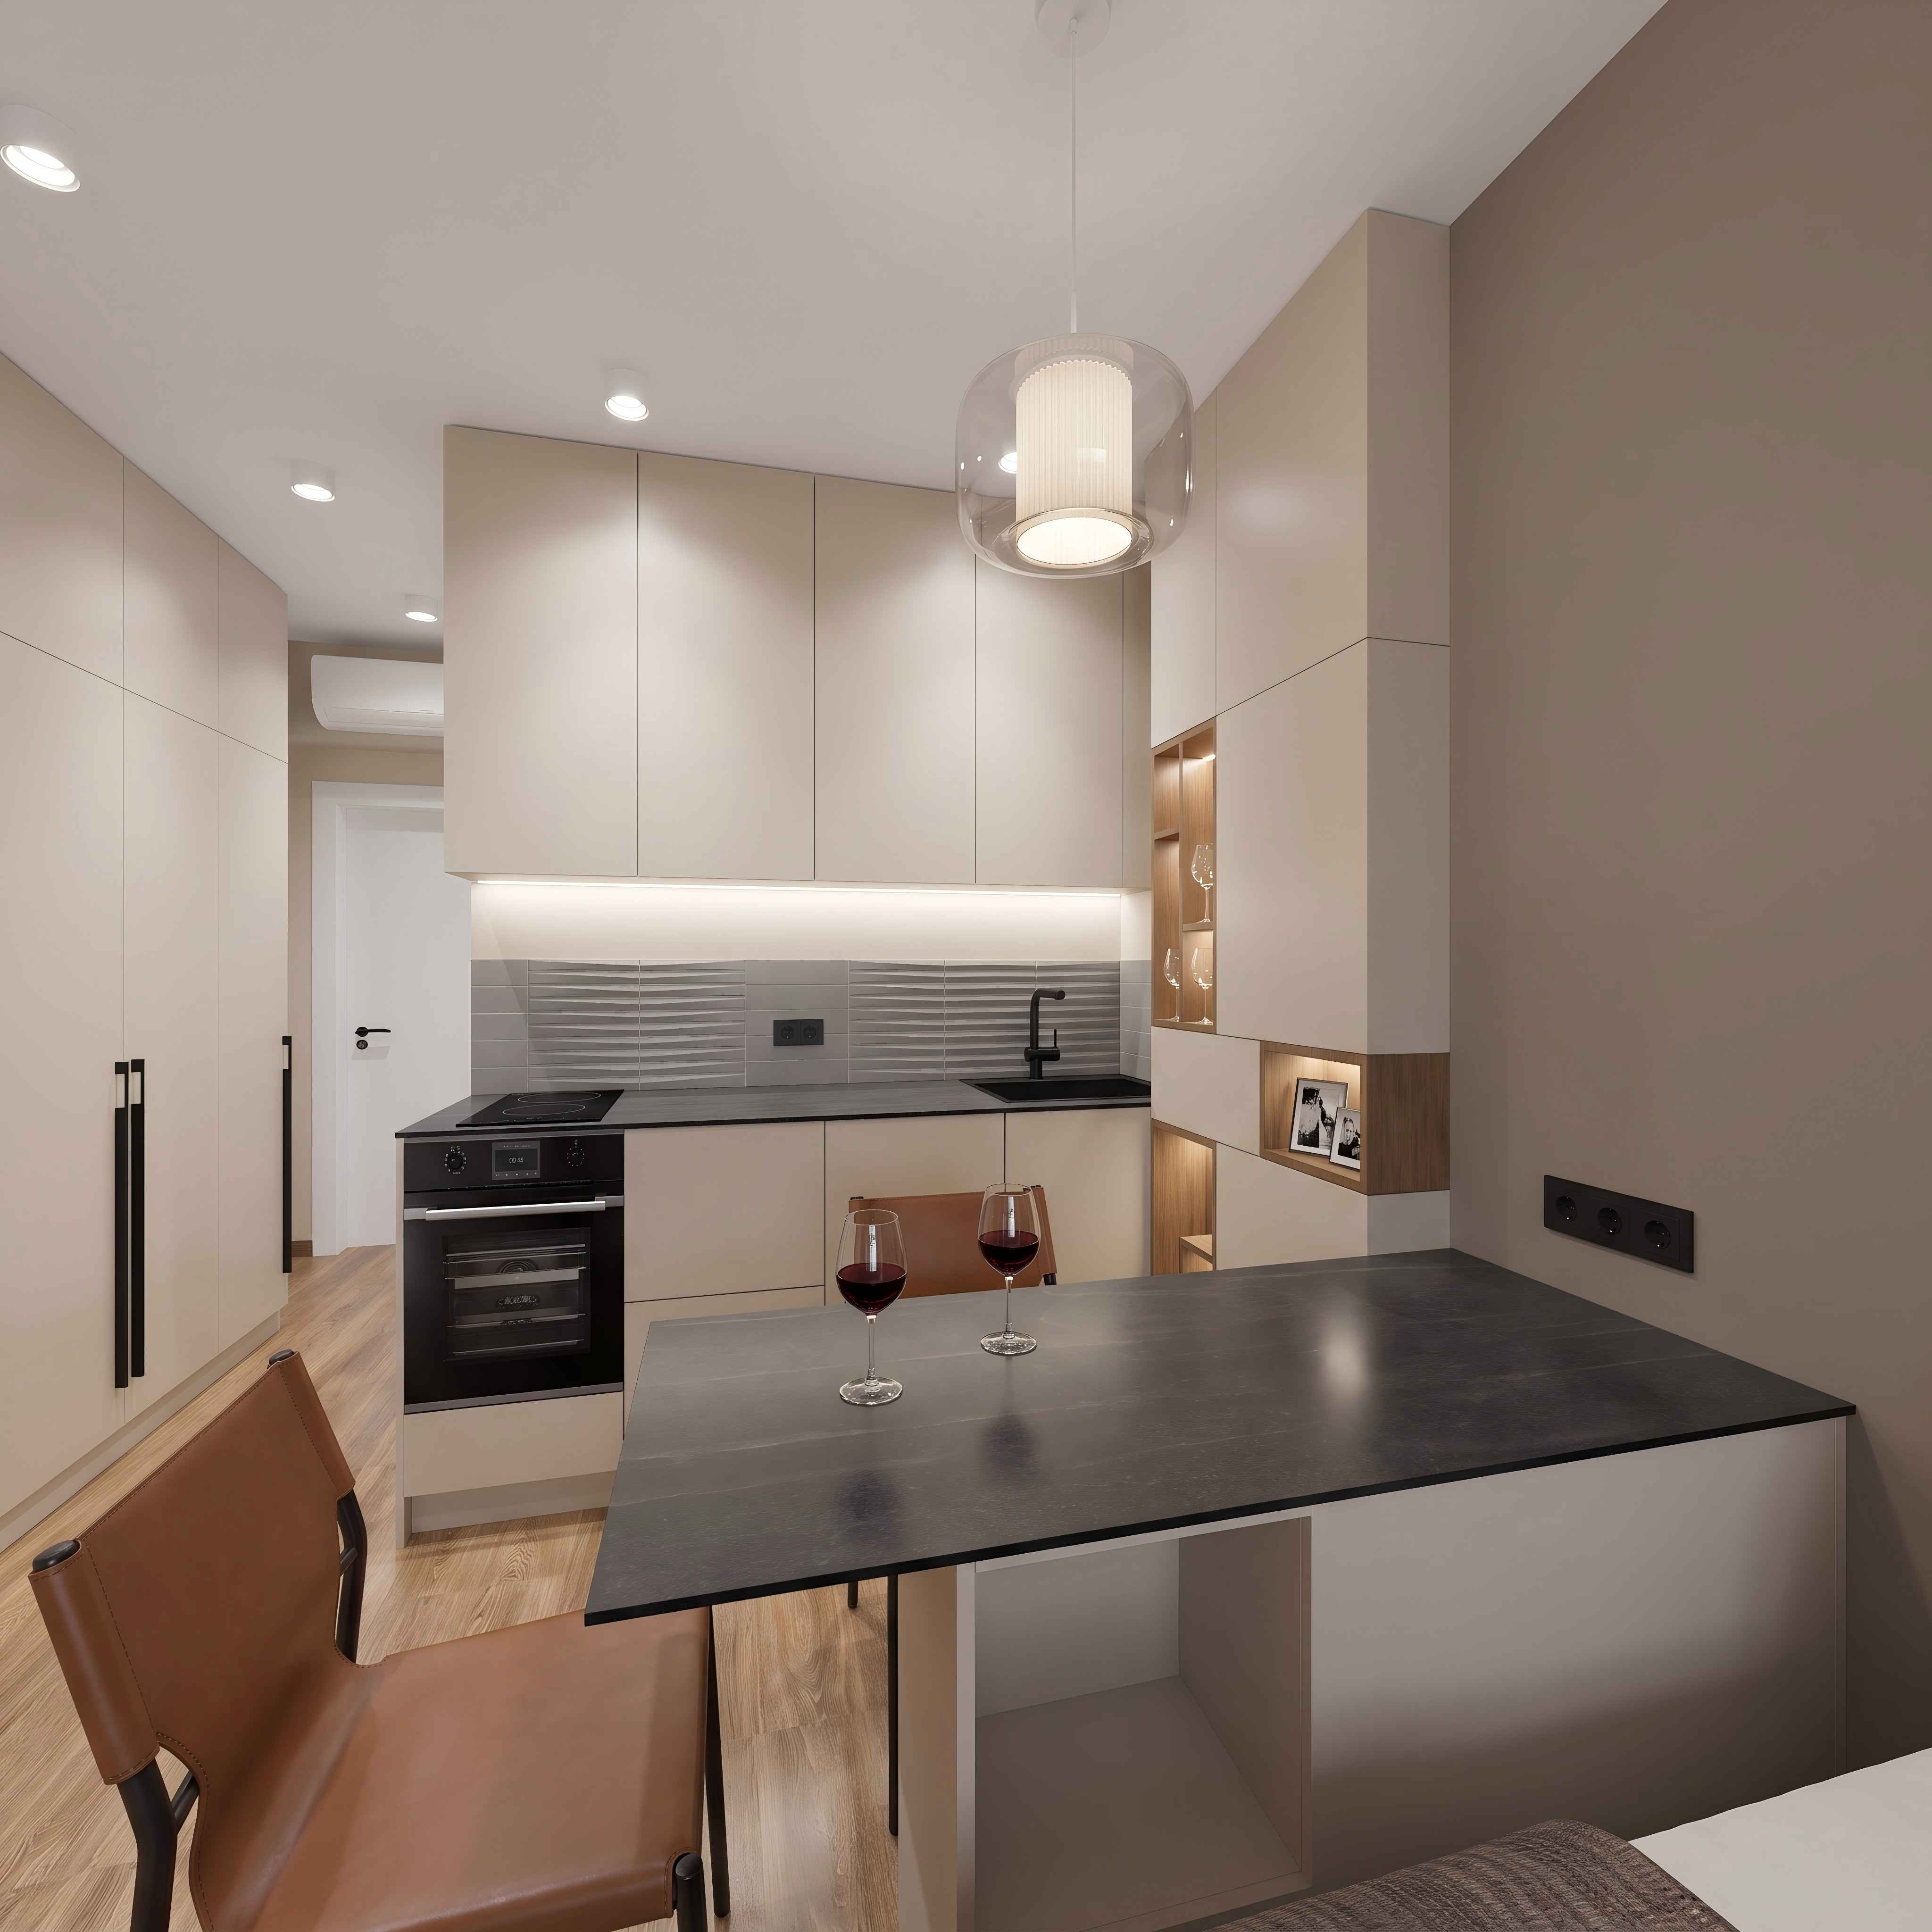
After processing in AI with a lighting description, you get this kind of render, which can be used as the main one for communication with AI. For renders, I use the Nano Banana model.
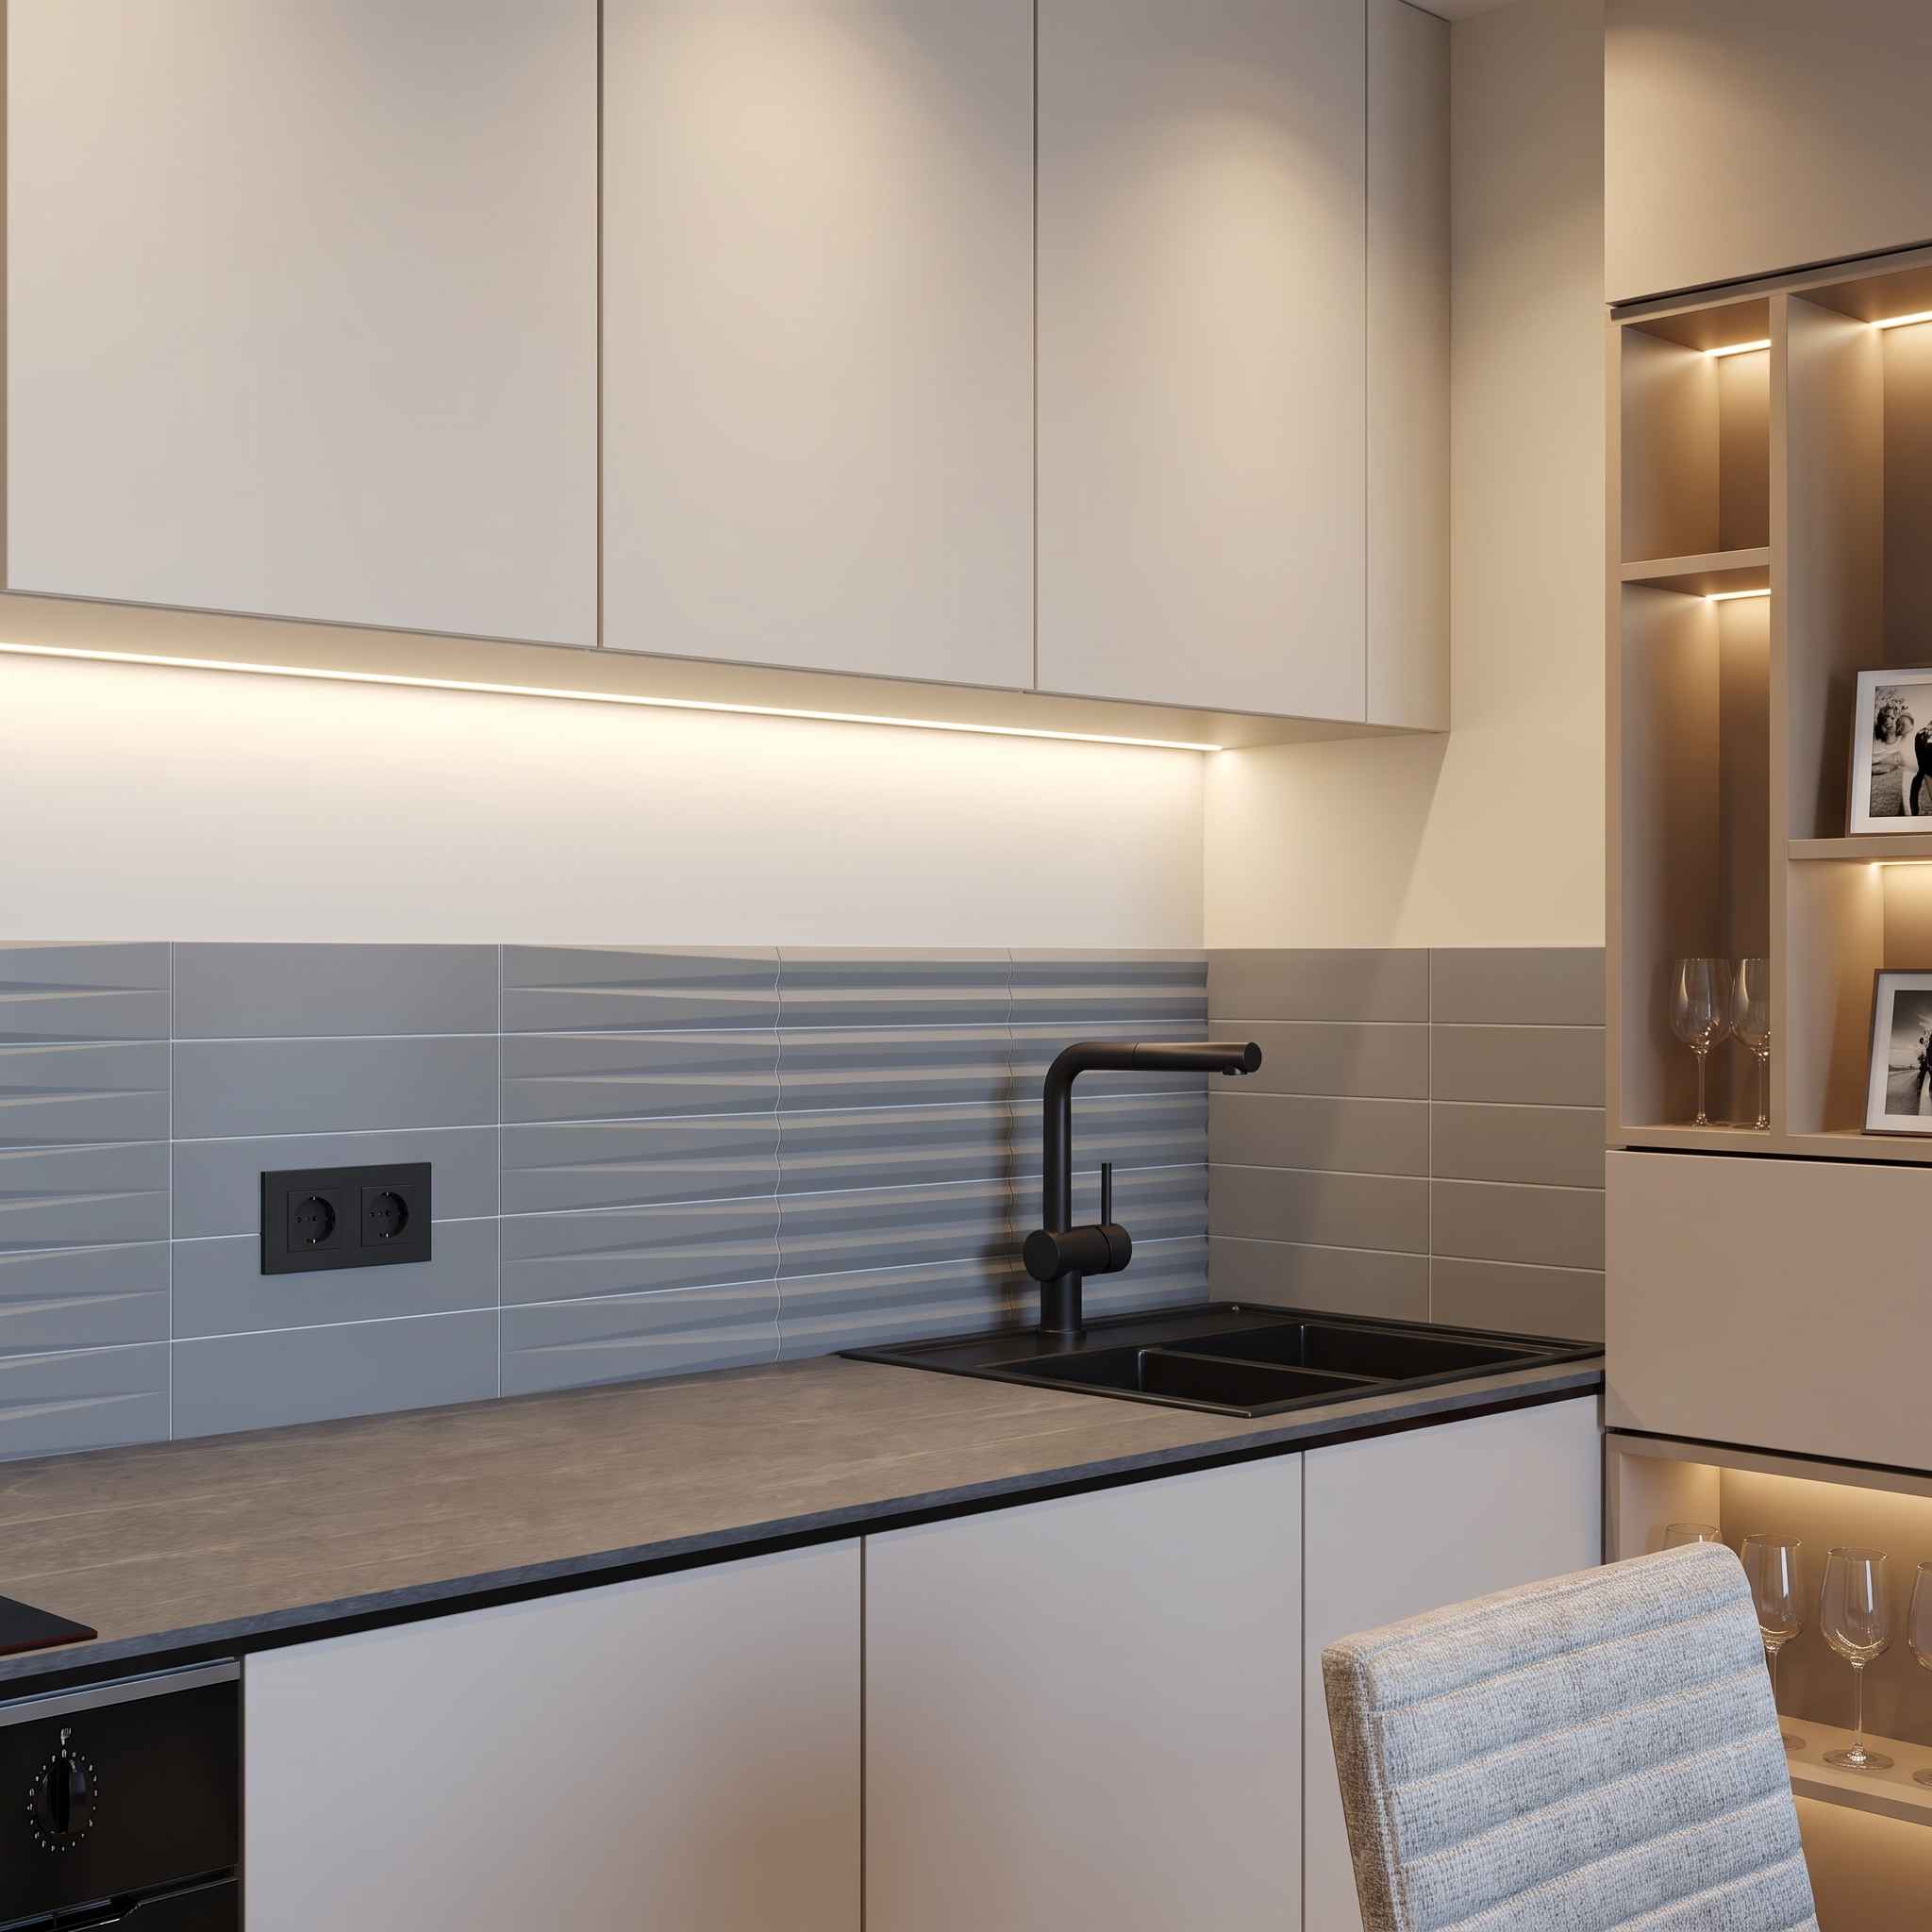
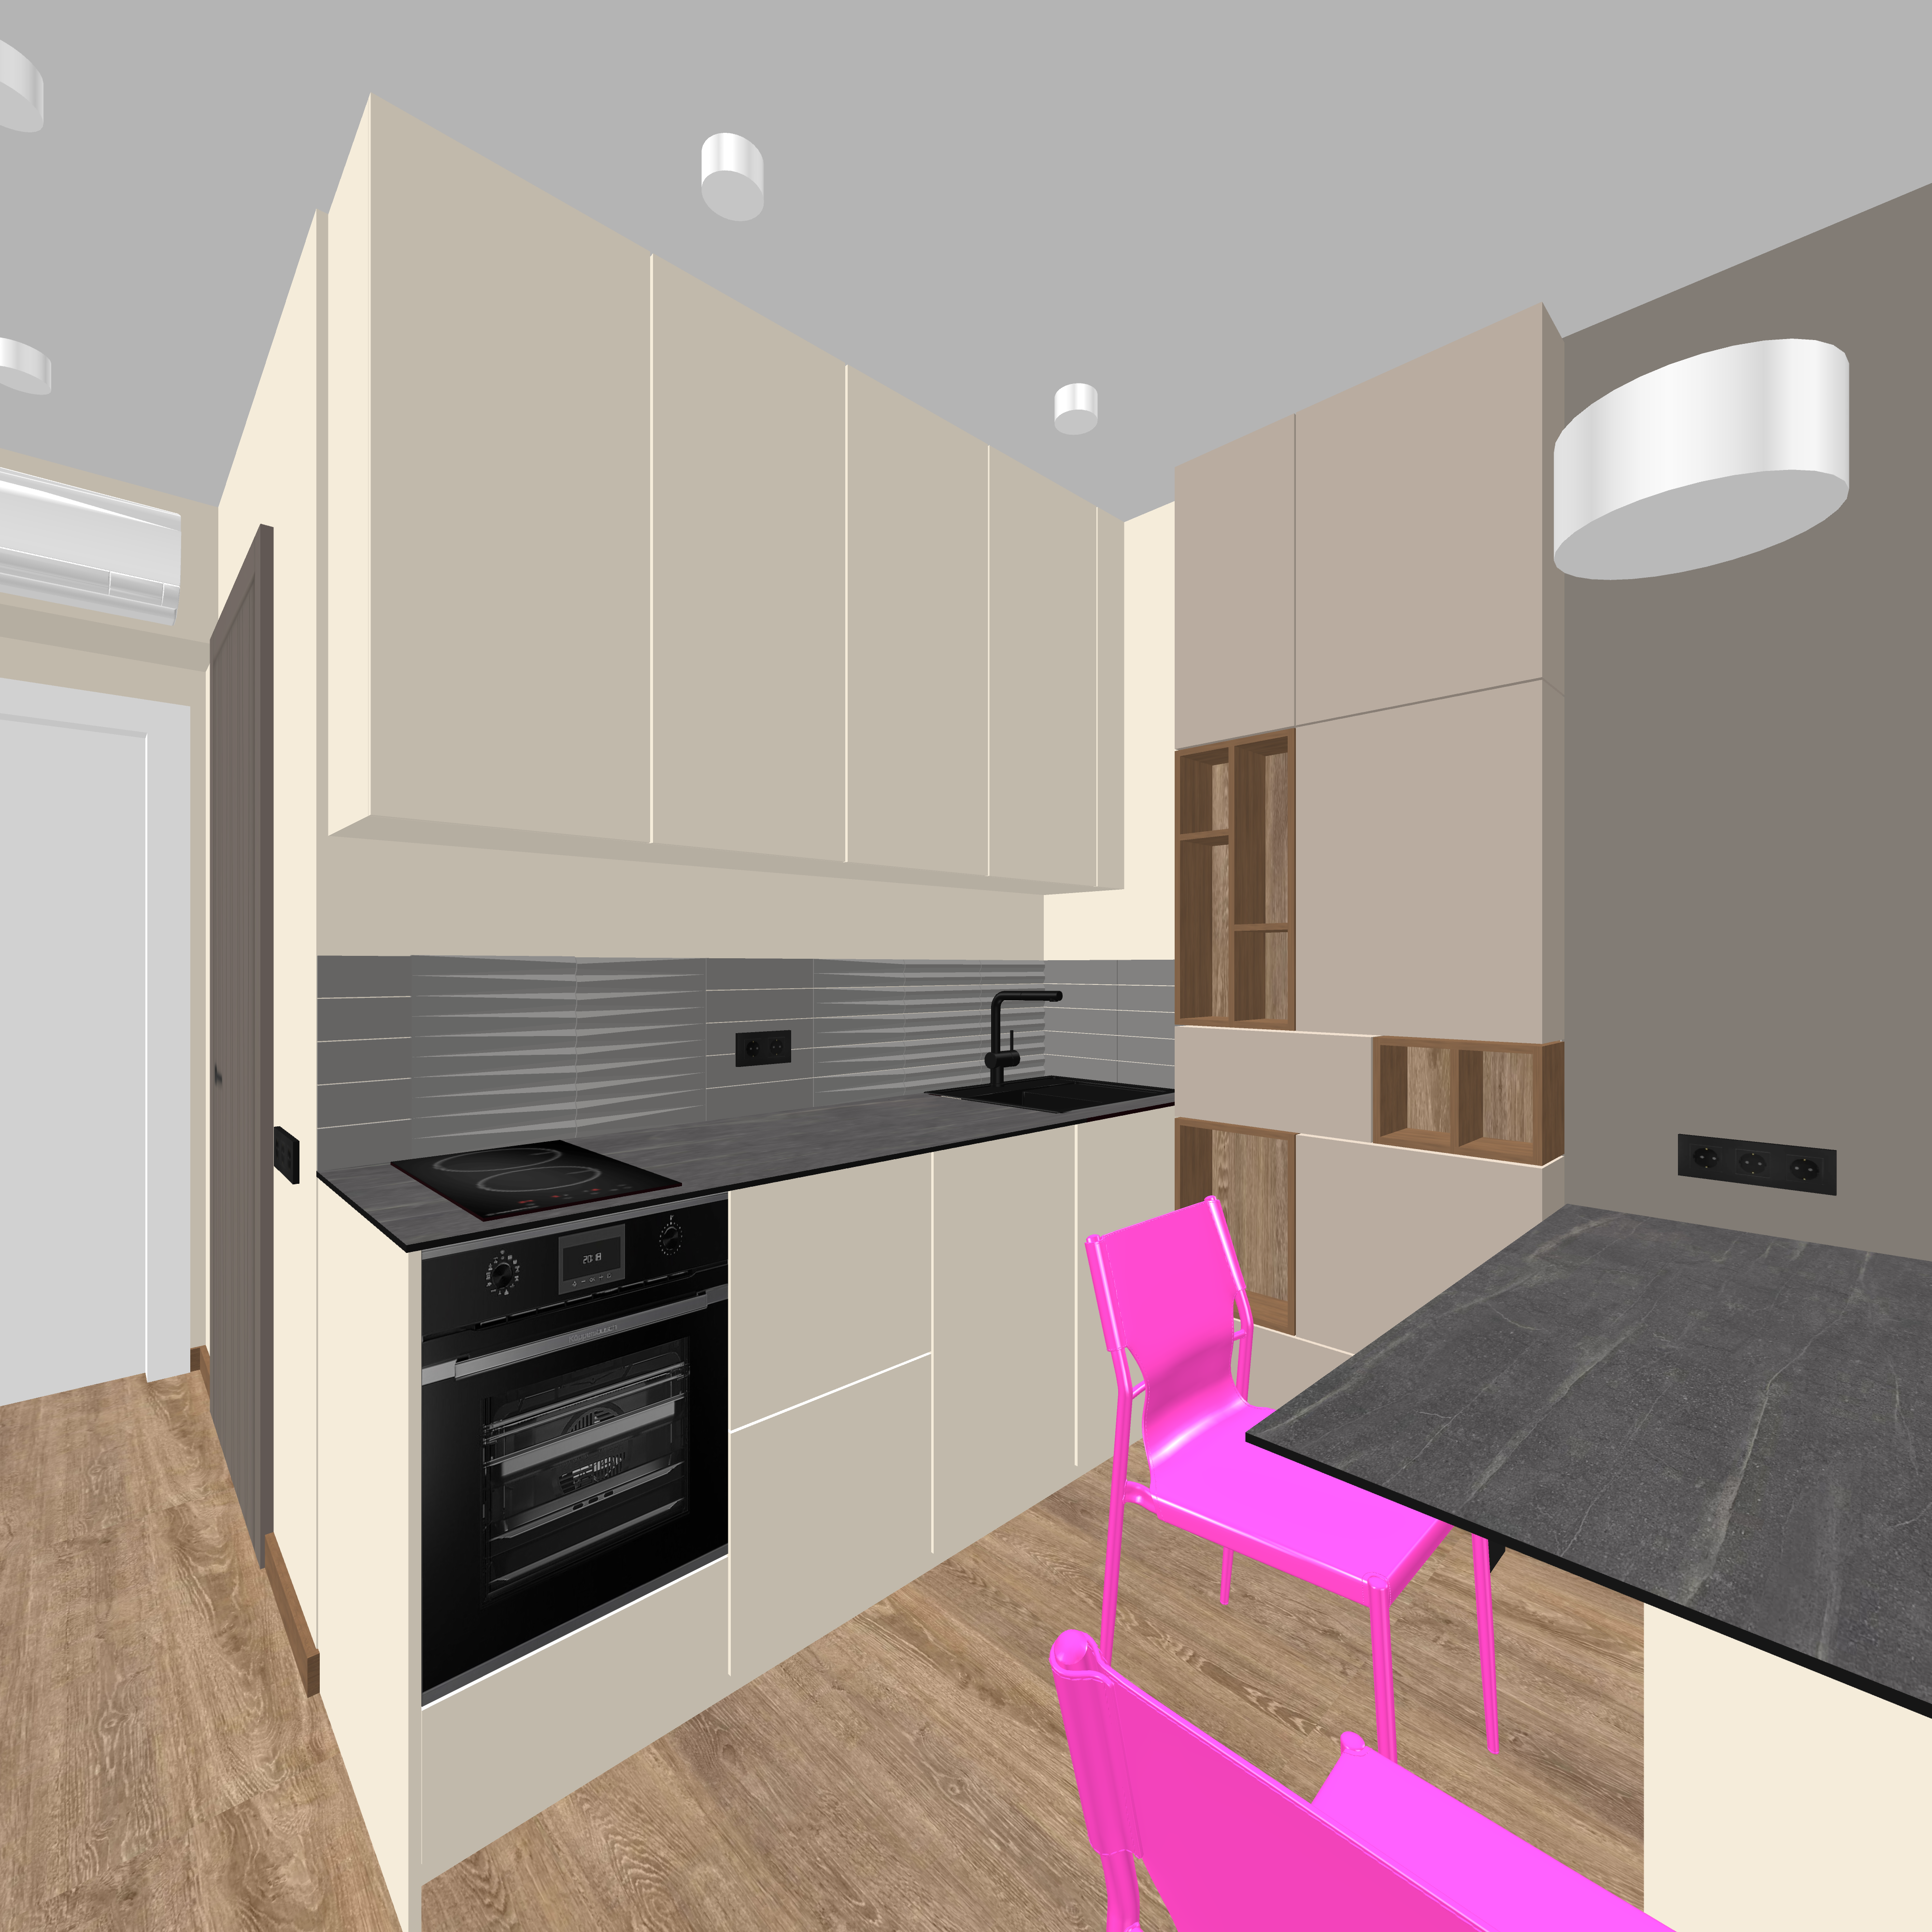
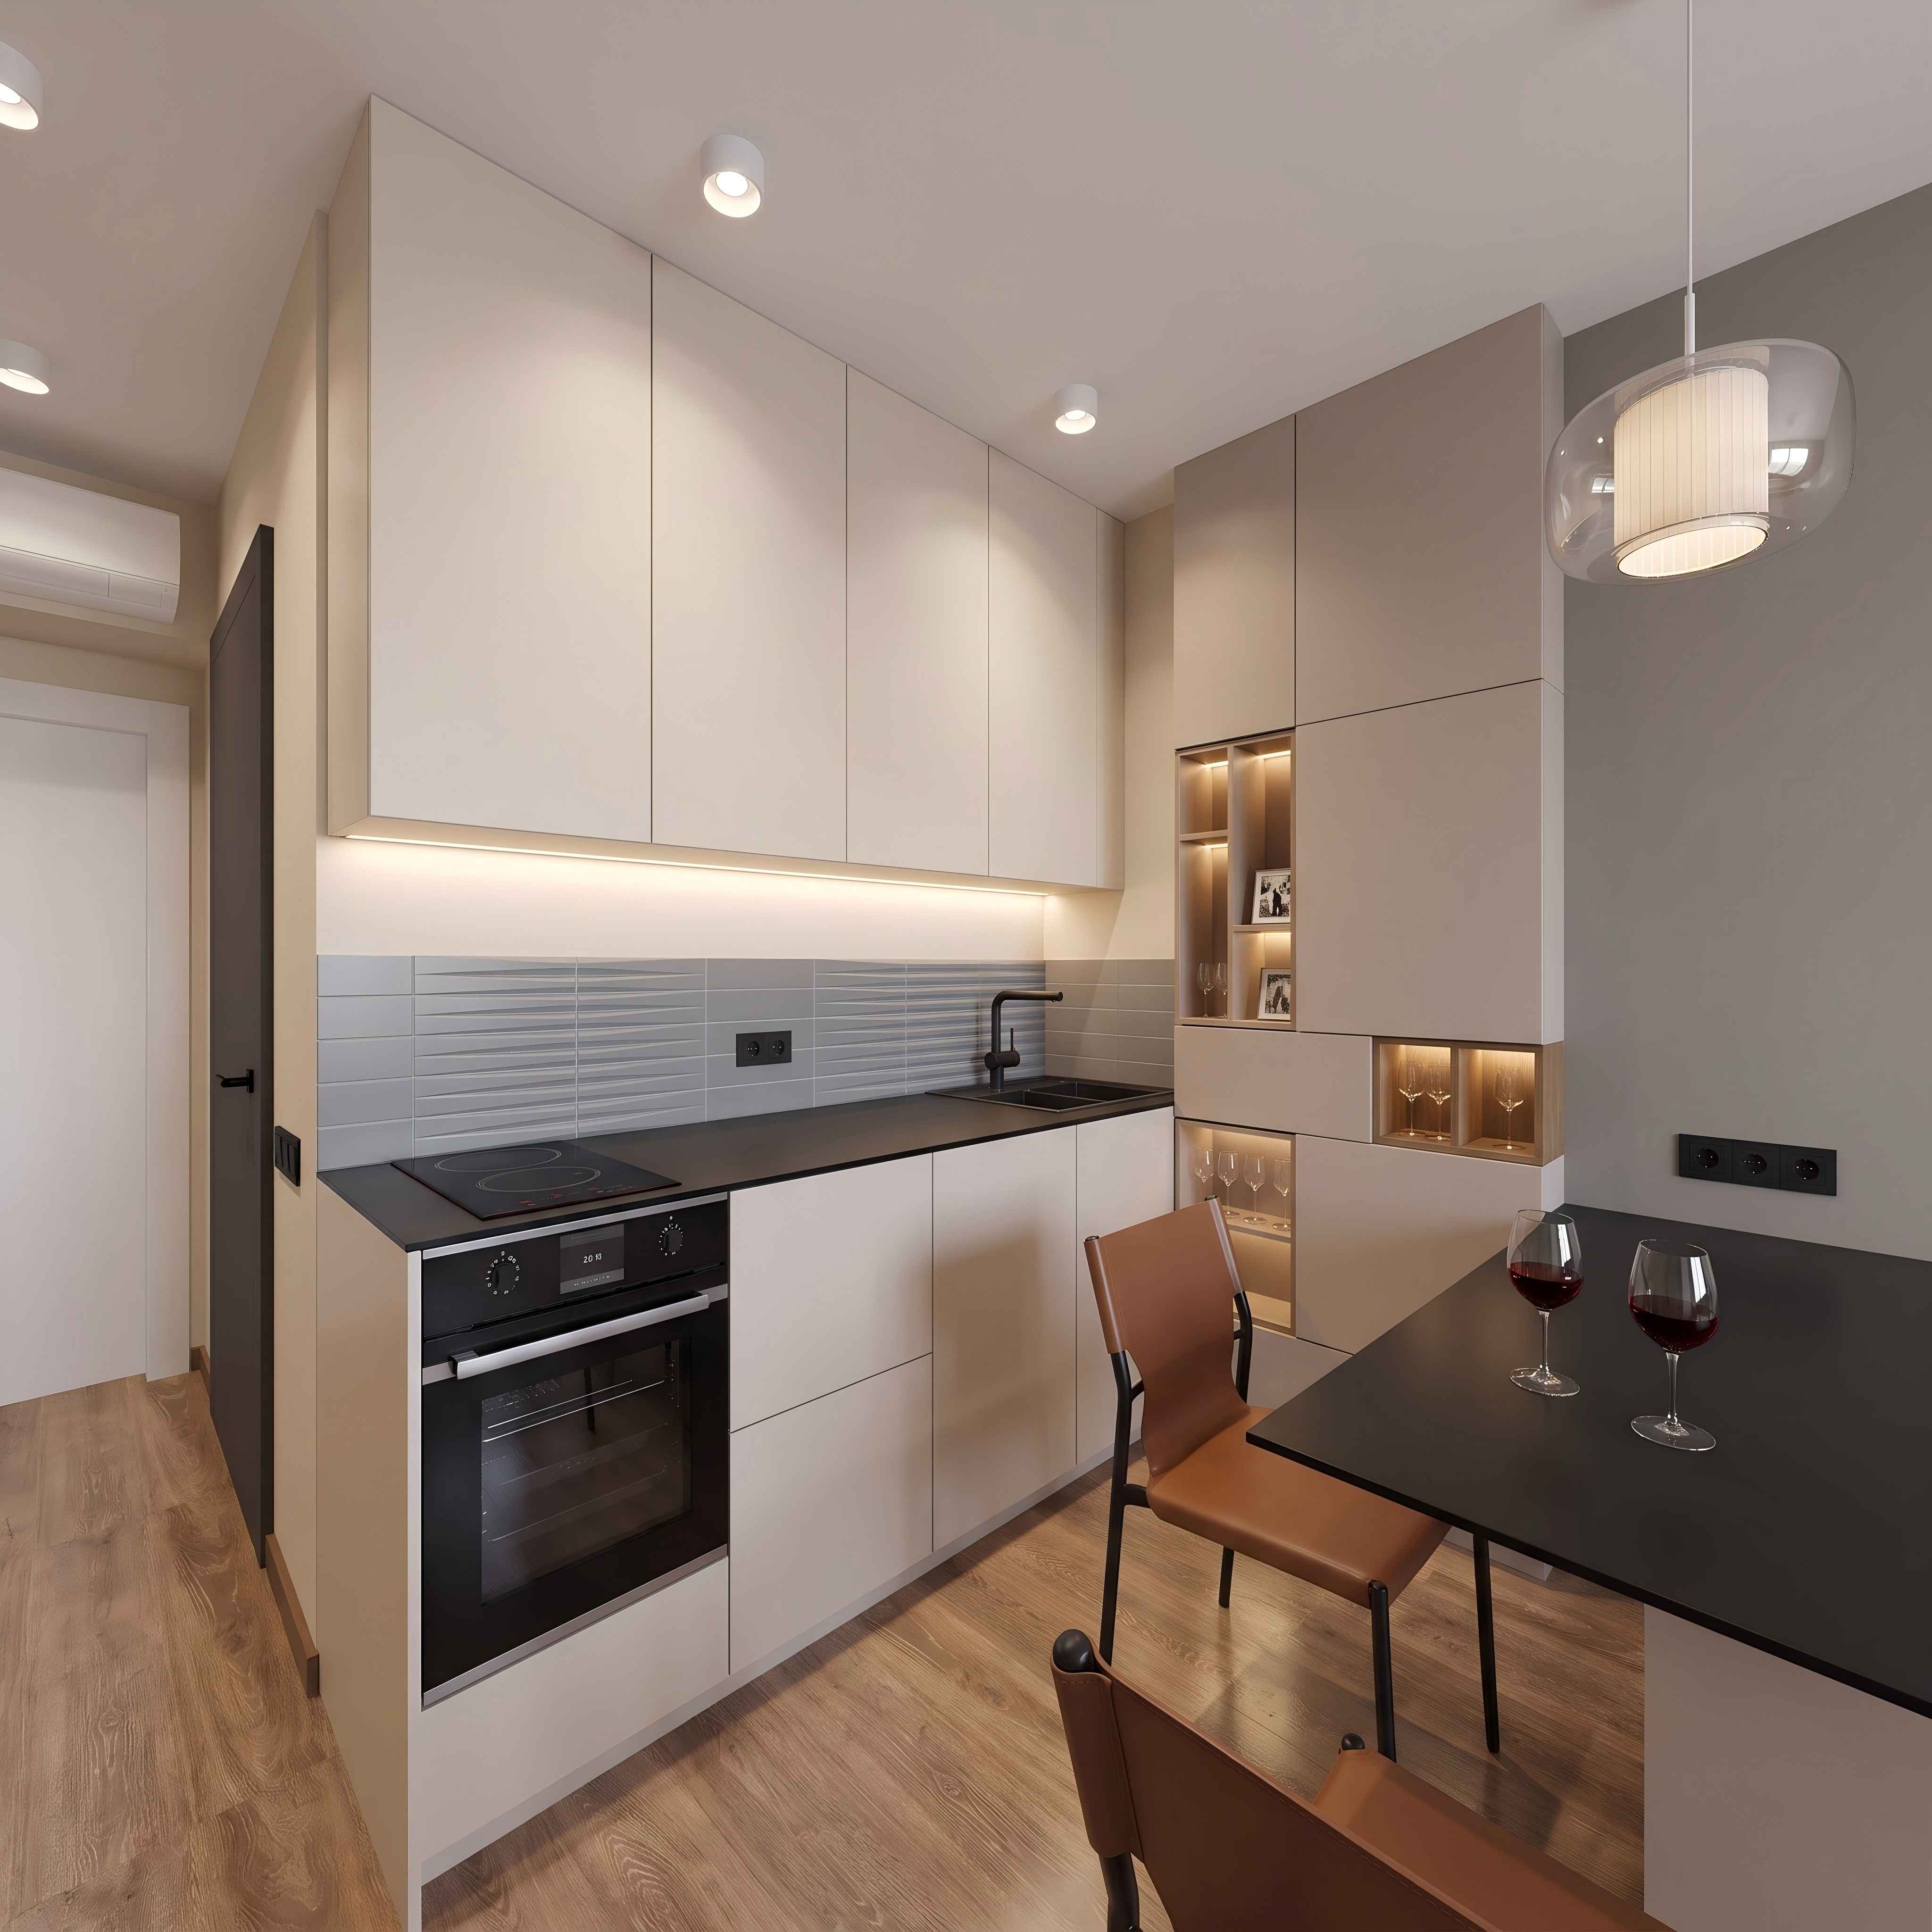
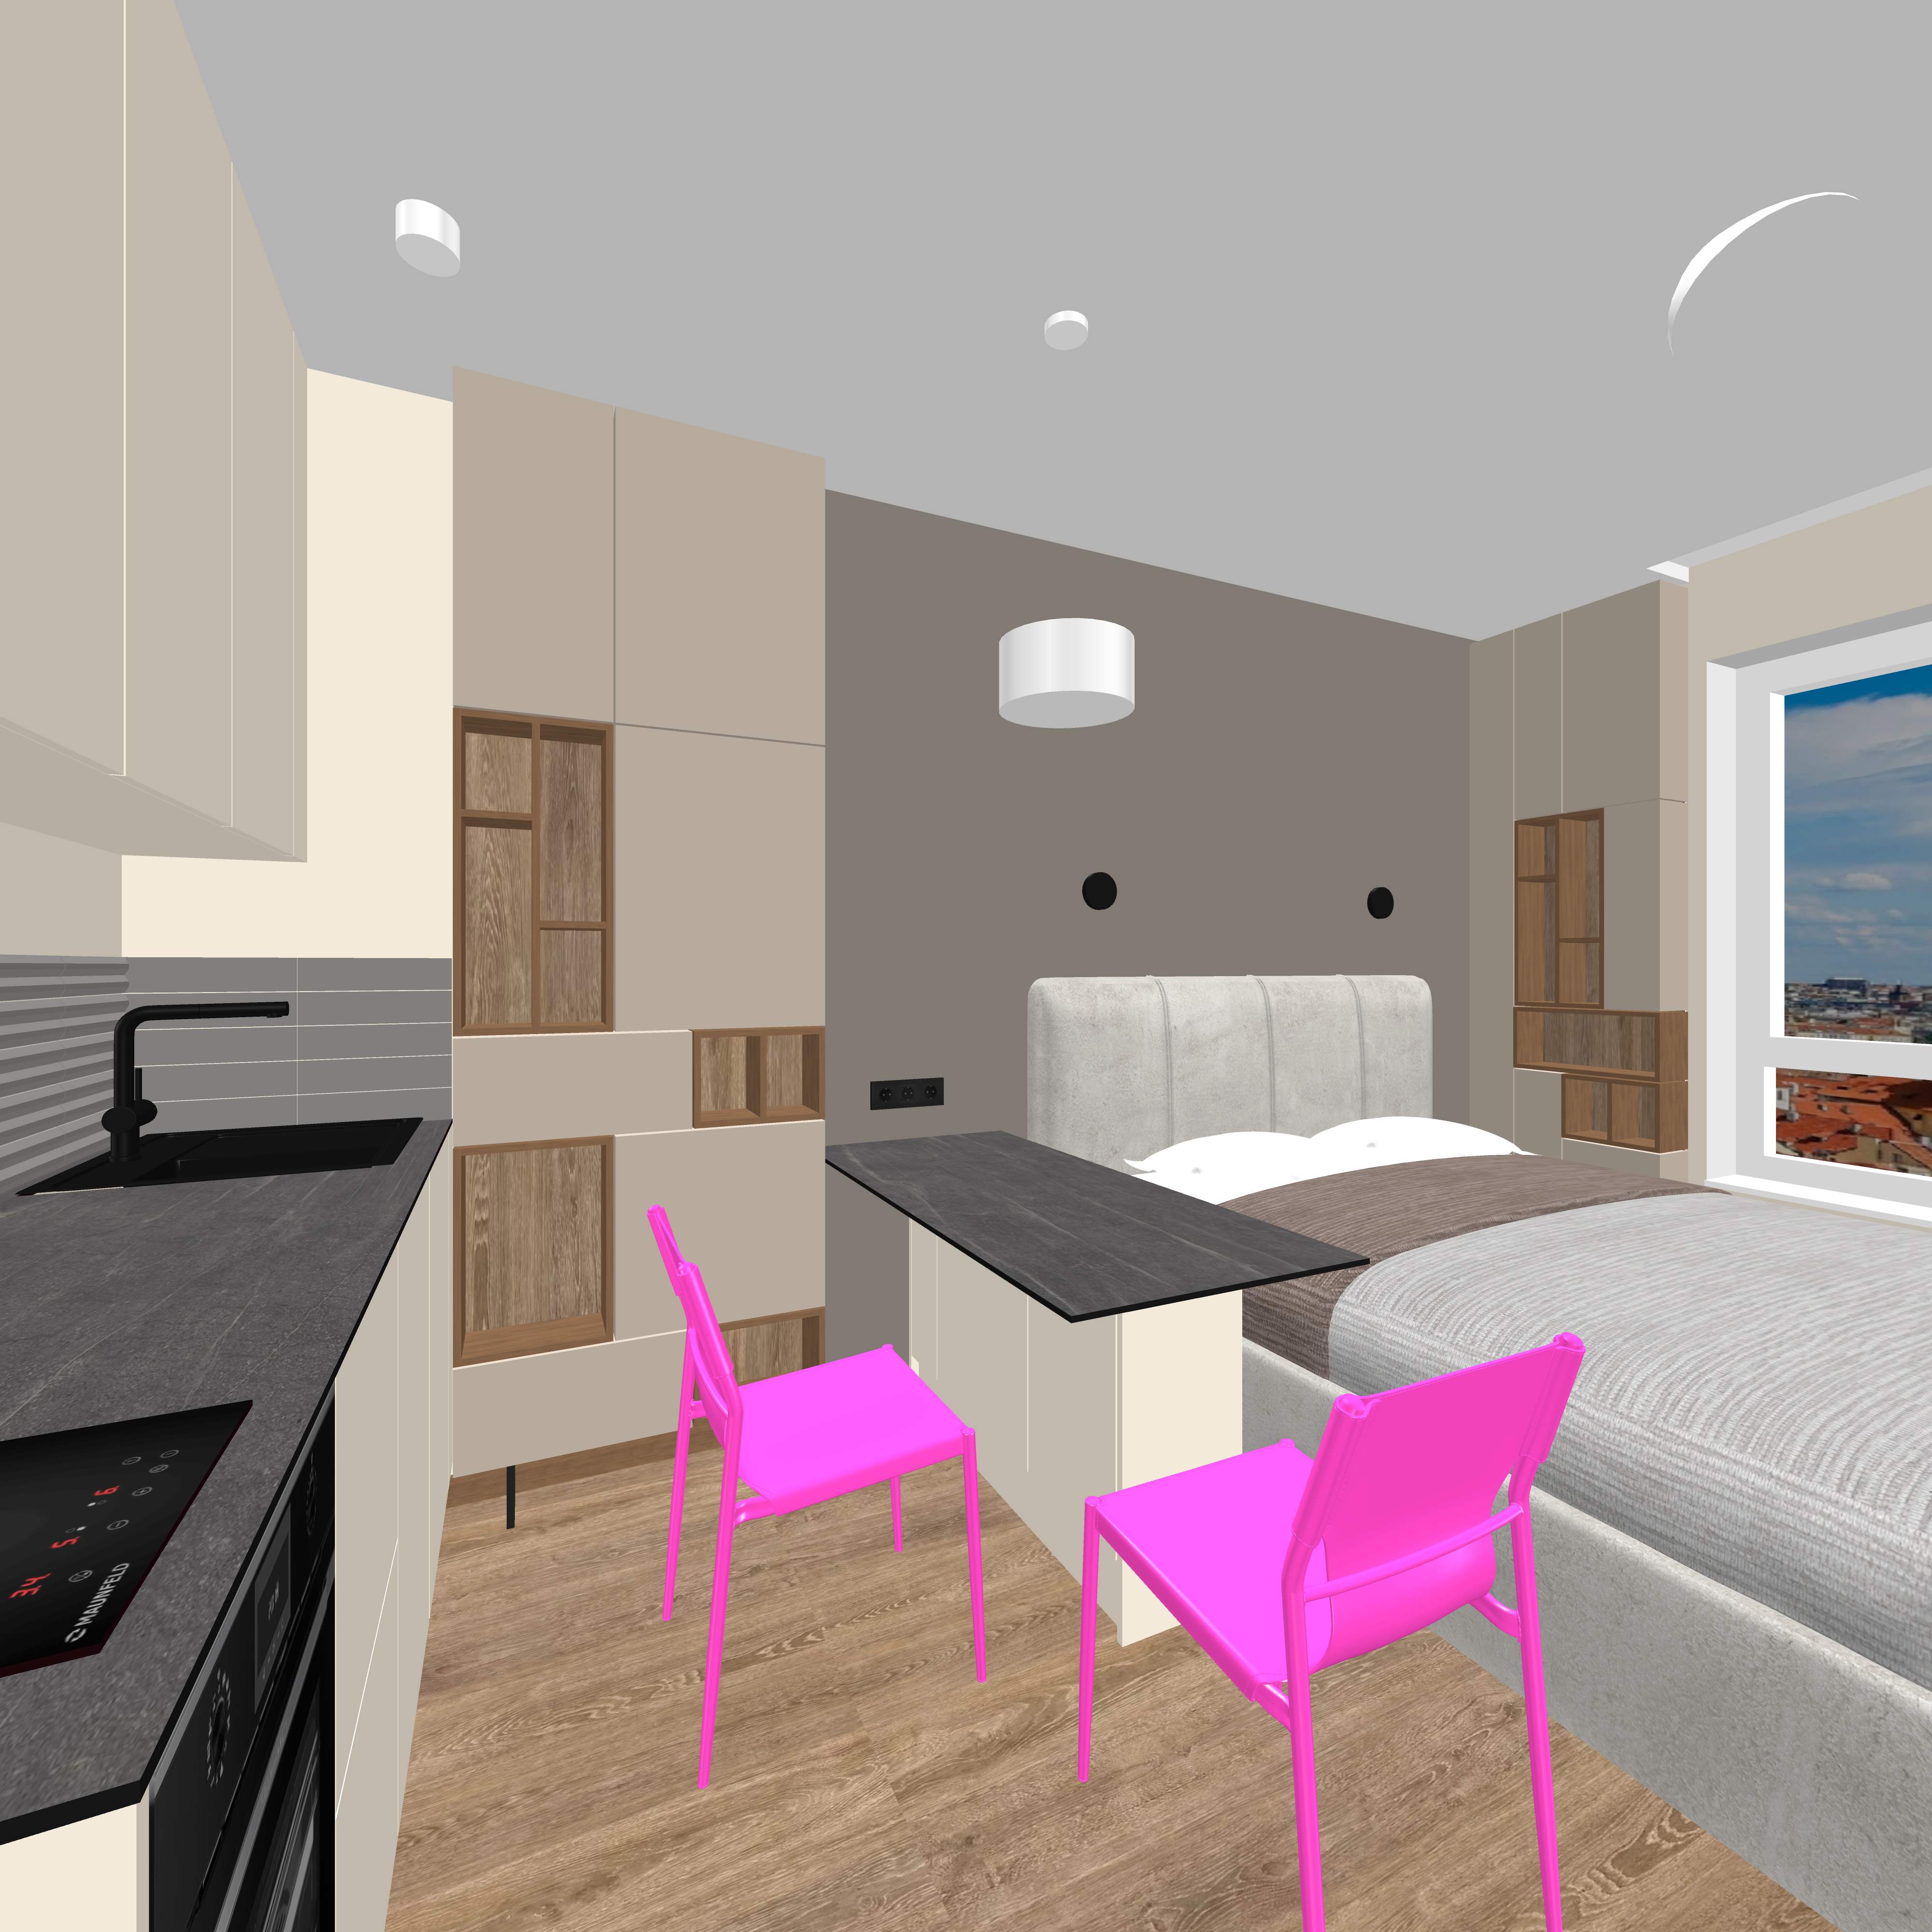
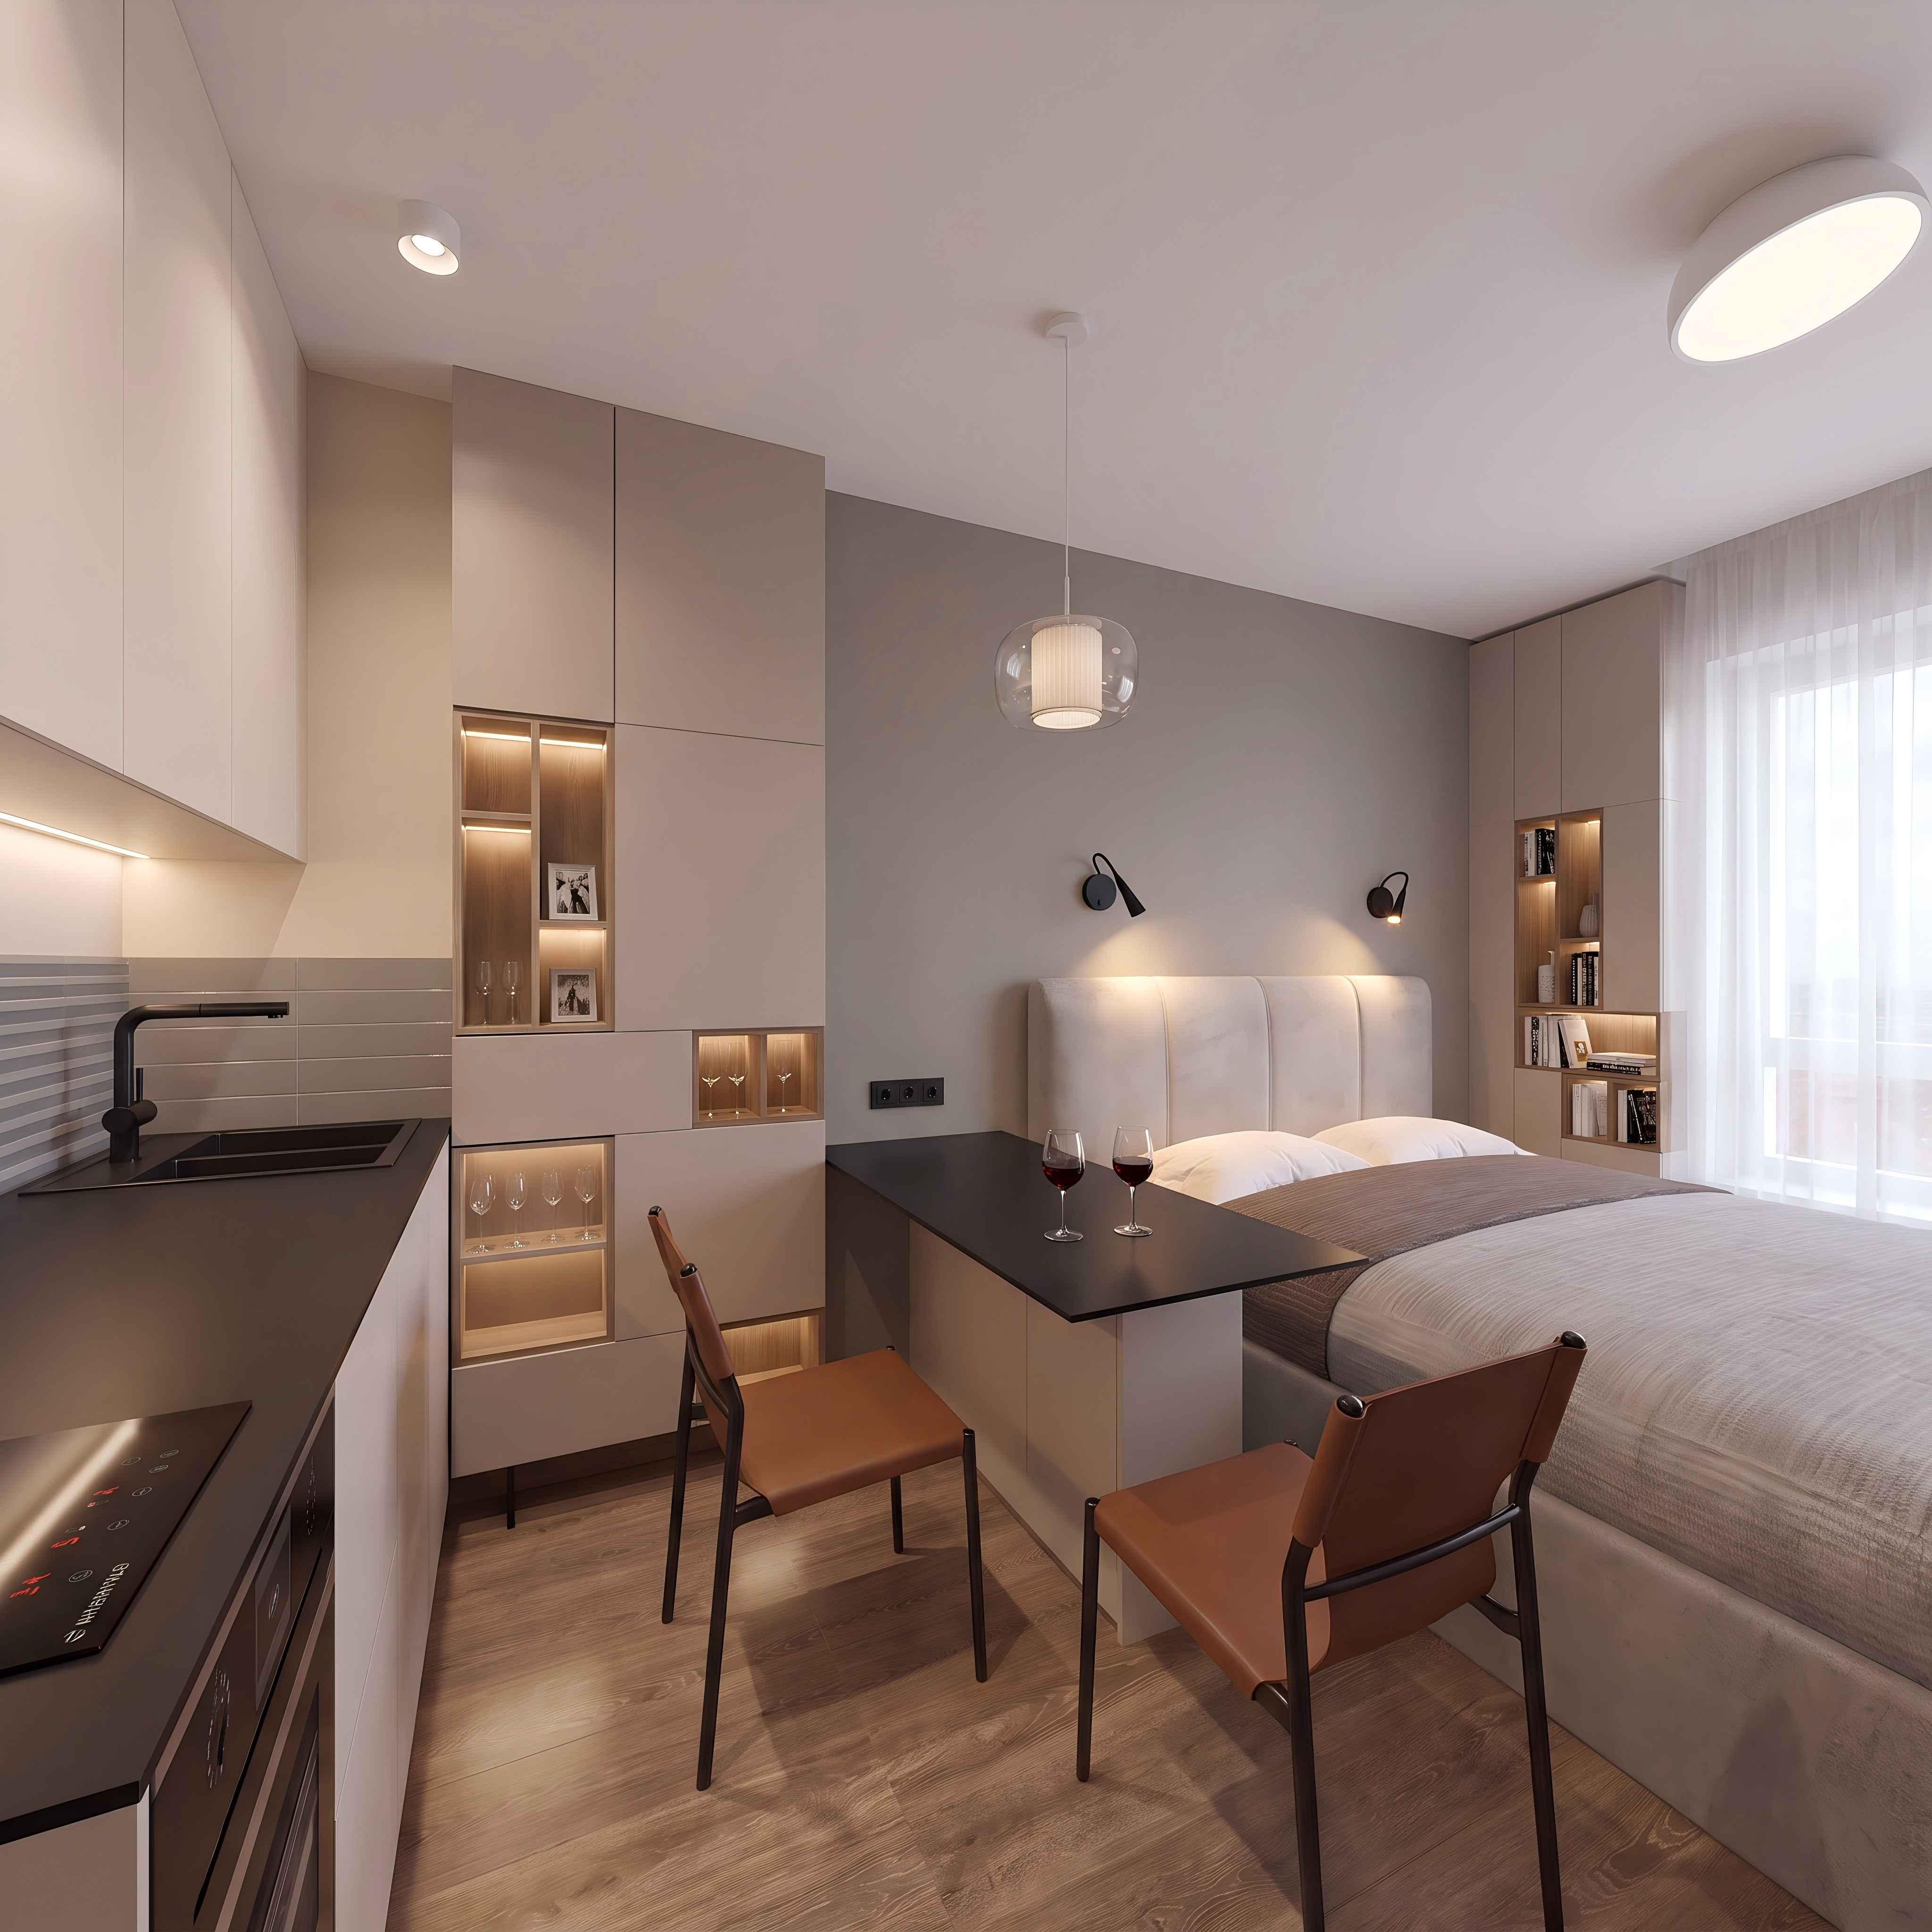
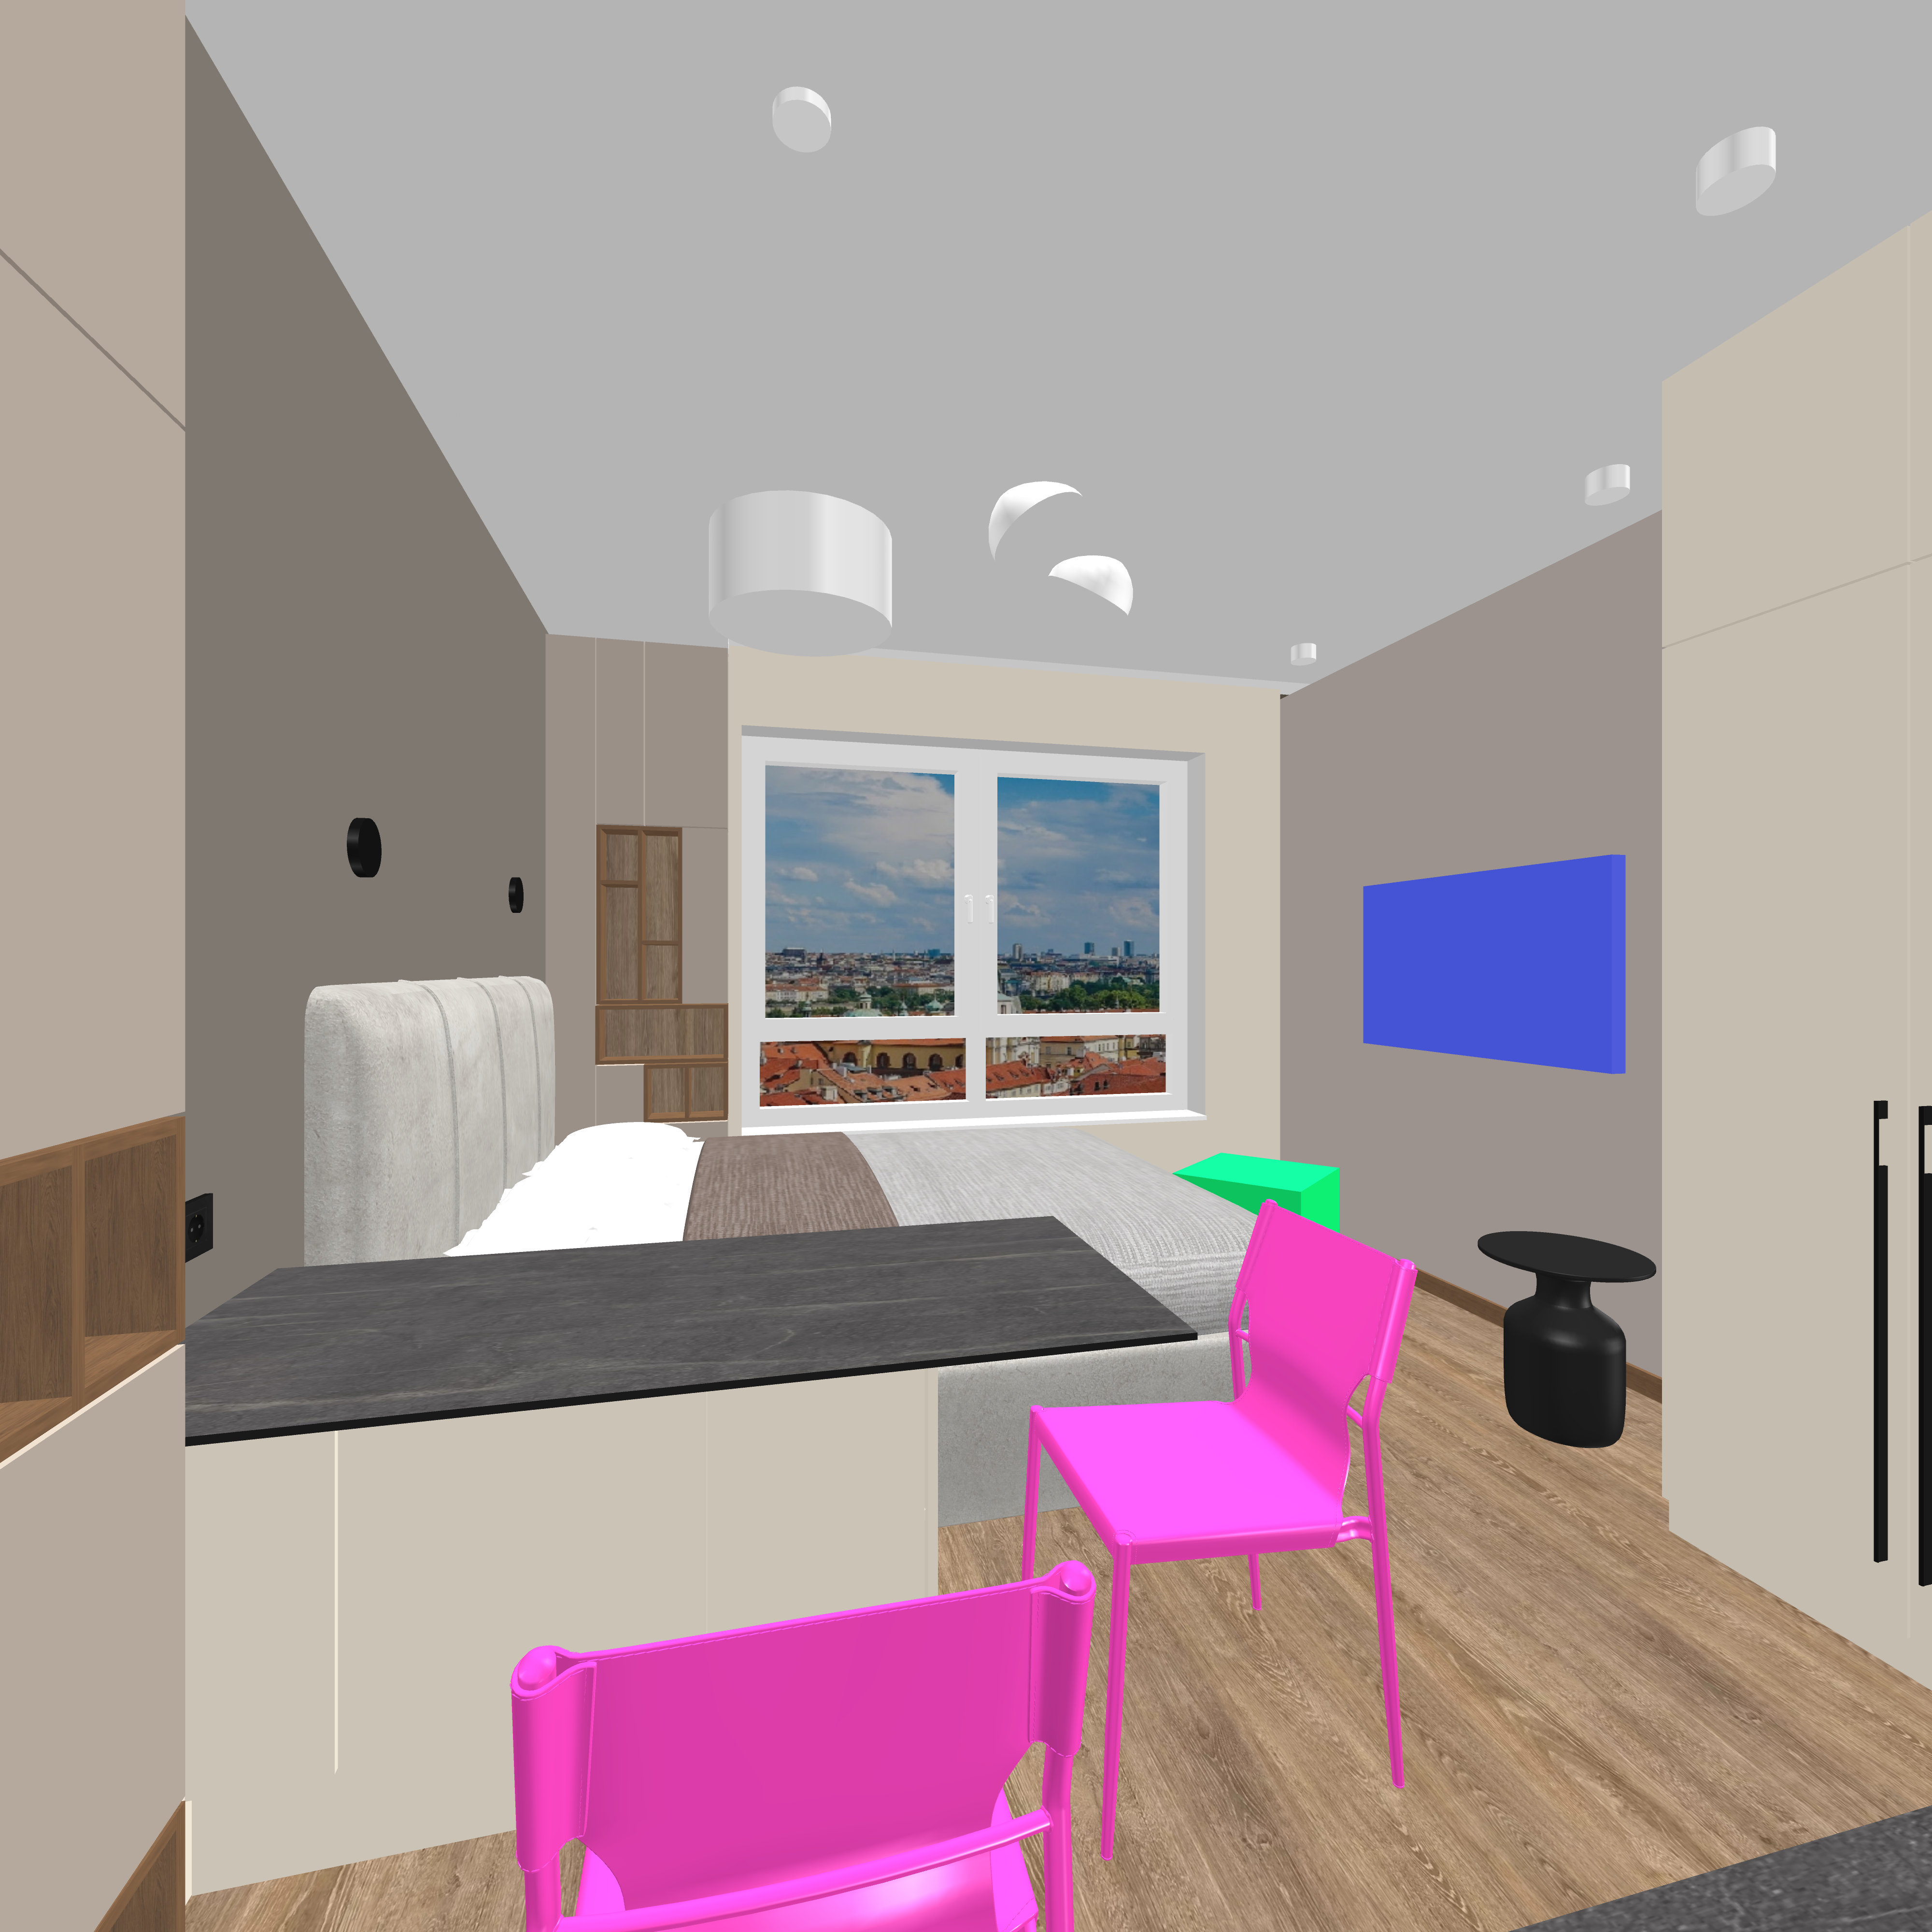
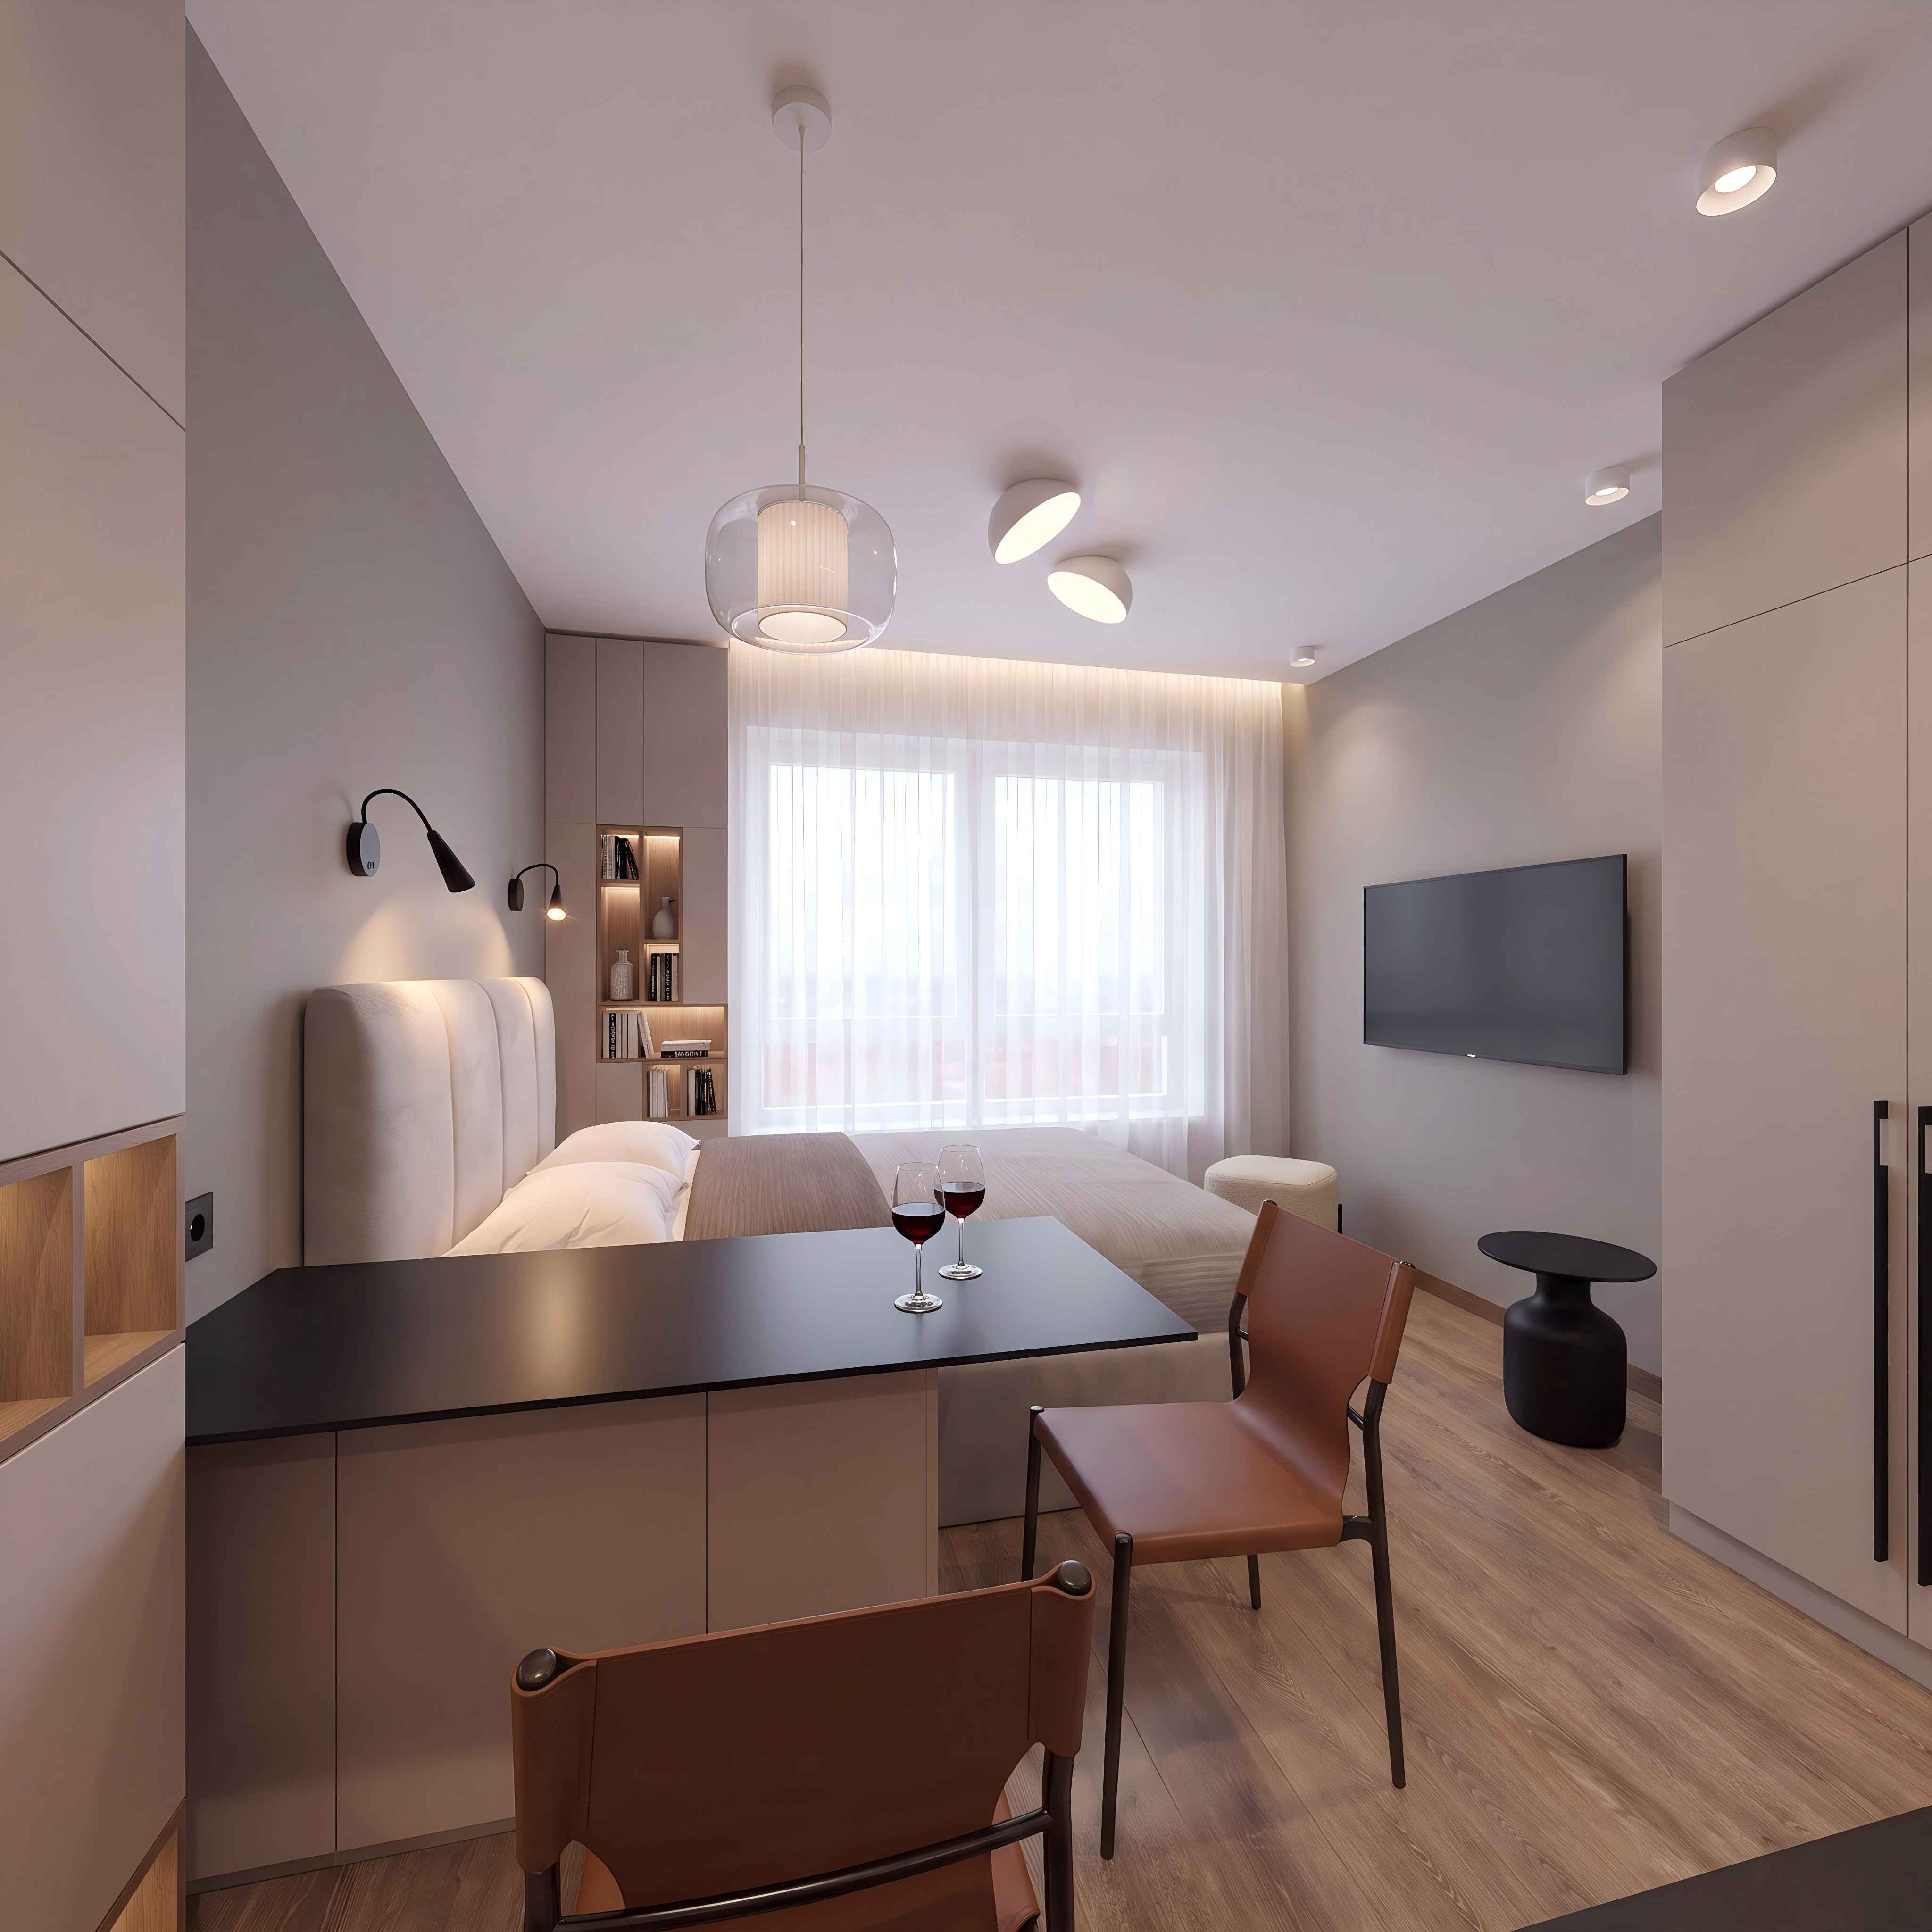
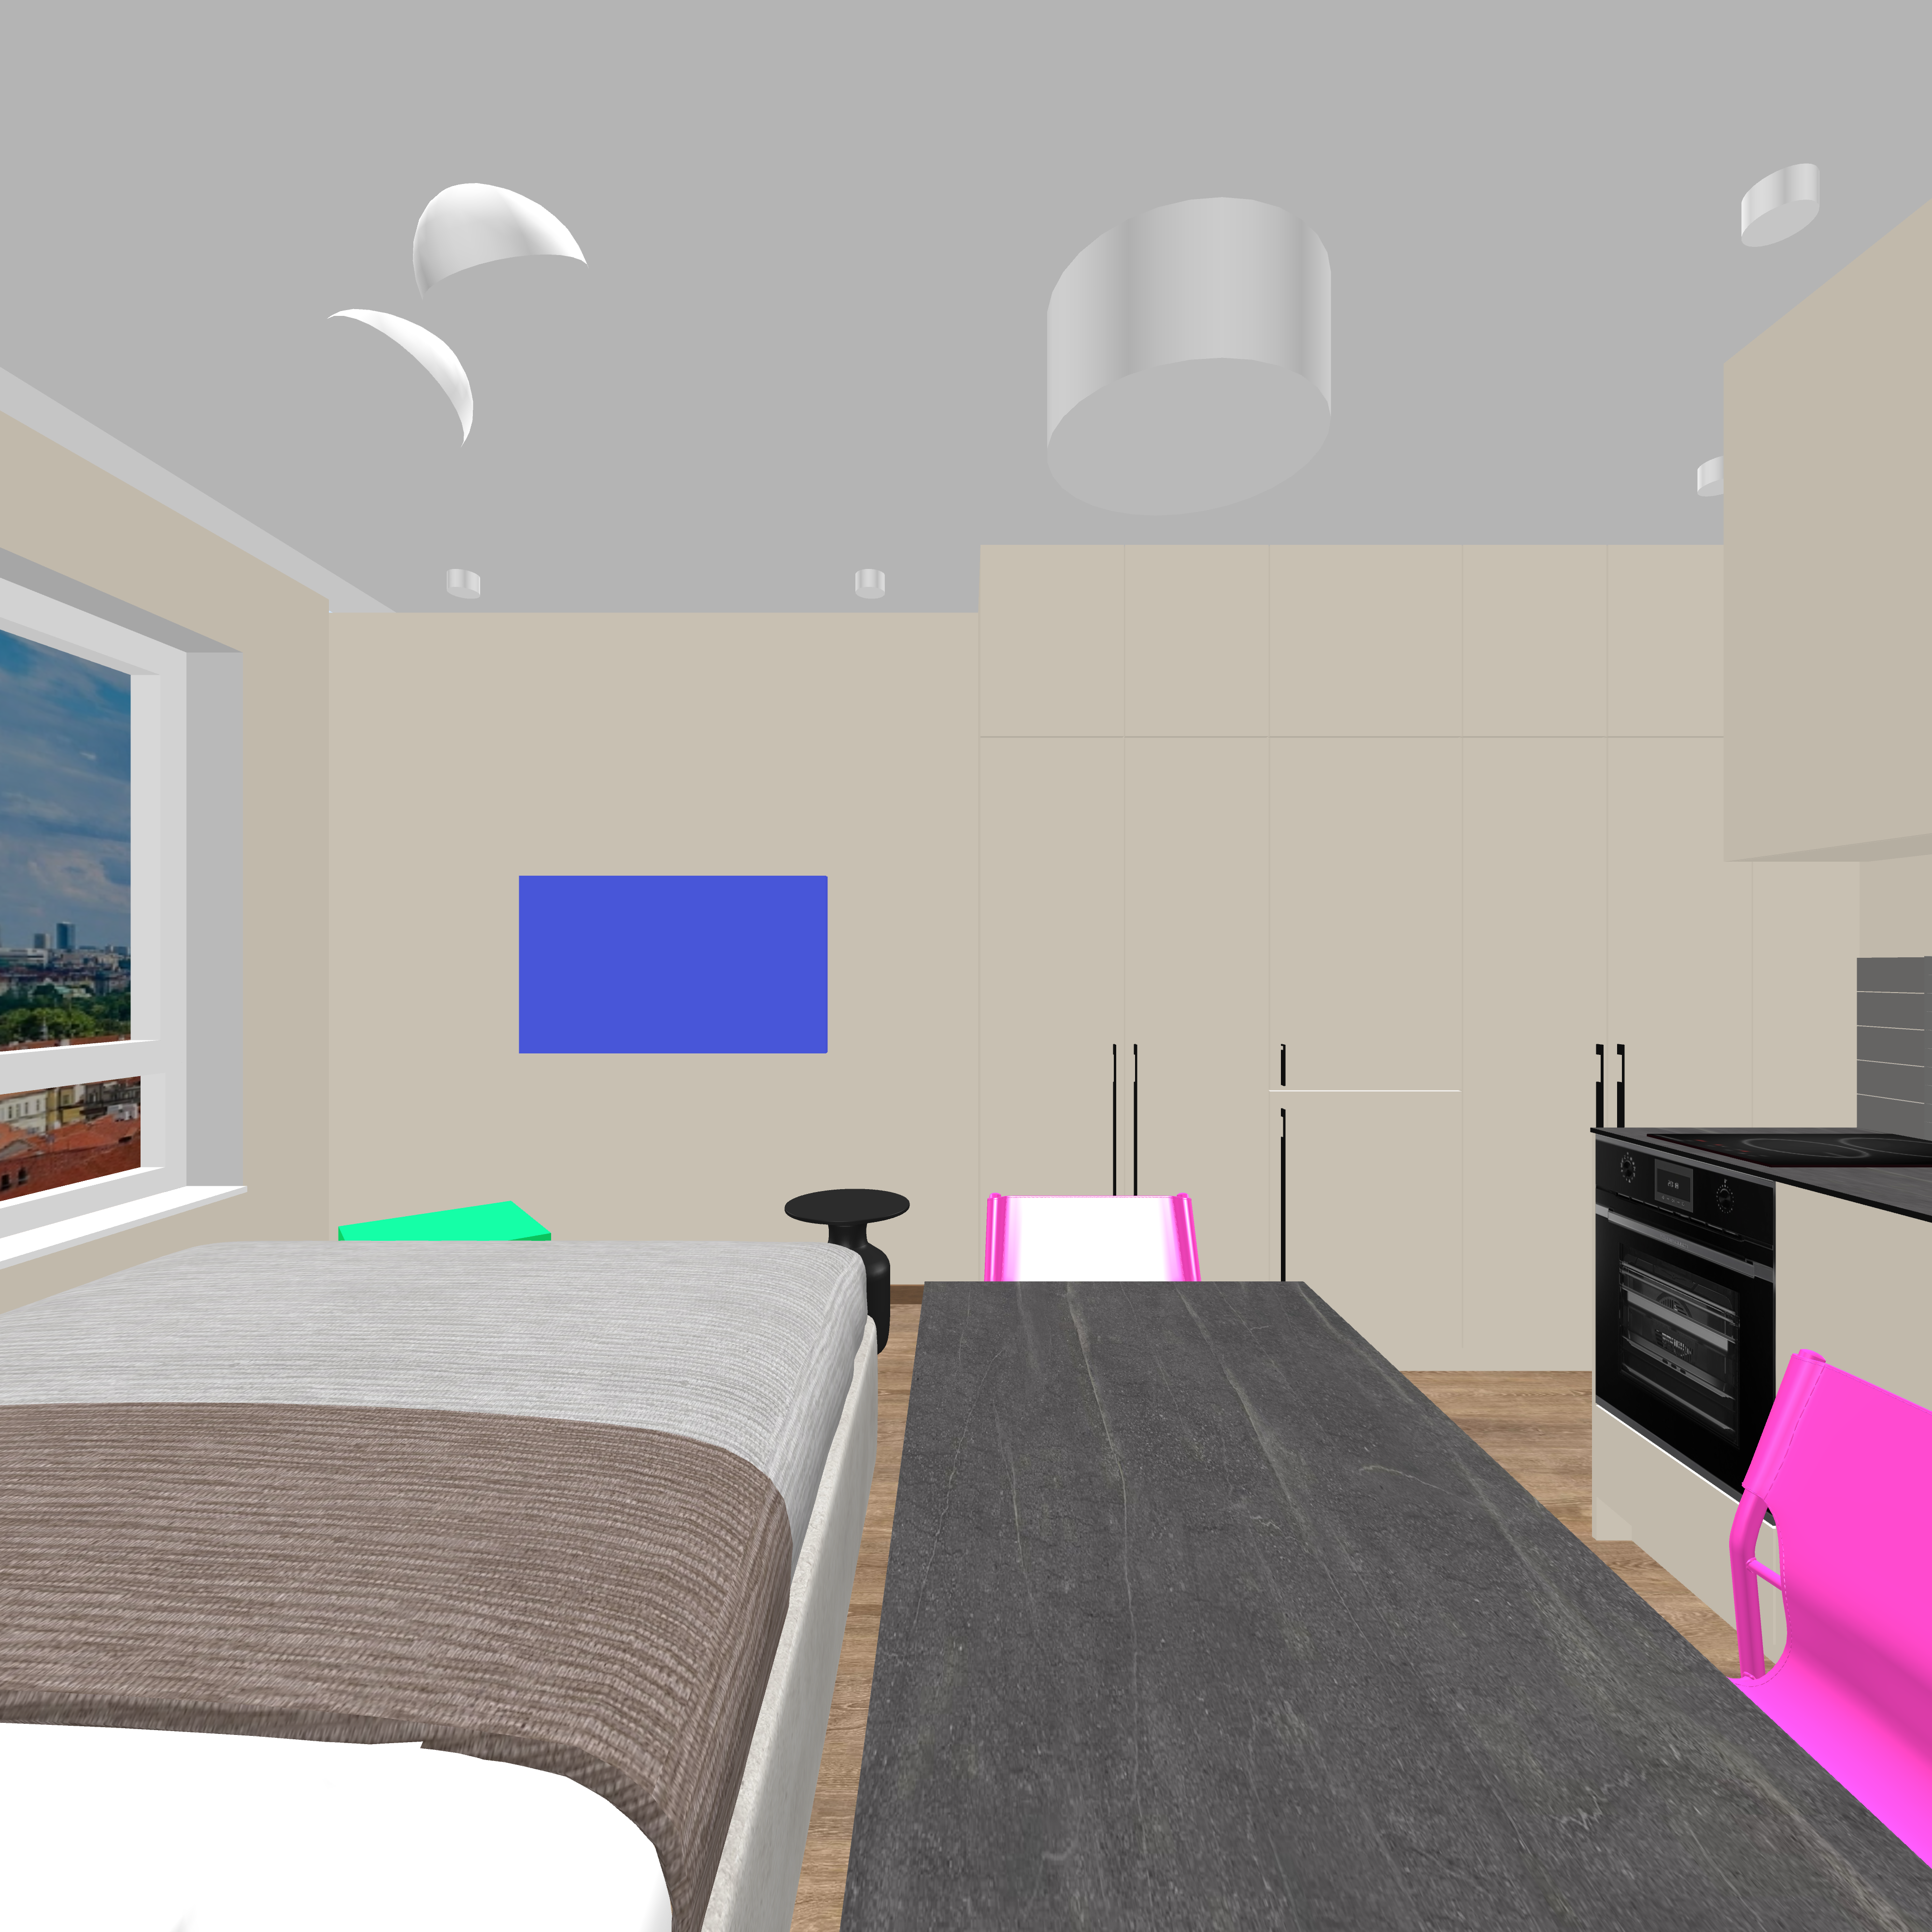
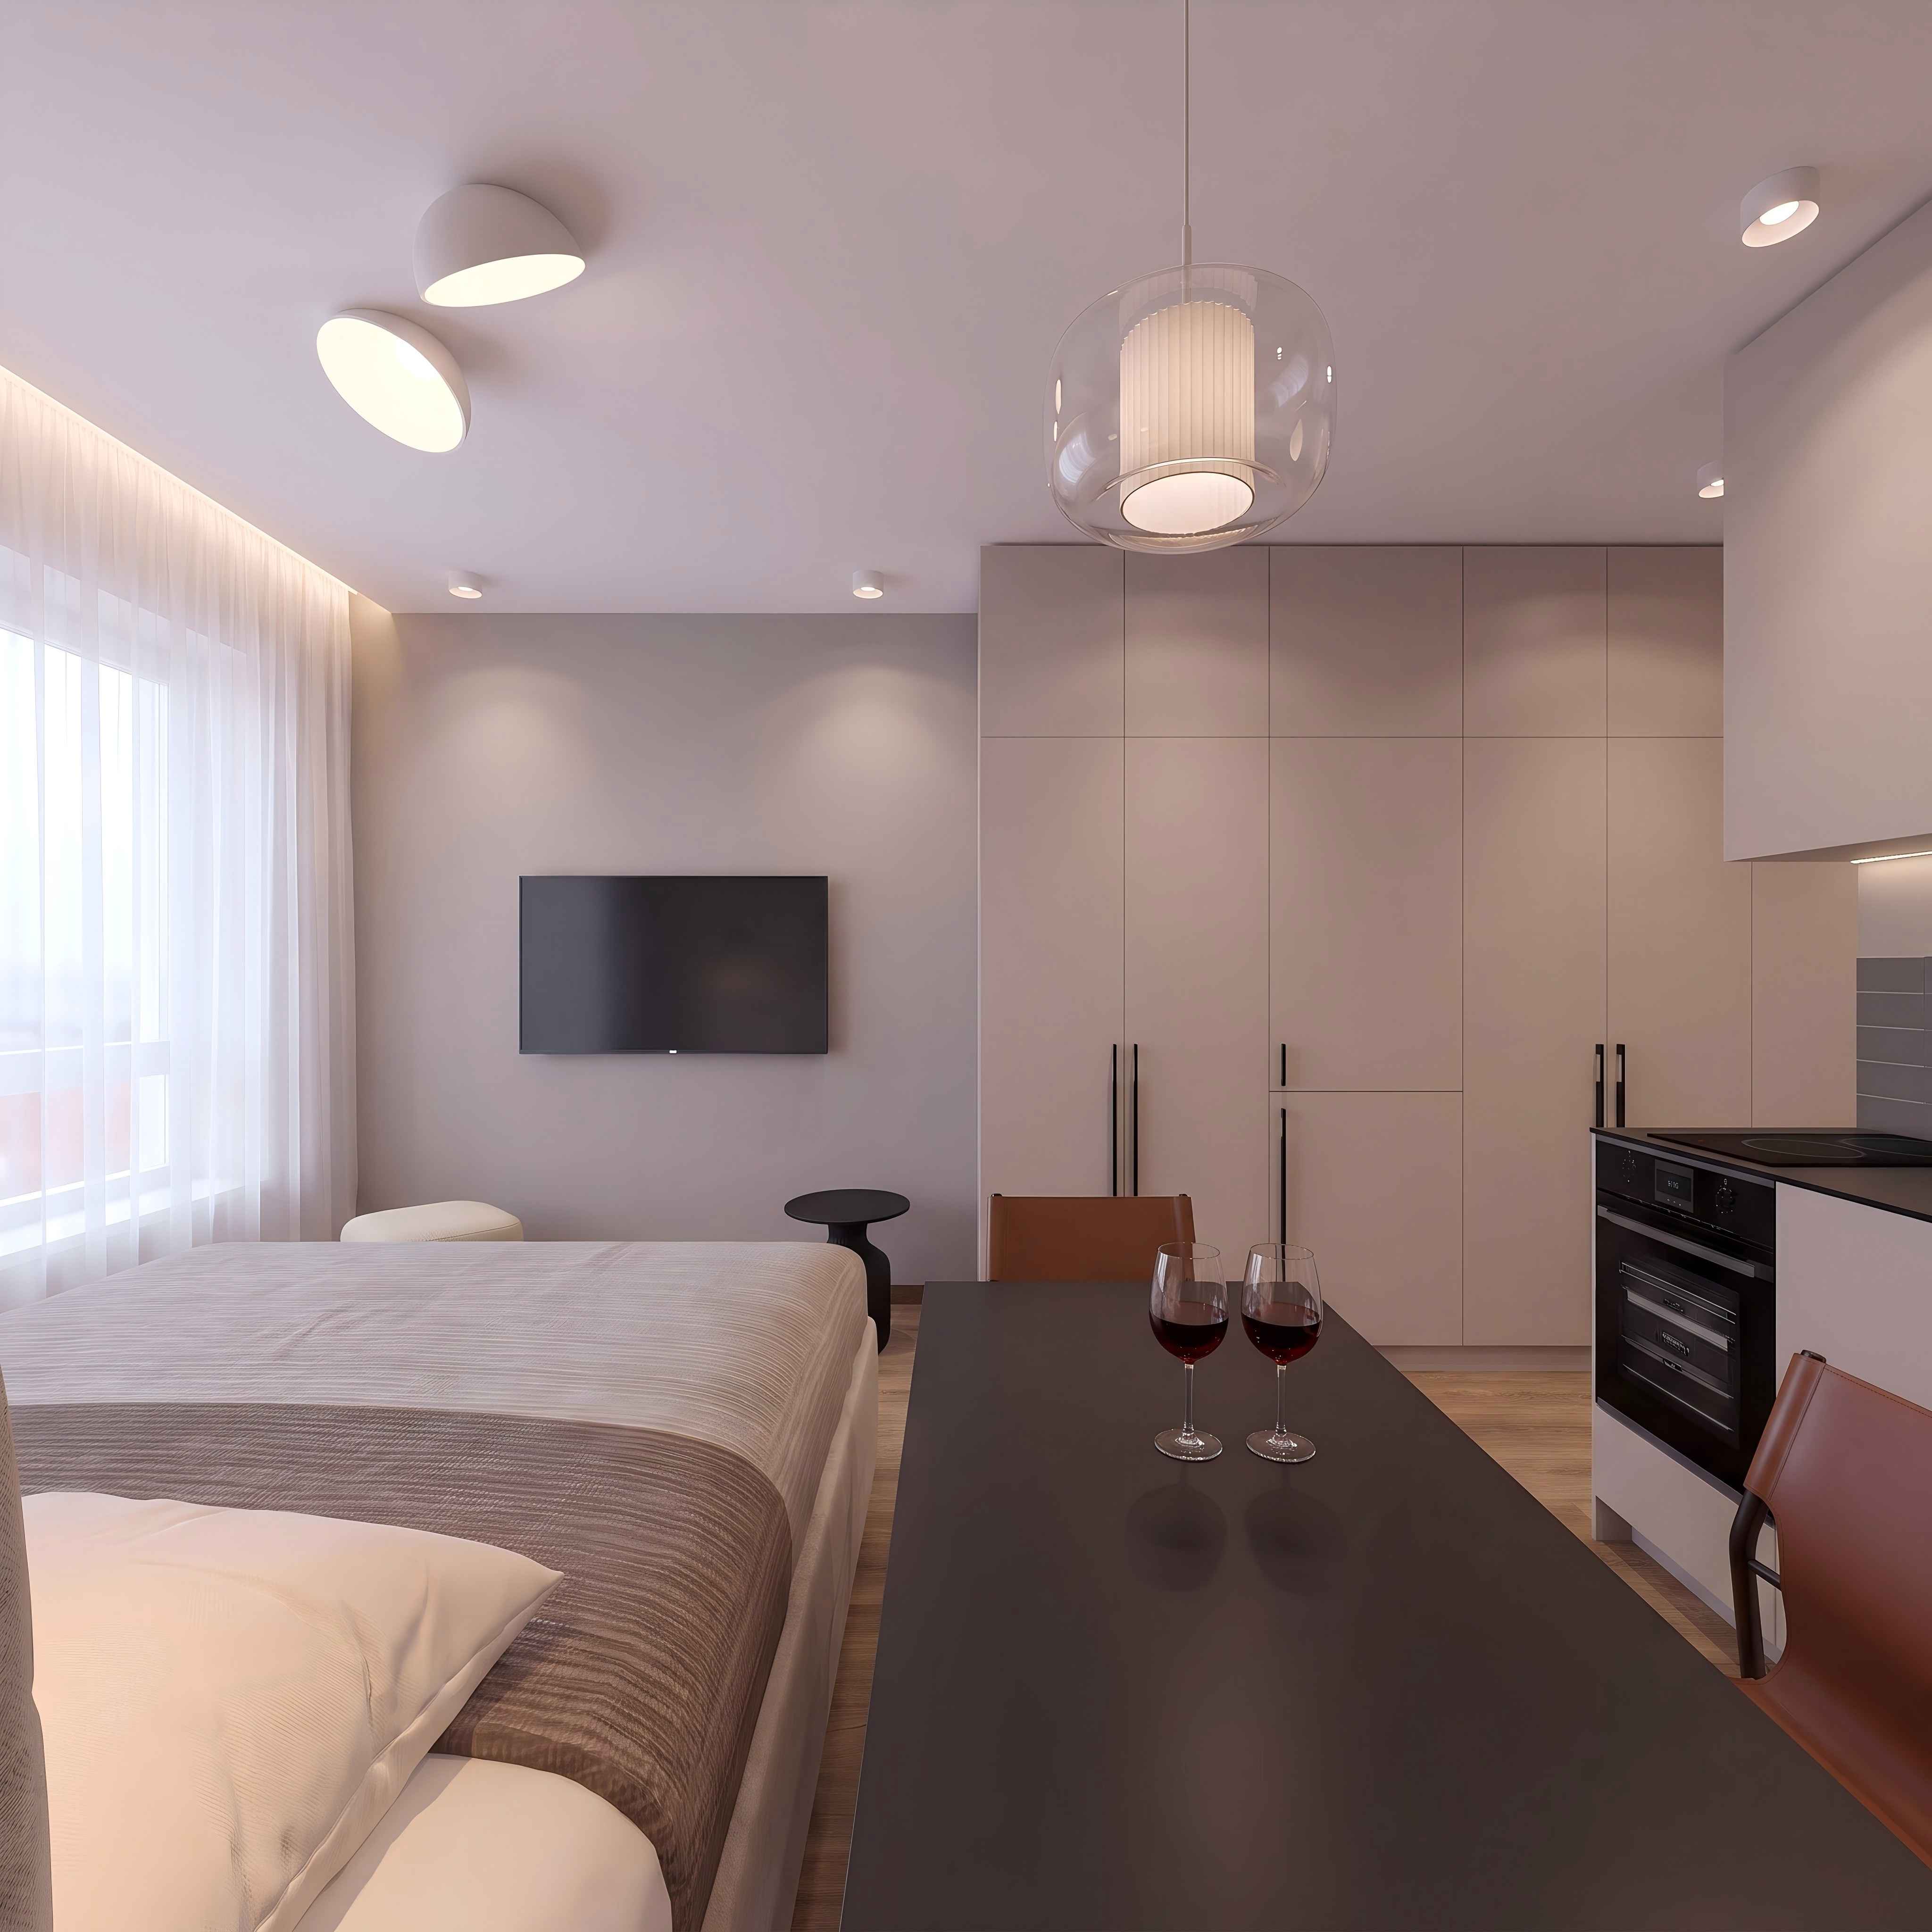
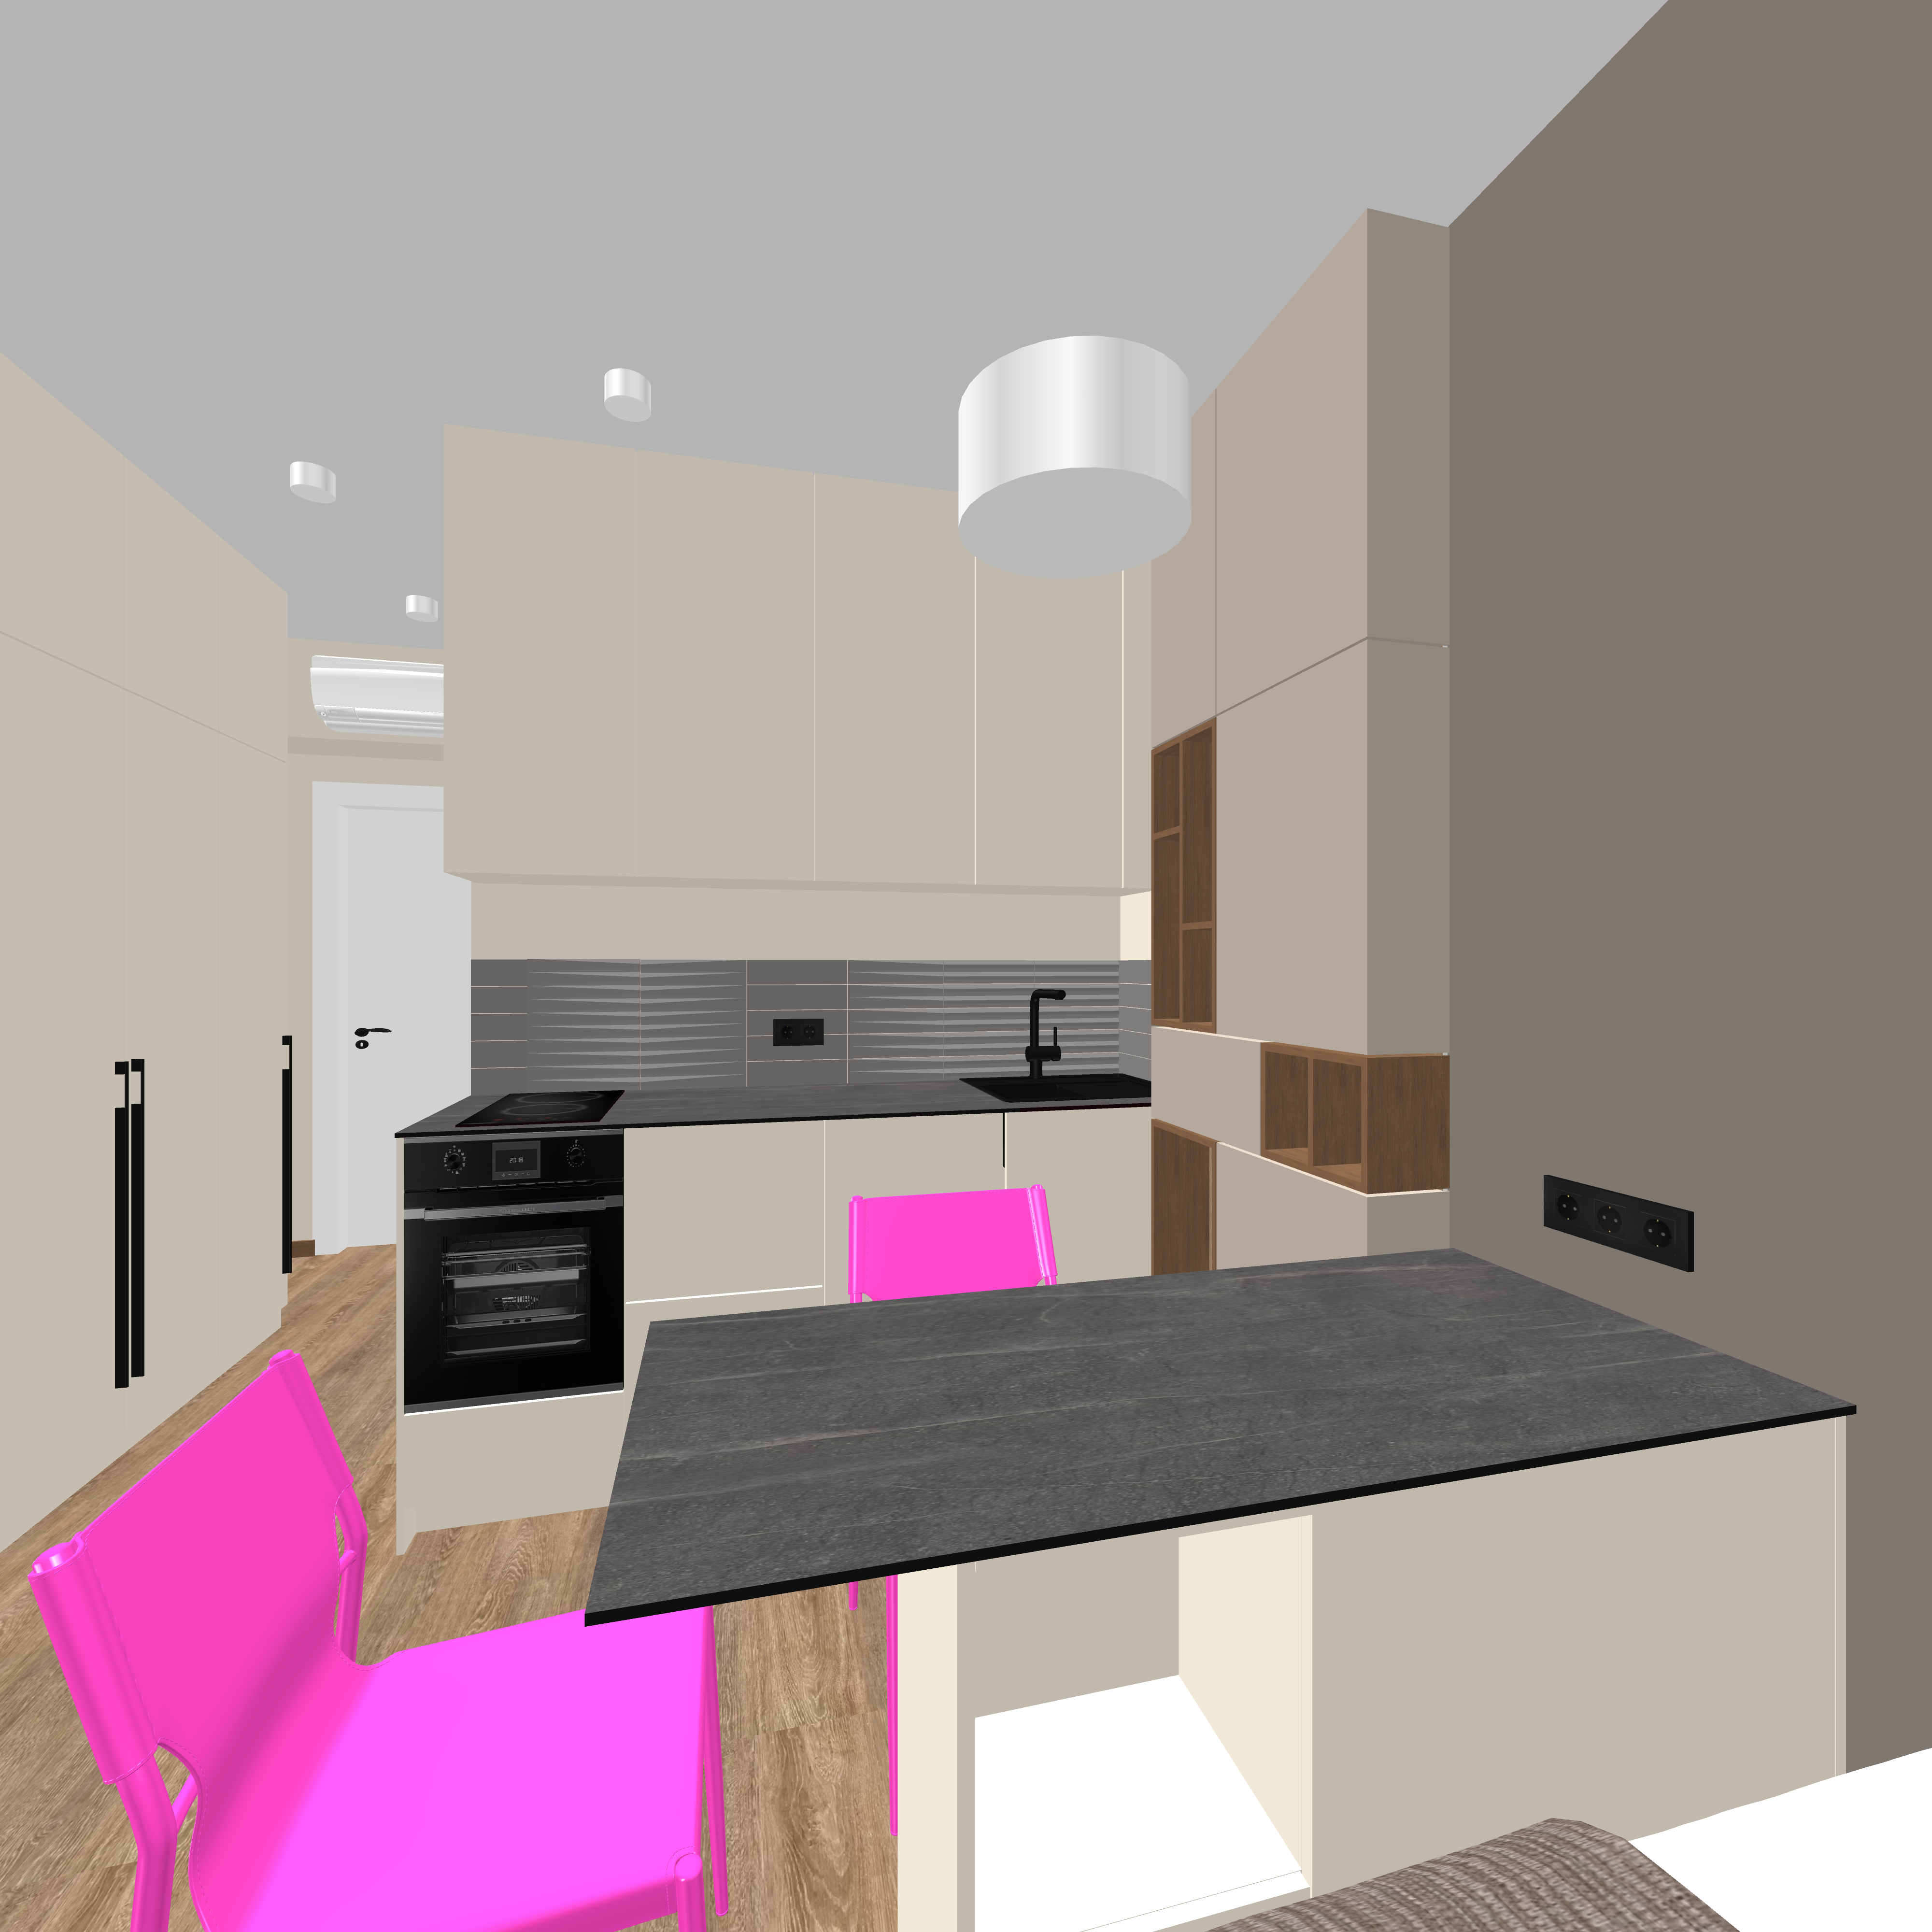
After several attempts and clarifying text tasks, you get AI renders from four points inside the room, which can be used for video. I will show pairs of SH3D renders with a quality of 4000 pixels and AI renders.
In the next post, I’ll talk about Harley Quinn.

